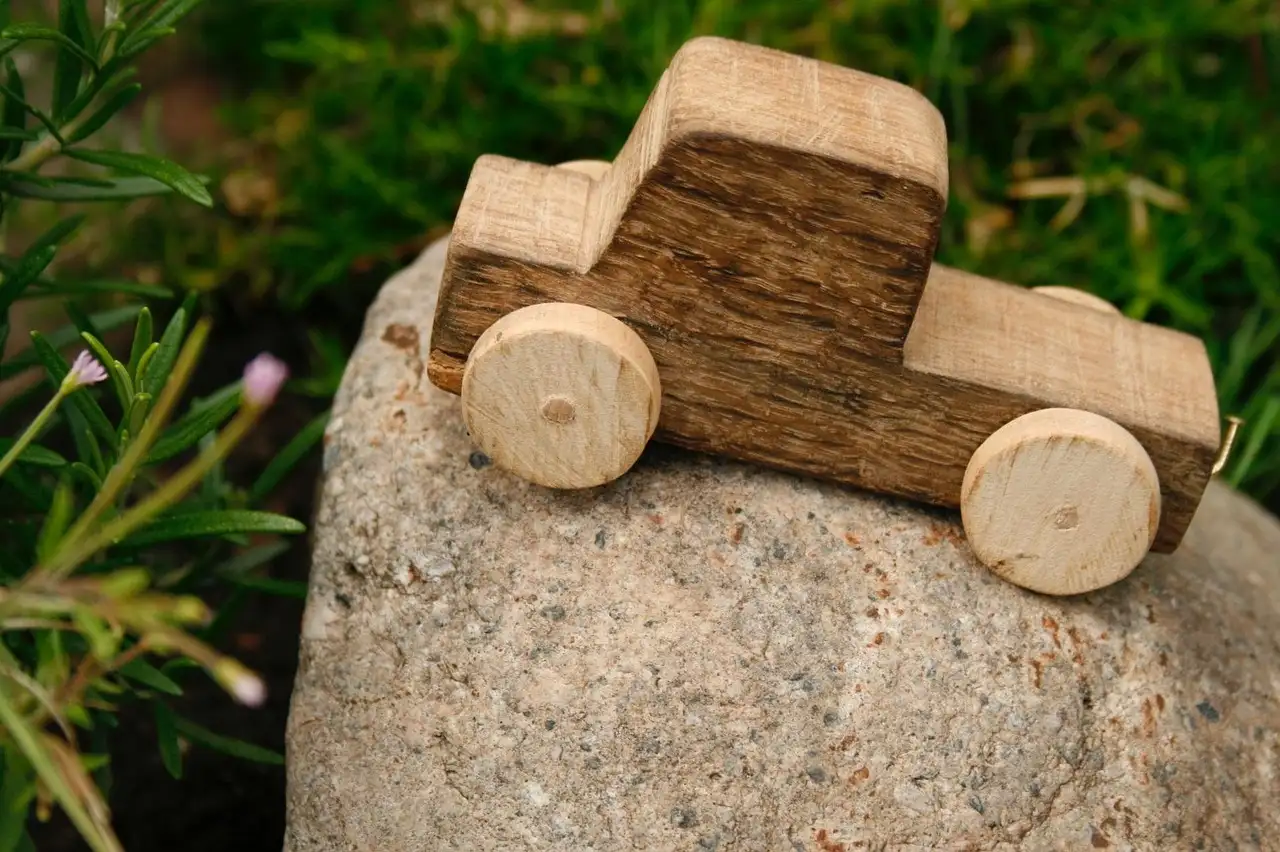
DIY Wooden Toy Cars: Sizes, Axles, and Finish Choices
Start with a 3/4-inch-thick hardwood block, a 1/4-inch axle, and wheel holes that leave about 1/16-inch clearance so the car rolls freely without binding. If the fit is too tight, the wheels drag; if the axle is off-center, the body wobbles. The build below gives exact sizes, beginner cuts, and kid-safe finish choices.
What you’ll need


Use a simple body with axle holes drilled on the centerline and a non-toxic finish. For a beginner build, pine is the easiest softwood to cut, while maple gives a harder body and birch offers a fine, even texture. Keep the body low and wide enough for the wheels to clear the sides and spin without rubbing.
- Wood body stock: pine, maple, or birch
- Body thickness: 3/4 inch for most beginner builds
- Template or printed pattern
- Hand saw, coping saw, jigsaw, or scroll saw
- Drill and drill bits
- Wooden dowels or metal rods for axles
- Pre-made wooden wheels or scrap wood for custom wheels
- Sandpaper: 100, 150, and 220 grit
- Clamps, pencil, ruler, and square
- Non-toxic paint, wood stain, varnish, or polish labeled for child use
Build-spec comparison
| Version | Body size | Wheel size | Axle material | Tool set | Estimated build time | Likely play age |
|---|---|---|---|---|---|---|
| Small block car | 4 inches by 6 inches | 1 1/2 inch wheels | Wooden dowels | Hand saw, drill, sandpaper | 1 to 2 hours | 3 years and up |
| Standard beginner car | 4 inches by 6 inches | 2 inch wheels | Wooden dowels or metal rods | Coping saw or jigsaw, drill, sandpaper | 2 to 3 hours | 4 years and up |
| Truck-style body | 4 inches by 6 inches with a taller cab | 2 inch wheels | Metal rods for straighter rolling | Jigsaw or scroll saw, drill, sandpaper | 3 to 4 hours | 5 years and up |
How do you make a wooden toy car?
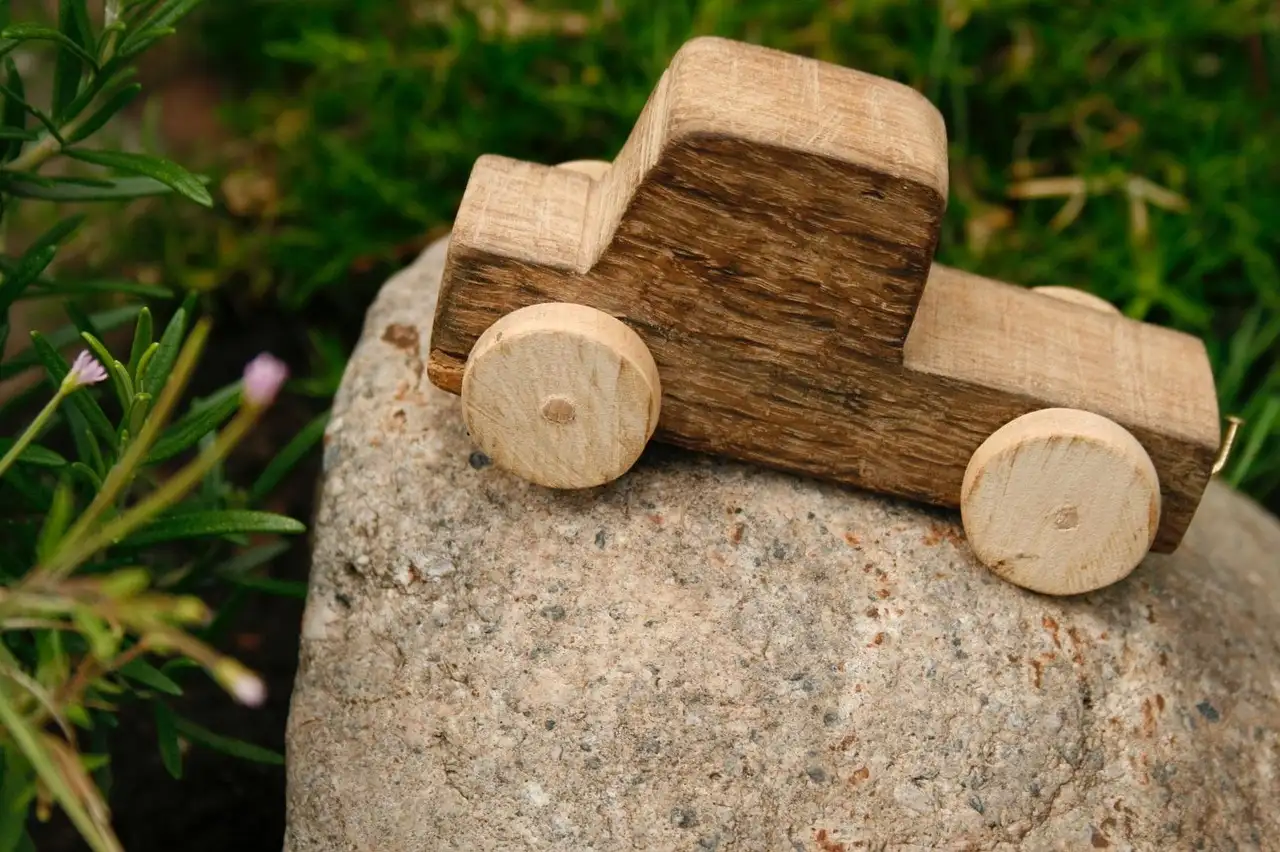
Cut a 4 inches by 6 inches body, drill two straight axle holes, fit wheels with free spin, and finish the wood with a non-toxic coating. The easiest beginner version is a simple block car. It needs the fewest cuts and gives the most stable starting point for wheel and axle fitting.
Basic build steps
- Trace a template onto the wood block.
- Cut the outer shape with a hand saw, coping saw, jigsaw, or scroll saw.
- Round all edges and corners before drilling.
- Mark axle centers with equal spacing from the front and rear ends.
- Drill straight axle holes using a bit matched to the axle material.
- Dry-fit the axles and wheels before sanding the finish surfaces.
- Sand with 100 grit, then 150 grit, then 220 grit.
- Apply a non-toxic finish and let it dry fully before play.
Keep the axle holes square to the body. A tilted hole makes one wheel sit higher and creates drag on the lower side. If the car is meant to roll well on a ramp, a straight drill pass matters more than decorative shaping.
How do you make a simple wooden car?
A simple wooden car uses a block body, two axle lines, and plain round wheels. The easiest wooden toy car design for beginners is a rectangular block with rounded corners and no carved cabin. That shape is fast to cut, easy to sand, and less likely to split when drilled.
Choose the simplest proportions
Use the 4 inches by 6 inches starting dimension for the body, then keep the wheelbase centered so the wheels sit clear of the ends. Leave enough wood around each axle hole so the body does not crack. Pine is the most forgiving choice if you want easier cutting.
If the body is cut too narrow near the axle hole, move the hole inward on the next blank rather than forcing a larger bit through thin wood. That gives you a cleaner fit and reduces splitting.
How do you make wooden toy car wheels?
You can use pre-made wooden wheels for the quickest build, or cut wheels from scrap wood if you want a custom look. Pre-made wheels are usually easier to center and fit. Scrap-cut wheels take more time, but they let you match wheel diameter to the body and make a truck-style build.
Wheel-making options
- Pre-made wheels: Best for beginners, because the hole is already centered.
- Scrap-cut wheels: Best for custom shapes, but the center hole must be drilled carefully.
- Wooden discs from dowel stock: Useful for tiny cars, though they give less grip and can feel light.
Drill the wheel hub hole at the center rather than near the rim. If the hole is off-center, the wheel will look square when it spins. Sand the hub so it turns freely on the axle without scraping the body or wobbling on one side.
Wheel fit checks
Before final assembly, slide each wheel onto the axle and spin it by hand. It should turn freely without needing force. If the wheel stops immediately, the hole is too tight or the hub face needs smoothing.
How do you attach axles and wheels to a wooden toy car?
Fit the axles so the wheels spin freely, then hold them in place without squeezing the wheel hubs. Wooden dowels work well for simple builds, while metal rods can improve straightness on truck-style toys. The key is alignment: both axle holes must sit on the same level line so the toy rolls straight.
Axle fit and retention
- Cut the axle material slightly longer than the body width.
- Test the wheel hole on the axle before final assembly.
- Insert the axle through the body and check for smooth rotation.
- Keep the axle from sliding out with a small glued stop, a tight cap, or a shallow groove that does not pinch the wheel.
- Spin each wheel after retention to confirm there is no drag.
A common first-timer mistake is to glue the wheel itself in place. That stops the car from rolling. Glue only the axle stop or retention point, and keep the wheel face clear.
How do you finish a wooden toy car safely?
Finish the car only after all cutting and axle fitting is complete. Use sandpaper in stages, then choose a non-toxic paint or wood stain labeled for child use. A water-based finish is usually easier to control, and full dry time matters as much as the product itself.
Sanding and finish sequence
- Sand the entire body with 100 grit to remove saw marks.
- Move to 150 grit for edge smoothing.
- Finish with 220 grit for a smoother surface.
- Brush off dust and wipe the body clean before coating.
- Apply paint, stain, varnish, or polish in thin coats.
- Let each coat dry fully before adding the next one.
- Allow full cure time before the toy is handled by a child.
Do not seal the wheel holes until the axles have been test-fitted. If finish builds up inside the hole, the axle will bind. Masking the axle area before coating can save rework later.
Common mistakes and fixes
| Problem | Likely cause | Fix | Next check |
|---|---|---|---|
| Wobble | Axle holes are uneven or the body is wider on one side | Re-mark both hole centers and redrill square to the body | Spin both wheels at the same time |
| Axle drag | Hole is too tight, finish got inside the bore, or the axle is bent | Open the hole by one bit size only, then sand the bore lightly | Recheck free spin after each pass |
| Wheel spin issues | Hub rubs the body, wheel hole is rough, or retention is too tight | Sand the hub face, clean the hole, and loosen the stop point | Spin by hand for 5 seconds |
| Split wood | Hole placed too close to an edge or the bit forced through too fast | Move the hole inward on a new blank and drill slowly | Leave more wood around the axle line |
| Off-center holes | Template shifted or the mark was not squared across the body | Use a ruler and square to transfer the axle line again | Confirm equal distance from both ends |
If your car rolls well on a flat table but pulls to one side on a ramp, the usual cause is uneven axle height, not the finish. Recheck hole position, then compare wheel clearance on both sides before changing the axle material.
If that didn’t work, try this next
- Replace the axle with a straighter rod or dowel.
- Redrill the axle line using a fresh template.
- Reduce wheel diameter if the body sits too low for clearance.
Prevention is simple: drill the first axle hole, then use that mark to mirror the second hole with a ruler and square. That keeps the car tracking straight and saves sanding time later.
Frequently asked questions
What wood is best for a wooden toy car?
Pine is the easiest softwood to cut, maple gives a harder body, and birch has a fine, even texture that works well for clean edges. For beginners, pine is the simplest choice. For a sturdier feel, maple or birch is usually better.
What tools do you need to build a wooden toy car?
A hand saw or coping saw can handle the body, while a drill makes the axle holes. Add sandpaper in 100, 150, and 220 grits, plus a ruler, pencil, and template. A jigsaw or scroll saw makes shaping faster, especially for truck-style bodies.
How do you finish a wooden toy car safely for kids?
Use only a finish labeled non-toxic, then let it dry and cure fully before the toy is handled. Sand the body smooth first, wipe away dust, and apply thin coats. Keep finish out of the axle holes so the wheels keep spinning.
Can you make DIY toys at home with basic tools?
Yes. A simple block car needs only a saw, a drill, sandpaper, and a printed template. The easiest version avoids carved details and decorative parts, which makes it safer for beginners and easier to keep aligned for rolling.
How do you make wooden toy cars and trucks?
Use the same axle spacing and wheel rules, then change the body profile. A car can stay low and simple, while a truck-style build adds a taller cab or cargo section. Keep the wheels large enough to clear the body and maintain free spin.
Sponsored / affiliate links. As an Amazon Associate I earn from qualifying purchases. I may earn additional commission from eligible campaigns.