Wood Ornament Cutouts to Paint: Choose the Right Blank
Choose smooth, unfinished wood ornament cutouts with sealed edges, about 1/8″ to 1/4″ thickness, and a paint method matched to the wood. Poor cutouts bleed paint, chip at the edges, and waste time on sanding and touch-ups. This guide covers choosing shapes and wood, matching paint to the surface, and finishing ornaments cleanly.
Match shapes and lines to your painting skill


Start with the design you want to paint, then match the blank to the amount of detail it can hold. Round blanks are easiest for names and simple scenes. Shaped cutouts work well when the silhouette matters. Paint-by-line ornaments help when you want cleaner edges and less freehand outlining.
For small holiday projects, size matters as much as shape. A 2-1/2 inch round blank is tight for lettering and tiny features, while larger cutouts leave room for borders, faces, or layered paint. If you want to sell sets or make gifts, a blank that hangs well and paints quickly is usually the safer choice.
Round blanks versus shaped cutouts
Round wood ornament blanks give you the most open painting area with the fewest edge surprises. Shaped cutouts already suggest the image, so you spend less time drawing the outline. That helps with snowflakes, trees, stars, and vintage ornament shapes, but it also means you must work around narrow points and curves.
Shaped cutouts are better when the silhouette is the decoration. Round blanks are better when the artwork carries the design. If you want a name, date, or a small scene, the round shape usually gives better spacing and faster cleanup.
When etched lines are worth it
Paint-by-line ornaments are worth buying when you want a guided layout without full freehand drawing. Etched lines give you a place to stop color, add outlines, and place highlights. That is especially useful on busy holiday shapes where a brush can easily run past the edge.
If the design has tiny sections, etched lines also reduce guesswork during the first coat. You still need steady paint control, but you do not need to invent the border yourself. That makes these cutouts a good match for newer crafters and group projects.
Best sizes for names, scenes, and simple designs
Small ornaments around 2.5 inches work best for initials, short names, or simple icons. Mid-size blanks are better for a full name, a date, or a small painted scene. Larger ornaments, including sizes from about 7 inches and up, give enough room for more detailed holiday art, layered borders, and stronger contrast.
Use the blank size as a layout limit. If the text has to stay readable from arm’s length, leave space between letters and keep stroke width simple. Thin script on a tiny blank often turns into a blotch once paint dries.
Wood ornament blanks by material and thickness
Material changes how the ornament accepts paint, how crisp the edges stay, and how much weight the tree branch must hold. Common choices include birch plywood, HDF, MDF, and pine. A thicker blank can feel sturdier, but a very detailed cutout still needs careful paint control no matter how strong the base is.
Birch plywood versus HDF, MDF, and pine
Birch plywood is a common choice for unfinished wood ornament cutouts because it is stable and usually has a smooth face when sanded well. One example blank is made from birch plywood, is unfinished and sanded smooth, and includes a pre-drilled hole near the top edge. It is sold in packs of 10, 25, 100, 500, and 2000.
HDF and MDF are useful when you want a very smooth paint surface and crisp etched details. Build-A-Cross says its unfinished cutouts are made of high quality cabinet grade HDF and hand-sanded smooth to the touch. It also recommends Dixie Belle Chalk Paint for the best coverage and says acrylic paints can also be used on its products. Pine has more visible grain, so it suits rustic looks, stain, or simple paint instead of ultra-fine detail.
1/8-inch and 1/4-inch cutouts
Thickness affects both hanging weight and durability. A 1/8-inch ornament is light and easy to hang, which can help on narrow branches and in bulk craft projects. A 1/4-inch blank feels sturdier and may tolerate handling a little better, but it also adds weight and can look bulkier on delicate designs.
For tree ornaments, a thinner blank is often enough. For gift tags, layered decor, or cutouts that may be handled often, a thicker piece is more forgiving. If the design includes many narrow points, heavier stock can help reduce breakage, but only if the cut lines are clean.
What thickness means for hanging weight and durability
Do not treat a thin ornament like a heavy plaque. A detailed snowflake or star with narrow arms can flex more than a simple round blank, even if both are the same thickness. Hole placement near the top edge helps balance the ornament so it hangs upright.
If you plan to add ribbon, twine, or layered embellishments, account for the extra weight before you choose the blank. A lightweight piece is better for branches and classroom kits. A thicker piece is better when the ornament will be reused or handled often.
What paint works on wood ornaments?
Acrylic paint is the most versatile choice for most wood ornaments because it dries fast and gives good control on small shapes. Chalk paint can work well for rustic finishes and stronger coverage on HDF and MDF. Markers, stain, vinyl, and decoupage all make sense in specific projects, but each changes the finish process.
Acrylic paint for solid coverage
Acrylic paint is a practical default for Wood Ornament Cutouts to Paint because it handles fine edges better than many thick craft coatings. It works well on birch plywood, HDF, and MDF when the surface is sanded and dust-free. Thin coats reduce ridges and keep tiny details readable.
For small ornaments, choose a brush that matches the area. A fine round brush helps with outline work, while a flat or sponge applicator can lay down a basecoat more evenly. Fast dry time is useful, but it also means you need to work in smaller sections to avoid visible lap marks.
Chalk paint for rustic finishes
Chalk paint is a good fit when you want soft coverage, muted texture, or a weathered look. On HDF and MDF, it can cover well with fewer coats than some thinner paints. That is one reason many crafters use it on larger holiday shapes and paint-by-line pieces.
It is less ideal when the ornament needs ultra-crisp detail. Thick chalk paint can fill etched lines or blur fine edge work if you load the brush too heavily. Use it when texture is part of the design, not when every line has to stay sharp.
When markers, stain, vinyl, or decoupage make sense
Markers are useful for names, thin outlines, and small lettering on smooth blanks. Stain works best on pine or on projects where the wood grain should stay visible. Vinyl can help with crisp labels or repeating text. Decoupage makes sense when you want patterned paper, photo pieces, or layered holiday motifs.
These methods are not replacements for careful prep. Smooth sanding, dust removal, and a clean surface still matter. If the blank is rough or fuzzy, thin lettering and applied film materials are more likely to fail at the edges.
Ornament prep before painting
Good prep keeps the first coat from failing at the edges. Check that the ornament is sanded smooth, inspect the hole placement, and clear away dust before paint touches the surface. If you skip prep, you usually lose time later to touch-ups, fuzz, and uneven coverage.
Check the sanded finish
A sanded smooth finish is the first sign that the blank is ready. Run a fingertip across the face and around the edges. If the grain feels rough or the edge catches, add more sanding before painting. Small imperfections are easier to fix now than after the basecoat dries.
The edge profile matters too. A soft edge is easier to paint than a sharp, splinter-prone one. On tiny ornaments, even a slight burr can catch a brush and drag paint over the line.
Clean dust and loose fibers
Remove sanding dust before painting, especially on MDF and HDF where fine particles can cling to the surface. A dry cloth, soft brush, or gentle wipe is usually enough. If loose fibers remain, they can rise into the paint and make the finish rough.
Picture a 2.5-inch round blank with a name across the middle. If dust stays in the grain, the first coat may look cloudy and the letters can feather at the edges. A clean surface gives you cleaner lines with less paint.
Inspect hole placement for hanging
The hanging hole should sit where the ornament will balance naturally. A hole near the top edge helps keep the ornament upright on ribbon or twine. If the hole sits too close to a thin point or too far off-center, the ornament may swing crooked or tilt forward.
Check that the opening is large enough for the hanger you plan to use. A 3/16-inch pre-drilled hole works for many ribbon and twine setups, but thicker cord may need a different finish choice or a slightly wider opening.
Wood ornament decision table
This table compares the three most common buying choices so you can match the blank to the painting job. Use it before you order, especially if you are making sets for gifts, a class, or a holiday sale.
| Option | Paintability | Detail level | Hanging weight | Beginner-friendliness | Best use case |
|---|---|---|---|---|---|
| Round blanks | Very good for open areas and text | Low to medium | Usually light, especially at 1/8 inch | High | Names, initials, simple icons, quick gifts |
| Shaped cutouts | Good, but edges need more control | Medium | Light to medium, depending on size and thickness | Medium | Snowflakes, stars, trees, seasonal silhouettes |
| Paint-by-line ornaments | Very good for guided fills | Medium to high | Light to medium | High | Detailed designs, group projects, faster clean results |
How do you avoid bleed, pooling, and chips?
Use thin paint, small brushes, and short strokes on detailed ornaments. Bleed usually comes from overloading the brush, pooling shows up in recessed spots, and chips appear when the edge is rough or the coating is too thick. Good prep and a lighter hand solve most of those problems.
Keep paint thin on small details
Thin coats stay inside etched lines and around narrow edges better than heavy ones. If paint starts to puddle, wipe the brush before it touches the ornament. Two light coats are usually safer than one thick coat, especially on pine grain or on small HDF cutouts with fine detail.
Say your shaped snowflake has tiny open spaces between arms. A loaded brush can bridge those gaps and dry in a lump. A smaller brush and less paint keep the negative space open and the design readable.
Control edges on birch, HDF, and MDF
Birch plywood usually handles paint well when the surface is clean and smooth, but the exposed edge grain can still drink up color. HDF and MDF give a flatter face, yet they can still swell or fuzz if they are overworked with too much moisture. Light coats help all three.
Keep a dry brush nearby to lift excess paint from corners before it starts to level out. On paint-by-line cutouts, paint to the line slowly rather than trying to fill the entire section in one pass.
Fix common finish problems before the ornament dries
If paint pools in a corner, pull the excess toward the center with the tip of a clean brush. If a stroke looks streaky, let it dry and add a second light coat instead of scrubbing over it. If the edge chips, sand the damaged spot lightly before recoating.
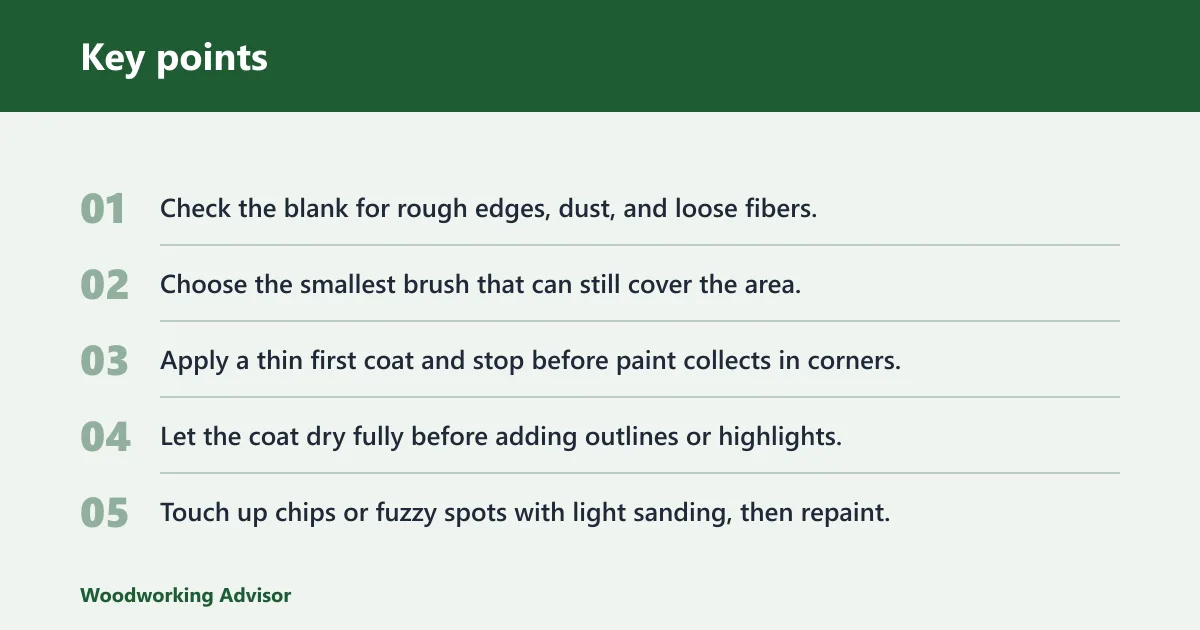
- Check the blank for rough edges, dust, and loose fibers.
- Choose the smallest brush that can still cover the area.
- Apply a thin first coat and stop before paint collects in corners.
- Let the coat dry fully before adding outlines or highlights.
- Touch up chips or fuzzy spots with light sanding, then repaint.
A common first-timer mistake is using a thick brush load on a 2-1/2 inch ornament with tight lettering. The letters blur, the edges swell, and the second coat only makes the shape look heavier. A thinner coat and a steadier outline solve more than extra paint ever will.
Paint-by-line ornament workflow
Paint-by-line cutouts are designed to make the process more controlled. The etched guide lines give you a border, so you can place color first and detail second. That setup is especially useful when you want faster results without giving up clean edges.
Basecoat within the lines
Start with a thin basecoat inside each etched section. Keep the brush just wet enough to move smoothly, not enough to flood the line. If the section is narrow, use short strokes from one edge toward the center instead of sweeping across the whole shape at once.
Outline and highlight steps
After the basecoat dries, use a fine brush or marker to reinforce the outlines if needed. Then add highlights only where the design needs depth, such as a snowflake branch, a hat brim, or a simple face detail. The goal is clarity, not heavy layering.
Build-A-Cross offers a paint-by-line option with etched lines for easier painting, which is useful when the final ornament needs neat detail without a long setup time. That format can be a strong choice for classes, gifts, and batch projects.
Holiday ornament craft supplies
Useful extras are simple: twine hangers, string or ribbon, brushes, and sponge applicators. Bulk availability matters if you are making ornaments for a class, a fundraiser, or a stack of family gifts. The supply list should match the number of blanks, not just the final look.
Single-piece blanks work well for one-off gifts or custom name tags. Bulk packs make more sense when you need consistent size and repeatable painting steps. That is why a 10-pack or 25-pack can be enough for small groups, while 100 or more is better for larger holiday orders.
One small ornament project can still scale well. The Crazy Craft Lady snowflake set was made in 30 minutes total, yielded 8 ornaments, and was estimated to cost $2. That kind of project works best when the blanks are simple, the paint steps are short, and the design does not require long drying gaps.
Frequently asked questions
How do you paint wooden Christmas ornaments?
Start with a sanded, dust-free blank, then apply a thin basecoat and let it dry before adding details. Use a small brush for edges and lettering. If the ornament has etched lines, fill the sections first and finish with outlines or highlights once the base layer is dry.
What paint is best for wood ornaments to paint?
Acrylic paint is the most versatile choice for most wood ornaments because it dries quickly and gives you good control over small details. Chalk paint is a better fit for rustic looks and strong coverage on HDF or MDF. The best choice depends on the wood and the design.
What size wood cutouts are easiest to paint?
Mid-size cutouts are usually the easiest because they leave enough room for details without becoming hard to handle. Very small ornaments can make lettering and outlines crowded. Very large pieces are easier to paint, but they need more time and more paint, which matters for sets.
Do unfinished wood ornaments need prep before painting?
Yes. Even unfinished ornaments should be checked for a smooth surface, clean edges, and dust before you paint. Wipe away residue, inspect the hole placement, and sand rough spots if needed. Good prep reduces bleed, rough texture, and chipping along the edge.
Should you buy round blanks or shaped cutouts for painting?
Choose round blanks if you want the most open space for names, dates, or simple art. Choose shaped cutouts if the silhouette is part of the design, such as a tree, star, or snowflake. For guided painting and cleaner detail, paint-by-line versions can be easier.
How do you keep paint from pooling in small ornament details?
Use less paint on the brush, work in short strokes, and stop before the section looks glossy with excess coating. Thin coats are safer than one heavy coat. If paint gathers in a corner, lift the extra with a clean brush before it dries.
Sponsored / affiliate links. As an Amazon Associate I earn from qualifying purchases. I may earn additional commission from eligible campaigns.