Wood Block Gnomes DIY: Cut List and Build Steps
Wood block gnomes DIY starts with one simple rule: use a block about 1.5 to 2 times taller than it is wide, then size the hat to cover about two-thirds of the top. If the block is undersized or poorly sanded, the gnome looks awkward and the paint edges chip fast. This guide covers sizing, cutting, sanding, painting, and finishing wood block gnomes for shelf sitters, gift sets, and larger Christmas displays.
What you’ll need


- 2×4 board or scrap wood block for the body
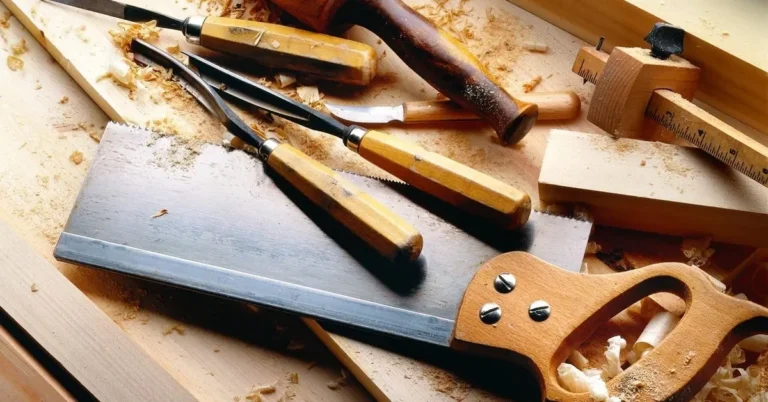
- Saw: chop-saw, hand saw, skill saw, or jig saw
- Sanding block, 120-grit and 220-grit sandpaper
- Craft paint or chalk mineral paint in two body colors
- Faux fur or Mongolian fur for the beard
- Wood bead or wood ball knob for the nose
- Hot glue gun and glue sticks
- Craft felt for cone hats, if you want a Nordic-style look
- Optional: clay nose, stain, sealer, ribbon, or small trim pieces
Wood block gnome sizing guide
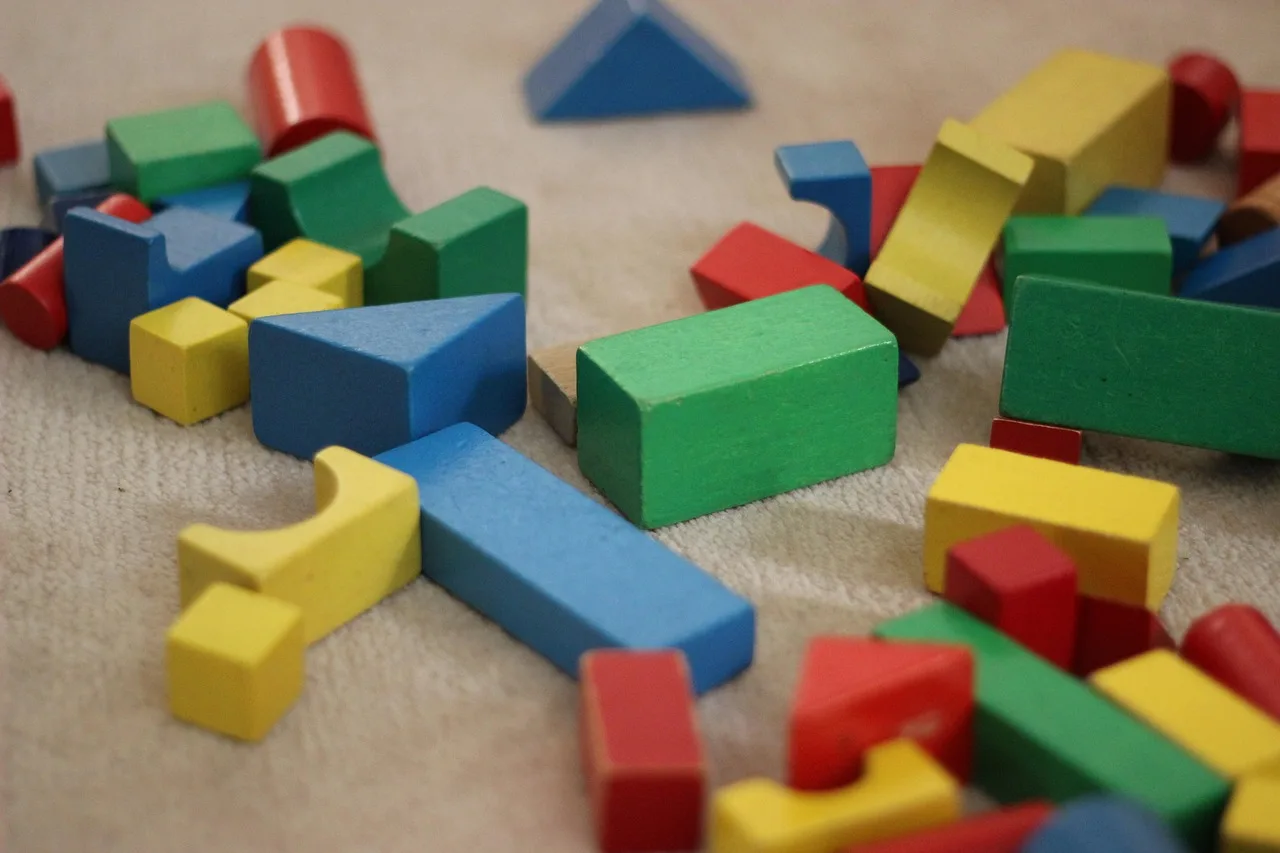
Good proportions matter more than exact board size. A block that is too short reads squat, while one that is too wide needs a larger beard and nose to stay balanced. Start with the body, then scale the hat, beard, and nose from that silhouette.
Mini, mantel, and large size targets
Use a smaller block for gift sets and tiered trays, a mid-size block for mantel decor, and a larger block for porch or entry display. One tutorial cuts the wood into one 8-inch, one 12-inch, and one 16-inch section, which gives a simple three-size system without changing the build method. Another tutorial starts with a 2X4 board cut to 12 inches long and ends with a body about 10 inches.
Cut-planning table for three versions
| Size | Starting wood length | Angle layout | Finished height target | Recommended nose size | Beard width | Paint section proportions |
|---|---|---|---|---|---|---|
| Mini | 6 to 8 inches | 15-degree cut from center on both sides | About 5 to 6 inches | 3/8 to 1/2 inch wood bead | About 1/2 of body width | Body 1/3, hat 2/3 |
| Mantel | 12 inches | 15-degree cut from center on both sides | About 9 to 10 inches | 1/2 to 3/4 inch wood bead | About 2/3 of body width | Body 1/3, hat 2/3 |
| Large | 16 inches | 15-degree cut from center on both sides | About 12 to 13 inches | 3/4 to 1 inch wood bead or knob | About 3/4 of body width | Body 1/3, hat 2/3 |
How to scale the nose and beard
Keep the nose proportionate to the body width, not the hat size. A bead that is too large pulls the face forward and hides the beard line. Faux fur should cover the lower front of the block without wrapping far onto the sides, or the triangle shape gets lost.
- Choose your body blank and mark the top, bottom, and centerline.
- Lay out the triangle with matching 15-degree angle cuts from the center to both outer edges.
- Cut the body, then sand the cut edges with a sanding block.
- Paint the body and hat sections in two contrasting colors.
- Let the paint dry fully before any glue goes on the block.
- Cut the beard from the backing side of the faux fur.
- Glue the beard, nose, and hat in place with hot glue.
- Add trim, distressing, or sealer only after the assembly is stable.
How do you cut the triangle body?
Mark the centerline first, because the triangle depends on symmetry more than speed. Use the same 15-degree angle cut from the center on both sides, then check that both edges mirror each other before you move on. A lopsided body is hard to hide with paint.
Mark the centerline first
Draw a line down the middle of the board face and mark where the beard begins and where the hat starts. If you are starting from a 2×4 board, sand it before marking so splinters do not skew the pencil line. A clean face gives cleaner layout lines.
Make matching 15-degree cuts
One tutorial uses a 15-degree angle cut from the center of the wood to the edge, repeated on both sides. That method works with a chop-saw, hand saw, skill saw, or jig saw. The best choice for a beginner is the tool that can hold the angle consistently without wandering.
Clean up the cut edges
After cutting, smooth the shoulders and points with a sanding block. Extra sanding helps if the blade left rough fibers or if you plan to distress the finish later. If the block starts as rough construction lumber, a quick sanding pass also helps paint adhere evenly.
How do you paint and finish the gnome?
Paint the body in clear blocks, then let the finish dry fully before assembly. Craft paint or chalk mineral paint both work, and the color choice can be simple or bold; one competitor notes that the top color and bottom color can be any colors you want. The cleanest result comes from dry, sanded wood and thin coats.
Sand before paint
Use a sanding block before painting to remove saw marks and soften sharp corners. On rough lumber, start with a coarser grit, then move to a finer grit before paint. That sequence reduces fuzz and helps keep the paint line crisp where the hat meets the beard.
Block in the body and hat colors
One tutorial divides the gnome body into thirds for painting. That ratio gives a reliable face area, beard zone, and hat section, even when you scale the overall size. Cotton, driftwood, and gravel road are common neutral choices, and a distressed finish is optional if you want a farmhouse look.
Dry fully before assembly
Let paint dry fully before hot glue touches the block. If you glue onto damp paint, the bond can fail or pull color off the face. A common first-timer mistake is rushing the build after the topcoat feels dry to the touch but still soft under pressure.
Optional distressing and sealing
Lightly sand the paint edges if you want a worn finish. Stop before you cut through the whole section, or the colors will look blotchy rather than worn. A clear sealer is useful if the gnome will be handled often or set near an entryway.
How do you add the beard, nose, and hat?
Use hot glue for the beard, nose, hat, and any trim because it grips quickly and holds the parts while the shape is still easy to adjust. Cut faux fur from the backing side so the fibers stay long and clean at the face edge. Keep the nose centered above the beard line.
Cut faux fur from the backing side
Flip the fur over and cut only the backing. That protects the pile and gives a cleaner beard edge. Mongolian fur reads softer than short faux fur, but the texture should match the scale of the body so a mini gnome does not look overbuilt.
Place and hide the nose hole
Use a wood bead or wood ball knob for the nose, and position the hole so it faces down or toward the beard where possible. If the hole is visible, cover it with the beard edge or rotate the bead before glue sets. Clay or other round pieces work when a bead size does not fit the scale.
Glue on hat and trim with hot glue
Attach the hat after the beard and nose are fixed. For Nordic-style versions, craft felt works well in red, charcoal, or white, and a hem allowance helps if the fabric frays. Shape the cone before gluing so the hat lands straight instead of leaning to one side.
Common mistakes
Most failures come from layout, not decoration. If the triangle is off, every later part looks wrong. If the base is too light or too narrow, the gnome tips. If the beard is too high or too wide, the face disappears under the fur.
Off-center hats
Check the centerline before you glue the hat. If the hat is drifting, trim the base of the felt cone or shift the glue point by a few millimeters, then recheck from the front. Suppose a mantel gnome looks tilted even though the body is square; the hat is often placed off the centerline rather than the body being wrong.
Uneven triangle cuts
If one side of the triangle is steeper than the other, recut both sides to the same angle rather than trying to patch the difference with paint. A common first-timer mistake is changing the saw angle midway through the build. Keep the 15-degree setup consistent for every block in a gift set.
Tipping and unstable bases
Keep the bottom flat and wide enough for the height. Large versions need more weight at the base, especially if the hat is heavy or the beard hangs forward. If the gnome rocks, sand the bottom until it sits level, then add a wider base block if needed.
Beard placement and paint adhesion
Glue the beard low enough that it supports the nose, but not so low that the body vanishes. If paint lifts during gluing, the surface likely needed more drying time or a finer sanding pass. A brief pause between coats helps more than adding thicker paint.
Wood block gnome cut table

This table turns the build into a repeatable system. It pairs starting length, angle layout, finished height target, and decoration scale so you can size a mini, mantel, or large gnome without guessing. Keep the proportions consistent, then adjust colors and trim to suit the season.
| Version | Starting wood length | Angle layout | Finished height target | Recommended nose size | Beard width | Paint section proportions | Troubleshooting note |
|---|---|---|---|---|---|---|---|
| Mini | 6 to 8 inches | 15 degrees from center on both sides | About 5 to 6 inches | 3/8 to 1/2 inch bead | About 1/2 body width | 1/3 body, 2/3 hat | Use a lighter nose so the block stays balanced. |
| Mantel | 12 inches | 15 degrees from center on both sides | About 9 to 10 inches | 1/2 to 3/4 inch bead | About 2/3 body width | 1/3 body, 2/3 hat | Watch the hat centerline; mantel height makes tilt obvious. |
| Large | 16 inches | 15 degrees from center on both sides | About 12 to 13 inches | 3/4 to 1 inch bead or knob | About 3/4 body width | 1/3 body, 2/3 hat | Widen the base if the felt hat adds top weight. |
Material lengths and angle layout
A 2×4 board can be cut into 8-inch, 12-inch, and 16-inch sections in one tutorial, while another version uses a 12-inch board and ends with a body about 10 inches. If you do not have a saw, ask for the cuts at the lumber yard and finish the shaping with sanding and paint at home.
Finished height and paint proportions
Keep the paint split close to one-third body and two-thirds hat. That ratio works because it leaves enough space for the beard and nose while still making room for the cone or cap. For kid-safe versions, replace loose glass or metal parts with painted wood or clay and keep the finish matte.
Troubleshooting notes for each size
Mini gnomes are sensitive to overlarge beads. Mantel gnomes show crooked hats quickly. Large versions need the most attention to base stability and fur scale. If you are making gift sets, cut all bodies before painting so the pairings stay even and the colors repeat cleanly.
Frequently asked questions
How do you make wood block gnomes DIY?
Cut a 2×4 board or scrap block to size, shape the top with matching 15-degree cuts, sand the edges, paint two color blocks, then glue on faux fur and a nose. The cleanest build starts with dry wood, a centered layout, and a hat that covers about two-thirds of the top.
What size wood block do I need for a gnome?
A block about 1.5 to 2 times taller than it is wide gives the easiest proportions. Common starting points are 8 inches, 12 inches, and 16 inches, depending on whether you want a mini, mantel, or large display piece. Scale the nose and beard to match the body width.
What can I use for the beard and nose on a wood gnome?
Faux fur or Mongolian fur works for the beard, and a wood bead or wood ball knob works for the nose. If the bead hole shows, rotate it toward the beard or hide it with the glue line. Clay and other round pieces are useful when bead sizes do not match the scale.
How do you cut the triangle shape for a wooden gnome?
Mark the centerline, then cut matching 15-degree angles from the center to the edge on both sides. A chop-saw gives the easiest repeatability, while a hand saw needs careful marking. Sand the cut edges after cutting so the triangle reads cleanly when painted.
Can I make wood block gnomes without a saw?
Yes, if you buy pre-cut triangle wood blocks or have the lumber cut before you leave the store. You can also use a pre-cut block such as a 6×9-inch or 6×4-inch piece and focus on sanding, painting, and assembly at home. The shape should still be checked for symmetry before decorating.
What paint colors work best for wood block gnomes?
Craft paint and chalk mineral paint both work well. Cotton, driftwood, gravel road, red, charcoal, and white are common choices, and the top color and bottom color can be any colors you want. Use contrasting sections so the hat, beard, and body stay readable from a distance.
How much does a wood block gnome cost to make?
One competitor says the project can cost less than $3 each, but the total depends on what you already have. A wood bead is usually cheaper than a specialty knob, while faux fur and felt add more cost if you buy them in small pieces. Scrap wood keeps the price down most effectively.
How do you keep a wood block gnome from tipping over?
Keep the bottom flat, use a wider base for larger versions, and avoid oversized top pieces. If the gnome rocks, sand the bottom until it sits level and reduce the hat weight if needed. Heavy enough to sit on a mantel is useful only when the center of gravity stays low.
What is the easiest way to make a Christmas gnome from wood?
The simplest path is a pre-cut block, two paint colors, a faux-fur beard, and a wood bead nose. Skip extra trim, keep the hat felt or painted wood, and use hot glue for assembly. That approach stays close to the repeatable sizing system and works well for Christmas mantle or shelf decor or gift sets.
Sponsored / affiliate links. As an Amazon Associate I earn from qualifying purchases. I may earn additional commission from eligible campaigns.