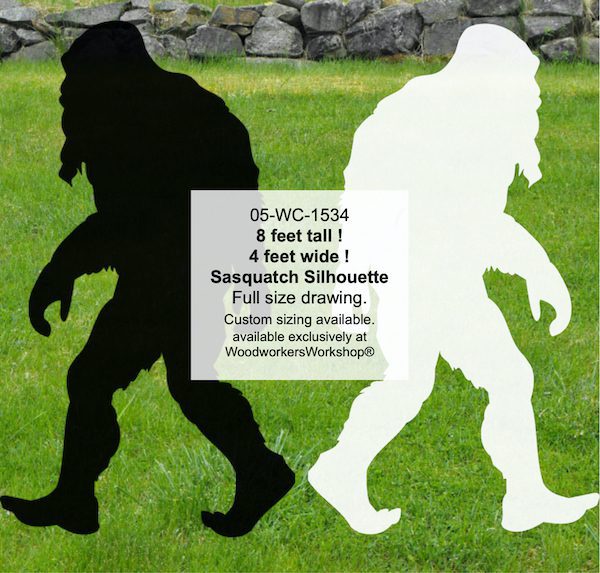
Free Plywood Cutout Patterns: Where to Find Real Templates
The problem with most “free plywood cutout patterns” round-ups isn’t that patterns don’t exist — it’s that they never tell you where the real ones are, or how to get a design off a sheet of paper and onto a full sheet of plywood at the right size.
Below you’ll find genuine free pattern sources (not just “check Pinterest”), the grid method professional pattern-makers use to enlarge a small drawing to full size, and a look at how much you can actually fit on one 4×8 sheet before you buy a second one. One detail worth knowing up front: a full 4×8 sheet of plywood is large enough to cut a 72-inch-tall nativity scene split across three overlapping panels — that’s the kind of sizing math most guides skip entirely.
Whether you’re cutting a single animal silhouette or planning a whole yard-art display, this covers picking the right tool, tracing and enlarging a pattern accurately, and finishing the cutout so it survives outdoors.
Benefits Of Plywood Cutout Patterns
Plywood cutout patterns are easy to use and make projects simple even for a first attempt. They’re also cost-effective — a pattern costs nothing or a few dollars, and one sheet of plywood typically runs $30–$60 depending on grade, far less than buying a pre-made yard-art piece. Kids and adults alike enjoy the creative freedom of custom shapes, and because plywood cutouts are durable when sealed properly, a well-made piece can last several outdoor seasons before it needs repainting.
Where To Actually Find Free Patterns
“Search craft blogs” isn’t a real answer, so here are sources that actually publish downloadable plywood cutout patterns at no cost:
- FreeWW.com — a long-running library of genuinely free yard-art patterns, including Christmas, nativity, and animal designs sized for standard plywood sheets.
- WoodworkersWorkshop.com — mixes free and paid patterns; filter by the free section for scroll saw and yard-art templates.
- LifeShouldCostLess.com — publishes a free printable nativity silhouette set designed to be traced onto transparency film or paper, then transferred to plywood.
- Your own library — many branches carry scroll saw and woodcraft pattern books you can trace or photocopy for personal use at no cost.
We’ve already built one out ourselves: our free reindeer scroll saw pattern for beginners is a ready-to-print template with cutting instructions if you want to start with something proven rather than searching from scratch.
If you want a specific character, holiday scene, or a pattern with commercial-use rights, sites like Etsy and The Winfield Collection sell full-size printed patterns — usually $8–$20 — which can be worth it if the free options don’t have the exact design you’re after.
How To Enlarge A Small Pattern To Full Size
This is the step most tutorials skip, and it’s the reason so many people search for “plywood template measurement” — a pattern found online is almost never printed at the size you need it on the wood. The standard method woodworkers use is the grid enlargement technique:
- Draw (or find a version with) a grid over the original pattern, noting what each square represents — for example, “each square = 1 inch.”
- Decide your finished size, then draw a matching grid at the larger scale directly on your plywood or on paper taped together to size. Going from a 1-inch grid to a 4-inch grid multiplies the pattern 4x in each direction.
- Copy the pattern into the larger grid one square at a time, matching where the lines cross each square’s edges rather than trying to eyeball the whole shape at once.
- Connect the points freehand, smoothing curves as you go — a flexible ruler or french curve helps here, but a steady hand works fine for most yard-art shapes.
If freehand enlarging isn’t for you, two shortcuts work well: print the pattern as a tiled PDF (free tools like PosteRazor split one image across multiple letter-size pages you tape together), or take the file to a copy shop — most can enlarge a printed pattern to poster size on their wide-format printer for a few dollars a sheet.
Choosing The Right Tools
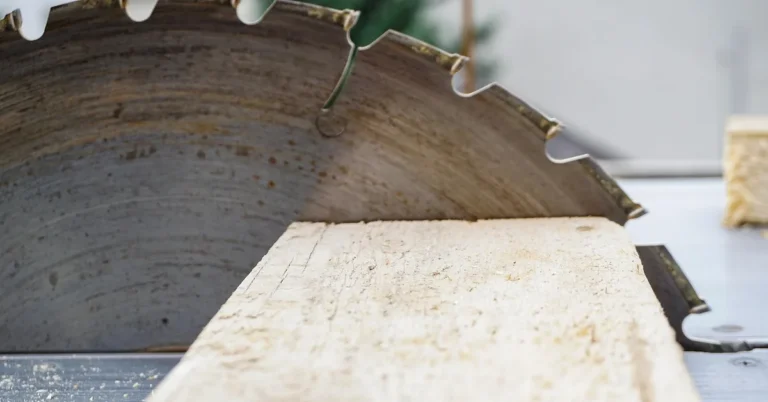
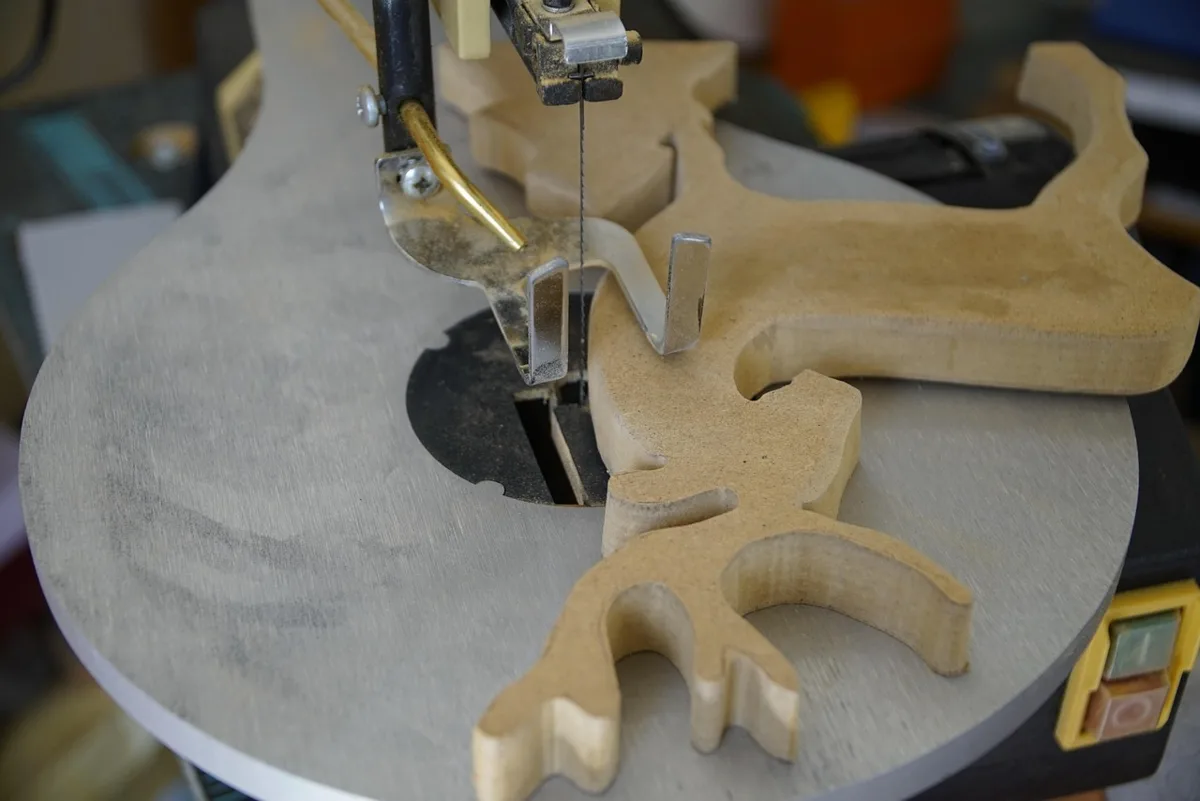
A jigsaw is the right tool for almost every cutout pattern — it handles tight curves that a circular saw can’t follow. For long straight edges (a base or backing board), a circular saw cuts a straighter line faster than a jigsaw can. A coping saw or hand fretsaw works for small indoor pieces where you don’t want power-tool noise. Whatever saw you use, keep the blade sharp — a dull blade drags, burns the wood, and is far more likely to wander off your traced line.
A drill helps start interior cuts (for eyes, negative space, or tight inside corners) by giving the jigsaw blade a hole to drop into. A ruler, pencil, and either carbon paper or graphite transfer paper get the pattern onto the wood accurately. Safety gear is non-negotiable: goggles for sawdust and chips, hearing protection for extended cutting sessions, and a dust mask, since plywood dust (especially from the glue layers) is worse to breathe than solid lumber dust.
Maximizing A 4×8 Sheet Of Plywood
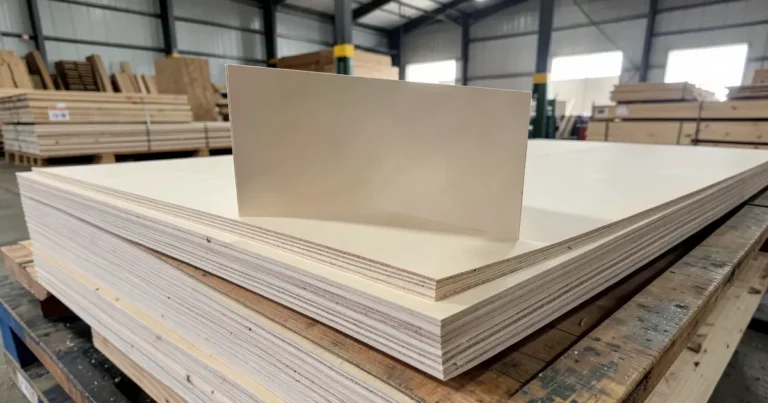
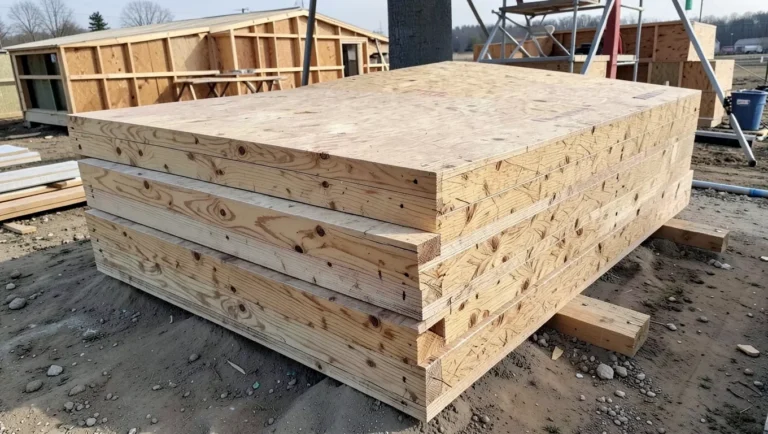
One 4×8 sheet gives you 32 square feet to work with, and how you lay out your patterns before cutting determines whether that’s enough for one project or five. Trace all your pattern pieces onto the sheet before making a single cut — this lets you nest shapes tightly, rotating pieces to tuck a smaller shape into the negative space left by a larger one, the same way a fabric pattern is laid out to minimize waste. Leave roughly a half-inch gap between traced outlines for the saw kerf and to avoid splintering into the neighboring shape.
For a multi-panel scene like a nativity set, most published patterns are already designed around this constraint — a 72-inch-tall, three-piece nativity display is a common size specifically because it’s the largest scene that nests efficiently onto one uncut sheet. If your combined patterns are close to using the whole sheet, cut the largest pieces first; it’s much easier to fit a small shape into leftover scrap than the reverse.
Tools For Cutting Your Own Patterns
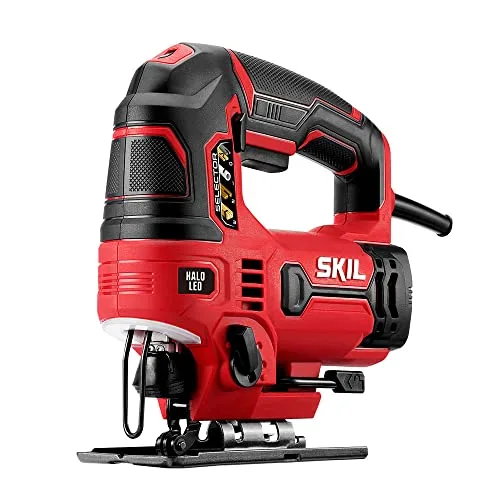
SKIL 6-Amp Corded Jig Saw
Best for: cutting curved cutout patterns of any size
Why we picked it: tool-free blade changes and a variable-speed trigger make it easy to slow down on tight curves without stalling the motor.
Main drawback: corded, so you’re tied to an outlet or extension cord for outdoor yard-art projects.
Check Price on Amazon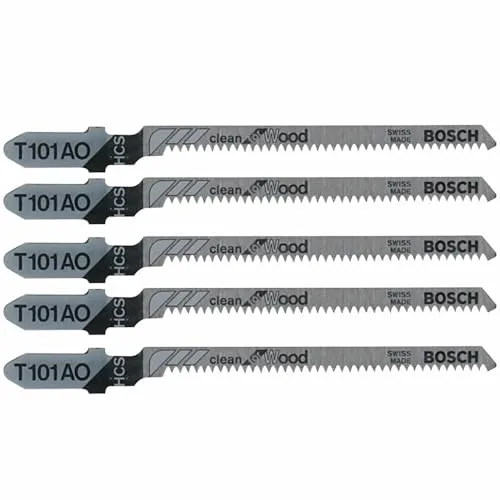
Bosch Clean-Cut Blades
Fine-tooth blades that leave a smoother edge on curves, less sanding after.
Check Price →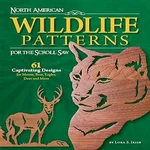
North American Wildlife Pattern Book
61 ready-to-trace wildlife designs if you’d rather buy a book than hunt online.
Check Price →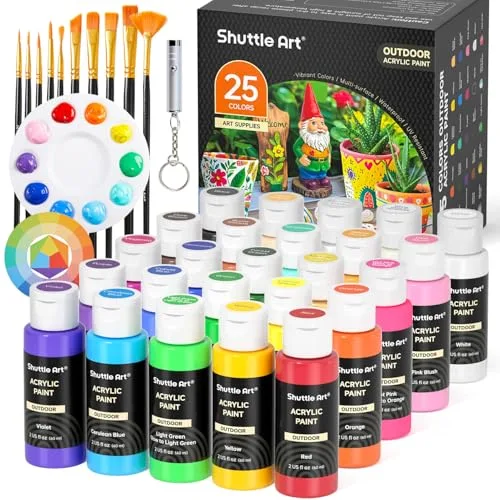
Outdoor Acrylic Paint Set
Waterproof colors sized right for painting cutouts, not a full gallon you won’t finish.
Check Price →Popular Design Ideas
Animal silhouettes are the most-searched category — cats, elephants, birds, and horses all work well as flat cutouts, painted in bright colors or left as a natural-wood silhouette. Geometric patterns (circles, triangles, hexagons arranged in a repeating design) suit modern indoor decor and are the easiest shape family to enlarge accurately, since straight lines and true circles don’t require freehand curve work.
Holiday yard art is the single biggest search category by volume — snowman families, nativity scenes, and Santa figures are the most-requested designs. Rather than duplicate that content here, our dedicated guides go deeper on both: see snowman wood decorations for family-set patterns and painting tips, and wooden outdoor Xmas decorations for the full range of holiday cutout ideas.

Step-By-Step Guide To Creating Patterns
Start by clearing your workspace and gathering your tools — saw, sandpaper, safety gear, and good lighting. Keep the plywood on a sturdy, stable surface; a wobbly cutting surface is one of the most common reasons a cut wanders off-line.
Trace your enlarged pattern onto the plywood using carbon paper or graphite transfer paper, taping it in place so it can’t shift mid-trace. Press firmly but evenly, then peel back a corner to check the lines transferred clearly before removing the paper entirely.
Cut just outside your traced line rather than directly on it — this leaves a small margin you can sand down to the exact line afterward, which is far easier than trying to fix an inside-the-line mistake. Go slowly on curves, let the blade do the work, and check for splinters on the back face before calling the cut finished; plywood tends to splinter on the exit side more than solid wood.
Finishing Touches
Sanding And Smoothing
Start with coarse sandpaper (80–100 grit) to knock down rough edges and splinters, then move to a finer grit (150–220) for a smooth finish. Sanding blocks make it much easier to keep curves even than sanding freehand with a loose sheet.
Painting And Staining
Prime bare plywood before painting — it seals the exposed edge grain, which otherwise soaks up paint unevenly. Apply two thin coats rather than one thick one, letting each dry fully, and finish with an exterior-rated clear sealant if the piece will live outdoors year-round.
Tips For Successful Projects
Dry-fit and lay out every pattern piece on the sheet before cutting anything — it’s much easier to shift a layout on paper than to explain why you’re short a piece of plywood. Measure your pattern against the actual sheet dimensions first, not just the paper size; a pattern designed for a 4×8 sheet won’t necessarily fit a smaller offcut. Cut the biggest pieces first so mistakes on smaller pieces don’t force you to waste large sections of good wood.
Seal any cutout that will live outdoors on both faces and all edges, not just the front — moisture wicking in through an unsealed back or edge is the most common reason yard art delaminates or warps after a season or two.
Showcasing Your Craft
Ground stakes or a simple angled leg brace on the back work best for yard displays, since they hold up to wind better than a flat base. Indoor pieces do well hung with a French cleat or picture hooks, arranged where natural light will show off the painted detail. If you’re proud of the result, photograph it in natural daylight rather than under indoor lighting — colors read much more accurately and it’s worth it if you ever want to sell or share the pattern you used.
Frequently Asked Questions
What Are Free Plywood Cutout Patterns?
Free plywood cutout patterns are downloadable or printable templates — usually a traceable outline — used to cut a specific shape from a sheet of plywood. They’re popular for yard art, holiday decorations, and indoor decor because they let you achieve a precise, repeatable shape without designing it yourself.
How Do I Enlarge A Small Pattern To Full Size For Plywood?
Use the grid method: draw or overlay a small grid on the original pattern, then draw a proportionally larger grid on your plywood or paper, and copy the design one square at a time. Alternatively, print the pattern as a tiled PDF and tape the pages together, or have a copy shop enlarge it on a wide-format printer.
How Many Patterns Can I Fit On One 4×8 Sheet Of Plywood?
A full 4×8 sheet gives you 32 square feet, enough for several small-to-medium cutouts if you trace and nest all your pieces before cutting anything. A large multi-panel scene, like a 72-inch nativity set, is typically sized specifically to use most of one sheet efficiently.
Where To Find Quality Plywood Cutout Patterns?
FreeWW.com, WoodworkersWorkshop.com, and LifeShouldCostLess.com all publish genuinely free templates. For a specific character or licensed design, Etsy and The Winfield Collection sell full-size patterns typically priced $8–$20, which are worth it for designs you can’t find free.
Why Use A Pattern Instead Of Freehand Cutting?
A pattern gives you a consistent, tested shape and reduces wasted material from a freehand mistake. It’s especially useful for symmetrical designs (animals, holiday figures) where an uneven freehand cut is immediately obvious once painted.
Conclusion
Creating with plywood cutout patterns comes down to three things: finding a pattern from a real source, getting it to the correct size on your wood, and cutting patiently with a sharp blade. Start with a single small piece — a reindeer or a simple silhouette — before committing a full sheet to a multi-panel scene.
For a broader look at what else one sheet of plywood can build beyond cutout art, see our guide to one-sheet plywood projects, or browse our full woodworking tools and saws guide if you’re still deciding which saw to buy.
Sponsored / affiliate links. As an Amazon Associate I earn from qualifying purchases. I may earn additional commission from eligible campaigns.