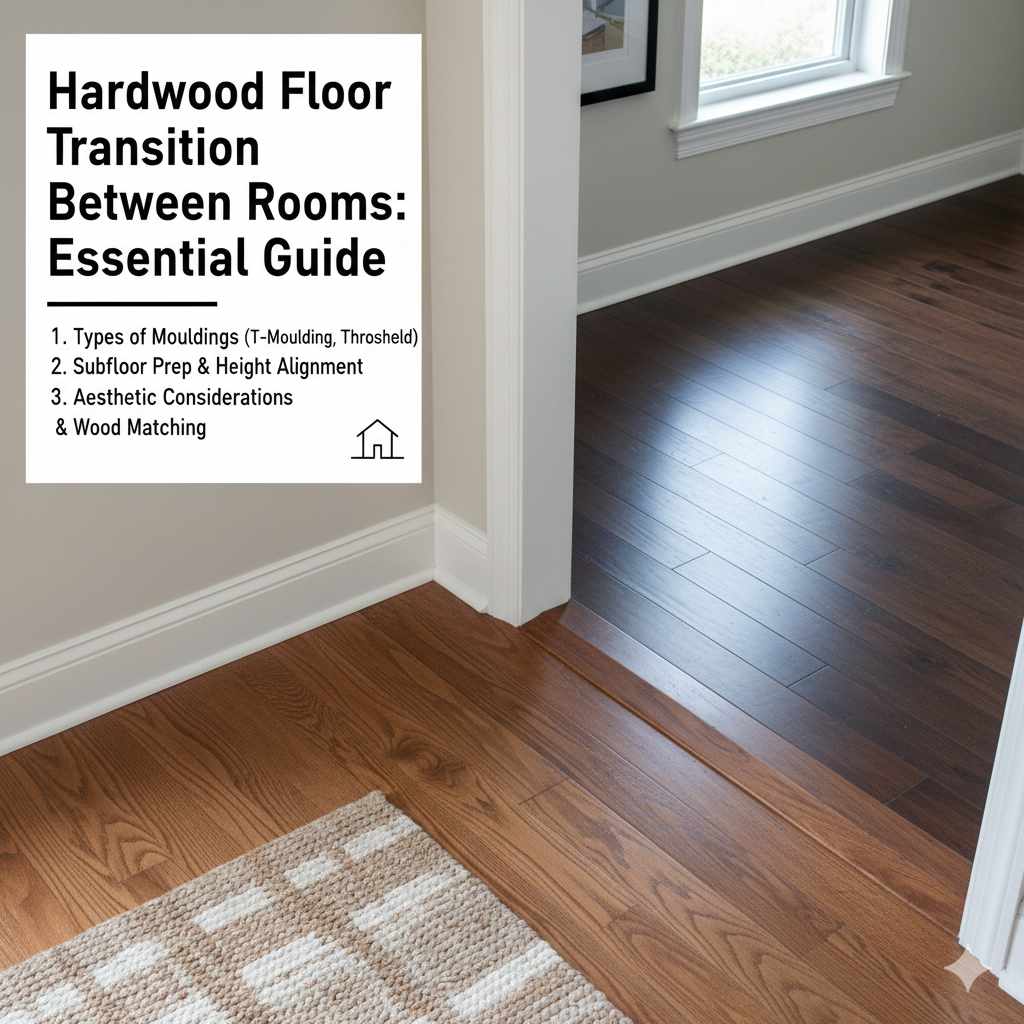
Hardwood Floor Transition Between Rooms: Essential Guide
Creating a smooth hardwood floor transition between rooms involves choosing the right transition strip (like an overlap reducer or T-molding), preparing the subfloor, and securely installing the strip to prevent gaps and tripping hazards. This guide offers simple, safe steps for a professional-looking finish.
Ever walked from your living room into the dining room and felt that little bump underfoot? It’s the transition between hardwood floors, and sometimes, it’s not as smooth as we’d like. A well-executed transition looks beautiful and prevents stubbed toes and accidental trips. It’s a common DIY project that many homeowners tackle, and with the right guidance, you’ll be able to achieve a seamless look that ties your rooms together perfectly. Let’s dive in and make those floor transitions a breeze!
Why Transitions Matter: More Than Just Aesthetics
You might wonder why all the fuss about a little strip of wood or metal. A proper hardwood floor transition between rooms is crucial for several reasons:
- Safety: The most important reason! Transitions prevent abrupt changes in height, creating tripping hazards. A smooth, properly installed transition ensures a safe path between areas.
- Durability: Without a proper transition, the edges of your flooring can become exposed, leading to chipping, splintering, and premature wear. It protects the vulnerable edges of your hardwood.
- Aesthetics: A well-matched transition strip seamlessly blends the adjoining floors, enhancing the overall look of your home. It makes the transition feel intentional and polished.
- Expansion and Contraction: Hardwood floors expand and contract with changes in temperature and humidity. Transitions provide the necessary space for this movement, preventing buckling or gaps.
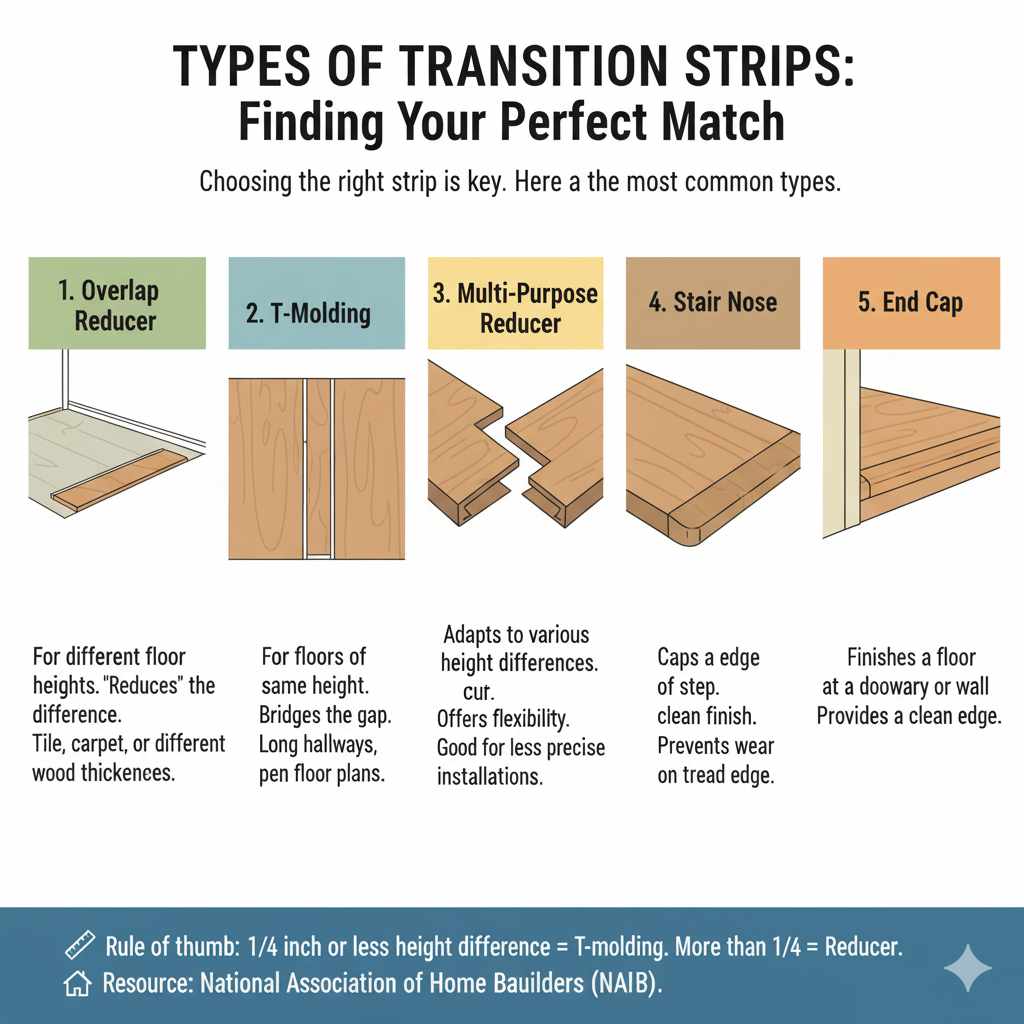
Types of Transition Strips: Finding Your Perfect Match
Choosing the right transition strip is key to a successful project. Different situations call for different solutions. Here are the most common types you’ll encounter:
1. Overlap Reducer (or Reducer Strip)
This is the most common type for transitions where one floor is slightly lower or higher than the other. The reducer strip “reduces” the height difference, creating a gentle slope. They are perfect for transitions between a finished hardwood floor and another flooring material like tile or carpet, or even between two hardwood floors of different thicknesses.
2. T-Molding
A T-molding is used when two floors meet at the same height. It’s shaped like a “T” when viewed from the side and is designed to bridge the gap between two similar floor heights. It’s ideal for long hallways or large open floor plans where different wood plank directions meet.
3. Multi-Purpose Reducer
This versatile strip can adapt to various height differences, offering more flexibility. It often has a design that can be cut or adjusted to accommodate minor gaps, making it a good choice for less precise installations.
4. Stair Nose
While not strictly for room-to-room transitions, stair noses are worth mentioning. They are specifically designed to cap the edge of a step, providing a clean finish and preventing wear on the tread edge.
5. End Cap
An end cap is used to finish a floor at a doorway or where the flooring meets a vertical surface, like a wall or a cabinet. It provides a clean edge where the flooring simply “ends.”
The choice often depends on the height difference between the two floors. A good rule of thumb: if the height difference is 1/4 inch or less, a T-molding might work. If it’s more than 1/4 inch, you’ll likely need a reducer strip. You can find great resources on flooring installation from the National Association of Home Builders (NAHB) that discuss various flooring components and best practices.
Tools and Materials You’ll Need
Gathering your supplies before you start makes the process smoother. Here’s what you’ll likely need:
| Tools | Materials |
|---|---|
| Tape Measure | Transition Strip (chosen based on your floor difference) |
| Pencil | Subfloor Adhesive (if needed) |
| Utility Knife | Screws or Nails (appropriate for your subfloor and transition strip) |
| Saw (Miter Saw recommended for precise cuts) | Wood Filler or Caulk (color-matched) |
| Level | Sandpaper (fine-grit) |
| Pry Bar (if removing old transition) | Cleaning Supplies (broom, dustpan, damp cloth) |
| Safety Glasses | Optional: Wood Stain or Finish |
| Work Gloves |
Safety first! Always wear safety glasses when cutting or hammering, and gloves to protect your hands. A good quality saw, especially a miter saw, will make clean, precise cuts much easier, which is crucial for a professional look. For precise measurements, a good quality tape measure is indispensable.
Step-by-Step Guide: Installing Your Hardwood Floor Transition
Let’s get this done! Follow these steps for a beautiful, secure transition.
Step 1: Prepare the Area
Start by clearing the area around the transition. Move any furniture or rugs that might be in the way. Sweep and vacuum the subfloor thoroughly to remove any debris, dust, or old adhesive. If you’re removing an old transition strip, use a pry bar to carefully lift it. Be gentle to avoid damaging the existing flooring.
Step 2: Measure and Plan Your Transition Strip
Measure the length of the doorway or the area where your two floors meet. Accurately measure the height difference between the two adjoining floors using a level and tape measure. This will confirm the type of transition strip you need. If your transition strip is longer than the doorway, you’ll need to cut it to size. Plan your cuts carefully, always measuring twice and cutting once.
Step 3: Cut the Transition Strip
Using your miter saw (or a handsaw with a miter box for straighter cuts), carefully cut the transition strip to the exact length needed. Ensure the cuts are precise and straight, especially if you need to create custom angles for corners or alcoves. If you’re using a T-molding that needs to meet at a corner, consider angled cuts or consult the manufacturer’s instructions.
Step 4: Fit and Test the Transition’s Placement
Lay the cut transition strip in place. Does it sit flush? Does it smoothly bridge the gap between the two floors without rocking or leaving large gaps underneath? For reducer strips, ensure the slope is gentle and even. For T-moldings, check that it sits snugly and evenly across both floor surfaces.
Step 5: Secure the Subfloor (If Necessary)
Before attaching the transition, ensure the subfloor beneath it is stable. If there are any loose squeaks or areas that feel soft, address them first. You might need to add a few screws to secure loose subfloor panels. For specific flooring types, like laminate or engineered wood, it’s important to consult the manufacturer’s installation guide, as some require a specific type of fastening, often with adhesive or a specific track system that the transition piece clicks into.
Step 6: Install the Transition Strip
This is where you’ll secure your transition strip. The method depends on the type of strip and your subfloor:
- Nails/Screws: For many wood transition strips, you’ll use finishing nails or screws. Start at one end and carefully hammer or screw the strip into the subfloor, spacing fasteners about 8-12 inches apart. Be careful not to over-drive the fasteners, which can split the wood. If using screws, pre-drilling pilot holes can prevent splitting. Many installers prefer to use specialized flooring nails or screws that are less visible.
- Adhesive: Some transitions, especially those for floating floors, might be attached with a strong subfloor adhesive. Apply a bead of adhesive to the subfloor where the transition will sit, then press the strip firmly into place. You may need to place weights on the strip while the adhesive cures.
- Click-Lock or Track Systems: If your flooring uses a click-lock or track system, the transition strip often comes with a special base or adapter that attaches to the subfloor, and then the visible transition strip snaps or slides into it. Follow the manufacturer’s specific instructions for these systems.
This guide from Tools of the Trade offers excellent tips on fastening techniques that are applicable to many DIY projects.
Step 7: Final Touches and Cleanup
Once the transition strip is securely installed, inspect it. Are there any small gaps at the edges? You can fill these with a color-matched wood filler or a flexible caulk. For a smooth finish, gently sand down any excess filler once it’s dry. Clean up any sawdust or debris. If you stained or finished the transition strip, ensure it’s completely dry before allowing foot traffic.
Common Challenges and How to Overcome Them
Even with the best plans, you might run into a few snags. Here’s how to handle them:
- Uneven Subfloor: If your subfloor has minor dips, you can sometimes build it up with a thin layer of floor leveling compound before installing the transition. For more significant issues, you might need to address the subfloor itself.
- Transition Strip Rocking: This usually means the subfloor isn’t perfectly flat, or the strip itself is warped. Ensure all fasteners are driven in securely, or use shims to stabilize the strip if necessary.
- Gaps Underneath: If the transition strip lifts slightly, it could be that the adjoining floors aren’t perfectly level. For minimal gaps, a flexible caulk can do wonders. For larger gaps, you might need a different type of transition or a more robust installation method.
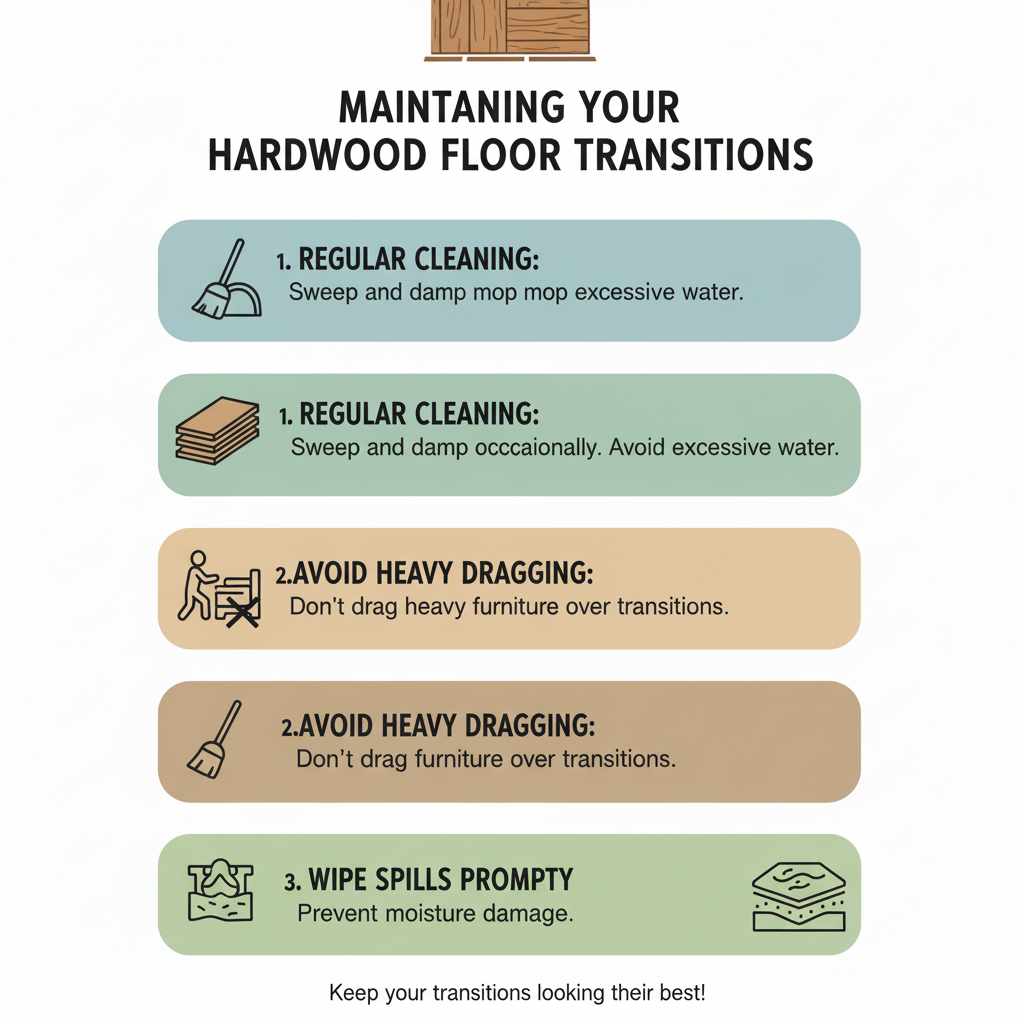
Maintaining Your Transitions
Once installed, your transition strips need a little care to keep them looking their best and functioning properly. Regular sweeping and occasional damp mopping (avoiding excessive water) are usually sufficient. Be mindful not to drag heavy furniture directly over the transition, as this can cause wear or damage.
Frequently Asked Questions (FAQ)
Q1: What is the most common type of hardwood floor transition?
A: The most common is the overlap reducer, used when there’s a height difference between adjoining floors. T-molding is also very popular for transitions where floors are at the same height.
Q2: Can I join two hardwood floors of different thicknesses?
A: Yes, you can. You’ll need an overlap reducer or a multi-purpose reducer strip that can accommodate the height difference. It’s essential to measure the exact difference to choose the right transition piece.
Q3: How do I choose the right color transition strip?
A: Try to match it to the wood you are transitioning FROM or TO. Sometimes, a neutral tone or a color that complements both floors works best. If you’re unsure, look for undertones in your wood and select a transition strip with similar undertones.
Q4: Can I use a T-molding if there’s a small height difference (like 1/8 inch)?
A: In some cases, yes. A T-molding can sometimes bridge a very small height difference, but it’s not ideal. An overlap reducer will provide a safer and more aesthetically pleasing transition. Always prioritize safety and a smooth surface.
Q5: How long should a transition strip be?
A: It should be long enough to cover the entire gap between the two rooms. Measure the width of the doorway or the full length of the transition needed. You’ll then cut the strip to this exact measurement.
Q6: Do I need to glue down hardwood transition strips?
A: It depends on the type of flooring and the transition manufacturer’s recommendations. Floating floors often use adhesive for transitions, while nail-down floors typically use small nails or screws. Always check the product instructions.
Q7: How do I make the transition look professional?
A: Precision is key. Use a miter saw for clean, straight cuts. Ensure the strip sits flush without rocking. Fill any minor gaps with color-matched wood filler or caulk, and sand smooth. A well-chosen and perfectly installed transition strip makes a world of difference.
Conclusion
Creating a seamless hardwood floor transition between rooms is a rewarding DIY project that enhances both the safety and beauty of your home. By understanding the different types of transition strips available, gathering the right tools, and following these straightforward steps, you can confidently tackle this task. Remember to always prioritize safety, measure carefully, and take your time for a polished, professional result. Those smooth transitions will not only look great but also make navigating your home a pleasure for years to come!