Homemade Wood Filler: Easy DIY Recipe for Perfect Repairs
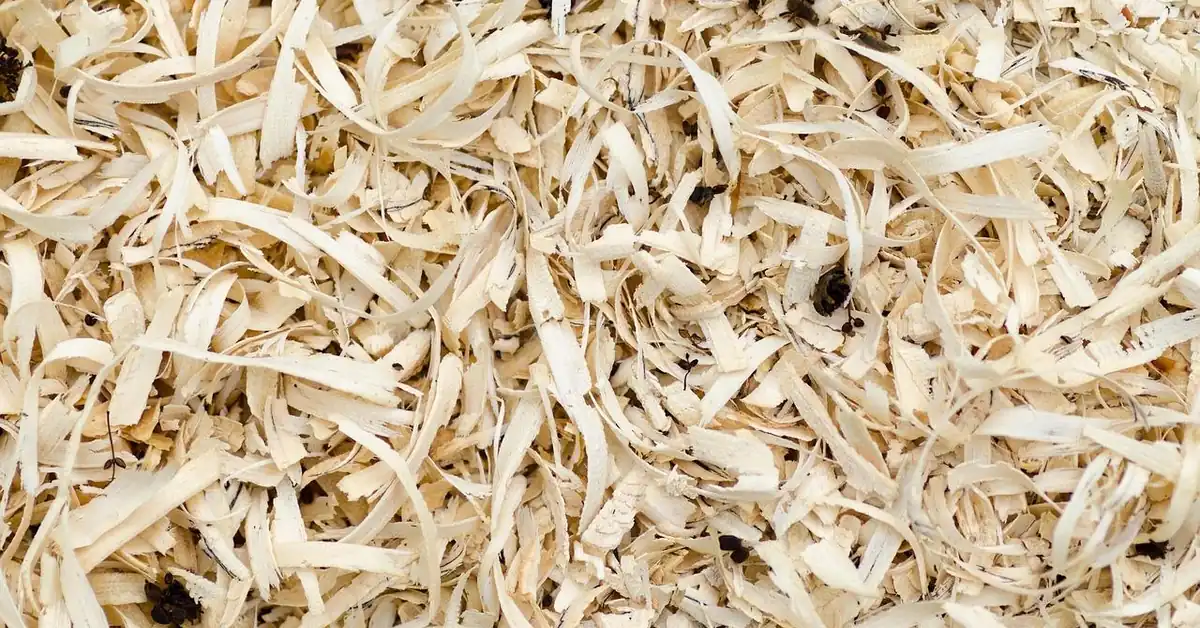
Homemade wood filler is fine sawdust stirred into wood glue until it forms a paste. It works for small cosmetic fills, but it resists stain because the glue seals the dust, which most recipes never mention. This guide gives the recipe, a recipe-by-recipe comparison, the stain fix, and where DIY filler fails.
Homemade Wood Filler: Which Recipe Should You Use?
Best Stain-Friendly Binder Pick
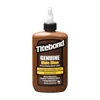 |
Titebond Liquid Hide Glue (8 oz), $8.39 The binder to try when your sawdust filler has to be stained: woodworkers report that hide glue absorbs stain better than yellow or white PVA, which seals the dust. Test it on scrap first, as the stain section below explains.
|
As an Amazon Associate we earn from qualifying purchases.
There is no single best recipe, because each one trades something away. Sawdust and PVA glue is the cheapest and easiest, but it will not take stain well. Hide glue improves that. Epoxy handles bigger gaps, and CA glue with baking soda is the fast fix for tiny chips. If you only want to fill a few nail holes in painted trim, any of them works. If the wood will be stained, read the stain section before you mix anything.
This page is about mixing your own filler. For using store-bought filler, see our guide on how to use wood filler. For deep cracks, the epoxy crack-filling guide covers the full process.
Homemade Wood Filler Recipes Compared
| Recipe | Takes stain? | Shrinks? | Best for | Avoid for |
|---|---|---|---|---|
| Sawdust + yellow or white PVA glue | Poorly, the glue seals the dust | Yes, shrinks as it dries | Nail holes, small dings, painted surfaces | Stained wood, structural repairs |
| Sawdust + liquid hide glue | Better, per woodworker reports | Expect some shrinkage | Small fills under stain or clear finish | Exterior work (interior-use glue) |
| Wood flour + two-part epoxy | No, but the cured epoxy can be tinted | Little compared with glue pastes | Knots, deeper voids, gaps | Fills where exact color match is critical |
| CA glue + baking soda | Not designed for staining, paint it | Minimal, it sets in seconds | Tiny chips, edge repairs | Large masses (heat), unventilated spaces |
The staining and shrinkage entries come from woodworker reports and manufacturer guidance, not our own lab work. We have not run side-by-side stain tests, so treat the table as a starting point and test your own mix.
Sawdust and Glue Filler: The Basic Recipe
There is no magic ratio. One experienced woodworker says it comes down to adding a little more of either material until the consistency is right, and that is honest advice. You want a thick paste that holds its shape on the knife without slumping. If it is too dry it will not bond and will crumble when sanded. If it is too runny it shrinks more and needs another coat.
- Collect fine dust, not chips. Sander dust is ideal. Sift out any coarse bits so the paste is smooth.
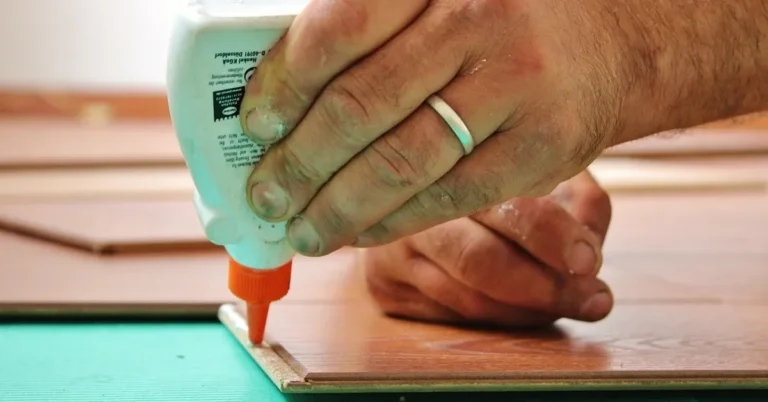
- Squeeze a small puddle of PVA wood glue onto a scrap of cardboard. Mix only what you need, because it starts to skin over.
- Add dust a pinch at a time, stirring with a putty knife, until the paste holds its shape.
- Brush a thin coat of plain glue into the hole first. This helps the patch grip the damaged wood.
- Press the filler in with the knife and leave it slightly proud of the surface, because it shrinks as it dries.
- Let it dry, typically overnight, then sand flush with the grain.
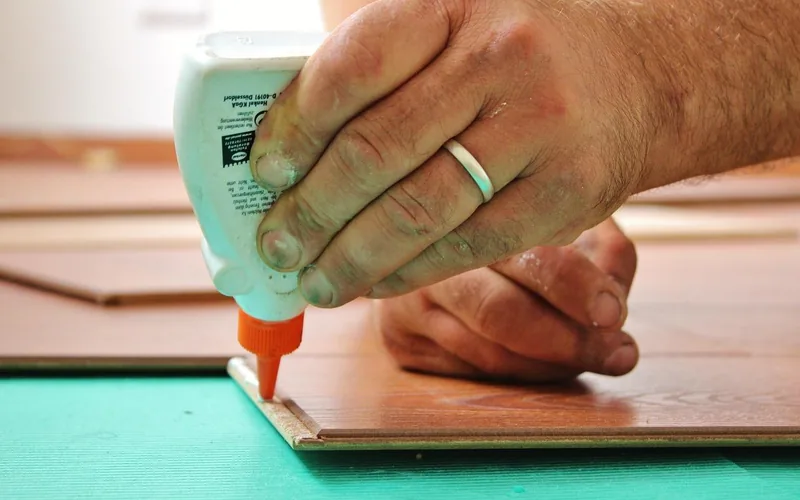
Standard PVA is fine for this job. If you are unsure which glue to buy, our wood glue vs PVA glue guide explains the differences, and sanding is covered in can you sand wood glue once it is dry.
Does Homemade Wood Filler Take Stain? The Myth to Skip
Many DIY guides call sawdust-and-glue filler “stainable” or “color-matched”. Woodworkers who finish for a living disagree. In a Woodworkers Journal Q&A, the answer is that wood fiber mixed with adhesive will not accept stain, because the adhesive effectively seals it, so the patch shows up as a different color. The same source says the trick suits only very dark woods like ebony, where the mismatch hides. White or yellow PVA can also darken the dust on some species.
There are three practical ways around it:
- Finish first, fill second. Contributors to a Fine Woodworking forum thread suggest applying at least one coat of finish before filling. That lets you judge the color and stops stain or oil from bleeding into the patch.
- Use hide glue as the binder. The same thread reports that hide glue takes stain better than other glues. Test a scrap first, since results vary by species and stain.
- Paint instead. If the piece is going to be painted, the stain problem disappears and plain sawdust and PVA is fine.
If the finish is already on and you only need to disguise a scratch or ding, our guide to repairing furniture finish is the better starting point.
Pick the Right Sawdust
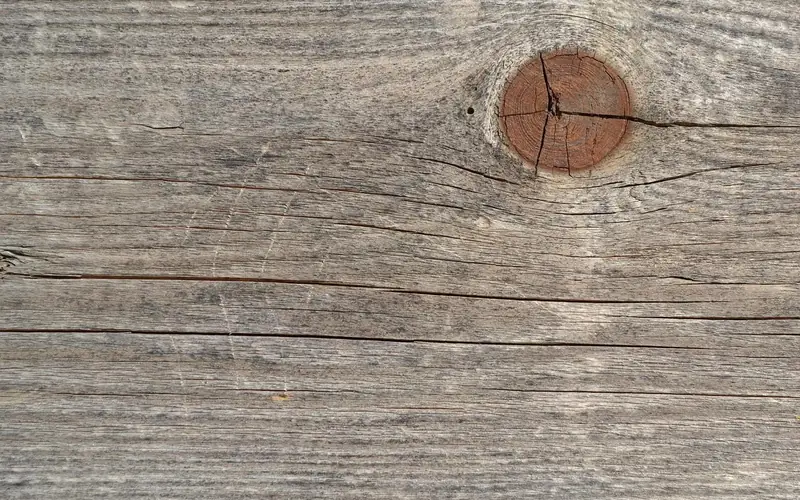
Match the dust to the species you are repairing, and use the finest dust you have. Dust from your orbital sander is far more uniform than table saw or planer chips, so it blends better and sands smoother. Keep a labeled jar of sander dust from projects you finish, so you have the right species on hand later. Avoid dust from MDF or from a different species just because it is convenient, since it will not match.
Epoxy and Wood Flour for Bigger Gaps
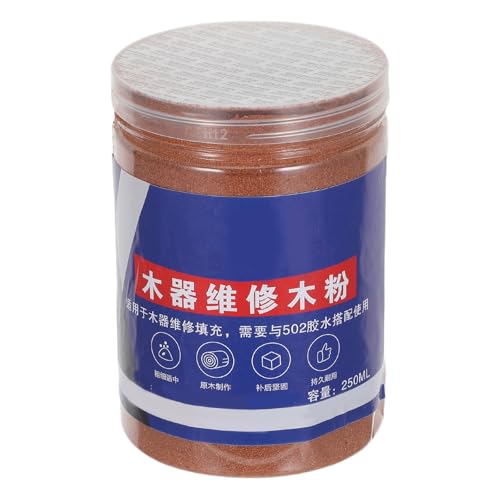
For knots, voids, and gaps that glue paste would shrink out of, thicken two-part epoxy instead. Woodworking forum posters recommend wood flour rather than coarse sawdust and note that it darkens noticeably once wet with epoxy, so test the color on a scrap before committing. A mix that runs off the stir stick slowly is often fine for filling a hole, because the flour soaks up some epoxy and thickens. The West System 405 Filleting Blend uses nutshell flour and other fillers to give a wood tone, and the company recommends it where epoxy will show on wood, per its Epoxyworks filler guide. Mixing ratios are covered in our epoxy mixing ratio chart, and rot is a separate job, see repairing wood rot with epoxy.
CA Glue and Baking Soda: The Fast Fix
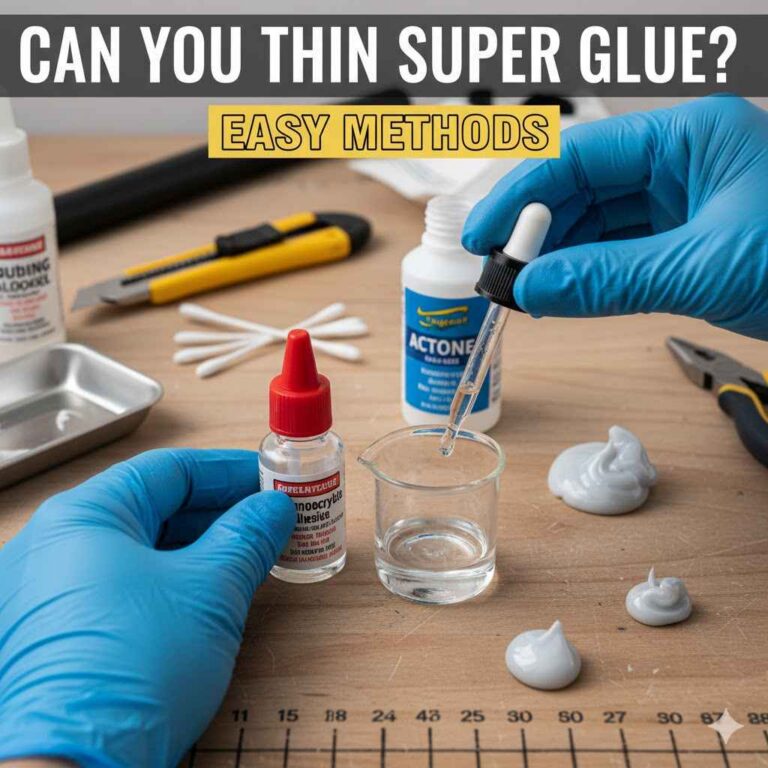
Thin CA (super) glue plus baking soda cures in seconds and leaves a hard plug you can sand, file, drill, and paint, according to Starbond, a CA glue maker. The same guide advises building large gaps in thin layers, glue then baking soda then repeat, because curing a big mass can get hot. Use it for chips and tiny voids, not for filling a large hole in one go. Cyanoacrylate bonds skin quickly and the fumes irritate, so wear gloves and eye protection and work with good ventilation. See wood glue vs CA glue for small repairs for when each makes sense.
Where Homemade Wood Filler Fails
- Structural repairs. One experienced maker explicitly says sawdust-and-glue filler is not recommended for structural repairs. For a split that is still opening, see our guide to repairing split wood.
- Large imperfections. Forum woodworkers note that filling with sawdust does not improve large gaps and defects much, and a big patch is very noticeable after finishing.
- Wood that keeps moving. A rigid paste patch in a board that swells and shrinks with humidity will crack at the edges eventually.
- Exterior and wet spots. We could not find manufacturer support for sawdust paste outdoors, so use epoxy or an exterior-rated filler there. Our Harbor Freight wood filler review covers one budget store-bought option.
Common Mistakes With DIY Wood Filler
- Mixing a big batch that skins over before you use it.
- Packing it flush instead of slightly proud, then finding a dip after it shrinks.
- Using coarse chips instead of fine dust, which sands out rough and pale.
- Staining after filling without testing on scrap, then discovering a light patch.
- Sanding before the filler is fully dry, which drags it out of the hole.
- Using a paste patch where a glue-up or commercial wood filler is the right tool.
Frequently Asked Questions
What can I substitute for wood filler?
For small holes, fine sawdust mixed with wood glue is the usual substitute. Hide glue gives a filler that takes stain better than PVA, two-part epoxy thickened with wood flour suits bigger voids, and CA glue with baking soda sets in seconds for tiny chips. Each has limits on staining, strength, and shrinkage, covered in the table above.
How do I make homemade wood filler?
Collect fine sanding dust from the same species as your project, then stir it into a small puddle of wood glue with a putty knife until the paste holds its shape without running. Press it in slightly proud of the surface, because it shrinks as it dries. Let it dry, usually overnight, then sand flush.
Can you stain homemade wood filler?
Not reliably. Glue-bound sawdust resists stain because the adhesive seals the wood fibers, so the patch usually looks lighter or blotchy. Woodworkers get around this by applying a coat of finish before filling, using hide glue as the binder, or accepting a painted finish. Always test the mix on scrap wood first.
How long does homemade wood filler take to dry?
Sawdust and PVA glue filler generally needs to dry overnight, though a thin fill can be ready sooner and a deep fill takes longer. Do not trust a surface touch alone: press a fingernail into the patch, and if it dents, wait. CA glue and baking soda cures in seconds, and epoxy follows its own cure schedule.
Can you make wood filler without sawdust?
Yes. Epoxy can be thickened with wood flour or a wood-tone filler blend, and CA glue can be built up with baking soda instead of sawdust. Both skip sawdust entirely. Epoxy and CA are stronger than glue-and-dust paste but darker and harder to color-match, so the right choice depends on the repair.
Conclusion
Homemade wood filler is a good answer for small, cosmetic repairs and painted pieces, and a poor one for stained wood, structure, and anything outdoors. Mix fine dust of the right species into glue, overfill slightly, and test on scrap before you stain. When the repair is bigger than a pea-sized hole, reach for epoxy or a purpose-made filler.
Sponsored / affiliate links. As an Amazon Associate I earn from qualifying purchases. I may earn additional commission from eligible campaigns.