Replace Rotted Exterior Wood: Trim, Fascia & Siding Guide
Cut the rotted section out down to solid, dry wood, then choose your fix based on how much of the board is gone: if less than about a third of the board’s thickness is affected and it isn’t load-bearing, a wood hardener plus epoxy filler will hold for years. If more than that is gone, or the piece is structural (a corner board, a jack stud, a support post), cut it out and splice in new lumber instead of trying to fill it. Whichever route you take, find and fix the moisture source first — a patch or a brand-new board sitting in the same wet spot will rot again within a season or two.
Seeing soft, crumbly wood on your home’s exterior is disheartening, and it’s a common problem in damp climates. Left unchecked, it spreads into the framing behind the siding and turns a $40 repair into a multi-thousand-dollar rebuild. The good news: replacing a section of trim, fascia, or siding is one of the more forgiving exterior carpentry jobs a homeowner can take on, and this guide walks through the full replacement process — plus how to tell when you don’t actually need to replace anything at all.
Repair or Replace? How to Decide
Not every rotted spot needs a new board. Probe the wood with a flathead screwdriver or an awl in several spots around the damage. If it sinks in only slightly and you’re hitting solid wood within about a third of the board’s total thickness, that’s surface rot — a wood hardener (also called a consolidant) followed by an epoxy wood filler will rebuild it stronger than the original wood in that spot. Our epoxy patch-repair guide covers that process in full if this describes your damage.
Full replacement — the process this guide covers — is the right call when the screwdriver sinks in with no resistance across most of the board, when the rot has reached a structural member (a corner post, a window jamb, a deck ledger, a load-bearing trim piece), or when more than roughly a third of the board’s cross-section is compromised. Patching over that much damage just traps the remaining soft wood under a hard shell, and the rot keeps spreading underneath it.
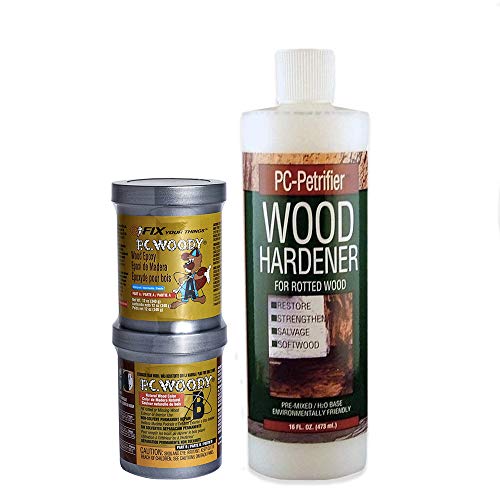
Best Pick For Surface Rot Repair
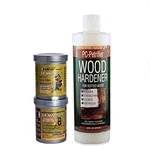 |
PC-Products PC-Woody & PC-Petrifier Wood Repair Kit – $23.59 The exact two-step system this guide uses for surface-level rot: harden the punky wood first, then fill it with a real structural epoxy paste instead of a cosmetic filler.
|
Understanding Wood Rot and Why It Happens
Wood rot, often called decay, is a fungus breaking down wood fibers. It thrives in moist environments — think of it as nature’s way of recycling, but not when it’s happening to your home’s siding, trim, or deck. Several factors contribute to it:
- Moisture: This is the biggest culprit. Leaky gutters, poor drainage, splashing from sprinklers, or condensation can keep wood wet for extended periods.
- Lack of Ventilation: Trapped moisture can’t evaporate, creating ideal conditions for fungal growth.
- Poor Maintenance: Peeling paint, cracked caulk, or damaged finishes leave wood exposed to the elements.
- Plant Contact: Vines or shrubs growing too close to your house can trap moisture against the wood.
- Sapwood: The outer layers of a tree (sapwood) are softer and contain more nutrients for fungi, making them more susceptible to rot than the heartwood.
Understanding what causes rot lets you take steps to prevent it from recurring even as you repair the existing damage. For more on wood-decaying fungi, the University of New Hampshire Extension offers some excellent insights.
Identifying Rotted Wood: What to Look and Feel For
Spotting rot early keeps the repair small. You’ll often find it in areas prone to moisture, such as near the ground, around windows and doors, and under eaves.
Signs of Rot:
- Softness and Sponginess: The wood will feel mushy or spongy when you press it with a screwdriver or your finger.
- Crumbly Texture: Instead of a clean break, rotted wood will crumble into small pieces.
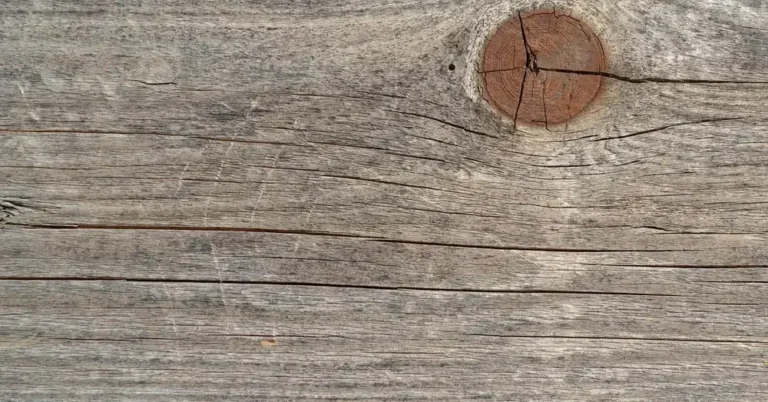
- Discoloration: Areas of rot might appear darker, gray, or black compared to the surrounding healthy wood.
- Holes or Pitting: Insect activity often follows wood rot, creating small holes, but rot itself can also cause pitting.
- Fungal Growth: In advanced cases, you might see white, brown, or even mushroom-like fungal growths on the surface.
- Peeling Paint: Paint may start to blister or peel in areas where the wood underneath is decaying.
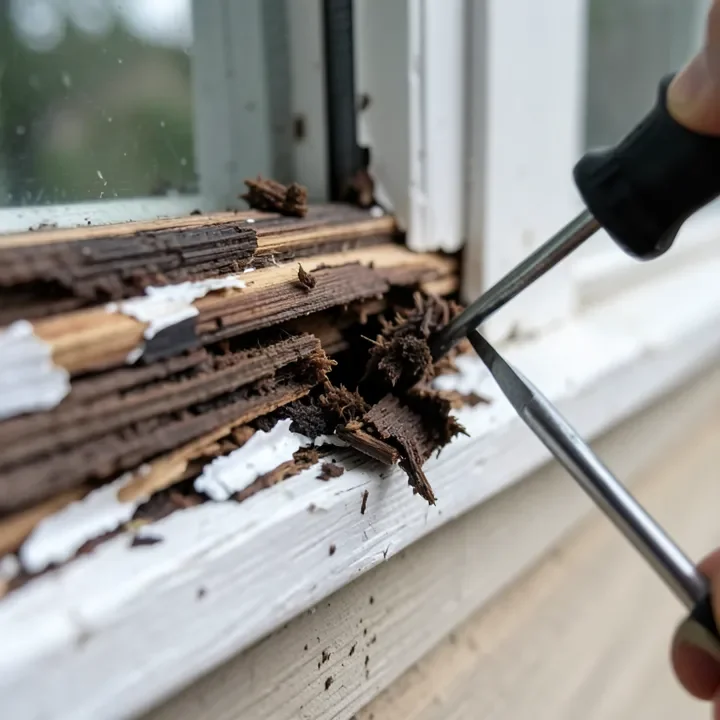
A flathead screwdriver is the simplest test tool you own. Gently probe any suspicious areas at a few different points — a single soft spot might be surface rot, but if the screwdriver sinks in easily across a wide area, you’re likely dealing with a full-replacement situation.
Essential Tools and Materials
Gathering your supplies before you start will make the process smoother and safer. Here’s what you’ll need:
Tools:
- Safety Glasses and Work Gloves
- Putty Knife or Scraper
- Chisel (1-inch or wider recommended)
- Hammer and Pry Bar
- Screwdriver (flathead, for testing and removal)
- Wire Brush
- Orbital Sander or Sandpaper (various grits: 80, 120, 220)
- Utility Knife
- Caulking Gun
- Circular Saw or Reciprocating Saw (for cutting out larger sections)
- Fine-tipped Paintbrush (for primer/sealer)
- Regular Paintbrushes
- Vacuum or Blower
Materials:
- Wood Hardener/Sealer
- Wood Filler (exterior grade, stainable/paintable) OR Two-Part Wood Epoxy System
- Exterior Wood Glue (if joining pieces)
- Exterior Primer
- Exterior Paint
- Caulk (paintable, exterior grade)
- Replacement Wood (if needed — match the type, dimension, and profile of the existing board)
- Rags
- Denatured Alcohol or Mineral Spirits (for cleaning)
If you’re replacing rather than patching, what you buy for “replacement wood” matters. Cedar and redwood resist rot naturally and are the closest match if the original trim or siding is solid-wood, but they cost more and still need to be primed on all six sides before installation. Cellular PVC trim (brands like AZEK or Versatex) never rots because there’s no wood in it at all — a strong choice for ground-level corner boards and window trim that stay wet often. For siding specifically, engineered wood products like LP SmartSide or fiber-cement boards like James Hardie resist moisture far better than the original solid lumber and are a reasonable upgrade when you’re already replacing a full section. Whatever you choose, prime or seal every cut edge before it goes up — an unsealed end grain is where the next rot cycle starts.
Step-by-Step Guide: How to Replace Rotted Wood
Let’s get to work. Follow these steps carefully to remove the rot and repair the damaged area.
Step 1: Safety First!
Wear safety glasses to protect your eyes from flying debris and wood chips, and gloves to protect your hands. If you’re working at height, use a stable ladder and consider a harness.
Step 2: Remove Damaged Wood
Using your screwdriver, chisel, putty knife, or utility knife, carefully dig out all the rotted wood down to solid, sound material. Work outward from the center of the rot until you reach firm wood. If you’re doing a full replacement, cut a utility knife line through the caulk and paint seams first so you don’t tear surrounding trim when you pry the damaged board free, then use a pry bar and, for larger sections, a circular or reciprocating saw to cut away the compromised piece cleanly.
Don’t be afraid to remove a little extra to be sure you’ve got all the rot. It’s better to take out a bit more healthy wood than to leave even a small pocket of decay behind — any fungus left in contact with new material will keep spreading.
Step 3: Clean the Area
Once all the rotted wood is removed, use a wire brush to clean the exposed surface and remove any remaining loose fibers or fungi. Then vacuum or blow out the dust and debris. For a deeper clean, wipe the area down with a rag dampened with denatured alcohol or mineral spirits and let it dry completely. A clean, dry surface is essential for the repair materials or new wood to bond and seal properly.
Step 4: Treat the Surrounding Wood
Even when you’re replacing a whole board, the wood framing behind it and the edges of the surrounding trim were exposed to the same moisture. Brush a wood hardener or borate-based preservative onto any exposed framing and the cut edges of adjoining boards before you close everything back up. This soaks in and strengthens any slightly compromised fibers, and it helps seal the wood against future moisture. Let it dry fully — this can take anywhere from a few hours to a full day depending on the product and conditions.
Step 5: Fill or Cut Your Replacement Piece
Option A: Filling With Epoxy (surface rot only)
If the void is small and doesn’t reach a structural member, mix your two-part epoxy following the manufacturer’s instructions precisely, or stir your exterior wood filler if that’s what you’re using. Don’t mix more than you can apply before it starts to set.
Option B: Replacing With New Wood (structural or extensive rot)
Measure the void and cut your replacement lumber to fit precisely — for trim, this often means matching a specific profile with a router or table saw rather than just cutting a flat board. Dry-fit the piece before you commit any glue or fasteners; you want it flush with the surrounding wood on all visible faces. For guidance on choosing durable exterior lumber, This Old House has solid recommendations on outdoor building materials.
Step 6: Set the Filler or Install the New Piece
Option A: Filling the Void
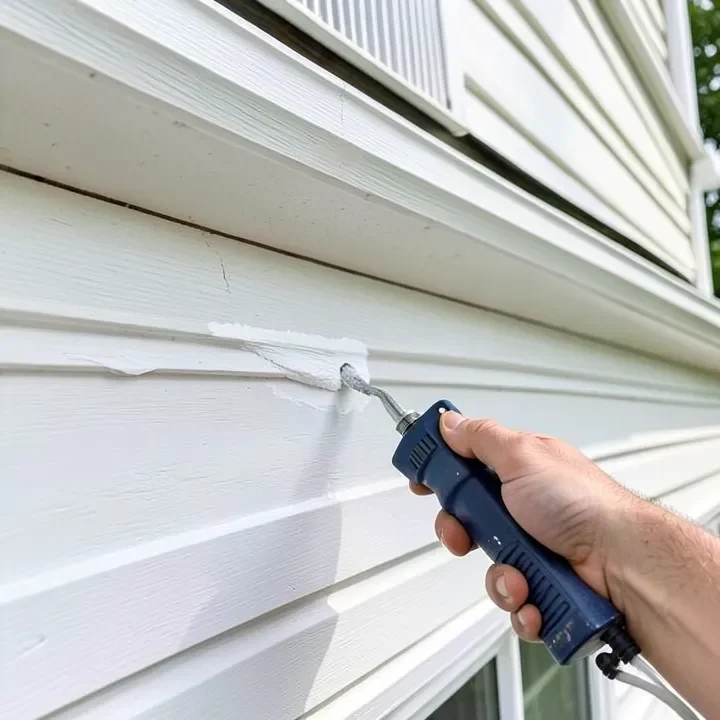
Using a putty knife or trowel, firmly press the epoxy or filler into the prepared hole, overfilling slightly since most products shrink a bit as they cure. Shape the surface to roughly mirror the surrounding woodwork; for a large void, apply in layers and let each one cure per the product instructions, pressing firmly into the pores and edges each time for good adhesion.
Option B: Securing New Wood
Apply exterior wood glue to any joining surfaces, then fasten the new piece with corrosion-resistant exterior screws or nails. Pre-drill pilot holes near the ends to prevent splitting, and countersink screws slightly below the surface for a seamless finish once filled and painted.
Step 7: Sanding and Shaping
Once the filler or epoxy has fully cured (check the packaging — this can range from a few hours to 24 hours or more), sand it down. Start with a coarser grit sandpaper (80 or 120) to shape it down to match the surrounding surface, then move to finer grits (180 or 220) for a smooth finish. Be patient — you want the transition from repair to original wood to be invisible once painted.
Step 8: Prime the Repaired Area
Before painting, prime the repaired area or new board on all sides you can still reach, including the back if it’s accessible. This seals the filler or new wood, blocks stains, and helps the topcoat adhere and last. Use a high-quality exterior primer, cover the entire repaired section with slight overlap onto the surrounding painted surface, and let it dry completely per the manufacturer’s instructions.
Step 9: Caulk the Edges
To keep water out of the repair and along any seams where new wood was installed, run a bead of paintable exterior caulk along the edges — especially where wood meets wood or where trim meets siding. Smooth the line with a damp cloth or your finger for a clean, watertight seal.
Step 10: Paint the Repaired Area
Apply your chosen exterior paint — two coats for good coverage and durability. Paint the full repaired section and feather the edges into the surrounding paint to blend it in. Match the color and sheen of your home’s existing trim or siding, since proper painting is what actually protects the repair and the wood underneath from the elements going forward.
Fix the Moisture Source, or the Rot Comes Back
Wood rot is a symptom, not the actual problem — the actual problem is whatever kept that spot wet long enough for fungus to take hold. A brand-new board or a perfect epoxy patch installed over an unfixed leak will show soft spots again within a year or two. Before you call the job done, trace the water back to its source: a gutter that overflows right above the damaged spot, caulk that failed at a window or door casing, siding that laps the wrong direction, a downspout dumping water against the foundation, or a sprinkler head that hits the wall on every cycle. Fixing that source is what makes the repair last — the sealing and painting steps above protect the wood, but they can’t outrun an active leak.
When to Call a Professional
While many exterior wood rot repairs are DIY-friendly, there are times when it’s best to bring in a professional. Consider calling an expert if:
- The rot is extensive: If large sections of your siding, eaves, or structural beams are affected, it could compromise your home’s integrity.
- Structural components are involved: Rot affecting load-bearing elements like posts, beams, or joists requires professional assessment and repair.
- You’re dealing with lead paint: Older homes often have lead paint on exterior surfaces. Disturbing it without proper containment and safety protocols can be hazardous — you can learn more about lead paint safety from the EPA.
- Access is difficult: If the rotted wood is in a hard-to-reach area, like a high gable or complex roofline, it’s safer to hire a professional.
- You lack the tools or confidence: If you don’t have the necessary tools or feel unsure about any step, a seasoned contractor can do the job effectively and efficiently.
Don’t hesitate to seek professional help when the scope of the problem exceeds your comfort level or skill set. It’s an investment in the long-term safety and value of your home.
Preventing Future Wood Rot
Once you’ve repaired the rotted wood, the best defense is a good offense against it happening again. Proactive maintenance makes a real difference:
Key Prevention Strategies:
- Maintain Gutters and Downspouts: Keep them clear of debris and directing water away from your home’s foundation.
- Proper Grading: The ground around your foundation should slope away from the house to prevent water from pooling against the exterior.
- Check and Repair Caulking: Regularly inspect the caulking around windows, doors, and trim, and replace any cracked or missing sections promptly.
- Keep Paint and Finishes Intact: Address peeling or chipped paint immediately — a good coat of paint acts as a barrier against moisture.
- Prune Vegetation: Keep trees, shrubs, and vines trimmed away from your home’s exterior for airflow and to stop them trapping moisture against the siding.
- Address Leaks Promptly: Fix leaky faucets, pipes, or roof issues as soon as they show up.
- Improve Ventilation: Ensure adequate airflow in crawl spaces, attics, and around decks.
Working these checks into your regular home maintenance routine will significantly extend the life of your exterior woodwork.
FAQ: Replacing Damaged Exterior Wood
How do I know if I should repair rotted wood or replace it?
Probe the wood with a screwdriver in several spots. If it’s solid within about a third of the board’s thickness and the piece isn’t structural, an epoxy hardener-and-filler repair holds well. If the rot goes deeper than that or affects a load-bearing piece, cut it out and replace it with new lumber instead.
How can I tell if wood is rotted or just wet?
Wet wood will be damp but firm. Rotted wood will be soft, spongy, crumbly, and may appear discolored or have visible fungal growth when probed with a screwdriver.
Can I use standard wood filler for exterior repairs?
It’s best to use an exterior-grade wood filler or a two-part wood epoxy system. Standard interior fillers aren’t designed to withstand moisture and temperature swings outdoors and will likely fail.
How long does wood filler take to cure?
Cure times vary significantly by product. Many fillers cure within a few hours, while some two-part epoxies can take up to 24 hours or longer for a full cure before sanding. Always check the product packaging for specific instructions.
Do I need to remove all the rot?
Yes, absolutely. You must remove all compromised wood down to solid, sound material. Leaving any rot behind lets the fungal growth continue and spread into the new repair material or new board.
What’s the difference between wood filler and wood epoxy?
Wood filler is typically a paste used for cosmetic filling of small imperfections. Wood epoxy systems are a two-part product that, once mixed, create a very strong, durable, structural repair material ideal for larger voids or damaged areas that need more strength.
Is it okay to paint over wood hardener?
Most wood hardeners are designed to be painted over after they cure. Always check the product label to confirm it’s safe to do so — priming over the hardener first is usually recommended for the best result.
Conclusion
Learning how to replace rotted wood on the exterior of your house is a valuable skill for any homeowner. It protects your home’s appearance and structural integrity, and it stops small problems from becoming expensive repairs. Decide honestly between a patch and a full replacement based on how deep the damage actually goes, use the right tools and materials for the job, and — most importantly — track down and fix whatever was feeding moisture into that spot in the first place. Do that, and the repair you make this weekend should be the last one that section of your house ever needs.
Sponsored / affiliate links. As an Amazon Associate I earn from qualifying purchases. I may earn additional commission from eligible campaigns.