How Many Coats of Danish Oil Do You Need: Usually 3
Most projects need 2-3 coats of Danish oil. The first coat soaks in the deepest and seals the wood’s pores; the second and third coats build up the protective film and the warm sheen the finish is known for. One coat mostly just seals the surface and won’t give the color depth or water resistance most people are actually after – that only shows up once the second and third coats build on top of it.
The Short Answer: 2-3 Coats, Sometimes 4
The Classic Choice
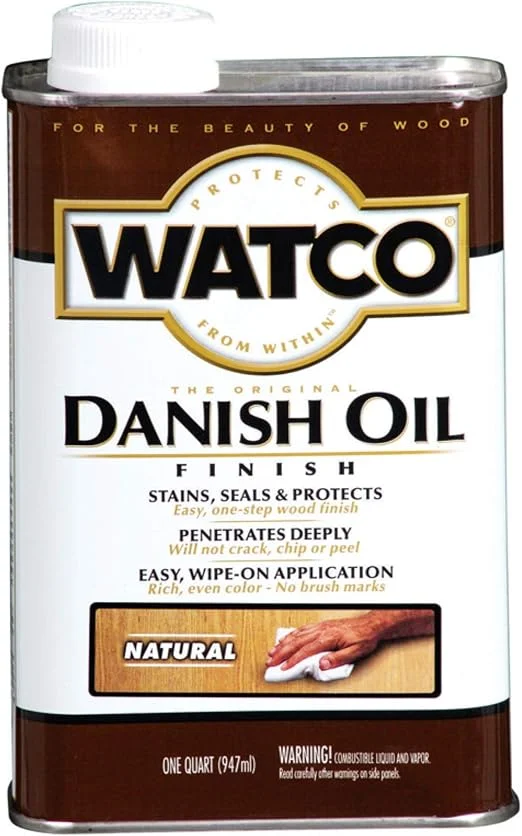 |
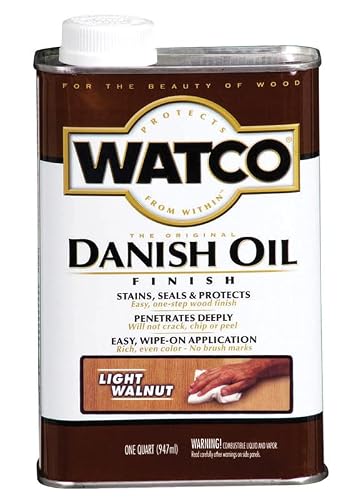
Watco Natural Danish Oil Wood Finish The classic oil/varnish blend most of this guide’s coat counts and dry times are based on.
|
Two coats is the practical minimum for real protection on furniture and cabinets. Three coats is the sweet spot most woodworkers land on – enough buildup for a durable, richly colored finish without the diminishing returns of extra coats. A fourth coat can help on very open-grained woods like oak or ash, which keep absorbing oil longer than tight-grained woods like maple or cherry, but past four coats you’re mostly adding drying time, not protection.
Coat-by-Coat Timing
| Coat | Soak Time | Wipe Off | Dry Before Next Coat |
|---|---|---|---|
| 1st coat | 20-30 minutes | Yes, fully | 4-6 hours (longer in humid conditions) |
| 2nd coat | 15-20 minutes | Yes, fully | 4-6 hours |
| 3rd coat (if used) | 10-15 minutes | Yes, fully | 4-6 hours, then 24-72 hours before use |
Watco’s own product data lists 6 hours as the time Danish oil is dry to the touch, but “dry to the touch” and “ready for another coat” aren’t quite the same thing – waiting the full 4-6 hours (longer if the room is humid or cool) before recoating gives a more even build than recoating the moment it stops feeling tacky. However many coats you apply, plan for a full 24-72 hours after the last one before the piece goes into regular use, since the finish keeps hardening past the point where it merely feels dry.
Applying Each Coat Correctly
- Sand bare wood to 220 grit and wipe away all dust before the first coat.
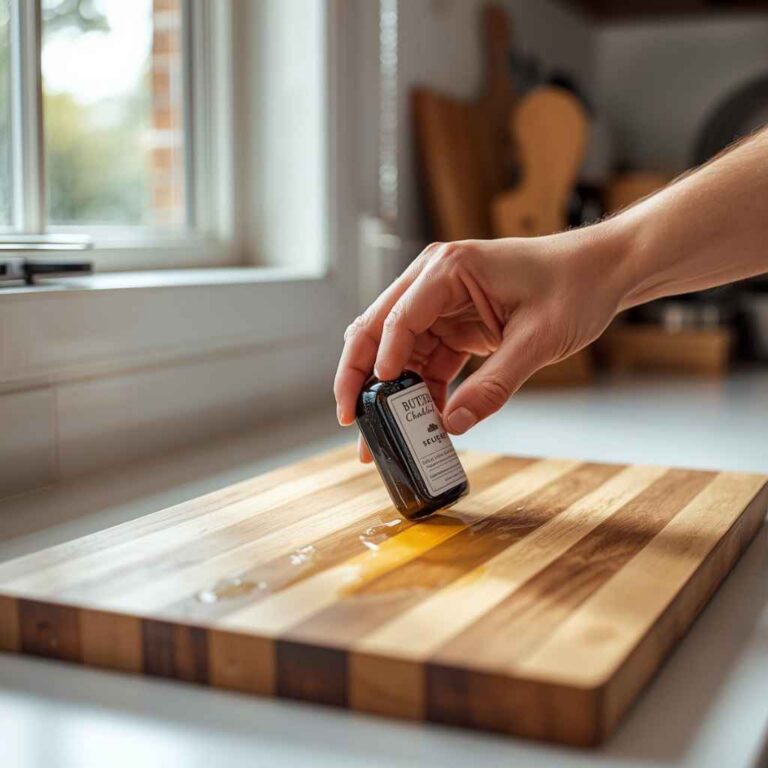
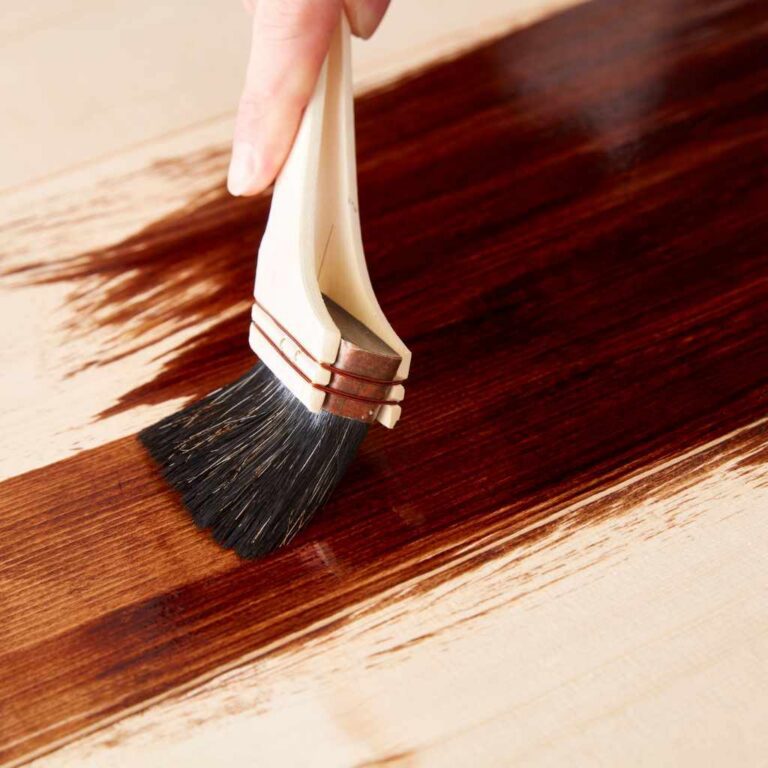
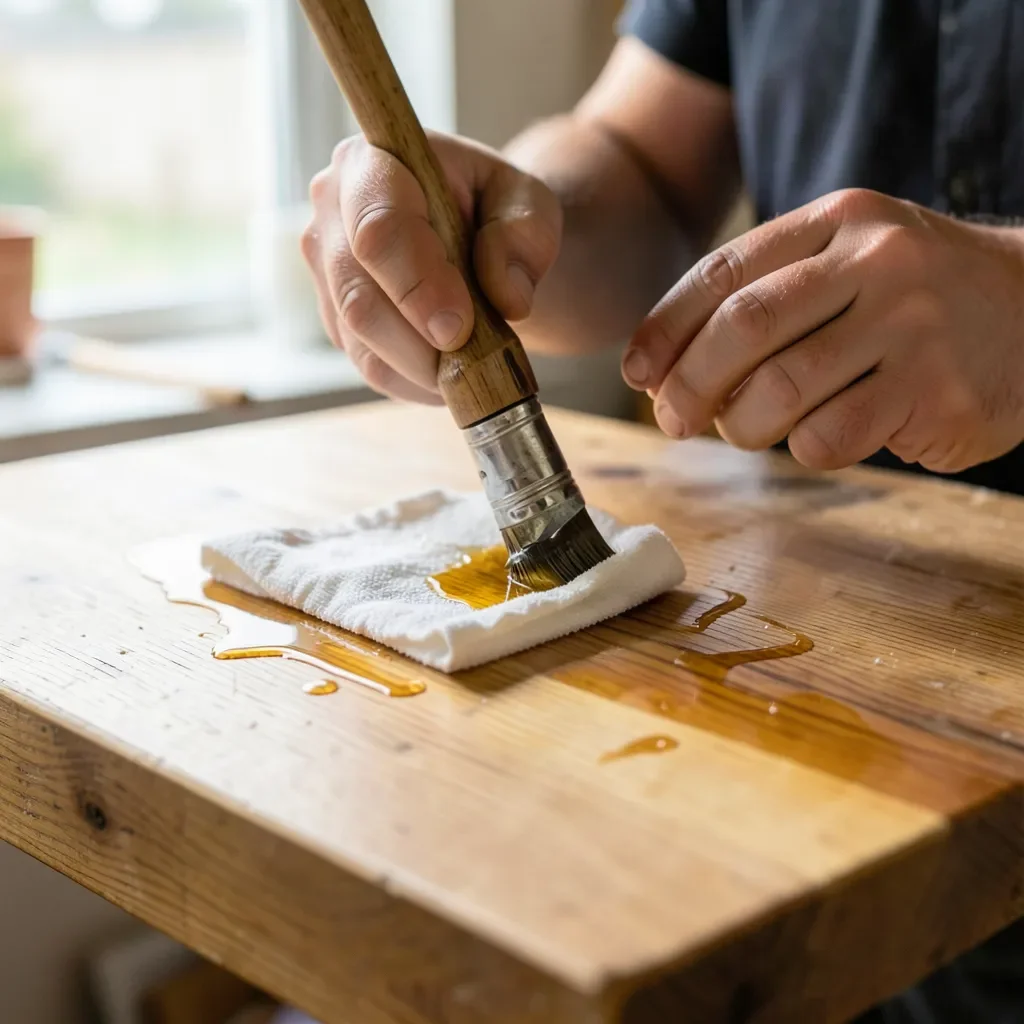
- Flood the surface with a generous coat using a lint-free cloth or brush, working with the grain.
- Let it soak in for the times in the table above – longer on the first coat, shorter on later coats since the wood is already partly sealed.
- Wipe off ALL excess oil with a clean, dry cloth. This step is not optional: any oil left sitting on the surface stays tacky and never cures properly.
- Let the coat dry fully (4-6 hours minimum) before deciding whether it needs another coat.
- Lightly scuff-sand with 320-grit paper between coats 2 and 3 if you want maximum smoothness – not required, but it helps on open-grained woods.
Why Danish Oil Isn’t a Single-Coat Finish
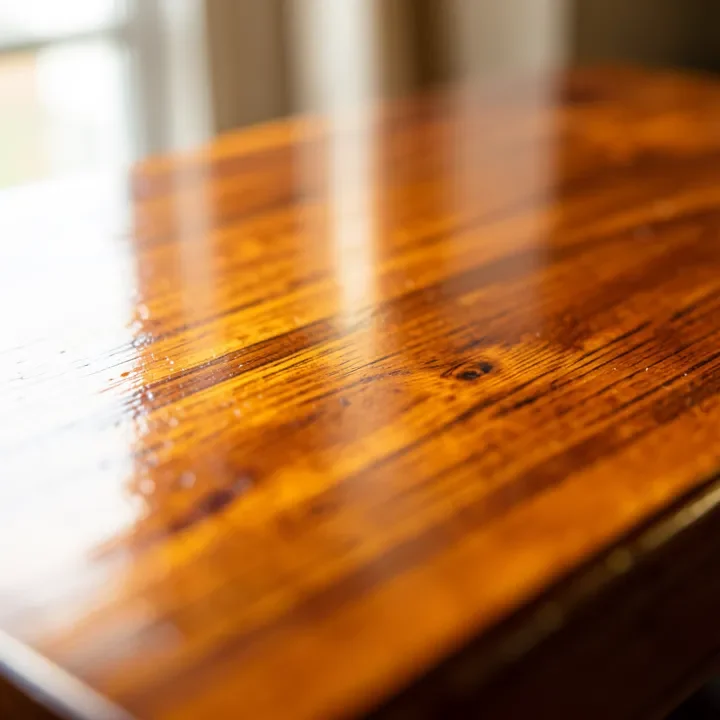
Danish oil is a blend of drying oil (typically tung or linseed) and a small amount of varnish, thinned enough to soak into the wood rather than sit on top of it. That thinness is exactly why one coat isn’t enough: the first application mostly disappears into the wood’s pores, sealing the surface but leaving very little material built up where it actually matters for water and wear resistance. Each subsequent coat has less wood to soak into and more varnish content effectively remaining near the surface, which is what gradually builds the film that gives the finish its protection and its glow – a mechanical reason 2-3 coats outperforms one, not just a rule of thumb.
How Wood Species Changes the Coat Count
| Wood Type | Typical Coats Needed | Why |
|---|---|---|
| Oak, Ash (open-grained) | 3-4 | Large pores keep absorbing oil longer |
| Maple, Cherry, Birch (tight-grained) | 2-3 | Pores fill quickly, less oil needed |
| Pine, other softwoods | 2-3, plus a thinned wash coat first | Uneven density between earlywood/latewood causes blotching without a wash coat |
| Teak, Rosewood (naturally oily) | 2, sometimes less | Wood’s own natural oils slow further absorption |
This is the real reason two people can follow the exact same instructions and end up using a different number of coats on their own projects – the wood species itself changes how much oil it can actually take. Testing on an offcut of the same wood before starting the visible piece is the most reliable way to see how many coats a specific board wants, rather than assuming a fixed number will work identically across species.
How to Tell You’ve Applied Enough Coats
The wood tells you when it’s done absorbing: apply a coat, wait the soak time, and if the surface still looks wet and glossy rather than dull and matte after wiping off the excess, the wood has taken as much oil as it’s going to use in that session. Once a fresh coat sits on top rather than soaking in within a few minutes, additional coats mostly build surface film instead of penetrating – that’s usually your sign that 2-3 coats has done the job. Rushing past this signal and piling on a 4th or 5th coat regardless doesn’t add meaningful extra protection; it mostly adds drying time and risk of a gummy, incompletely cured surface.
Common Mistakes That Waste Coats
- Not wiping off excess oil. This is the single most common Danish oil mistake – a film of unwiped oil on the surface stays sticky indefinitely and traps the coats underneath from curing properly.
- Recoating too soon. Applying a second coat before the first is dry doesn’t add protection, it just re-softens what already soaked in and extends the total cure time.
- Skipping surface prep. Old finish, wax, or dust under the first coat blocks absorption no matter how many coats follow.
- Applying too thick a coat. A heavy first coat looks generous but takes far longer to dry evenly and is more likely to leave a tacky film if not wiped thoroughly.
- Working in a cold or poorly ventilated room. Below about 65°F, the oil’s cure slows enough that a coat can still feel tacky well past the usual 4-6 hour window, which tempts people into recoating too early.
Danish Oil vs. Tung Oil: Does the Coat Count Differ?
Pure tung oil generally needs one or two more coats than Danish oil to reach the same level of water resistance, since Danish oil already has varnish blended in to help it build a film faster. If a project calls for pure tung oil instead of a Danish oil blend, budget for 3-5 coats rather than 2-3, and expect a longer overall cure time – pure tung oil can take up to 30 days to fully cure versus roughly a week for Danish oil to reach its final hardness.
Maintenance After the Final Coat
Once the final coat has cured (give it the full 24-72 hours before regular use), clean the surface with a soft, slightly damp cloth and mild soap – skip harsh chemicals and abrasive pads, which strip the cured oil out of the wood’s pores over time. Plan to refresh high-use surfaces like tabletops with a single new coat every 6-12 months; furniture that sees lighter use can often go 1-2 years between refresher coats. A refresher coat only needs a light scuff-sand and one thin application, not the full 2-3 coat buildup you did the first time. If water starts beading less readily than it used to, or the wood looks dry and pale in high-traffic spots, that’s the visible cue it’s due for a refresh rather than waiting on a fixed calendar reminder.
Frequently Asked Questions
Does Danish oil need multiple coats?
Yes. A single coat leaves the wood under-protected and dull-looking; 2-3 coats is what actually builds the durable, richly colored finish Danish oil is known for.
How long do you leave Danish oil on before you wipe it?
15-30 minutes for the first coat, 10-20 minutes for later coats, then wipe off ALL excess – leftover oil on the surface never cures properly.
How long between coats of Danish oil?
4-6 hours minimum in normal conditions, longer in cool or humid rooms. Wait a full 24-72 hours after the final coat before putting the piece into regular use, and closer to the long end of that range in a damp basement shop than in a heated, dry room.
Do you use a brush or cloth for Danish oil?
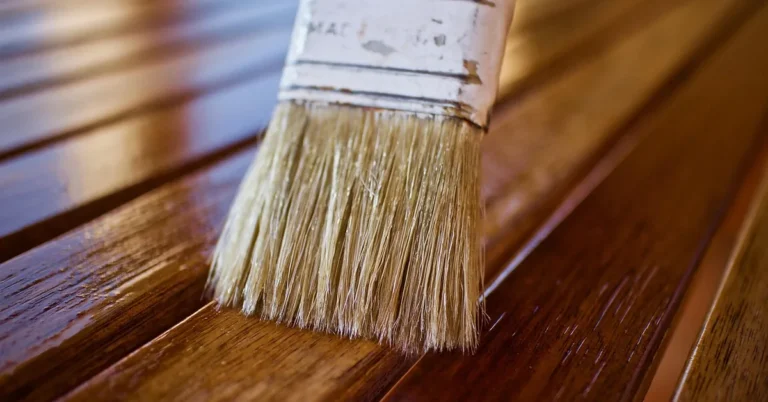
A lint-free cloth is the easier, more forgiving choice for most people – a brush works too but is more prone to leaving streaks if the excess isn’t wiped off thoroughly.
Conclusion
2-3 coats, each fully wiped dry and given 4-6 hours to cure before the next, is the right target for nearly every Danish oil project. Watch the wood rather than a fixed number – when a fresh coat stops soaking in quickly, you’ve reached the point of diminishing returns and it’s time to let the finish cure and get to work.
Sponsored / affiliate links. As an Amazon Associate I earn from qualifying purchases. I may earn additional commission from eligible campaigns.