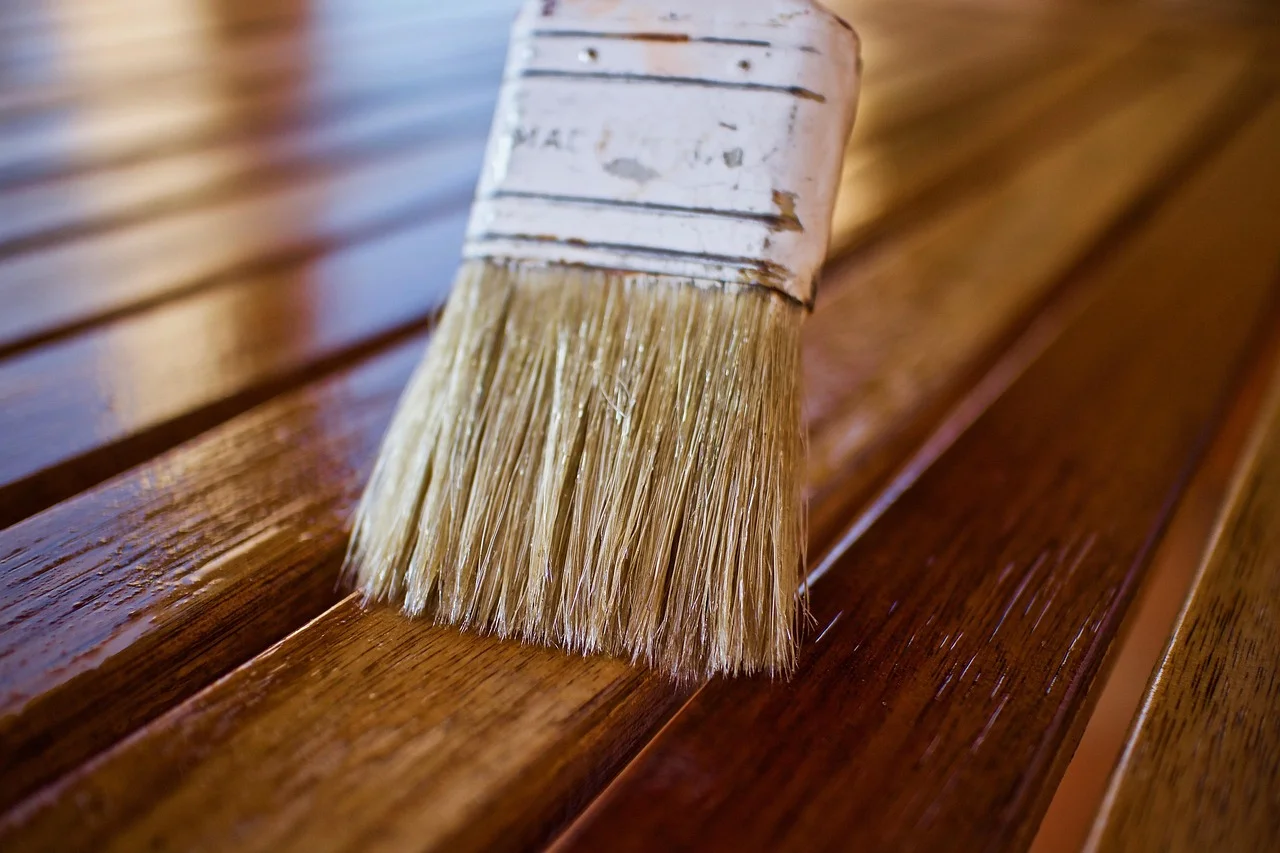
How Many Coats of Tung Oil Does Wood Actually Need
Most wood needs 3 to 5 coats of pure tung oil, sanded lightly between coats, to build a durable hand-rubbed finish — end-grain and open-pore woods like oak often need one or two extra coats to fully seal. Stop too early and the finish stays thin and unprotected. This guide covers how to judge when a coat has fully soaked in and when you’re actually done.
For a beautiful wood finish, the number of tung oil coats matters. So, how many coats of tung oil do you need?
Generally, applying 3 to 5 coats of tung oil is ideal for a durable and attractive finish. Tung oil has been a favorite for woodworkers for centuries. It brings out the natural beauty of the wood, adding depth and warmth.
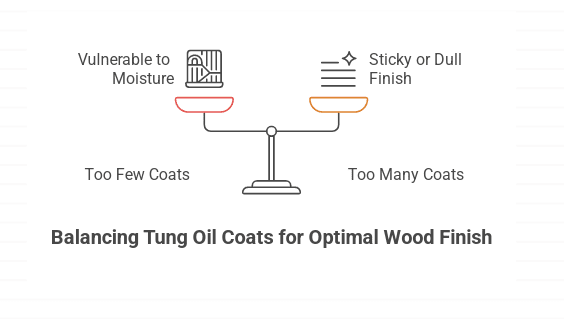
But it’s not just about looks; tung oil also protects the wood from moisture and wear. Applying the right number of coats ensures the wood is both beautiful and well-protected. Too few coats might leave it vulnerable, while too many can make it sticky or dull. Finding the balance is key. In this guide, we’ll explore how to achieve the perfect finish with tung oil.

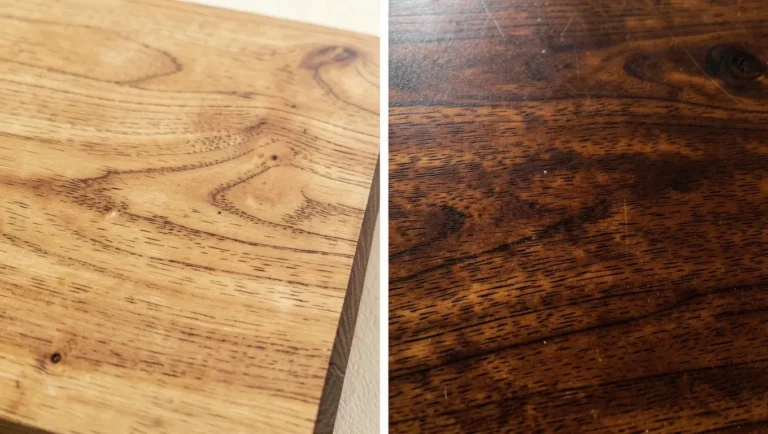
Credit: www.reddit.com
Choosing Tung Oil
Best Pure Tung Oil for Multi-Coat Finishes
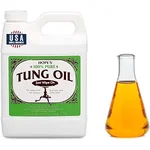 |
Hope’s 100% Pure Tung Oil (32 oz) – $29.99 100% pure, food-safe formula with no varnish or thinner cutting the coat count this guide recommends for open-pore woods.
|
Pure tung oil is pressed from the seeds of the tung tree and cures by oxidation — it absorbs oxygen from the air and polymerizes into a solid film, rather than drying by solvent evaporation the way lacquer does. That’s why it’s slow: a coat can take 24-72 hours to dry to the touch depending on temperature and humidity, and the finish keeps hardening for a couple of weeks after the last coat looks and feels done. Blended products sold as “tung oil finish” usually cut the pure oil with varnish and mineral spirits, which dries in closer to 4-8 hours and lays down a harder film faster, but it’s the varnish doing most of that work — you’re getting a wipe-on varnish with some tung oil in it, not the same soft, in-the-wood look pure tung oil gives.
What makes pure tung oil worth the wait is how it interacts with the wood itself: because it cures inside the top layer of fibers rather than sitting on top as a film, it doesn’t build the plastic-looking sheen a full varnish or polyurethane can, and it doesn’t yellow the way boiled linseed oil does over the years. Fully cured, it’s food-safe with no added driers, which is why it shows up so often on cutting boards and butcher blocks where finishes with metallic drying agents aren’t appropriate.
Preparation Steps
Any grease, wax, or old finish residue left on the surface blocks tung oil from penetrating, since the oil needs open wood pores to soak into — a tack cloth or a wipe with mineral spirits removes most residue without introducing water that would raise the wood’s grain right before finishing.
Sand progressively through 120, then 180, then 220-grit, stopping there for most tung oil work — sanding past 220 (some guides push to 320 or 400) actually burnishes softer woods and can partially close the pores, which reduces how much oil the first coat is able to absorb. Vacuum or wipe off sanding dust between grits rather than just blowing it off, since dust trapped in the pores creates a gritty texture once oil is applied over it.
Initial Application
Applying tung oil typically requires multiple coats for durability. Start with three coats, allowing each to dry thoroughly. The final product will be rich and resilient.
First Coat Tips
Thin the first coat with mineral spirits (roughly 50/50) even if the label doesn’t call for it — full-strength tung oil is thick enough that it struggles to penetrate deep into tight-grained wood on the very first application, and a thinned first coat soaks in noticeably farther than a full-strength one. Flood it on with a clean cloth or brush, give it 15-30 minutes to soak in, then wipe every bit of the excess off the surface with a dry cloth. This last step is the one most beginners skip or rush, and it’s the single biggest cause of a gummy, never-fully-dry finish — any oil left sitting on the surface (rather than absorbed into the wood) cures into a soft, tacky film instead of a hard one.
Drying Time
Give the first coat at least 24 hours, and closer to 48 in a cool or humid shop — tung oil’s oxidation reaction slows down considerably below about 65°F or above roughly 60% relative humidity. Press a knuckle into an inconspicuous spot rather than a fingertip; a fingertip’s natural oils can make a nearly-dry surface feel tackier than it actually is. If the surface leaves a mark or feels the least bit soft, give it more time before sanding or recoating — sanding into a not-quite-cured coat gums up the sandpaper immediately and tells you it wasn’t ready.

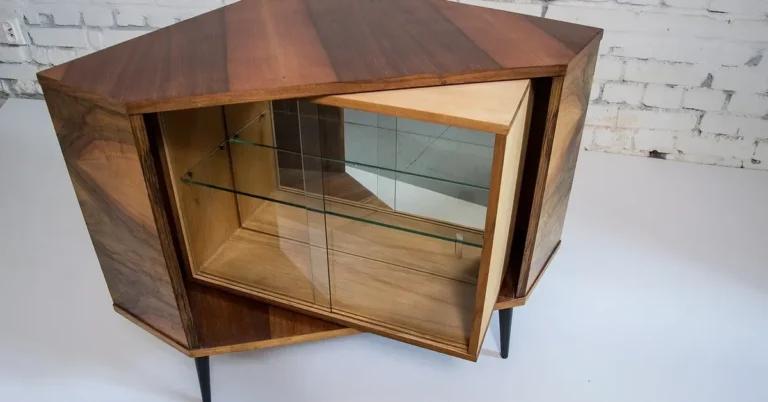
Credit: everydaylaura.com
Layering Coats
Each additional coat needs less thinning than the last, since the wood’s pores are progressively filling and there’s less bare wood left to soak the oil in fast. By the third coat, most woods take full-strength oil without issue. Three to five coats is the typical range for most furniture and cutting boards; open-pored woods like oak or ash often need a coat or two more than tight-grained woods like maple or cherry, simply because there’s more pore volume to fill before the surface builds a continuous film.
Some finishers wet-sand between coats — sanding with 400-600 grit paper while the coat is still slightly wet, using the oil itself as the lubricant. This creates a fine slurry of oil and wood dust that packs into the open pores, which is one of the more effective ways to get a smooth, filled surface on open-grained wood without a separate pore-filler product. If you’re not wet-sanding, a light pass with 320-grit between dry coats is enough to knock down any raised grain or dust nibs — pressing hard or using a coarser grit at this stage risks cutting through the thin coat you just built up.
Achieving The Perfect Finish
The finish is done when a fresh coat sits on the surface with a thin, even sheen rather than soaking in visibly within a minute or two — that’s the sign the pores are filled and the wood can’t absorb much more. At that point one more thin coat, wiped off just as thoroughly as every prior one, is usually enough to finish rather than an open-ended number of extra coats.
Once fully cured (give it the full week or two, not just the between-coat drying time), a light buff with 0000 steel wool knocks down any remaining texture and brings up a soft sheen rather than a shine. A coat of paste wax over the cured oil isn’t strictly necessary for protection, since tung oil alone is water-resistant, but it does add a bit of extra sheen and a smoother feel underhand, and it’s easy to renew every few months without redoing the oil underneath.
Troubleshooting Common Issues
A perpetually sticky, never-hardening finish almost always traces back to unwiped excess oil sitting on the surface rather than a bad batch of oil — because tung oil cures by absorbing oxygen from the air, a thick puddle on the surface only has its top layer exposed to air, so the oil underneath stays soft indefinitely. The fix, if it’s already happened, is to wipe the tacky area down hard with a cloth dampened in mineral spirits to pull the uncured excess back off, then let it dry properly before deciding whether it needs another (thin, fully wiped) coat. Poor airflow slows the oxidation reaction that tung oil depends on to cure, so a stagnant, closed room genuinely does extend drying time beyond what the same coat would take with a window cracked or a fan moving air nearby.
Blotchy or uneven color usually comes from inconsistent absorption — end grain and any spot that was sanded to a different grit than the rest of the piece take oil differently, so working in a logical section-by-section order and keeping the pre-oil sanding grit consistent across the whole surface prevents most of it. Rags soaked in tung oil generate real heat as they cure and have a documented history of spontaneous combustion if balled up in a trash can or left in a pile — lay them flat outside to dry completely, or soak them in water in a sealed metal container, before disposal.
Maintenance Tips
Routine cleaning is simple: a soft cloth for dust, and a barely damp one for anything sticky, since ammonia-based or abrasive cleaners strip the surface of a tung oil finish faster than normal wear does. Dry it immediately after any damp wipe rather than letting it air-dry, since standing moisture is what starts to dull the surface over time.
Because tung oil sits in the wood rather than forming a thick sacrificial film like polyurethane, it wears from use — a cutting board or tabletop that sees daily contact typically needs a fresh thin coat every 2-6 months, while a lower-traffic piece of furniture might go a year or more. A quick way to tell it’s due: water that used to bead up on the surface starts soaking in instead, which means the oil’s water resistance has worn thin enough to need refreshing.

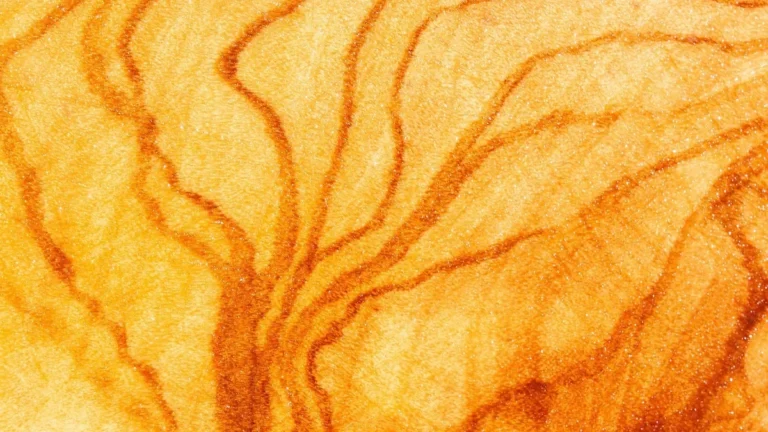
Credit: www.ghsproducts.com
Safety Considerations
Good ventilation matters for two separate reasons here, not just the smell: mineral spirits used for thinning and cleanup release VOCs that build up in a closed space, and tung oil itself cures faster with fresh air moving across it. Cracking a window and running a fan across the workpiece (not necessarily blasting directly on it, which can pull dust onto a wet coat) covers both.
Nitrile gloves keep the oil off your skin during application — it’s not acutely toxic, but repeated skin contact with mineral-spirits-thinned oil isn’t something to make a habit of. Safety glasses are worth wearing any time you’re wiping a piece at eye level or working overhead, and a respirator rated for organic vapors, not just a dust mask, is the right call if you’re doing this regularly rather than a one-off project.
Frequently Asked Questions
How Long Do You Wait Between Coats Of Tung Oil?
Wait 24 hours between coats of tung oil. Allow the oil to fully penetrate and dry. Ensure a smooth finish by lightly sanding between coats.
Can You Put Too Much Tung Oil On Wood?
Yes, applying too much tung oil can lead to a sticky surface. Use thin layers and allow proper drying time.
What Happens If You Don’t Wipe Off Excess Tung Oil?
Excess tung oil can become sticky and attract dust. It may create an uneven, glossy finish. Always wipe off the excess to ensure a smooth, durable surface.
Is 3 Coats Of Tung Oil Enough?
Three coats of tung oil are usually enough for a durable finish. Ensure proper drying between coats for best results.
Conclusion
Three to five coats is the right target for most projects, but the number matters less than the process behind it — thin application, full wipe-off of excess, and real drying time between coats. Skimp on any of those three and even eight coats won’t build the durable finish that three or four done properly will.
Watch the surface itself rather than counting coats mechanically — once a fresh application sits on top with an even sheen instead of soaking straight in, the wood has taken what it can hold, and one more thin, fully wiped coat is the finish line.
Sponsored / affiliate links. As an Amazon Associate I earn from qualifying purchases. I may earn additional commission from eligible campaigns.