How Many Coats of Polyurethane on Butcher Block? Safety Guide
Three to four thin coats of polyurethane will protect a butcher block, but only if that surface is a display counter, not somewhere you actually set a knife down. If you chop, slice, or dice directly on the wood, polyurethane is the wrong finish entirely — food-grade mineral oil and wax are what belong there instead.
That distinction gets skipped in most coat-count guides, and it matters more than the number itself. A cured polyurethane film is plastic-hard and food-safe to touch once it’s fully dry — but a knife blade doesn’t care that it’s food-safe. It scores the film, and once that film is broken, moisture and bacteria get trapped underneath a layer you can no longer sand out without stripping the whole board. Below is the coat count for a butcher block that’s staying a countertop or island top, plus what to reach for if yours is a working cutting surface.
The Quick Answer: 3 to 4 Coats, Counter-Use Only
For a butcher-block-style countertop, island top, or table that won’t take direct knife contact, three coats is the baseline and four is worth the extra hour of work if the piece sees heavy daily use — a kitchen island edge people lean on and set hot pans near, for instance. Two coats will look fine on day one, but the film is thin enough that normal wear opens pinholes within a season. Beyond four coats you’re not adding meaningful protection, just thickness that’s more likely to show brush marks and eventually flake at the edges.
If any part of that same butcher block doubles as a cutting zone — and on a lot of kitchen islands, it does — don’t put polyurethane there at all. Keep reading past the coat-count steps below for the food-grade oil routine that actual cutting surfaces need instead.
Best For Real Cutting Surfaces
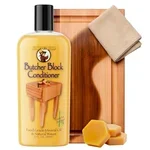 |
Howard Butcher Block Conditioner – $9.98 The food-grade oil-and-wax combo to use on any part of a butcher block that actually meets a knife — polyurethane isn’t an option there.
|
Why Polyurethane and an Actual Cutting Surface Don’t Mix
Cured polyurethane itself isn’t a food-safety problem — once it’s fully hardened, it’s an inert plastic film and manufacturers formulate it knowing it’ll end up on tables and countertops. The problem is mechanical, not chemical. Run a knife across it and you cut through the film, not just the wood. Those cut marks don’t seal back up, and they turn into a grid of tiny channels where juice, crumbs, and bacteria collect below the surface you can see. A bare or oiled board has the opposite failure mode: the knife just scores the wood itself, and since there’s no film to trap anything, a normal wash and dry gets it clean.
Woodworkers and butcher block manufacturers both land on the same rule for this reason: polyurethane, polycrylic, and any other film-forming finish are fine for a butcher-block dining table, a display island top, or a counter you never chop on directly — but keep a separate cutting board, or leave the actual work zone unfinished and oiled. If you’re not sure which category your piece falls into, treat any spot that regularly sees a knife as a cutting surface, full stop.
Oil-Based vs. Water-Based Polyurethane for the Non-Cutting Areas
Once you’ve confirmed the surface you’re finishing won’t take knife contact, the choice is between oil-based and water-based polyurethane. Oil-based dries to an amber tone that deepens the wood’s color, cures to a noticeably harder film, but takes longer between coats and comes with a strong solvent smell that needs real ventilation. Water-based stays clear rather than ambering, dries fast enough to get three coats done in a single day, and cleans up with water instead of mineral spirits — but the film is softer, so it’s a better match for lighter-use pieces than a high-traffic kitchen island edge.
Either product needs the room warm and dry to cure properly; applying polyurethane outside its recommended temperature range is one of the most common reasons a finish stays tacky or fails to level out. If you’re deciding purely on how long you’ll be waiting around between coats, actual dry times vary more by brand and humidity than by the oil-based/water-based split alone, so check the can before you plan your day.
Applying Polyurethane to a Non-Cutting Butcher Block: Step by Step
The prep work matters more than the number of coats. Start by sanding through 120-grit and then 220-grit, always with the grain — cross-grain scratches show up as pale streaks once the finish goes on and highlights every flaw. Vacuum the dust, then wipe with a barely damp cloth and let it dry fully; any dust left behind gets sealed under the first coat permanently.
Coat 1: The Sealing Coat
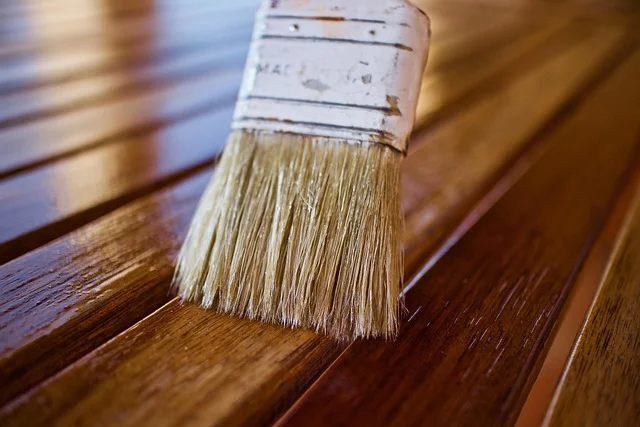
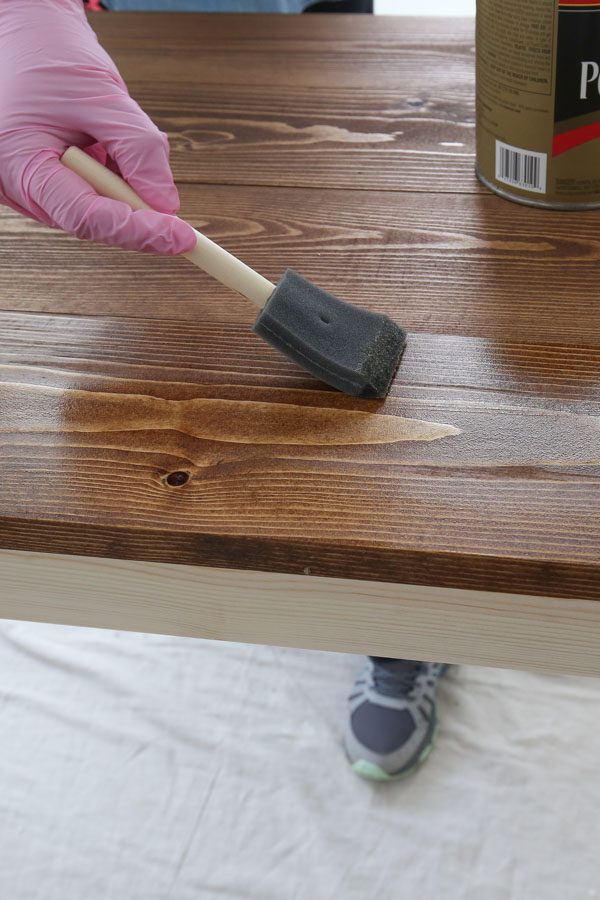
Thin the first coat slightly if you’re using oil-based (roughly 10% mineral spirits) so it penetrates instead of sitting on top. Brush or wipe it on in thin, even strokes with the grain, and resist the urge to go back over a spot once it’s laid down — that’s what causes lap marks. Water-based needs 2-4 hours before you can recoat; oil-based typically needs a full 24 hours, though some fast-dry oil-based formulas claim 4-6 hours to the touch and still recommend waiting longer before sanding.
Coat 2: Building the Film
Once the first coat is dry enough that it doesn’t feel tacky, knock down any raised grain or dust nibs with 320-grit sandpaper, vacuum again, and apply the second coat the same way. This is the coat that actually starts building meaningful protection — the first coat is mostly absorbed into the wood fibers.
Coat 3 (and 4, If You Go There)
Repeat the light-sand-and-recoat cycle for the third coat. For a piece that gets heavy daily contact — leaned on, set with hot dishes, wiped down constantly — a fourth coat adds real margin. For a lower-traffic accent piece, three is genuinely enough; a fourth coat there is diminishing returns.
| Finish Type | Typical Recoat Window | Full Cure Before Heavy Use |
|---|---|---|
| Water-based polyurethane | 2 to 4 hours | About 7 days |
| Oil-based polyurethane | Roughly 24 hours (check the can — some fast-dry formulas are shorter) | 2 to 4 weeks |
“Dry to the touch” and “fully cured” are different milestones. The surface can feel hard within a day but still be soft enough underneath to dent or haze if something heavy sits on it — give it the full cure window before you treat the piece normally.
Signs You Need a Third or Fourth Coat
Hold the surface at an angle to a window or overhead light after the second coat cures. If you can still see dull patches, open grain, or spots where the wood looks slightly different in sheen from the rest, that’s unsealed wood telling you it needs another pass. Water beading up into distinct droplets rather than sitting flat means the film is doing its job; water that soaks in or spreads out unevenly means you’re not there yet. A block that gets constant contact — hands, pans, the occasional damp sponge — earns a fourth coat even if the third one looked fine, simply because there’s more wear to absorb before the film needs redoing.
Maintaining a Polyurethaned Butcher Block Countertop
A finished counter doesn’t need much — wipe spills promptly, clean with a damp cloth and mild soap, and avoid setting anything straight from the oven directly on the surface, since sustained heat can soften and cloud the film. Watch for a dulling sheen or a rough patch you can feel with your palm; that’s the cue to scuff-sand lightly with 320-grit and add one fresh coat, rather than waiting for the finish to actually fail. Most polyurethaned surfaces go 2-5 years between touch-ups depending on how much daily contact they get, not on any fixed calendar schedule.
What to Use Instead on the Part You Actually Cut On
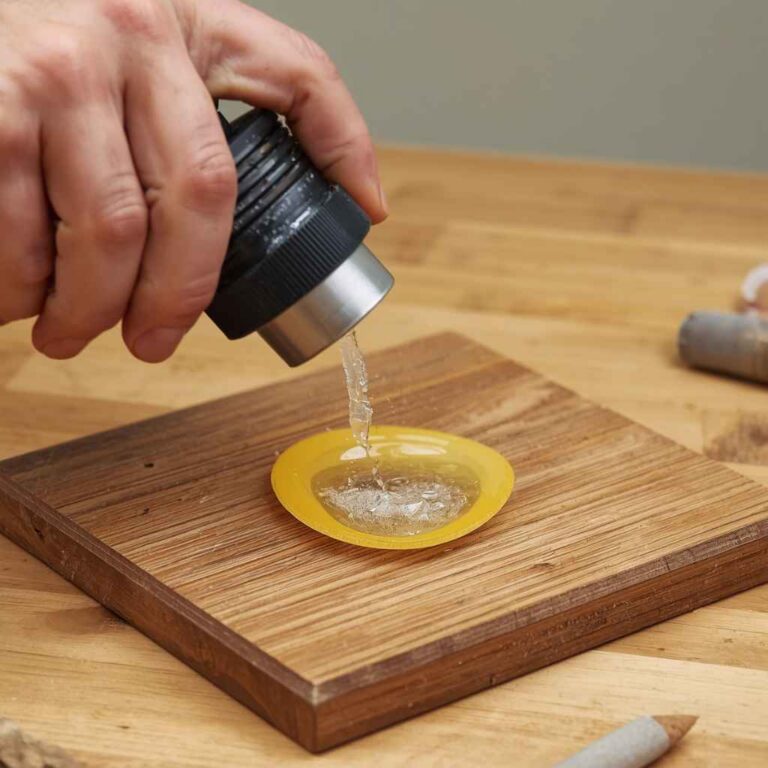
For any section of the block that meets a knife, skip film finishes entirely and use 100% food-grade mineral oil, optionally topped with a beeswax-and-mineral-oil conditioner for extra water resistance between oilings. There’s no coat count here in the polyurethane sense — you flood the surface, let it soak in for 20-30 minutes, wipe off the excess, and repeat until the wood stops visibly absorbing oil (usually 2-3 applications on a new board). After that, a working cutting surface needs reoiling every 2-4 weeks, or the moment water stops beading on it, whichever comes first.
Don’t reach for cooking oils like olive or vegetable oil — they’re not shelf-stable and will turn rancid inside the wood grain over time. Mineral oil is refined petroleum distillate with no expiration and no food odor, which is why it’s the standard recommendation from butcher block manufacturers rather than anything from the pantry.
Common Mistakes to Avoid
Finishing the Whole Piece the Same Way
The single most common mistake on this specific project is treating a butcher block as one uniform surface and polyurethaning all of it, including the section that gets used for prep work. Decide which zones are display/serving and which are cutting before you open a can of anything.
Applying Too Many Thick Coats
More coats brushed on heavy doesn’t equal more protection — thick coats trap solvent underneath, which shows up later as a cloudy or slightly tacky film that never fully hardens. Thin coats, properly dried, beat thick coats every time.
Skipping the Cure Time Before Real Use
Putting the piece back into daily use right after the last coat feels dry, instead of waiting for the full cure window, is why finishes haze, dent, or print with fabric marks in the first month. The extra few days of patience is what the whole finishing process was for.
Frequently Asked Questions
Can I use polyurethane on a butcher block I actually cut on?
No. A cured polyurethane film is safe to touch, but a knife blade cuts through it, and the resulting scratches trap moisture and bacteria in a layer that can’t be sanded out without stripping the whole surface. Reserve polyurethane for display counters, tables, and non-cutting areas, and finish any true cutting zone with food-grade mineral oil instead.
How many coats of polyurethane does a butcher block need?
Three coats is the standard for a non-cutting butcher block counter or table, with a fourth added for surfaces that see heavy daily contact. Each coat needs to dry fully and get a light sanding pass before the next one goes on.
Is polyurethane food safe once it’s cured?
Once fully cured, polyurethane is generally considered inert and food-safe to touch. The safety issue isn’t the chemistry — it’s that knife contact cuts through the film and creates channels where bacteria can collect, which is why it still shouldn’t be used on an actual cutting surface.
What should I use instead of polyurethane on a cutting surface?
100% food-grade mineral oil, applied until the wood stops absorbing it and then reapplied every 2-4 weeks, is the standard recommendation. A beeswax-and-mineral-oil conditioner on top adds extra water resistance between oilings. Avoid cooking oils like olive or vegetable oil, since they can go rancid inside the wood.
Do I need to sand between coats of polyurethane?
Yes. A light pass with 320-grit sandpaper between coats knocks down raised grain and dust nibs and gives the next coat something to grip. Vacuum and wipe away the sanding dust before recoating, since dust trapped under a coat shows up as a rough texture in the final finish.
Conclusion
Three to four coats of polyurethane is the right answer for a butcher-block countertop, island top, or table that stays out of the way of a knife. It is not the right answer for the part of the block you actually cut on — that section needs food-grade mineral oil and wax, reapplied regularly, with no film finish involved at all. Get that split right first, and the coat count above will take care of the rest.
Sponsored / affiliate links. As an Amazon Associate I earn from qualifying purchases. I may earn additional commission from eligible campaigns.