Minwax Polyurethane Drying Time: Recoat & Cure Hours Explained
Minwax polyurethane drying time depends on which can you bought. Minwax Fast-Drying Polyurethane (oil-based) says to let each coat dry 4-6 hours before a light 220-grit sanding, while the water-based Oil-Modified Polyurethane, Polycrylic and Wipe-On Poly finishes say 2-3 hours. After the last coat, the oil-based and most water-based directions say to wait 24 hours before light use. Below are the actual numbers from Minwax product pages, plus the part most guides skip: how many coats each finish needs, because that decides which one actually gets you to a usable surface first.
This page is about the topcoat only. If you stained first, the wait before the first poly coat is covered in how long to let stain dry before polyurethane, and brand-by-brand stain times are in our oil-based stain drying time guide.
Minwax Polyurethane Drying Times by Product
Best Fast-Drying Pick
|
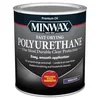
Minwax Fast-Drying Polyurethane (Warm Satin, 1 Qt), $15.97 The oil-based formula in the table below with the shortest oil-based schedule: Minwax says to let it dry 4-6 hours, sand lightly with 220-grit, then recoat.
|
As an Amazon Associate we earn from qualifying purchases.
We read the current product page for each finish on minwax.com on 2026-10-07 and copied the application directions and the spec-line values. “Recoat wait” is the time in the directions before the light sanding step, not a touch-dry time.
| Minwax product | Base | Recoat wait (directions) | Coats | Before light use |
|---|---|---|---|---|
| Fast-Drying Polyurethane | Oil | 4-6 hours, then sand 220-grit | 2 (3 for max durability) | 24 hours after final coat |
| Fast-Drying Polyurethane 350 VOC | Oil | 3-4 hours, then sand 220-grit | 2 | 24 hours after final coat |
| Wipe-On Poly (oil-based) | Oil | 2-3 hours, then sand 220-grit | 2 (3rd optional) | 24 hours after final coat |
| Water Based Oil-Modified Polyurethane | Water | 2 hours, then sand 220-grit | 3 required | 24 hours after final coat |
| Polycrylic Protective Finish | Water | At least 2 hours, then sand 220-grit | 3 recommended | 3 hours light handling, 24 hours normal use |
| Water Based Wipe-On Poly | Water | At least 2-3 hours, then sand lightly | 3 recommended | 24 hours before normal use |
| Water Based Helmsman Spar Urethane | Water | At least 2 hours, then sand 220-grit | 3 required (3-4 on spec line) | Spec line lists 24-72 hours dry time |
Two details in that table are easy to miss. First, Minwax calls the standard Fast-Drying can oil-based: its spec line lists mineral spirits cleanup, so “fast-drying” does not mean water-based. Second, the Fast-Drying page contradicts itself: the spec line says recoat in 3-4 hours, but the step-by-step directions say let dry 4-6 hours. When a spec line and the directions disagree, follow the directions, because they are the instruction tied to the sanding step.
The Real Finish Line: Minimum Wait from First Coat to Light Use
Water-based finishes dry between coats in about half the time, so they look faster. But several need a third coat. Adding up only the waiting times from the directions above (and ignoring brushing and sanding time) gives a different picture:
| Finish | Coats | Waiting between coats | Final wait | Minimum total wait |
|---|---|---|---|---|
| Fast-Drying Polyurethane | 2 | 4-6 hours (1 gap) | 24 hours | 28-30 hours |
| Wipe-On Poly (oil-based) | 2 | 2-3 hours (1 gap) | 24 hours | 26-27 hours |
| Water Based Oil-Modified Polyurethane | 3 | 2 hours x 2 gaps = 4 hours | 24 hours | 28 hours |
| Polycrylic Protective Finish | 3 | 2 hours x 2 gaps = 4 hours | 24 hours for normal use | 28 hours |
Takeaway: if you only want two coats, oil-based Fast-Drying and the water-based finishes land within a couple of hours of each other. The water-based advantage is mostly that you can finish three coats in a single working day. These totals are our arithmetic from Minwax’s published wait times, not a Minwax claim, and they are minimums for a dust-free room.
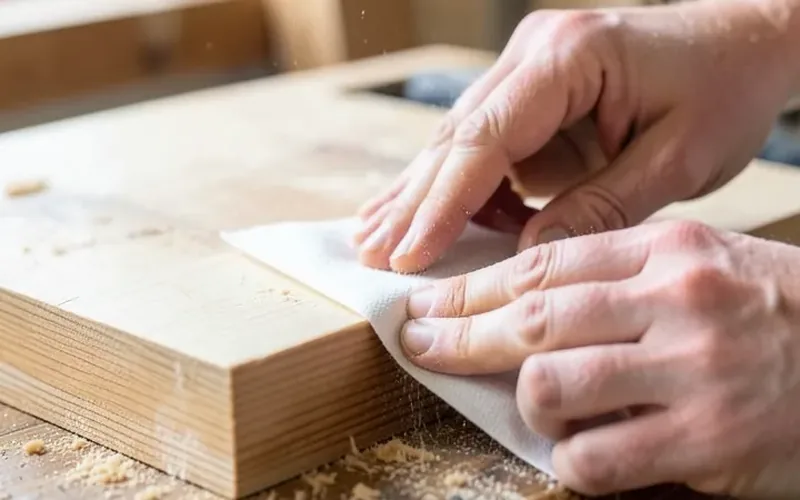
Dry to the Touch vs. Recoat vs. Light Use vs. Heavy Use
Minwax separates four moments, and mixing them up is how people ruin a finish:
- Recoat wait: the time before you sand and apply the next coat (2-6 hours depending on product, see table).
- Light use: 24 hours after the final coat on the oil-based and most water-based directions.
- Heavy traffic and furniture (floor projects): the Fast-Drying and Oil-Modified directions say avoid heavy traffic and replacing furniture for 72 hours after the final coat, and do not slide furniture when you put it back.
- Rugs and cleaning (floor projects): the same directions say do not install rugs or clean floors for 7 days.
Notice what is missing: the Minwax pages we read do not publish a “full cure” number in days, and they give no temperature or humidity figures. Cure times you see quoted elsewhere (such as 30 days for oil-based poly) are general industry rules of thumb, not Minwax label values, so treat the 72-hour and 7-day floor limits above as the only Minwax-stated protective windows.
Can You Recoat Early or Late?
Early: do not. The recoat wait is the minimum before you sand, and sanding finish that is still soft clogs the paper and tears the film. If the surface gums up when you sand, stop and wait longer instead of pushing through. This is the situation behind the common search “can I re-apply Minwax poly within 3 hours”: for the standard Fast-Drying can the directions say 4-6 hours, and 3 hours is only the low end of the 350 VOC version.
Late: none of the Minwax pages we read state a maximum recoat window. What they do state is the sanding step, so if you come back the next day, still scuff the whole surface with 220-grit and remove all dust before the next coat so it bonds.
What Speeds Up or Slows Down Drying
- Coat thickness: every Minwax direction we read says to apply a thin coat. A thick coat is the most common reason a finish is still soft when the clock says it should be ready.
- Ventilation: the cautions tell you to open windows and doors or otherwise bring in fresh air during application and drying, which also helps the solvent leave the film.
- Cold rooms: Minwax gives no temperature range, but a cold space generally slows drying. See our guide on whether polyurethane dries in cold weather and plan extra time.
- Wood and prior stain: a stained surface must be dry first (see the stain guides linked above), and dense hardwoods absorb less finish than pine.
Safety Note for the Oil-Based Cans
The Fast-Drying and oil-based Wipe-On Poly labels carry a fire warning: rags, steel wool, other waste soaked with the product and the sanding residue can spontaneously catch fire if improperly discarded. Minwax directs you to put them in a sealed, water-filled metal container. This matters most on the sanding step in this guide, because the dust from sanding between coats counts as residue. Water-based finishes do not carry that specific warning, but both types list ventilation cautions.
Which Finish Fits Your Project
For a tabletop or cabinet where one working day matters, the Fast-Drying oil-based finish gives the shortest oil-based schedule. For a project where you want soap-and-water cleanup and three coats in one day, the Water Based Oil-Modified or Polycrylic finishes fit. For outdoor or exposed pieces, compare spar urethane vs polyurethane before you buy, and see our wood finishing guide for how topcoats fit with stains and oils.
Ready to put the finish on? Our tabletop polyurethane application guide covers brush technique, how much finish a table uses, and fixing bubbles and brush marks.
Finishing a floor instead of a table? See our best polyurethane for hardwood floors comparison for coverage, coat counts and gloss levels by product.
Frequently Asked Questions
How long does Minwax polyurethane take to dry?
It depends on the product. Minwax Fast-Drying Polyurethane says let each coat dry 4-6 hours before sanding and recoating, the water-based finishes say 2-3 hours, and most directions say to wait 24 hours after the final coat for light use.
Do you need to sand between coats of Minwax polyurethane?
Yes. The directions on every Minwax polyurethane page we read call for lightly sanding the whole surface with fine 220-grit sandpaper after the recoat wait, then removing all dust before the next coat.
Is Minwax Fast-Drying Polyurethane oil-based or water-based?
It is oil-based. Minwax lists mineral spirits for cleanup. The water-based options are Water Based Oil-Modified Polyurethane, Polycrylic and the water-based Wipe-On Poly.
How long before I can walk on or use a Minwax finished surface?
Minwax directions say wait 24 hours after the final coat before light use. For floor projects, avoid heavy traffic and replacing furniture for 72 hours, and do not install rugs or clean the floor for 7 days.
Can I recoat Minwax polyurethane before the minimum time?
Not safely. The recoat wait is the minimum before the required sanding step. If the finish is still soft and clogs the sandpaper, wait longer before sanding and applying the next coat.
Conclusion
Use the product-by-product table first: pick your exact can, wait the stated recoat time, sand with 220-grit, and give the last coat a full 24 hours before light use. Counting coats matters as much as counting hours, since a water-based finish that needs three coats lands close to a two-coat oil-based schedule.
Sponsored / affiliate links. As an Amazon Associate I earn from qualifying purchases. I may earn additional commission from eligible campaigns.