How to Build a Sleigh Out of Wood
Build a wooden sleigh by choosing the scale first: about 24–36 inches long for tabletop decor, about 4–6 feet for porch display, and 6 feet or longer only if a full-size Santa prop and a stronger frame are needed. If you skip that step, the sleigh can look awkward, tip over, or fail under its own weight. This guide gives you the sizes, material choices, framing steps, runner methods, and assembly sequence you need for the right build.
This guide is part of our Christmas Woodworking Projects: Ornaments, Gifts and Decor series.
What you’ll need
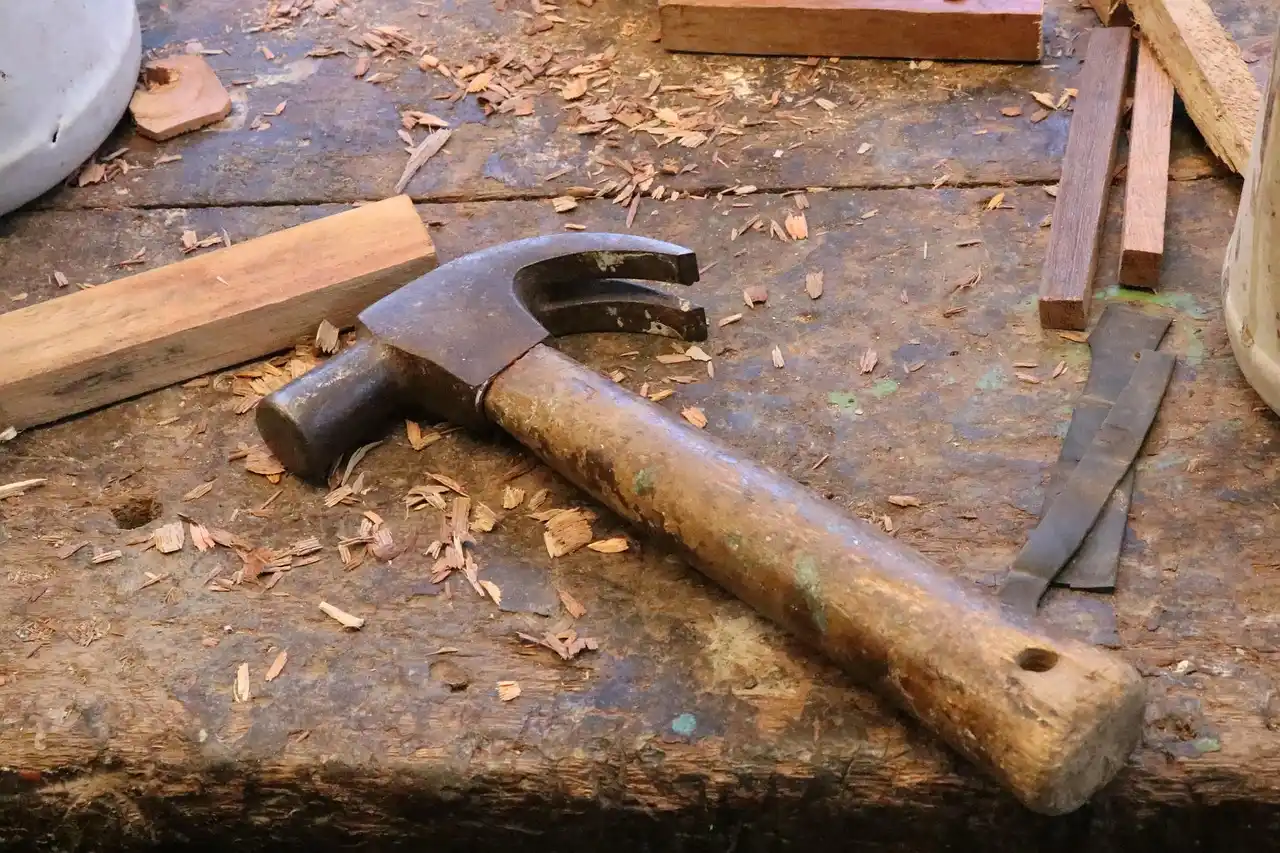


- Jigsaw for curved runner sides and profile cuts
- Circular saw for straight frame cuts and sheet goods
- Miter saw for repeatable square or angled crosscuts
- Drill/driver with wood bits and countersink bit
- 2×2 or 2×4 lumber, straight and dry
- 3/4-inch plywood for base panels or side shapes
- 1/2-inch plywood for lighter decorative panels
- Wood screws, typically 1-1/4 inch to 2-1/2 inch
- Construction adhesive for frame joints
- Wood glue for interior joinery and lamination
- Clamps for runner lamination or assembly support
- Primer, exterior paint, and clear exterior sealer or topcoat
- Sandpaper in 120, 180, and 220 grit
Wood and sheet goods to compare before you buy
Use plywood for cutout sides, a cargo platform, or decorative panels because a 4×8 sheet gives you repeatable parts from one layout. Use straight dimensional lumber for the frame and runners. For outdoor display, choose kiln-dried stock and skip warped boards, because twist shows up fast in a narrow sleigh base.
Common plywood thicknesses are 1/2 inch and 3/4 inch. Thicker sheet goods hold screws better, but plywood edges still need sealing outdoors because water can enter the plies. Reclaimed lumber can work if it is straight, dry, and free of hidden nails, but it adds inspection time and cutting risk.
How big should the sleigh be?
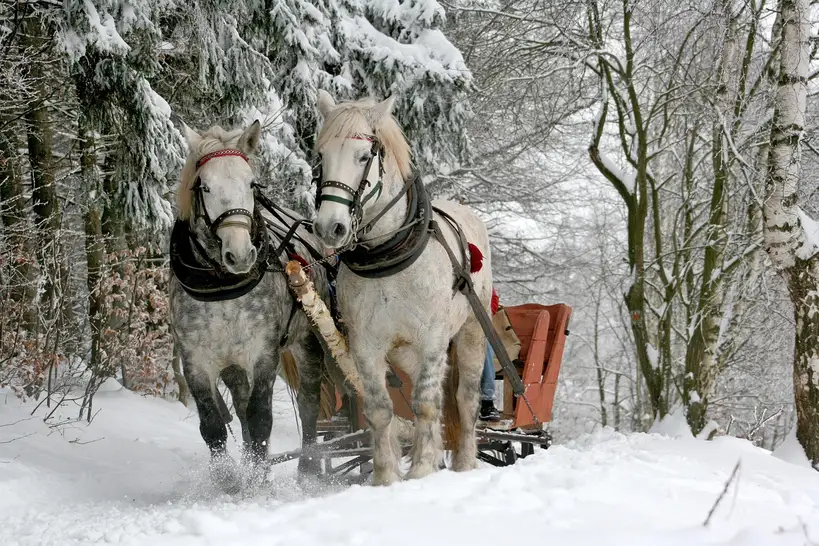
Size the sleigh to the display location before you cut anything. A tabletop version can be short and light, a porch sleigh needs enough footprint to resist tipping, and a full-size prop needs a deeper frame, stronger runners, and more storage room. Scale ratio matters because a thin runner that looks fine at 24 inches may be unstable at 6 feet.
Think about where it will sit, how it moves, and who will carry it. A porch display needs a footprint wide enough that wind or a bump will not flip it. A full-size Santa prop should allow a seated adult or heavy faux load only if the frame is built for that load path from runners to seat platform.
Sleigh size and material decision table
| Build target | Recommended dimensions | Lumber and sheet thickness | Estimated material quantity | Stability risk | Finish type |
|---|---|---|---|---|---|
| Tabletop | 24–36 in. long, 10–14 in. wide, 10–16 in. tall | 1/2 in. plywood plus 1×2 or 2×2 framing | 1/2 sheet plywood, 8–12 linear ft framing | Low indoors; medium if oversized gifts are added | Interior primer and paint, optional clear coat |
| Porch display | 48–72 in. long, 18–28 in. wide, 24–36 in. tall | 3/4 in. plywood base, 2×2 frame, 1×2 trim | 1 sheet plywood, 20–30 linear ft framing | Medium to high in wind or on uneven ground | Exterior primer, exterior paint, clear sealer |
| Full-size prop | 72 in. or longer, 24–36 in. wide, 30–42 in. tall | 3/4 in. plywood and 2×4 frame, with bracing | 1 to 2 sheets plywood, 30–45 linear ft framing | High unless runners, joints, and base are reinforced | Exterior primer, multiple paint coats, UV-resistant topcoat |
How do you build the frame?
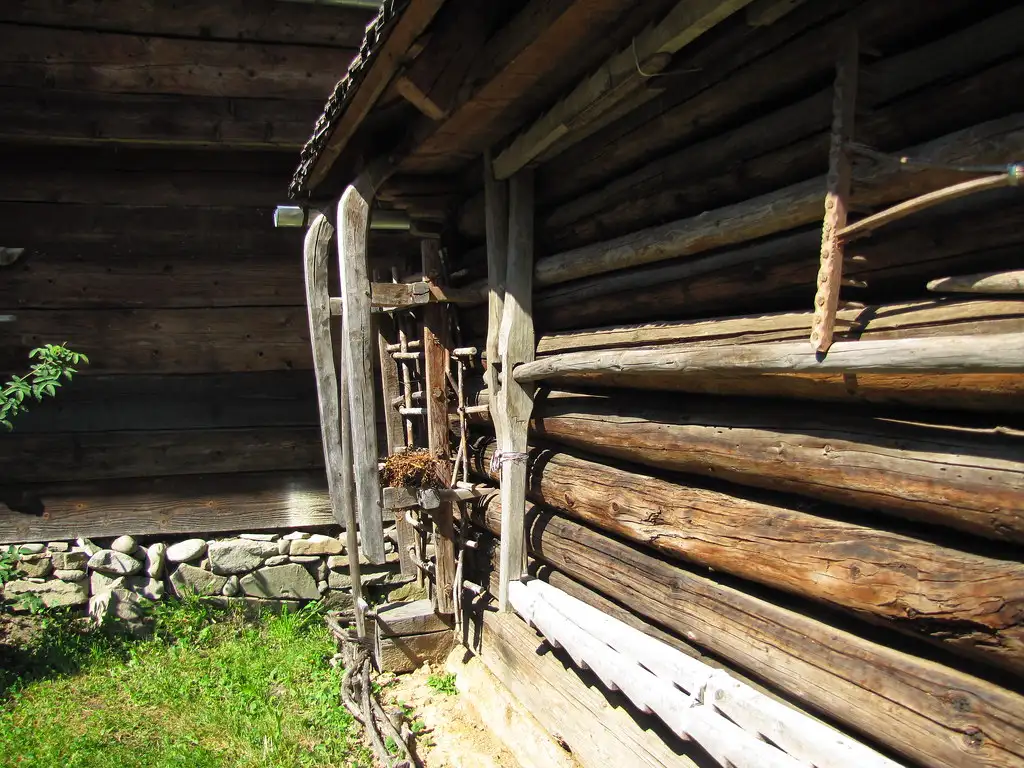
Build the frame around the intended load, not around the decoration. The base dimensions, runner spacing, and seat or cargo platform must work together so weight travels into the runners instead of twisting the side panels. For a decorative sleigh, the frame can be light. For a full-size prop, it needs real structural members.
- Mark the base length, width, and runner spacing on plywood or lumber.
- Cut the side rails, front and rear crosspieces, and platform supports.
- Dry-fit the frame on a flat surface and check for square.
- Apply construction adhesive at each joint and fasten with predrilled screws.
- Add one center brace for tabletop builds and two for porch or full-size builds.
- Set the seat or cargo platform so its weight lands over the runners, not outside them.
A common first-timer mistake is making the body wider than the runners. That creates a top-heavy look and a real tip hazard. Suppose a 60-inch porch sleigh has a 26-inch-wide body but runners only 14 inches apart at the ground; the narrow stance can feel tippy even before you add gifts or figures.
Check square and reinforce load-bearing joints
Measure both diagonals of the frame. If they match, the rectangle is square. If they do not, loosen the screws, adjust, and retighten before adding the runners. Use glue on interior joints and screws with pilot holes to reduce splitting, especially in 2×2 stock and near board ends.
How do you make the runners?
Runners do the real balancing work. Their curve, length, and contact points decide how well the sleigh resists tipping and how it sits on a porch or floor. A flatter runner looks sleeker but can rock forward more easily. A deeper curve helps stability, but too much curve shortens the contact patch and can make the front look abrupt.
Trace the runner shape and bend radius
For a decorative sleigh, a runner can be cut from 3/4-inch plywood in a single profile. For a stronger build, laminate two or three thinner strips around a template. A common bend radius for a gentle sleigh runner is about 18 to 30 inches, depending on overall length. Use a paper or hardboard pattern first so both sides match.
Attach runners so the sleigh stays balanced
Mount the runners parallel to each other and to the base. Add crosspieces between them before final fastening. If the front lift is too low, the nose can catch on ground or trim. If it is too high, the sleigh sits back and may rock. Keep the front tips even and the rear contact points aligned.
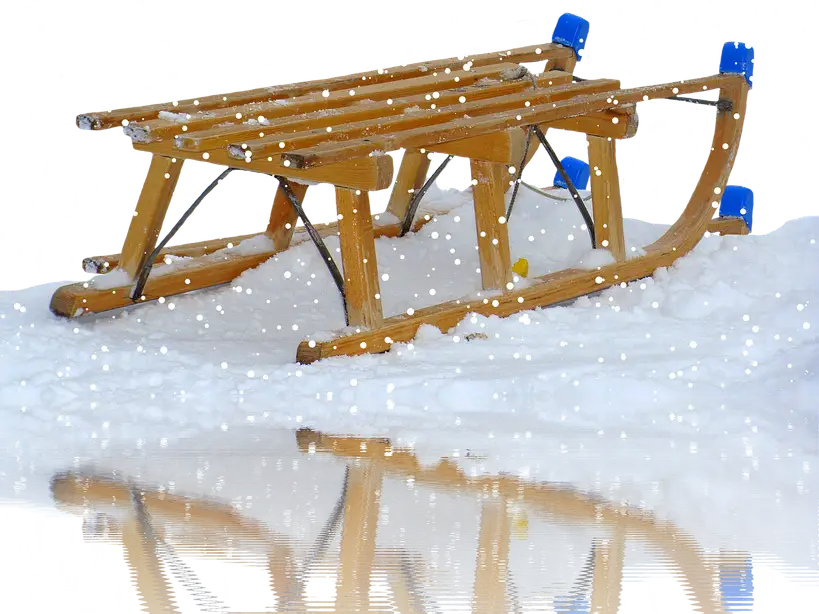
For a dog-sled-style build, use lighter framing, a lower body, and a longer runner contact area. That version works better for a stylized sled look than for a seated Santa display. If you want a sled instead of a sleigh, reduce side height and remove the seat platform so the design matches the use case.
Finish and weatherproof the sleigh
Sand all surfaces before coating. Start with 120 grit, then move to 180 or 220 grit on visible faces. Fill screw heads and seams if you want a cleaner finish. For indoor decor, primer plus paint is enough. For outdoor display, use exterior primer and paint, then add a clear exterior sealer or topcoat rated for UV and moisture exposure.
Plywood edges need special attention outdoors. Seal them first, because exposed plies soak up water faster than the face veneer. A porch display left through wet winter weather may also need touch-ups each season. Paint color is optional, but red, white, or gold works best after the structure is sound and sealed.
Choose the finish for indoor or outdoor use
- Indoor tabletop: primer, two paint coats, optional clear coat
- Porch display: exterior primer, exterior enamel or acrylic paint, clear exterior sealer
- Full-size prop: exterior primer, two finish coats, UV-resistant topcoat, edge sealing
Common mistakes
Weak joints, undersized runners, and skipped pilot holes cause most failures. Outdoor weather adds another layer of risk because moisture swells joints and UV breaks down paint. Keep the structure simple, heavy where it counts, and sealed where water can enter.
- Weak joinery: use glue plus screws, not screws alone, on frame joints.
- Runners that are too flat: raise the front curve enough to clear the ground and control rocking.
- Runners that are too short: increase length so the sleigh carries weight over a wider base.
- Splitting at screws: drill pilot holes, especially in soft pine and near ends.
- Poor weather resistance: seal plywood edges and use exterior-rated finish on porch builds.
Say your porch sleigh is 5 feet long and sits on a front step exposed to rain. If you use interior paint only, the finish can blister at the plywood edges first, then the water reaches the fasteners. A seasonal maintenance coat is far easier than repairing swollen panels later.
If that didn’t work, try this next
If the sleigh still rocks, add a wider runner stance by shifting each runner outward 1/2 inch to 1 inch, then recheck level on a flat floor. If the frame flexes, add one more center brace or a diagonal brace under the platform. If screws pull loose, replace them with longer screws and fresh pilot holes.
Frequently asked questions
How do I build a sleigh out of wood?
Start with the use case, then cut a frame, add curved runners, and attach a platform or decorative body. For a tabletop sleigh, about 1/2-inch plywood and 1×2 framing are often enough. For porch or full-size builds, move to 3/4-inch plywood and 2×2 or 2×4 structure.
How do I build a Santa sleigh out of wood?
Use a deeper body, taller sides, and a wider stance than a small decor sleigh. A Santa prop often looks best at 4 to 6 feet long for porch display or longer for stage use. Keep the center of gravity low by placing the platform between the runners, not high above them.
How do I make a sleigh out of wood for outdoor display?
Choose exterior-rated primer, exterior paint, and a clear topcoat or sealer. Seal every plywood edge before assembly if possible, then touch up fastener heads after installation. Set the sleigh on level ground or add hidden shims so wind does not increase tipping risk.
What wood should I use to build a wooden sleigh?
Use straight, dry dimensional lumber for the frame and runners, then plywood for shaped panels. Kiln-dried pine is common for light builds, while straighter fir or similar framing lumber suits larger props. Avoid warped reclaimed boards unless you can remove nails and confirm they are dry.
How do I keep a wooden sleigh stable and balanced?
Keep the runners parallel, widen the stance for larger builds, and place the platform weight between the runners. A level floor makes setup easier, but a porch display still needs a broad enough footprint to resist side-to-side movement. Add ballast inside the base only if the structure can support it.
How do I finish and weatherproof a wooden Christmas sleigh?
Sand to at least 180 grit, then apply primer before paint. For outdoor use, use exterior-rated products and seal the edges, screw holes, and end grain. Recheck the finish at the start of each season, because UV and moisture usually wear edges and joints first.
Sponsored / affiliate links. As an Amazon Associate I earn from qualifying purchases. I may earn additional commission from eligible campaigns.