Wood Snowflake Decorating Ideas
Wood snowflake decorating ideas work best when you scale them by placement. A practical starting point is 6–8-inch pieces for tree-adjacent accents, 10–14-inch pieces for mantels, and 18 inches or larger for walls and porches. Use the wrong size or finish, and the pieces can read as clutter, disappear against the background, or fail outdoors. This guide covers wood species, finishes, cut styles, hanging methods, and layout choices for Christmas and winter displays.
This guide is part of our Christmas Woodworking Projects: Ornaments, Gifts and Decor series.
What you’ll need
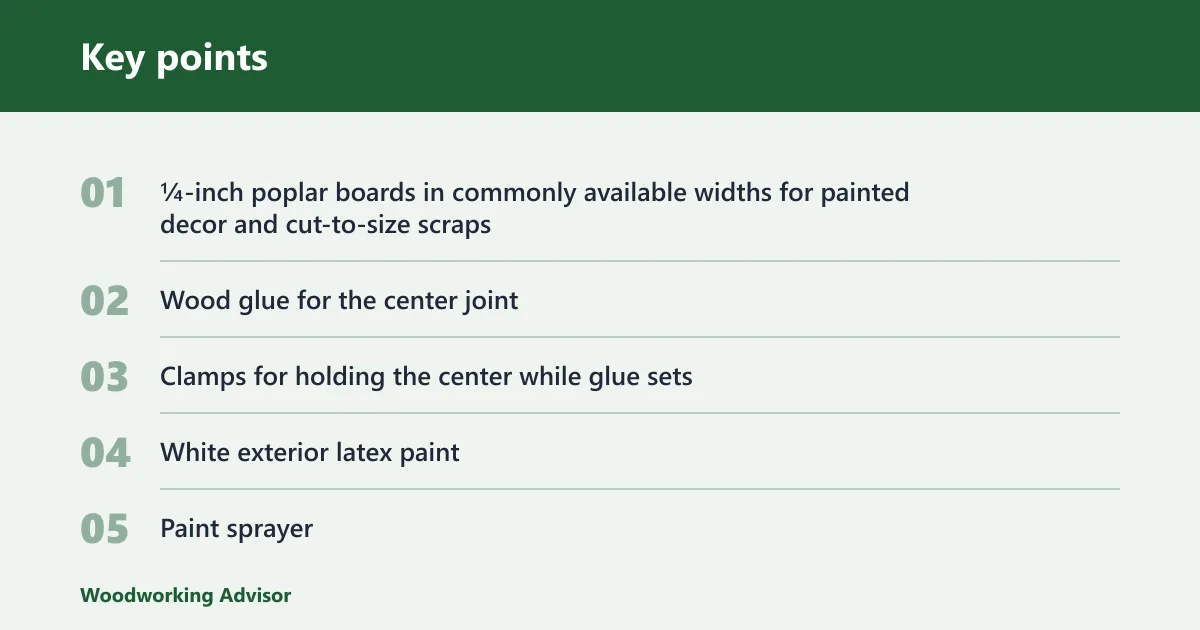


- ¼-inch poplar boards in commonly available widths for painted decor and cut-to-size scraps
- Wood glue for the center joint
- Clamps for holding the center while glue sets
- White exterior latex paint
- Paint sprayer
- White glitter for optional shimmer while paint is wet
- Hanging strips for indoor wall mounting
- Compound miter saw for repeatable angled cuts
- Measuring tape, pencil, and square for layout
- Sandpaper for light edge cleanup
- Scrap wood, if you want a budget-friendly build
Wood choices for different finishes
Poplar works well when you plan to paint the snowflake. It cuts cleanly, accepts latex paint well, and the ¼-inch thickness keeps the finished piece flat for wall hanging. Scrap wood can work too, but only if the boards are flat and close in thickness.
Pine gives a warmer, more natural look, but knots and grain can telegraph through paint. Plywood is fine for a budget build, though exposed edges usually need extra smoothing or a trim detail. Reclaimed scraps suit rustic indoor decor where small color changes fit the design.
How do you choose the right size?
Choose size by viewing distance and placement. Small 6–8-inch snowflakes work near a tree, on narrow shelves, or in grouped window displays. Medium 10–14-inch pieces suit mantels and standard walls. Large pieces at 18 inches or more read better on porches, entry walls, and oversized blank spaces.
Small, medium, and oversized uses
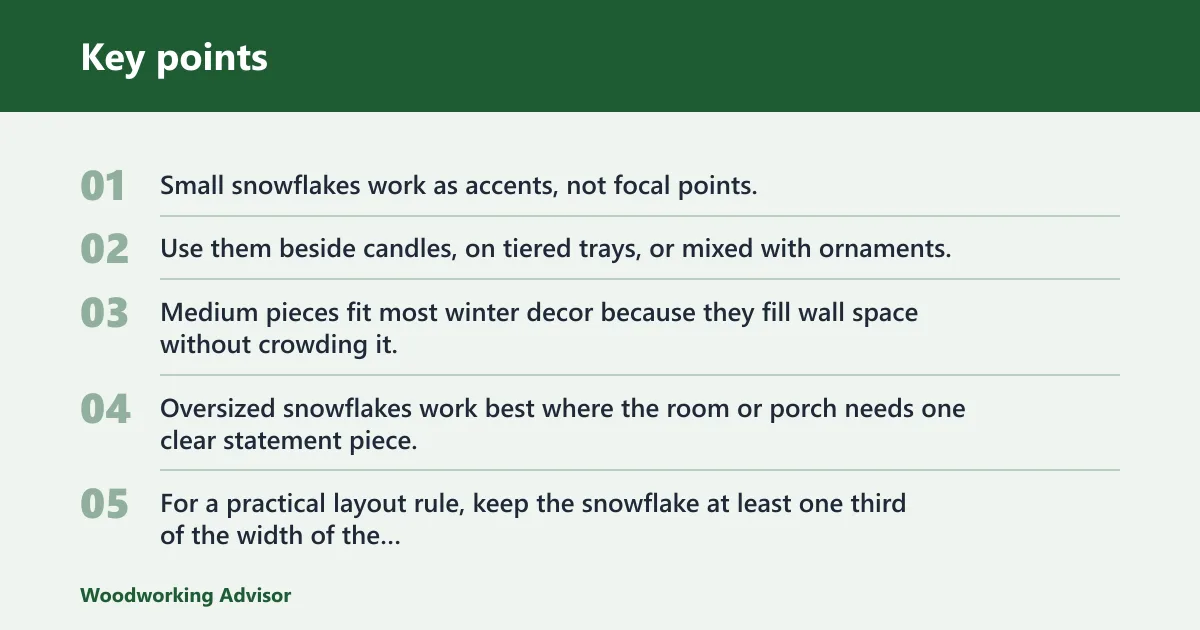
Small snowflakes work as accents, not focal points. Use them beside candles, on tiered trays, or mixed with ornaments. Medium pieces fit most winter decor because they fill wall space without crowding it. Oversized snowflakes work best where the room or porch needs one clear statement piece.
For a practical layout rule, keep the snowflake at least one third of the width of the display zone when you want it to feel intentional. A 12-inch piece on a 36-inch mantel looks balanced. The same piece on a long porch wall can disappear.
As a worked decorating example, a 12-inch snowflake can anchor the center of a mantel, with two 6–8-inch pieces staggered on each side to echo the shape without crowding the garland. On a wall, three medium pieces can be spaced in a loose diagonal from upper left to lower right so the grouping feels deliberate instead of scattered.
How do you make a wooden snowflake for Christmas decor?
Cut a flat, symmetrical base from ¼-inch board stock, assemble the arms at roughly 60-degree angles, glue the center, and finish it in painted or natural form. The shape uses a simple six-arm layout. Your decorating choice depends on the size, the board width, and whether the piece needs to stand up to indoor or outdoor use.
Cut and assemble the arms
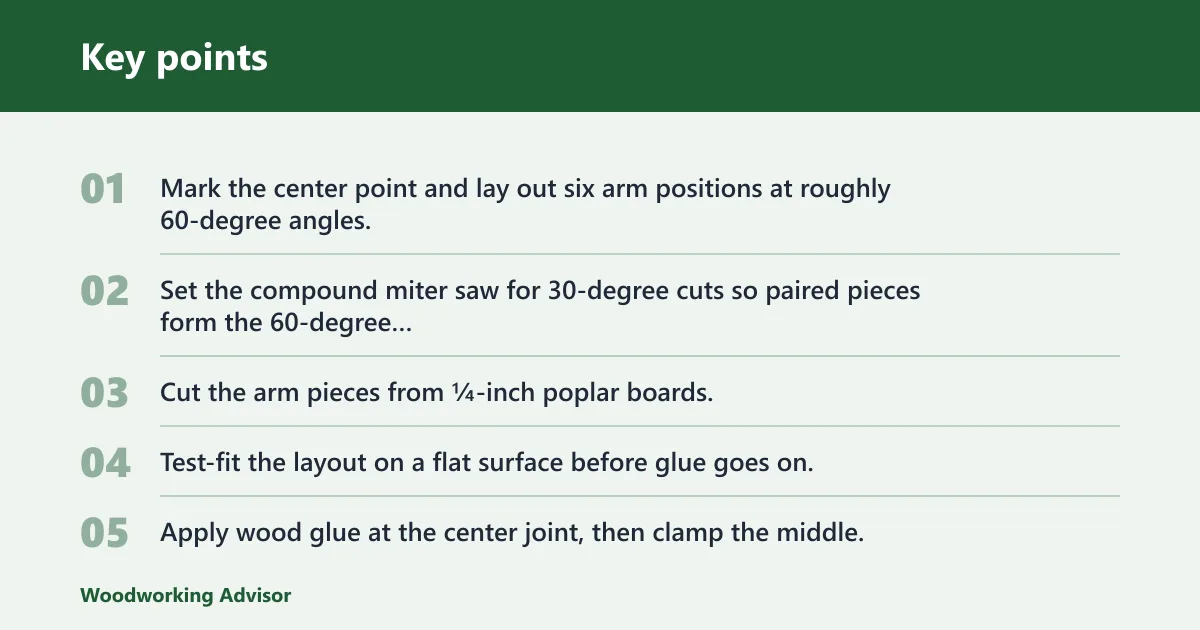
- Mark the center point and lay out six arm positions at roughly 60-degree angles.
- Set the compound miter saw for 30-degree cuts so paired pieces form the 60-degree geometry in the board segments.
- Cut the arm pieces from ¼-inch poplar boards, using commonly available widths for lighter or bolder forms.
- Test-fit the layout on a flat surface before glue goes on.
- Apply wood glue at the center joint, then clamp the middle.
- Leave the clamped center in place for at least 60 minutes before moving it.
Handle warp and mismatch early
Do not force bowed stock into a snowflake pattern. If the board rocks on a flat surface, replace it with flatter material. A slightly mismatched arm can often be trimmed back, but a twisted or cupped piece will fight the layout and make the center joint harder to keep square.
Suppose one arm sits 1/8 inch high at the center. Trim the offending end and test again before adding glue. That keeps the finished face flat and makes later painting much easier.
What tools do I need to make a wooden snowflake?
You need only a short list of tools for a clean build: a compound miter saw for angled cuts, clamps for the center joint, a paint sprayer for even coverage, and basic layout tools. A sanding block helps with edge cleanup. If you skip the saw, the project still works, but the layout takes longer.
Cutting tools by build style
A compound miter saw is the best choice for repeatable segment cuts. It speeds up duplicate arms and keeps the angle consistent across the snowflake. For a simpler flat shape, a basic saw and careful marking can work, but the cleanest symmetry comes from repeatable machine cuts.
A scroll saw is better if you want more decorative points or cutout details inside the arms. Hand tools can finish a small project, but they are slower and less accurate for multiple matching pieces. Choose the tool that matches the complexity of the design, not just the size.
How do you paint and finish it?
For even coverage, spray the snowflake in light passes and work the edges first, then the faces. White exterior latex paint is a practical choice for indoor decor and gives you more flexibility if the piece later moves to a covered outdoor spot. Let the finish dry overnight before hanging.
Painted, natural, and glittered looks
Painted white fits Christmas and winter decor best because it reads clearly against greenery, dark walls, and porch siding. Natural wood works when you want a softer, farmhouse look. A lightly distressed finish can make the piece feel less formal, especially on a mantel with candles and garland.
White glitter is optional and should go on while the paint is still wet. It catches light well on tree-adjacent pieces and smaller wall decor. Keep the glitter limited to the tips or center so the shape stays readable from across the room.
Snowflake build comparison table
| Variant | Size | Board type | Tool requirement | Estimated difficulty | Indoor/outdoor suitability | Best decorating use case |
|---|---|---|---|---|---|---|
| Mini accent | 6–8 inches | ¼-inch poplar, 2-inch widths | Compound miter saw, clamps | Easy | Indoor | Tree-adjacent display, shelf cluster |
| Mantel pair | 10–12 inches | ¼-inch poplar, 2-inch widths | Compound miter saw, paint sprayer | Easy to moderate | Indoor | Mantel grouping with garland |
| Standard wall piece | 12–14 inches | ¼-inch poplar, 4-inch widths | Compound miter saw, clamps, paint sprayer | Moderate | Indoor | Single wall statement above a console |
| Large wall decor | 18–24 inches | ¼-inch poplar or plywood | Compound miter saw, clamps, paint sprayer | Moderate | Indoor, limited outdoor with sealant | Entry wall or stair landing |
| Porch display | 24 inches or larger | Painted poplar or exterior-rated board | Compound miter saw, clamps, paint sprayer | Moderate to advanced | Outdoor with sealed finish | Porch wall, covered entry, front-door decor |
| Rustic scrap build | 10–18 inches | Flat scrap wood of similar thickness | Basic saw, clamps, sanding block | Moderate | Indoor | Natural winter display with less polished edges |
What decorating styles work best?
Wood snowflake decorating ideas work best when the snowflake fits the setting instead of fighting it. Mantels usually need a pair or trio with greenery. Walls need one large focal piece or a small group with even spacing. Porches need bold scale and a finish that can handle moisture exposure.
Mantels, walls, porches, and trees
For mantels, place the snowflake above garland and keep the finish either white or natural wood. For walls, use hanging strips so the display can be removed later without extra wall damage. Near a tree, use smaller snowflakes as a bridge between branches and the room around them.
For porches and entryways, choose a sealed painted finish and keep the decor under cover. A covered porch still gets humidity changes, so raw edges and weak glue joints are a poor match. White snowflakes against dark doors or siding tend to read clearly from a distance.
Picture a 24-inch snowflake hanging beside a front door, with a matching strand of cedar and a simple wreath. The scale works because the snowflake becomes part of the entry composition, not a stray ornament.
Can I make wood snowflake decorations from scrap wood?
Yes. Scrap wood works well when the boards are flat, close in thickness, and long enough to cut repeatable arms. It is a good way to use leftover offcuts from other projects. Just sort the pieces first so the final shape does not tilt or gap at the center.
When scrap wood is a good fit
Use scraps for rustic indoor displays, small accents, or pieces that will be painted solid white. Skip scraps with heavy cup, twist, or deep checking. If you want a cleaner painted finish, poplar is usually the better choice because the surface is more predictable and the edges are easier to finish.
Are wooden snowflakes safe to use outdoors?
They can be, but only with the right board, paint, and placement. A painted wooden snowflake is safer outdoors when it sits under cover and the finish is allowed to dry overnight before hanging. Unsealed raw wood, exposed end grain, and weak joints are the main problems in wet weather.
Outdoor durability basics
Use paint that can handle the exposure you expect, and add a clear exterior sealant if the piece will face moisture. Keep outdoor snowflakes out of direct puddle spray and heavy rain. If the display is on a porch, choose larger, sturdier pieces that are less likely to snap when bumped.
How do you hang wood snowflake wall decor without damaging the wall?
Use hanging strips for indoor wall mounting when you want a removable display. They are a practical choice for painted snowflakes because the flat back gives the strips a solid bond. They work best on smooth interior surfaces, not on damp porches or rough exterior siding.
Simple mounting check
Before hanging, make sure the paint is fully dry and the back of the snowflake is flat enough for the strip to grip. Clean dust from the wall and press the piece in place according to the strip instructions. For lightweight, flat indoor pieces, strips are usually a good choice; for oversized, heavy, or highly dimensional snowflakes, they may not be suitable and a more secure mounting method is better.
Common mistakes
Most problems start with the wood, not the paint. If the stock is warped, the center joint will fight you. If the angles are uneven, the snowflake looks off-center. If the glue joint is handled too early, the arms can drift before the bond sets.
- Using bowed or twisted boards instead of flat stock
- Skipping the clamp stage at the center joint
- Moving the piece before the glue has had enough time to set
- Painting before checking the fit and symmetry
- Choosing fragile details for a hanging spot that gets bumped
- Using indoor-only paint or an unsealed finish outdoors
A common first-timer mistake is building a 12-inch snowflake from uneven scraps and then trying to fix the shape with paint. That does not solve the joint geometry. The cleaner fix is to replace the worst board, recheck the angle, and rebuild the center before finishing.
Frequently asked questions
What size wood should I use for DIY wood snowflakes?
For small decor, use 6–8-inch pieces. For mantels, 10–14 inches works better. For walls and porches, 18 inches or larger gives the snowflake enough presence. The board should stay flat and thin, with ¼-inch material keeping the shape light and easy to hang.
How do you paint wooden snowflake decorations evenly?
Use a paint sprayer and keep the passes light and even. Spray the edges first, then the faces. Let the finish dry overnight before hanging, and clean latex paint from the sprayer with soap and water.
How long does it take to build a DIY wooden snowflake?
Cutting, fitting, gluing, and painting can fit into a weekend, but the finish needs time. The glued center should sit at least 60 minutes before handling, and the finish should dry overnight before hanging. Add more time if you are making larger pieces or using multiple coats.
Sponsored / affiliate links. As an Amazon Associate I earn from qualifying purchases. I may earn additional commission from eligible campaigns.