How To Clean Wood After Sanding: Essential Tips
Quick Summary
Cleaning wood after sanding is crucial for a smooth finish. Use a tack cloth for fine dust, a vacuum with a brush attachment for larger debris, and a damp (not wet) cloth for stubborn residue. Proper cleaning prevents imperfections in paint or stain.
Hey there, DIY friends! Md Meraj here, your go-to woodworking buddy. You’ve just finished sanding your wood project, and it looks and feels so much better, right? But before you dive into painting or staining, there’s one super important step that can make or break your finish: cleaning off all that sawdust. It might seem like a small detail, but trust me, lingering dust is the enemy of a smooth, professional look. It sneaks under paint, creates bumps with stain, and can leave you feeling frustrated. Don’t worry, though! In this guide, I’ll walk you through exactly how to get your wood surfaces sparkling clean after sanding, the easy way. We’ll cover the best tools and techniques so your final project looks fantastic. Ready to get that wood prepped for its finishing touch?
Why Cleaning Wood After Sanding is a Big Deal
You’ve put in the effort to sand your wood project smooth, which is fantastic! Sanding removes imperfections and creates that lovely, touchable surface. But here’s the thing: every grit of sandpaper you use releases tiny wood particles, or dust. This dust clings to the wood surface, and even to those freshly exposed wood fibers. If you don’t remove this dust thoroughly before applying any finish – be it paint, stain, varnish, or oil – you’re going to embed the dust right into your beautiful finish.
Imagine carefully applying a coat of paint, only to see little bumps and specks popping up everywhere. That’s the sawdust’s revenge! It can also affect how your stain penetrates the wood, leading to an uneven color. A clean surface is the foundation for a flawless finish, ensuring your paint adheres well and your stain soaks in evenly, giving you that smooth, professional look you’re aiming for.
Essential Tools for Dust-Busting
Gathering the right tools makes cleaning up after sanding a breeze. You don’t need a whole workshop full of gadgets; a few simple items will do the trick. Having these on hand will save you time and ensure a much better result on your project.
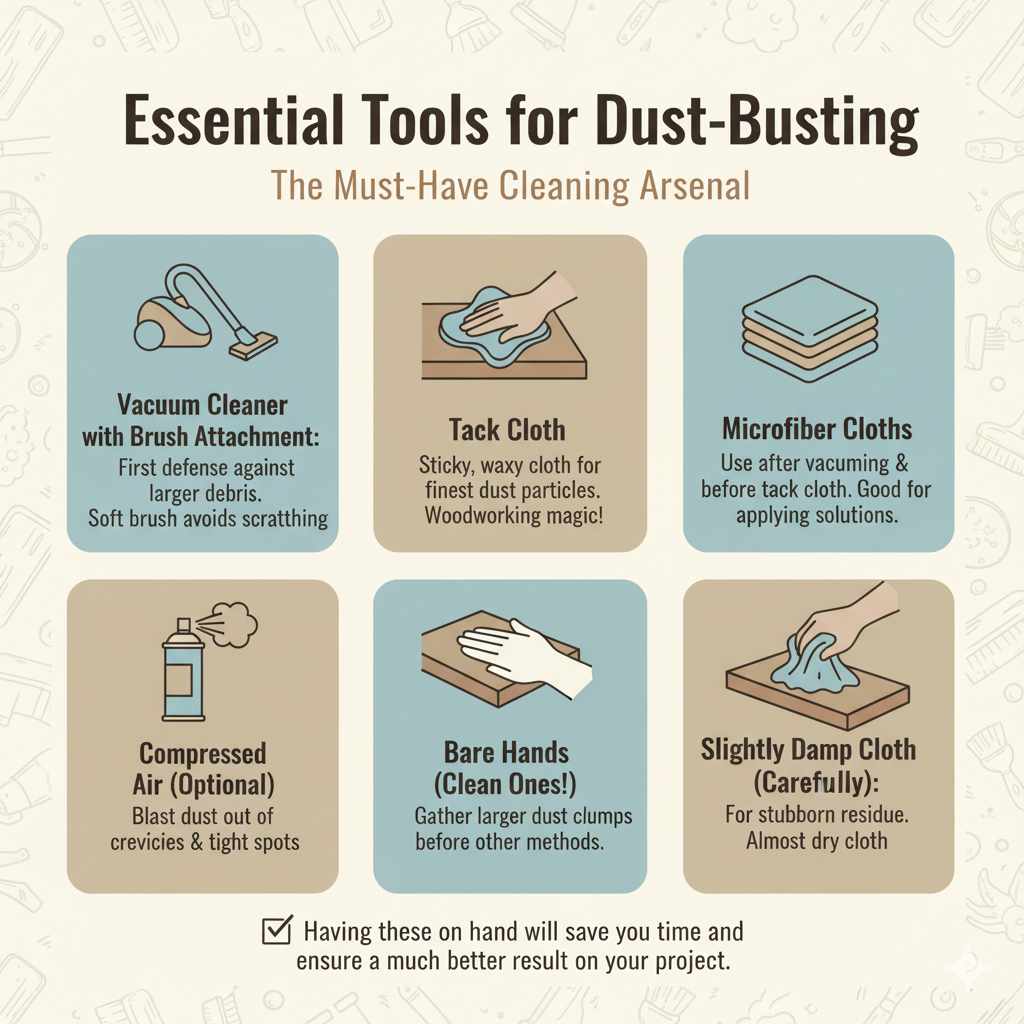
The Must-Have Cleaning Arsenal:
- Vacuum Cleaner with Brush Attachment: This is your first line of defense against larger debris and loose dust. A soft brush attachment is key to avoid scratching the wood.
- Tack Cloth: This is a sticky, waxy cloth designed to pick up the finest dust particles that vacuums and brushes miss. Seriously, these are magic for woodworking!
- Microfiber Cloths: Have a few clean ones ready. They are great for wiping down the surface after vacuuming and before using a tack cloth, and for applying some cleaning solutions if needed.
- Compressed Air (Optional but helpful): A can of compressed air can blast dust out of crevices and tight spots that brushes and cloths can’t reach easily.
- Bare Hands (Clean Ones!): Sometimes, a gentle wipe with your clean hands can help gather larger dust clumps before switching to other methods.
- Slightly Damp Cloth (Carefully!): For stubborn residue, a cloth that is only barely damp (almost dry) can help lift it. More on this later.
Step-by-Step Guide: How to Clean Wood After Sanding
Now that you have your tools, let’s get down to business. This process is straightforward and will make a world of difference in your finished piece. Follow these steps carefully for the best results.
- Ventilate the Area: First things first, open up some windows or set up a fan. Sanding creates a lot of fine dust, and you don’t want to be breathing it in. Good airflow will also help carry some of the airborne dust away from your project. For more on workshop safety, you can check out resources like the NIOSH Woodworking Safety page.
- Initial Vacuuming: Grab your vacuum cleaner with the soft brush attachment. Start at the top of your project and work your way down. Gently vacuum all surfaces, including the sides, edges, and any carved details. The goal here is to remove as much of the loose, visible sawdust as possible. Pay extra attention to corners and joints where dust loves to hide.
- Wipe Down (Optional but Recommended): After vacuuming, you might notice a fine film of dust still sitting on the surface. Take a clean, dry microfiber cloth and gently wipe down all the surfaces. This helps to gather any remaining dust that the vacuum might have missed, preparing the wood for the next, more fine-tuned cleaning step.
- The Magic of the Tack Cloth: This is where the real dust-busting happens! Unfold your tack cloth. It will feel a bit sticky. Don’t rub hard; gently wipe the entire surface of your wood. The tack cloth has a mild adhesive that grabs and holds onto even the tiniest dust particles without leaving any residue behind. Work in sections, and once a section of the tack cloth becomes visibly dusty or loses its tackiness, refold it to expose a clean area. If the whole cloth is loaded with dust, use a fresh one. Always wipe in one direction, following the grain of the wood, to avoid spreading dust.
- Deeper Crevices and Edges: For areas like inside drawers, cabinet doors, or around hardware, use a compressed air can to blow out any trapped dust. You can also use a soft brush (like a clean paintbrush) to gently sweep dust out of these tight spots before giving them a final pass with the tack cloth or a small piece of compressed air-dusted cloth.
- Final Inspection: Hold your project at an angle in good light. Look closely for any missed spots or fuzzy bits of wood. A stray hair or a missed speck of dust can be incredibly noticeable once the finish is applied. If you see anything, give it another gentle wipe with the tack cloth.
Cleaning Wood After Sanding Before Painting: Special Considerations
Preparing wood for paint requires an exceptionally clean surface. Paint is forgiving in some ways, but it will highlight every single imperfection. Dust is the number one culprit for bumpy paint jobs.
When you’re getting ready to paint, you’ll want to be extra diligent with your cleaning. After the vacuuming and tack cloth steps, some painters like to use a slightly damp cloth. The key here is slightly damp – not wet! You want the cloth to be almost dry. Dampen it, then wring it out completely. Wipe down the surface gently. This can help lift any remaining micro-dust and oils.
Important Note: The moment you use a damp cloth, you might notice the wood grain starting to swell slightly. This is normal. If you plan to paint, you might want to do a very light sanding with your finest grit sandpaper (like 220 or 320 grit) after the wood has dried completely. This will knock down the raised grain, leaving an even smoother surface for paint. After this light sanding, repeat the tack cloth process!
For a truly flawless paint finish, many professionals recommend a pre-stain conditioner. While not strictly a cleaning step, it workshand-in-hand. Applying a pre-stain conditioner on clean wood helps the paint adhere more evenly and prevents blotchiness, especially on soft woods like pine.
Cleaning Wood After Sanding Before Staining: Best Practices
Staining wood is all about letting the wood’s natural beauty shine through, and that means the surface needs to be perfectly clean so the stain can penetrate evenly. Dust on the surface before staining can cause light spots where the stain doesn’t adhere properly, or worse, create fuzzy patches.
The vacuum and tack cloth method is paramount here. Unlike painting, where you might do a light sanding after a damp cloth, with staining, you generally want to apply the stain immediately after the tack cloth. Any moisture introduced after tacking can affect how the stain is absorbed, leading to blotchiness or streaks.
Here’s a quick breakdown for stain prep:
- Thorough vacuuming to remove loose dust.
- Gentle wipe with a dry microfiber cloth.
- Meticulous wiping with a tack cloth, ensuring all surfaces are covered and dust is lifted.
- Immediate application of your chosen stain.
For woods known for blotchiness (like pine, maple, or cherry), using a pre-stain wood conditioner is highly recommended. Applying this conditioner to your clean, dust-free surface helps to even out the stain absorption, giving you a richer, more uniform color. You can learn more about wood conditioners from resources like Wood Magazine’s guide on preventing blotching.
Dealing with Stubborn Residue
Sometimes, after sanding, you might encounter something sticky or gummy on the wood that even a tack cloth can’t quite lift. This could be dried glue, sap, or resins from the wood itself. Don’t panic! Here’s how to handle it:
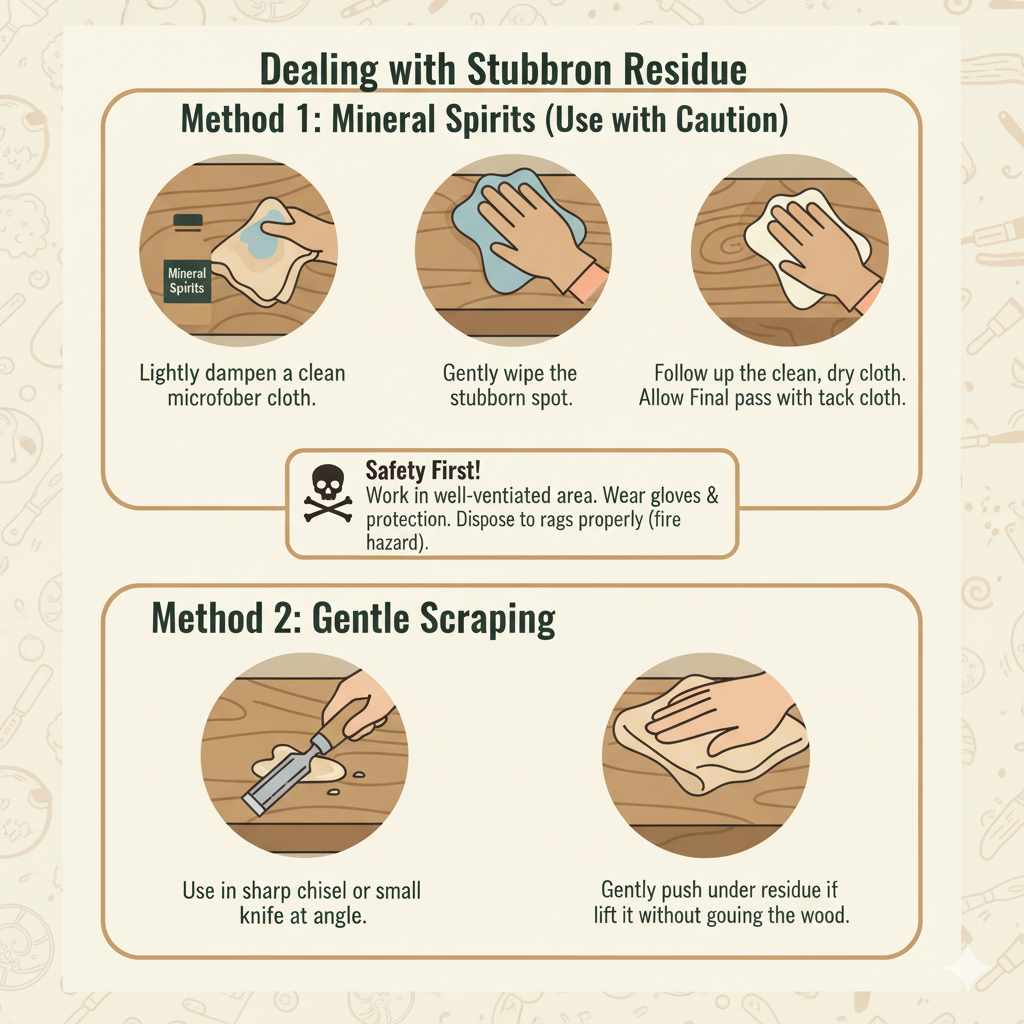
Method 1: Mineral Spirits (Use with Caution)
Mineral spirits are a mild solvent that can cut through sticky residues without heavily damaging the wood. Always test this method in an inconspicuous area first.
- Lightly dampen a clean microfiber cloth with mineral spirits. Wring it out thoroughly so it’s just damp, not wet.
- Gently wipe the stubborn spot. You may need to work it a bit, but avoid aggressive scrubbing.
- Immediately follow up with a clean, dry microfiber cloth to wipe away any solvent residue.
- Allow the wood to dry completely.
- Once dry, do a final pass with a tack cloth to ensure no dust remains.
Safety First: Always work in a well-ventilated area when using mineral spirits, and wear gloves and eye protection. Dispose of used rags properly, as they can be a fire hazard.
Method 2: Gentle Scraping
For dried glue blobs or thick sap, a gentle scraping might be necessary. Use a sharp chisel or a small putty knife at a very low angle to carefully lift the residue. Be extremely careful not to gouge the wood. Once the bulk of the residue is removed, follow up with the mineral spirits and tack cloth method.
Frequently Asked Questions (FAQ) About Cleaning Wood After Sanding
Q1: How often should I tack cloth the wood?
You should use a tack cloth after vacuuming and wiping with a dry cloth, and again after any light sanding (like sanding raised grain). It’s the final step before applying your finish.
Q2: Can I use a regular cloth instead of a tack cloth?
A regular cloth can move dust around or leave lint behind. A tack cloth is specifically designed to grab and hold fine dust particles, making it much more effective for woodworking finishes.
Q3: My wood still feels a little dusty after tacking. What should I do?
Ensure you’re refolding the tack cloth to expose a clean section regularly. Wipe gently and in one direction with the wood grain. If there’s still dust, consider a very light pass with 220-grit sandpaper (especially before painting), followed by another tack cloth wipe.
Q4: Can I use water to clean wood after sanding?
Water should be used very sparingly, and only if absolutely necessary, as a slightly damp cloth. Too much water can cause the wood grain to swell significantly, leading to a rougher surface that requires more sanding.
Q5: How long should I wait before finishing after cleaning?
If you used a tack cloth or dry microfiber cloths, you can finish immediately. If you used a slightly damp cloth or mineral spirits, ensure the wood is completely dry before applying any finish.
Q6: Do I need to clean wood after every sanding grit?
Yes, it’s best practice to remove as much dust as possible between grits, especially moving from coarser to finer grits. However, a thorough cleaning with vacuum and tack cloth after your final sanding grit is the most critical step.
Conclusion
There you have it – a comprehensive guide to cleaning wood after sanding! It might seem like a small step in the grand scheme of your woodworking project, but taking the time to properly clean your wood surface is absolutely crucial for achieving a professional, smooth, and durable finish. Whether you’re painting, staining, or varnishing, a dust-free surface is your best friend.
Remember, a good vacuum with a brush attachment and a trusty tack cloth are your primary weapons against dust. For those tricky spots or residues, a little mineral spirits or careful scraping can do the trick. Always prioritize safety, work in a well-ventilated area, and remember that patience is a virtue in woodworking. By following these simple, yet essential tips, you’ll ensure your next project looks like it came straight from a craftsman’s shop. Happy building, and I hope your finished pieces turn out beautifully!