How to Cut Wainscoting: Rails, Stiles, Corners and Outlets
Cut wainscoting in this order: work out equal panel widths first, then cut rails and stiles to length with a fine-tooth blade on a miter saw, then miter the outside corners and cope the inside corners of the cap rail, and cut outlet openings last. Most wainscoting cutting mistakes come from skipping the layout math, not from a bad saw.
This guide covers the framed styles (shaker, raised panel and flat panel) built from rails and stiles. For flat sheet beadboard or tongue-and-groove planks, our guide on cutting beadboard paneling without tearout goes deeper on blade direction and sheet handling. If you are still choosing a style, shiplap vs wainscoting compares the two.
Which Saw Cuts Which Wainscoting Part
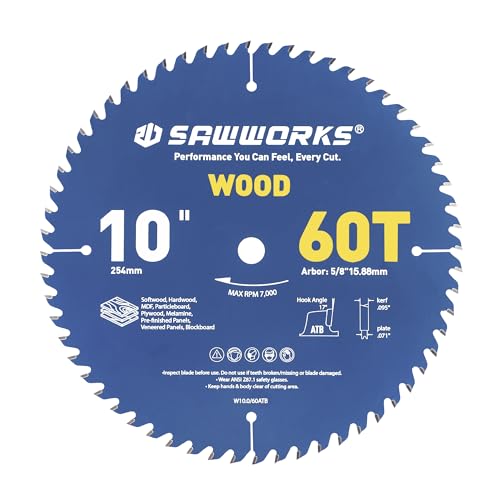
Best Fine-Finish Trim Blade Pick
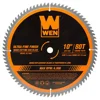 |
WEN BL1080 10-Inch 80-Tooth Blade: $19.99 Rails, stiles and cap moulding are mostly crosscuts in finished-face MDF, poplar or pine, and a fine-tooth blade is the cheapest way to stop chipping on them.
|
Wainscoting is really five different cutting jobs, and each one has a best tool. The table below is general shop practice rather than a manufacturer specification.
| Part | Best saw | Blade | Tip |
|---|---|---|---|
| Full sheets of MDF or plywood panel stock | Circular saw with a straightedge guide, or a table saw | 40 to 60 tooth | Cut with the finished face down on a circular saw, face up on a table saw |
| Stiles (vertical strips) | Table saw | 40 to 50 tooth combination or ripping | Rip all stiles in one setting so they match exactly |
| Rails (horizontal strips) cut to length | Miter saw with a stop block | 80 tooth | Cut every rail to the same length off a single stop |
| Cap, chair rail and base moulding | Miter saw, plus a coping saw for inside corners | 80 tooth | Cut a few inches long and trim to fit |
| Outlet and switch openings | Jigsaw or oscillating multi-tool | Fine wood blade | Drill starter holes first |
For a broader look at blade choice, see our miter saw blade roundup. If you are breaking down sheets with a circular saw, this straight-cutting guide covers guides and clamps, and the table saw guide covers safe ripping.
Do the Layout Math Before You Cut Anything
The single biggest difference between wainscoting that looks built-in and wainscoting that looks off is equal panel widths. The rule is simple: subtract the total width of all the stiles from the wall length, then divide what is left by the number of panels. Every wall has one more stile than it has panels, because each panel sits between two stiles and a stile finishes each end.
Here is a worked example for an 11-foot (132 inch) wall with 3-1/2 inch stiles and six panels:
| Step | Calculation | Result |
|---|---|---|
| Number of stiles | 6 panels + 1 | 7 stiles |
| Total stile width | 7 x 3.5 in | 24.5 in |
| Space left for panels | 132 minus 24.5 | 107.5 in |
| Width of each panel opening | 107.5 / 6 | 17.92 in (about 17-15/16 in) |
| Length of every rail between stiles | Same as the opening | 17-15/16 in |
The vertical layout works the same way. For a 36 inch wainscot height, a 1-1/2 inch cap, 3-1/2 inch top rail and 5-1/2 inch bottom rail leave a 25-1/2 inch tall panel opening (1.5 + 3.5 + 25.5 + 5.5 = 36). If the answer comes out at an awkward fraction, change the panel count or stile width by a small amount and recalculate rather than cutting one short panel at the end of the wall. A common design guideline puts the top of wainscoting at roughly one third of the wall height, which is about 32 inches on an 8-foot wall, with 36 inches also very common.
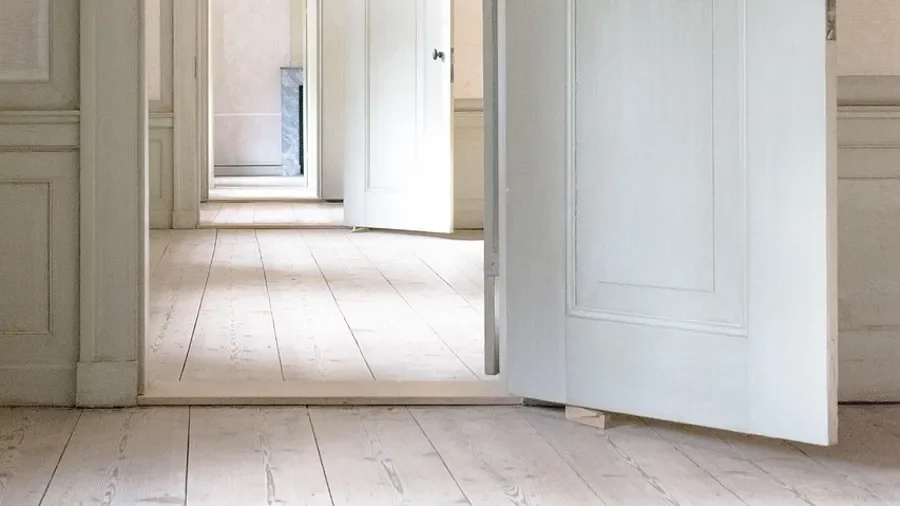
Mark the layout on the wall with a level line for the top of the rail and light pencil marks for each stile edge before you cut. Locate the studs too, because you will want stiles and rails to land on framing for nailing.
Cutting Rails and Stiles
Rip all the stiles at once if you are making your own from a sheet or from boards. A single fence setting on the table saw is what keeps 3-1/2 inch stiles identical, and identical stiles are what keep the panel openings equal. Set the fence, cut a test piece, measure it with a caliper or a reliable rule, and only then run the rest.
- Set the miter saw to 0 degrees and clamp a stop block at the rail length from your layout (17-15/16 inches in the example above).
- Cut one rail, hold it in an actual panel opening on the wall, and check the fit before cutting the rest.
- Cut every rail off the same stop block so they match, rather than measuring each one with a tape.
- Cut the stiles to height the same way, with a second stop block set to the stile length.
- Dry-fit a section of the frame on the floor or the wall before you glue or nail anything.
Mind the blade kerf. A standard blade removes roughly 1/8 inch of wood, and a thin-kerf blade such as the WEN above removes about 1/10 inch. That matters when you mark a line, because you cut on the waste side of the line so the piece keeps its full length.
Cutting Cap Rail, Chair Rail and Base Moulding
Moulding is where wainscoting gets fussy, because the corners are never exactly square. The standard approach used by trim carpenters is to miter the outside corners and cope the inside corners.
- Outside corners: cut both pieces at 45 degrees on the miter saw. Cut the pieces slightly long, test the fit, and shave tiny amounts off until the joint closes.
- Inside corners: run the first piece square into the corner. Cut the second piece at an inside 45-degree miter, then use a coping saw to follow the profile the miter reveals and remove the wood behind it. The coped end tucks over the face of the first piece.
- Long runs: where a run is longer than one piece of moulding, join pieces with a scarf joint, cut at 45 degrees, rather than a butt joint, so a small seasonal gap does not show as a straight line.
- Uneven floors: when the base rail follows a floor that is out of level, scribe it. Hold the piece against the wall, run a compass or scribe along the floor, and cut along the line with a jigsaw or block plane.
Cutting Around Outlets and Switches
Cut these openings last, after you know exactly where the panel or rail will sit. Turn off the breaker for that circuit and confirm the outlet is dead with a tester before you remove the cover plate. Measure from a fixed point, such as the stud edge or the floor, to the box, and transfer those numbers to the back of the panel. Drill a starter hole in each corner of the opening, then cut with a jigsaw or an oscillating tool, and keep the opening about 1/16 inch larger than the box so the cover plate hides the edge.
Once the wainscoting is in place, the outlet face may end up recessed behind the new surface. Boxes set back too far from a combustible finish are generally a code problem, and the usual fix is a box extender. Check your local electrical code for the exact limit before you close up the wall. The full outlet, switch box and jigsaw technique is in our beadboard cutting guide, and the tool itself is covered in our jigsaw guide.
Common Wainscoting Cutting Mistakes and Fixes
| Mistake | What it causes | Fix |
|---|---|---|
| Cutting the last panel to whatever space is left | One skinny panel at the end of the wall | Do the equal-width layout math first |
| Measuring each rail separately with a tape | Rails vary by 1/16 inch or more and joints look uneven | Cut all rails off one stop block |
| Mitering inside cap corners | Joint opens as the wall or wood moves | Cope inside corners, miter outside corners |
| Finished face on the wrong side | Chipped, splintered visible edge | Face up on miter and table saws, face down on circular saws and jigsaws |
| Cutting outlet openings before the panel is fitted | Openings that are misaligned by a fraction | Fit the panel first, then transfer box measurements |
| Using a rough general-purpose blade on trim | Tearout on painted faces | Use a 60 to 80 tooth fine-finish blade |
Dust and Safety When Cutting MDF
Most modern wainscoting kits and paint-grade panels are MDF, and MDF makes a very fine dust. Standard MDF is bonded with urea-formaldehyde resin, so wear at least an N95 respirator, cut outdoors or with a dust extractor connected, and keep a shop vacuum at hand for cleanup. Wear eye protection and hearing protection on every cut, keep both hands clear of the blade line, and never freehand a cut on a miter saw. Clamp small pieces rather than holding them close to the blade.
Frequently Asked Questions
How do you cut wainscoting without chipping the edges?
Use a sharp fine-tooth blade (60 to 80 teeth on a 10-inch saw), put the finished face where the teeth exit the wood, and support the piece right next to the blade. On a miter saw the teeth exit at the back, so the finished face goes up. Score the cut line with a utility knife first on painted or veneered boards, and clamp the piece so it cannot creep.
What saw is best for cutting wainscoting rails and stiles?
A miter saw with an 80-tooth blade handles the crosscuts and the cap and chair rail miters, and a table saw rips stiles to a consistent width. A circular saw with a straightedge guide is the best way to break down a full 4×8 sheet of MDF or plywood panel stock before either of those.
How do you cut wainscoting around outlets?
Turn off the breaker and confirm the circuit is dead, mark the box position from the wall onto the back of the panel, drill starter holes in the corners and finish the opening with a jigsaw or an oscillating multi-tool. Cut the opening about 1/16 inch oversize so the cover plate hides the edge. Our beadboard guide has the full outlet and switch-box walkthrough.
Do you cope or miter wainscoting cap rail corners?
Cope the inside corners and miter the outside corners. Walls are rarely a perfect 90 degrees, so a coped joint stays tight when the angle is a degree or two off, while a mitered inside corner tends to open up. Outside corners are mitered at 45 degrees, and a scrap piece test-fit first saves expensive trim.
Conclusion
Wainscoting cuts go quickly once the layout is settled: equal panel widths from the math, every rail cut off one stop block, a fine-tooth blade on the finished face, coped inside corners and outlet openings last. Test each new cut on scrap, and check fit against the wall before you glue or nail.
Sponsored / affiliate links. As an Amazon Associate I earn from qualifying purchases. I may earn additional commission from eligible campaigns.