How to French Polish Wood: A Step-by-Step Shellac Guide
French polishing builds a deep, glass-like shellac finish using a cloth-wrapped pad called a rubber, worked through three stages: fadding, bodying, and spiriting off. It’s slower than wiping on a finish or spraying lacquer, but the many thin passes are what give antique furniture and fine woodworking pieces their characteristic depth and shine.
The technique traces back to early-19th-century French furniture workshops, where cabinetmakers refined it as a way to get a mirror finish without spray equipment. It’s still the standard restoration method for antique furniture today, because it can be built up, repaired, and blended in small patches in a way that sprayed lacquer can’t. This guide walks through the actual tools, the pad-building technique, and the three application stages in the order you’ll use them, plus the specific problems (bloom, trapped oil, a dragging pad) that trip up most people the first time they try it.
What French Polishing Actually Is
French polishing isn’t a different material from ordinary shellac finishing, it’s a different application method. Instead of a brush or spray gun, you charge a cotton pad (the rubber) with shellac and work it across the wood in overlapping circular and figure-eight strokes, re-charging the pad every few minutes as it dries out. Because each pass deposits an extremely thin film, you can build 20 to 40 layers into a single session without the finish ever looking heavy or plasticky the way a thick brushed coat can.
If you want the fuller history and how French polish compares to varnish, lacquer, and oil finishes, see our companion guide on what French polish for wood actually is. This guide focuses on the hands-on process: what to buy, how to build the pad, and how to work through the three stages without streaking or clouding the finish.
Best Pre-Mixed Shellac For French Polishing
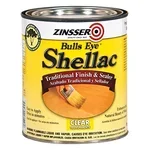 |
Zinsser Bulls Eye Clear Shellac, 1 Qt – $29.98 A ready-to-use clear shellac you can charge directly into your rubber, no cutting flakes required, so you can start fadding the same afternoon.
|
Tools and Materials You’ll Actually Need
French polishing doesn’t require specialty equipment, but a few of the materials are specific to the technique rather than general finishing supplies:
Shellac. You can cut your own from dry flakes with denatured alcohol, or start with a ready-mixed clear shellac like the one above. If you’re new to the material generally, our guide to using shellac on wood covers cut ratios and shelf life. Whether you need a dewaxed cut matters more for French polishing than for a brushed coat, since wax can cause the rubber to drag; our breakdown of which Zinsser shellac products are actually dewaxed is worth checking before you buy.
Cotton wadding and a cover cloth. The wadding forms the core of the rubber; a smooth, lint-free cotton or linen cloth (an old cotton T-shirt works) wraps around it. Avoid anything with a printed texture or seams that could leave marks in the wet finish.
A lubricant. A few drops of mineral oil or raw linseed oil on the face of the rubber keep it gliding instead of sticking to tacky shellac.
Denatured alcohol, fine sandpaper (320-400 grit), and optionally pumice powder for filling open grain before you start. For a broader look at shellac-based finishes and where French polishing fits among them, our shellac finishing guide is a useful companion read.
Preparing the Wood and Filling the Grain
Sand through the grits up to at least 320, finishing with 400 if the wood will see a lot of light. French polish is thin and clear enough that it shows every scratch, water stain, and glue smear left underneath it, so this step matters more here than it would under an opaque finish.
Open-grained woods like mahogany, walnut, and oak need their pores filled before polishing, or the shellac will sink into the grain unevenly and leave a pitted-looking surface. Traditional polishers work pumice powder into the grain with the rubber during the first bodying passes; a proprietary paste grain filler applied and sanded back beforehand is a faster, more predictable alternative for a first attempt. Close-grained woods like maple, cherry, and birch can usually skip this step entirely.
Building and Charging the Rubber
Fold a fist-sized piece of cotton wadding into a teardrop shape, flat on the working face and tapered at the back. Wrap it in your cover cloth, twisting the loose ends together behind the pad to form a handle you can grip without your fingers touching the working surface.
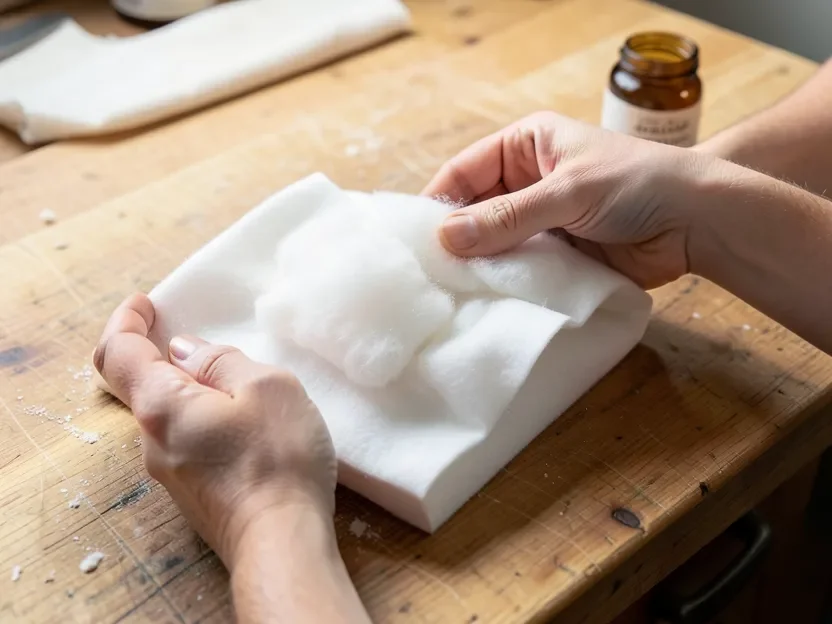
To charge it, unwrap the cloth, pour a small amount of shellac directly onto the wadding until it’s damp but not dripping, then re-wrap it. Add one or two drops of your lubricating oil to the face of the folded cloth. Press the rubber onto scrap wood first to work the shellac evenly through the pad and remove any excess before it touches your actual project.
The Three Stages: Fadding, Bodying, and Spiriting Off
Fadding comes first: a thin, even sealing coat applied in long strokes with the grain. This coat seals the wood’s pores and gives every later pass something consistent to bond to. Let it dry for 15 to 20 minutes before moving on.
Bodying is where most of the gloss actually develops. Work the charged rubber in overlapping circles and figure-eights, re-charging it every few passes as the pad dries out and gets tacky. Light, consistent pressure matters more than speed; this stage typically takes dozens of individual passes, worked in short sessions with drying time in between, before the finish reads as deep and full.
Spiriting off finishes the job. Use a clean rubber dampened mostly with denatured alcohol and only a trace of oil (or none at all), and make light, fast, straight strokes with the grain. This pass thins and removes the oil film left from bodying and brings out the finish’s final clarity. Rushing this stage is the most common reason a French polished piece looks slightly hazy instead of glass-clear.
Common Problems and Fixes
Bloom (a cloudy white haze). This is usually trapped moisture from working in a humid room or over a still-damp rubber. Let the piece dry fully, then work a rubber charged mostly with alcohol over the area to re-dissolve and clear the haze.
A visible oily streak. This is trapped lubricant that didn’t get removed during spiriting off. Give the area a proper spiriting-off pass with a nearly dry, alcohol-charged rubber; if the streak persists, a light scuff with 0000 steel wool followed by another thin bodying coat will usually clear it.
A dragging or sticking pad. Add another drop of oil to the rubber’s face, or thin your shellac slightly with more denatured alcohol if it’s setting up too fast to work with. Always test a new mix on a scrap piece before committing to the actual project, since cut ratio and humidity both change how forgiving the shellac is to work.
Maintaining a French Polished Finish
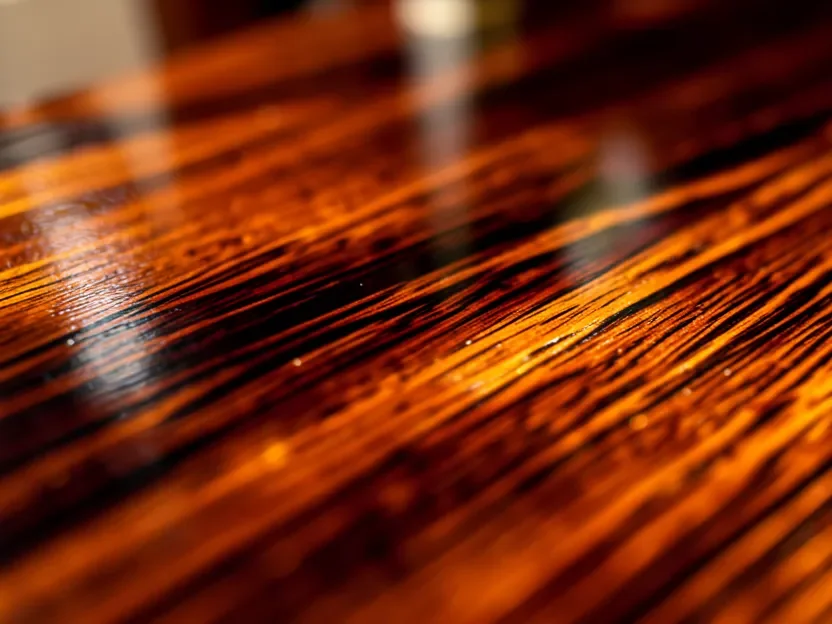
Shellac is heat- and water-sensitive, so use coasters and avoid setting hot dishes directly on a French polished surface. Dust with a soft, dry cloth rather than a damp one, and keep the piece out of direct, prolonged sun to slow yellowing.
Because it’s a shellac finish, touch-ups blend in far better than they would with a sprayed lacquer or polyurethane. A worn spot can be lightly scuffed and rebuilt with a few fresh bodying passes without having to refinish the whole piece. If the overall shine has just dulled with age rather than worn through, buffing in a coat of paste wax will often restore the gloss without any new shellac at all; if you want the sheen slightly less glassy instead, see our guide on dulling a glossy finish.
Frequently Asked Questions
What is French polishing?
French polishing is a traditional wood finishing method that builds a high-gloss shellac finish using a cloth-wrapped pad called a rubber instead of a brush or sprayer. The finish is applied in many thin passes across three stages: fadding, bodying, and spiriting off, which is what gives it a deeper shine than a wiped-on or brushed shellac coat.
What’s the difference between fadding, bodying, and spiriting off?
Fadding is the first thin sealing coat that seals the wood and gives later coats something to grip. Bodying is the main build-up stage, where dozens of thin shellac passes with the rubber create most of the gloss and depth. Spiriting off is the final pass, made with a rubber dampened mostly in denatured alcohol, that removes the lubricating oil film and brings out the finish’s final clarity.
Can I French polish over an existing finish?
Yes, as long as the existing finish is shellac, lacquer, or another finish shellac will bond to, and it’s clean and free of wax or silicone. Lightly scuff the surface with fine sandpaper first and test a small hidden area, since polyurethane and some waxed finishes will resist shellac adhesion.
What oil should I use as the rubber’s lubricant?
A few drops of mineral oil or raw/boiled linseed oil on the face of the rubber keep it gliding instead of dragging or sticking to half-dry shellac. Use it sparingly. Too much oil is the most common cause of a cloudy, trapped-oil streak that has to be removed during spiriting off.
Conclusion
French polishing takes longer to learn than most finishes, mainly because fadding, bodying, and spiriting off each have their own feel that’s hard to judge until you’ve done them. Start on a scrap piece or a small drawer front, keep your rubber lightly charged rather than soaked, and don’t rush spiriting off at the end. Once the three-stage rhythm clicks, it’s one of the few finishing techniques where you can repair and blend a worn spot years later instead of stripping and starting over.
Sponsored / affiliate links. As an Amazon Associate I earn from qualifying purchases. I may earn additional commission from eligible campaigns.
 Milsek Furniture Polish and Wood Cleaner with Lemon Oil - Multipurpose Solution for Home Improvement from Hardwood Floors to Kitchen Cabinets - 12 Fl Oz (Pack of 12)
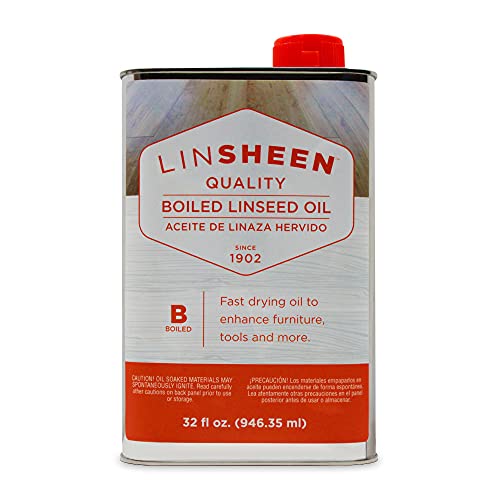 LinSheen Boiled Linseed Oil – Fast Drying Flaxseed Wood Treatment to Rejuvenate and Restore Outdoor and Indoor Wood Furniture, Floors and Sports Equipment, Quart