Caulk in Cold Weather: Lowest Temperature to Apply
The label’s minimum application temperature comes first. Many exterior caulks require at least 40°F (4°C) at application, and the joint should stay above that limit until it skins and starts curing. If you ignore that limit, caulk can fail to bond, crack, or wash out, and you may need to seal the gap twice. This guide shows how to judge air temperature, surface temperature, dew point, and substrate condition before you caulk.
Lowest safe temperature for caulk
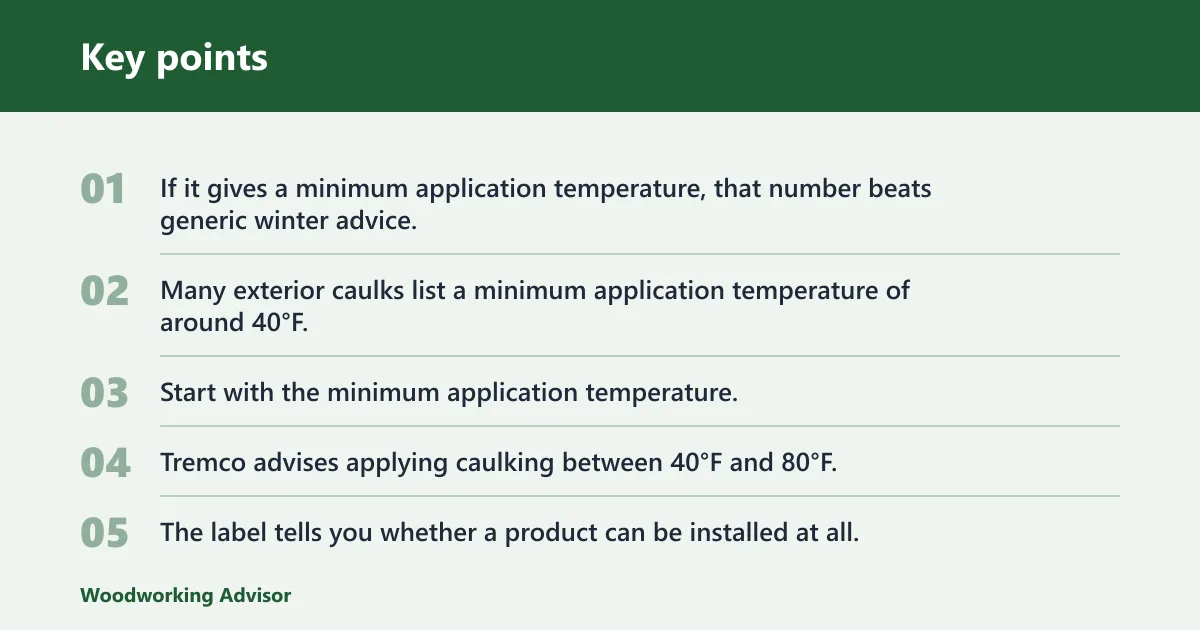


Start with the tube or cartridge label. If it gives a minimum application temperature, that number beats generic winter advice. Many exterior caulks list a minimum application temperature of around 40°F, but some specialty products are lower, and the product data sheet may give the real cutoff for your joint.
Which numbers matter most on the package?
Start with the minimum application temperature, then check whether the product is paintable, water-based, or moisture-cure, and whether the maker warns about frost, damp substrates, or cold cure times. Tremco advises applying caulking between 40°F and 80°F, while some specialty formulas are labeled for colder work.
Generic advice only gets you to the door. The label tells you whether a product can be installed at all, while the data sheet usually explains cure timing, paint window, and surface limits. If those instructions conflict with broad internet advice, the package wins.
When a colder substrate cancels the air reading
Air temperature is only part of the decision. A joint can sit on cold wood, masonry, EIFS, or concrete that stays colder than the forecast air, and that colder substrate can slow cure or impair adhesion even if the air looks acceptable.
Picture a south wall that reads 42°F in the air but a shaded sill that feels much colder because it never got sun. If the surface is still near dew point or has frost, the label’s air number is no longer enough to call the job safe.
Air temperature or surface temperature?
Surface temperature matters more than air temperature at the joint. The forecast can say 45°F, but if the board, brick, or metal is colder than the surrounding air, the sealant will meet the coldest condition right where it has to bond.
Why a shaded board can stay colder than the forecast
Shade, night cooling, and heat loss through the building can keep a joint cold long after the air warms. That is common on north-facing trim, window heads, sill noses, and metal flashing. If the substrate is colder than the air, use the substrate reading as the real cutoff.
Cold substrate also changes handling. The bead can feel stiffer, tooling can drag, and cure can slow enough that the surface skins before the body bonds well. That is one reason winter caulking needs a surface check, not just a glance at the thermometer.
How to check the joint before you open the tube
Use an infrared thermometer or a contact thermometer on the exact substrate you plan to caulk. Check the shaded side, not only a sunny board nearby. If the surface is at or below the product’s minimum, or if it is near dew point, wait or move to a warmer section.
Why masonry, concrete, and EIFS stay cold longer
Wood, masonry, EIFS, and concrete often lag behind the air. They hold cold longer, and that delays cure and adhesion. Cold masonry is especially unforgiving because its pores can hold moisture near the surface, which makes winter adhesion less reliable.
Cold weather caulk decision table
Use the label, the surface temperature, and the joint type together. This table gives a practical winter read, not a blanket approval. If the substrate is frosted, wet, or below the product’s minimum, the answer is no-go even when the air seems workable.
| Caulk type | Minimum air temperature | Likely surface risk | Paintable? | Best-use joints | Go/no-go verdict |
|---|---|---|---|---|---|
| Acrylic latex caulk | About 40°F | Freeze risk before cure; poor bond on cold or damp trim | Yes | Paintable trim and small gaps | Go only on dry, frost-free trim above the label limit |
| Siliconized acrylic caulk | About 40°F | Cold substrate slows cure, but flexibility is better than plain acrylic | Yes | Paintable trim, casing, and moderate movement joints | Go if the joint is dry and the substrate is warm enough |
| 100% silicone sealant | 0°F to 40°F, depending on product | Condensation can block adhesion; tooling can be harder in the cold | Usually no | Windows, doors, gutters, and flashing | Go if the label allows the temperature and the surface is dry |
| Polyurethane or hybrid sealant | About 0°F to 20°F for many products | Cold masonry and mixed materials can slow bonding and cure | Often yes | Siding, concrete, and moving joints | Go for tougher exterior joints only if the surface is clean and dry |
Specialty silicone or rubber-based products may be labeled for very cold work, but that does not mean every winter joint is suitable. A product that can be applied in the cold still needs a dry surface, enough cure time, and a substrate that is not below the moisture limit.
Dew point, frost, and damp substrate
Dew point is the temperature at which water vapor can turn into condensation on a surface. If the surface temperature is at or below the dew point, moisture can form and block adhesion. Frost, dew, and damp wood are stop signs because sealant cannot bond reliably through that film.
Why frost and condensation are stop signs
Frost is not a thin layer of harmless cold. It is a moisture layer that becomes water as the surface warms, and that water can separate caulk from the substrate. Condensation does the same thing, often on shaded surfaces that never warm enough to dry out.
Do not caulk over visible frost, visible dew, or damp wood. On masonry or concrete, watch for darkened patches and cool, clammy texture. On metal, look for beading or a film that wipes away on the cloth and returns quickly.
Quick field checks for dry wood, masonry, and metal
- Touch the joint and compare it with an exposed, sunlit area nearby.
- Check for shine, beading, or a dull white frost film.
- Wipe the area with a clean dry cloth; if the cloth picks up moisture, stop.
- Measure the surface temperature at the exact bead line.
- Compare that reading with the product’s minimum and with the dew point if you have it.
- If the surface is damp, frosted, or colder than the label allows, wait.
A common first-timer mistake is trusting the wall temperature in the driveway and ignoring the sill that sits in shade. The driveway may be fine while the window head still carries condensation, and that one colder strip is enough to ruin adhesion at the joint.
Can you caulk windows in cold weather?
Yes, but only when the product label allows the temperature and the window perimeter is dry, frost-free, and above dew point. For windows and doors, 100% silicone is often a strong cold-weather option when it is compatible with the specific substrate, while siliconized acrylic can work where you need paintability and the label still says the weather is acceptable.
Best caulk types for windows and doors
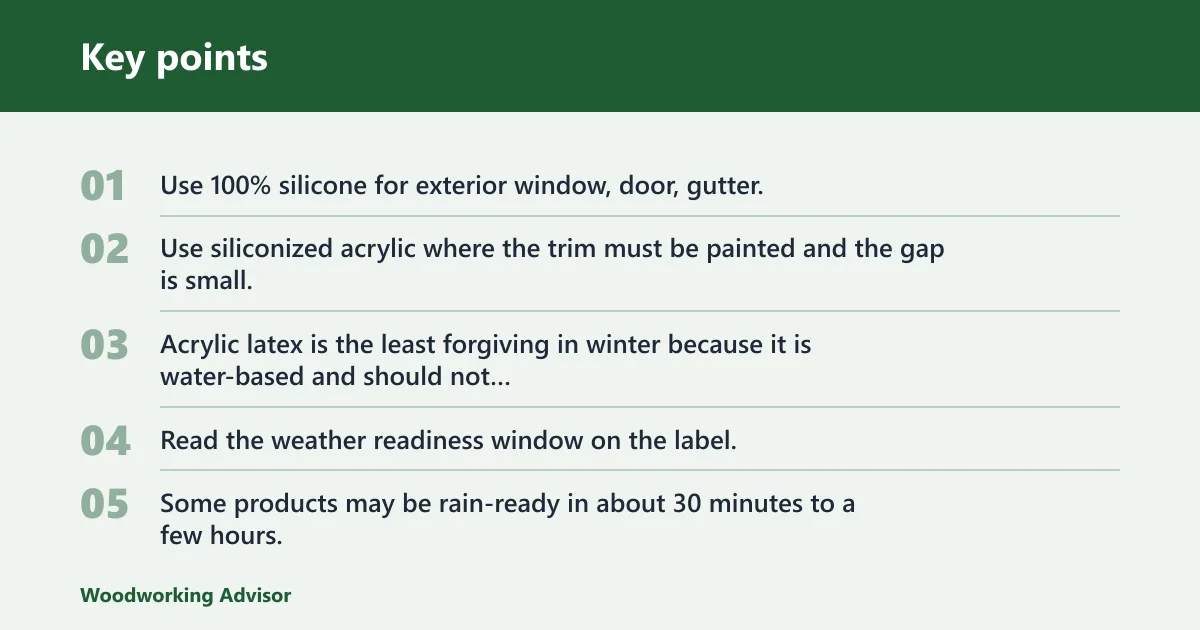
Use 100% silicone for exterior window, door, gutter, and flashing joints when paintability is not required and the product is compatible with the specific substrate. Use siliconized acrylic where the trim must be painted and the gap is small. Acrylic latex is the least forgiving in winter because it is water-based and should not freeze before curing.
How to protect the joint before rain or frost
Read the weather readiness window on the label. Some products may be rain-ready in about 30 minutes to a few hours, but full cure can take days to weeks depending on bead size and temperature. That means a bead may resist light weather quickly yet still remain vulnerable to frost or heavy moisture later.
If rain, snow, or a hard freeze is due before the stated cure window, do not start unless the job is an emergency and the joint can be protected. Temporary shielding can help, but it is not a substitute for proper cure time.
Suppose a window frame has a 1/4-inch side gap and the forecast drops below freezing overnight. A low-temperature silicone may be the right choice, but only if the frame is dry and the bead can cure long enough before the cold hits. Otherwise, wait for a better window.
Winter caulking checklist
Use this checklist when you are working in cold, borderline, or emergency conditions. It is the fast way to decide whether the job is worth doing today, and it keeps you from treating a warm forecast as permission to ignore the joint itself.
Caulk checklist
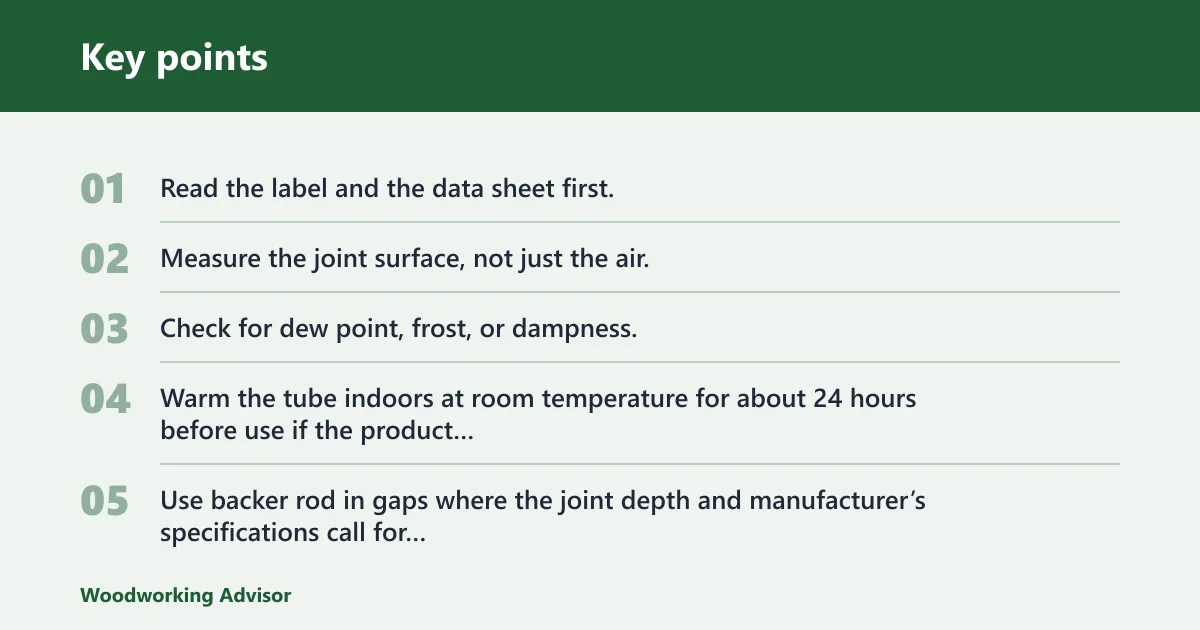
- Read the label and the data sheet first. Use the stated minimum application temperature, paintability, and cure limits.
- Measure the joint surface, not just the air. If the surface is colder than the label minimum, stop.
- Check for dew point, frost, or dampness. If moisture is present or likely to form, do not apply.
- Warm the tube indoors at room temperature for about 24 hours before use if the product allows it.
- Use backer rod in gaps where the joint depth and manufacturer’s specifications call for it so the bead depth stays controlled and the caulk is less likely to sag or crack.
- Choose the warmest part of the day, keep the joint protected, and give the bead the full weather readiness window before rain or frost.
Warming the tube helps extrusion and tooling. It does not fix a frozen surface, a damp joint, or a product that is outside its label range. Tremco advises warming primers and sealant at room temperature at least 24 hours before application, and that is a handling aid, not a cure-all.
Backer rod matters more in winter than many people expect. A deeper void without support can pull the bead into a thin, weak shape, while a properly sized rod gives the sealant a better profile and cuts the risk of shrinkage cracks.
Choose the warmest part of the day, then work the joints that have the best sun exposure first. Late morning to early afternoon is usually better than dawn, because the substrate has had more time to shed overnight moisture and rise above the night low.
Frequently asked questions
What temperature can you caulk outside?
Use the product label first. Many exterior caulks list about 40°F as the minimum application temperature, while some silicone and hybrid sealants are rated lower. The surface at the joint still has to be dry, frost-free, and warm enough for the specific product to bond and cure.
How cold is too cold for caulk?
Too cold is any temperature below the label’s minimum application rating, or any condition where the substrate is colder than the air enough to create condensation or frost. For many common products, that cutoff is around 40°F, but specialty formulas can be lower.
Can caulk cure in freezing temperatures?
Some products can be applied in very cold weather, but cure slows sharply as temperatures drop and moisture conditions worsen. Freezing conditions can stop or weaken curing for many formulas, especially water-based acrylics. Even cold-rated sealants still need the substrate dry and the joint protected during cure.
Should you warm caulk tubes before applying them?
Yes, if the product instructions allow it. Indoor room temperature storage at least 24 hours before use usually improves extrusion and tooling, especially for cold cartridges. It helps handling, but it does not override the minimum application temperature or fix frost, dew, or a cold substrate.
Can you caulk over frost, dew, or damp wood?
No. Frost, dew, and damp wood are no-go conditions because moisture blocks adhesion and can lead to early failure. If the surface looks shiny, feels wet, or wipes damp on a cloth, stop and let it dry. On shaded surfaces, check again later in the day.
Sponsored / affiliate links. As an Amazon Associate I earn from qualifying purchases. I may earn additional commission from eligible campaigns.