How to Level a Subfloor for Wood Flooring: 3/16-Inch Rule
A subfloor is level enough for wood flooring when it stays within 3/16 inch of variance over any 10-foot span, sanding down high spots and troweling self-leveling compound into low ones to get there. Install over anything wavier than that and the new floor can develop squeaks, gaps, or premature wear at the joints within the first year. This guide covers checking flatness with a straightedge, sanding, applying self-leveling compound, and the final checks before flooring goes down.
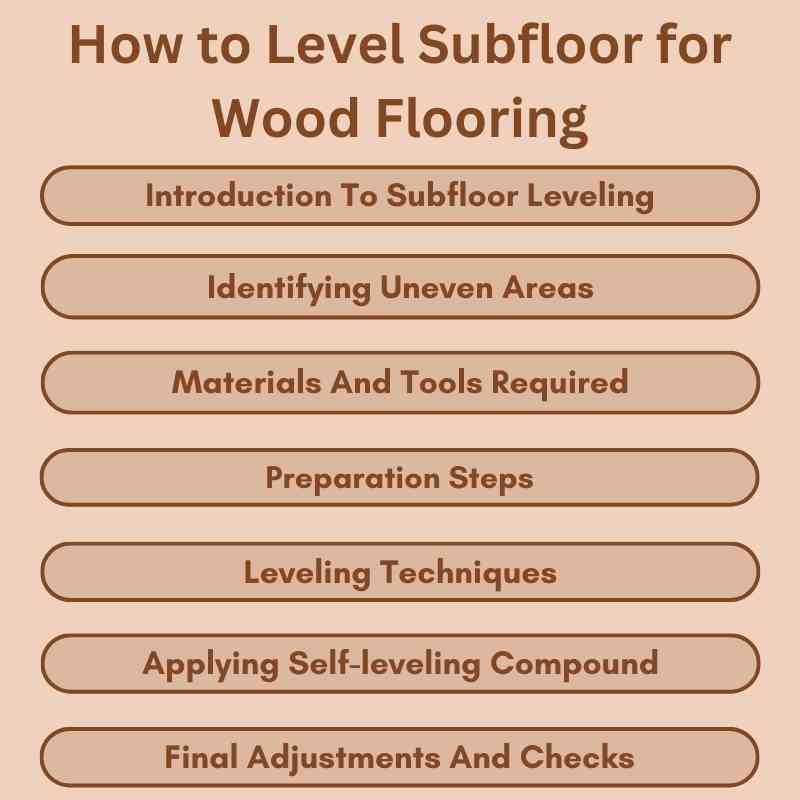
Introduction To Subfloor Leveling
Best Self-Leveling Compound Pick
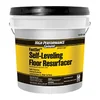
Quikrete FastSet Self-Leveling Floor Resurfacer, 50 lb – $77.63
The trowel-on compound this guide recommends for any low spot beyond the 3/16-inch-per-10-foot tolerance wood flooring needs.
- Best for: low spots on plywood or concrete subfloors before flooring goes down
- Why we picked it: fast-setting, walkable in hours instead of days
- Main drawback: a 50 lb bag covers a limited area, order extra for larger rooms
Compare more subfloor leveling products
 Option 1 ARDEX K15 Underlayment 55 lb – $88.77
|
 Option 2 Custom Building Floor Patch – $49.88
|
 Option 3 SIKA Underlayment Primer 1 Gal – $19.97
|
As an Amazon Associate we earn from qualifying purchases.
Having a level subfloor is crucial for installing wood flooring. An uneven subfloor can cause issues like creaking, gaps, and warping. It ensures a sturdy base, enhances durability, and improves the overall appearance of the floor.
Several methods exist for leveling a subfloor. Common techniques include:
- Sanding: Useful for minor bumps.
- Shimming: Adds support under low areas.
- Self-leveling compounds: Creates a smooth surface quickly.
Choosing the right method depends on the extent of the unevenness. Always assess the subfloor thoroughly before starting the leveling process.
Identifying Uneven Areas
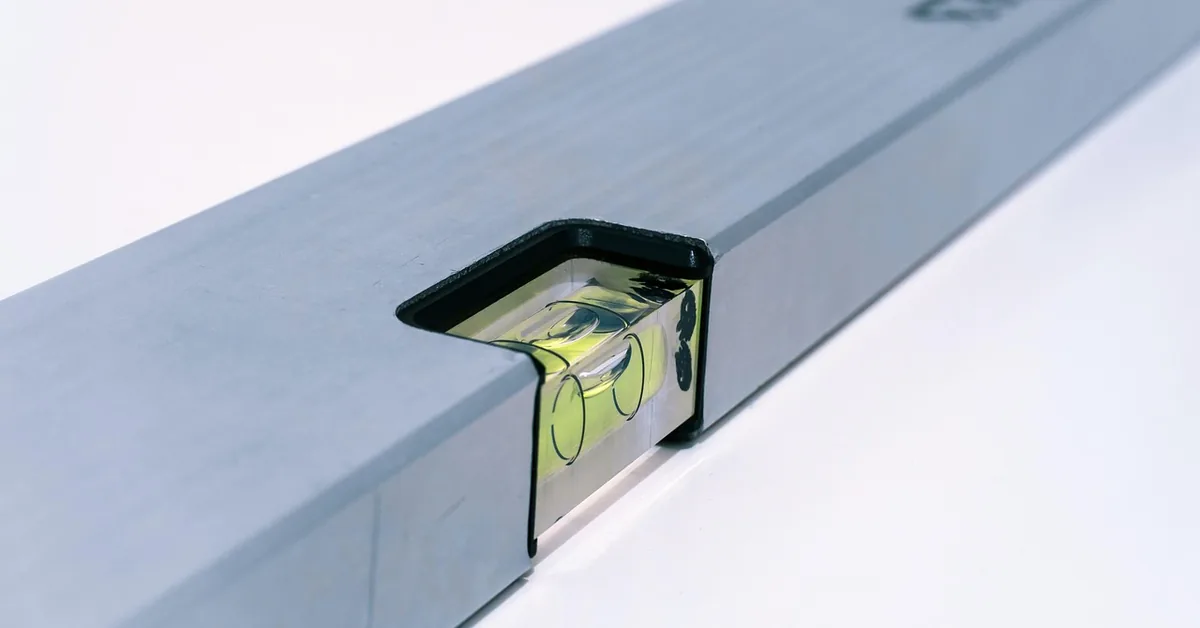
To identify uneven areas, use a level and a straightedge. These tools help find high and low spots on the subfloor. Measure the floor’s flatness across different sections. Most wood flooring manufacturers require the surface to be flat within 3/16 inch over a 10-foot span (roughly 1/8 inch over 6 feet) — anything beyond that needs correction before you install. Mark any problem areas clearly for easy reference.
Chalk lines can also guide you in identifying uneven spots. Simply snap lines across the floor to see where the surface dips or rises. Use a laser level for accuracy, especially in larger spaces.
| Tools for Assessing Floor Level | Description |
|---|---|
| Level | Helps find flatness across the floor. |
| Straightedge | Useful for measuring height differences. |
| Chalk Line | Marks straight lines for reference. |
| Laser Level | Provides precise measurements over long distances. |
Materials And Tools Required
Essential materials for leveling your subfloor include:
- Self-leveling compound
- Flooring underlayment
- Shims for support
- Wood screws for securing loose boards
- Primer for better adhesion
Choosing the right tools makes the job easier:
- Trowel for spreading the compound
- Level to check flatness
- Drill for securing boards
- Measuring tape for precise measurements
- Safety gear like gloves and goggles
Once you know the subfloor is flat, use our wood flooring calculator to figure out how much material to order.
Preparation Steps
Start by securing any loose boards or plywood. Use wood screws to hold them in place. Check for any boards that move when you step on them. Tightening these will help create a stable base.
Next, focus on cleaning the subfloor. Remove dirt, dust, and debris from the surface. A clean subfloor ensures better adhesion for flooring materials. Use a broom or vacuum to clean every corner thoroughly.
Make sure to check for any nails or staples sticking up. These can cause problems with the new flooring. Hammer them down or remove them completely before proceeding.
Leveling Techniques
Using self-leveling compounds is a great way to fix low spots in your subfloor. These compounds are easy to apply and dry quickly. Simply pour the self-leveler onto the surface and use a trowel to spread it evenly. It creates a smooth finish, ready for your wood flooring.
Sanding high spots can help flatten uneven areas. Use a floor sander or hand sander to carefully remove excess material. Make sure to check the surface regularly for evenness during the process.
Shimming low spots involves placing thin pieces of wood under the subfloor. This raises the area to the same level as the surrounding floor. Make sure shims are securely placed to provide a stable base for your wood flooring.
Applying Self-leveling Compound
Mixing the self-leveling compound requires careful measurement. Use the manufacturer’s instructions for the right water-to-powder ratio. Stir the mixture until it achieves a smooth consistency. Avoid lumps to ensure even flow.
For pouring and spreading, start at a corner and work your way out. Pour the compound in small sections to control the flow. Use a trowel or squeegee to spread it evenly. Ensure the compound reaches all low spots for a flat surface.
Be mindful of the drying time. Allow the compound to set as recommended before placing any flooring material. This ensures a strong base for your new wood flooring.
Final Adjustments And Checks
Ensuring evenness across the floor is crucial for a successful installation. Start by checking all corners and edges. Use a level to identify high or low spots. Mark these areas for further adjustments.
Re-assessing problem areas helps in achieving a smooth finish. Sand down any high spots carefully. For low areas, consider using a self-leveling compound. This compound fills gaps and creates a flat surface. Always follow the manufacturer’s instructions for the best results.
Regularly check your work with a level throughout the process. This ensures that the subfloor remains even and stable. Address any discrepancies immediately to avoid future issues.
Preparing For Flooring Installation
Preparing for flooring installation is crucial. Start by choosing the right finish. A good finish protects your wood and enhances its beauty. Consider options like polyurethane, oil-based, or water-based finishes. Each has unique benefits. Oil-based finishes are durable but take longer to dry. Water-based finishes dry quickly and have lower odor.
Installation tips for wood flooring include proper acclimation of materials. Let the wood sit in the room for at least 48 hours. This helps prevent expansion or contraction after installation. Use a moisture meter to check levels before starting. Ensure a flat subfloor for the best results. Any bumps can damage the wood over time. Once the new floor is down, see our guide on how to care for wood floors to keep it looking new.
Frequently Asked Questions
What Is The Easiest Way To Level A Subfloor?
The easiest way to level a subfloor is by using a self-leveling compound. Pour it onto low spots, then smooth with a trowel. This creates a flat, even surface quickly, ideal for various flooring projects. Always follow manufacturer instructions for best results.
How Do You Fix An Uneven Wood Subfloor?
To fix an uneven wood subfloor, sand down high spots or use shims to raise low areas. For larger imperfections, apply a self-leveling compound for a smooth finish. Ensure all boards are securely fastened before proceeding with flooring installation.
Can You Self Level A Wood Subfloor?
Yes, you can self-level a wood subfloor. Use a self-leveling compound designed for wood surfaces. Ensure the subfloor is clean and secure before application. Pour the compound in low spots and spread it evenly. This process creates a smooth surface for your flooring.
How Do You Level An Uneven Floor For Hardwood Flooring?
To level an uneven floor for hardwood flooring, first, identify high and low spots. Use a self-leveling compound for low areas, applying it evenly. For high spots, sand down the uneven sections. Alternatively, use shims to raise low areas if necessary.
Always ensure a smooth, stable surface before installation.
Conclusion
Achieving a level subfloor is crucial for a successful wood flooring installation. A smooth surface ensures durability and enhances the overall appearance of your floors. By following the steps outlined in this guide, you can confidently prepare your subfloor. Invest time in this process for long-lasting results and a beautiful finish.
Sponsored / affiliate links. As an Amazon Associate I earn from qualifying purchases. I may earn additional commission from eligible campaigns.