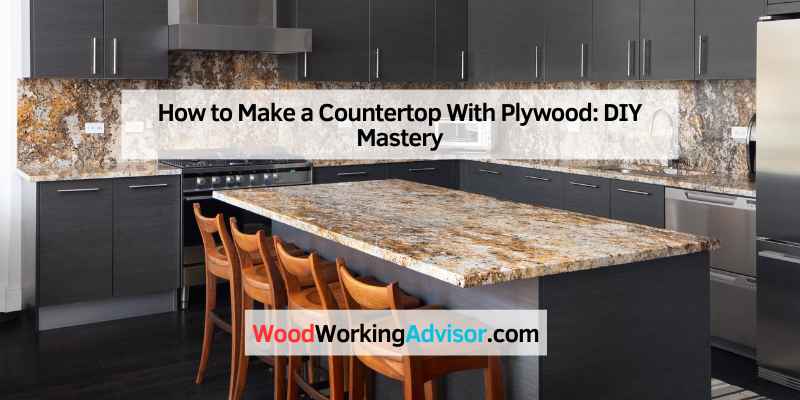
How to Make a Countertop With Plywood: DIY Mastery
To make a countertop with plywood, start by cutting the plywood to your desired size. Then, sand the edges and apply a protective finish.
Creating a plywood countertop is an affordable and stylish option for any kitchen or workspace. Plywood is durable, easy to work with, and offers a unique aesthetic that can enhance your décor. Whether you’re a DIY enthusiast or a homeowner looking to update your space, crafting a plywood countertop can be a rewarding project.
This guide will walk you through the essential steps, from selecting the right materials to achieving a smooth finish. With proper planning and execution, you can create a beautiful and functional surface that meets your needs while staying within budget.
Introduction To DIY Plywood Countertops
DIY plywood countertops are growing in popularity. Many people enjoy creating their own home projects. Plywood is affordable and easy to find. It offers a unique look that can enhance any space.
Using plywood for countertops has several benefits. First, it is lightweight, making it easy to handle. Second, plywood is versatile and can fit various styles. Third, it is eco-friendly if sourced from sustainable forests. Lastly, plywood is easy to customize, allowing for unique designs.
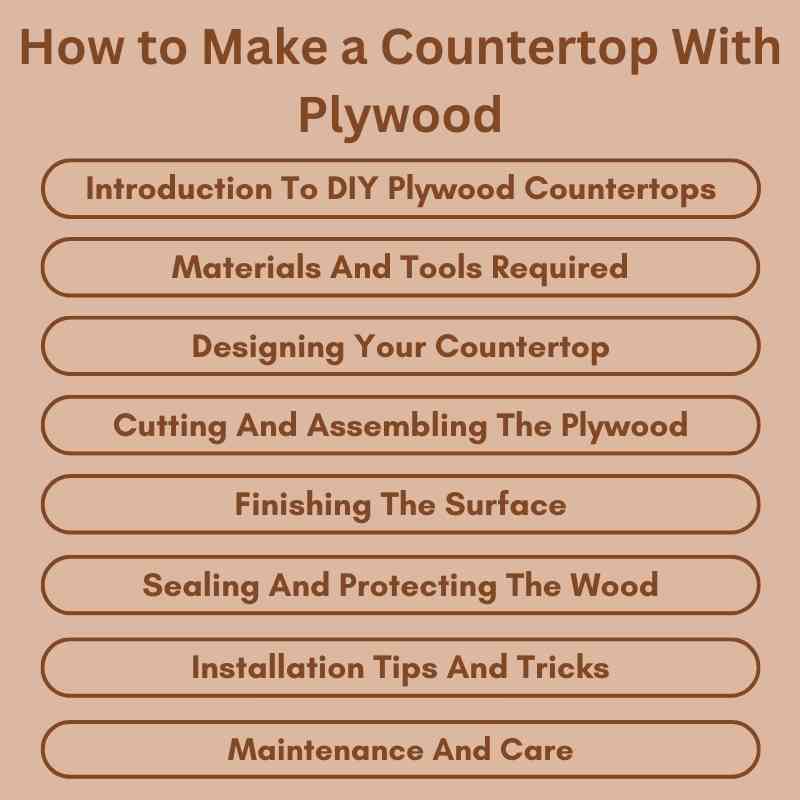
Materials And Tools Required
Choosing the right plywood is crucial for a durable countertop. Use high-quality plywood like birch or maple. These types resist warping and provide strength. Avoid softwoods, as they can dent easily.
Essential tools for the job include:
- Table saw for accurate cuts.
- Drill for making holes.
- Sander for smooth edges.
- Measuring tape for precise measurements.
- Clamps to hold pieces together.
Designing Your Countertop
Measuring your space is the first step. Use a tape measure to find the length and width of your countertop area. Write down these measurements for accuracy.
Next, consider the shape of your countertop. Will it be rectangular, L-shaped, or another design? Sketching a simple diagram helps visualize the layout.
Leave some space for appliances like toasters or mixers. This ensures your countertop is functional. Think about the placement of your sink and stove, too.
Check your measurements twice. Small errors can lead to big problems. A well-planned layout makes the building process easier and more enjoyable.
Cutting And Assembling The Plywood
Start with measuring your plywood accurately. Use a straightedge and a sharp blade for clean cuts. Mark your lines clearly to avoid mistakes. Practice on scrap wood to improve your technique.
For assembling the sections, use wood glue along the edges. Clamp the pieces tightly for a strong bond. You can also use screws for extra support. Be sure to pre-drill holes to prevent splitting.
Check that each joint is aligned properly. Sand any rough edges for a smooth finish. This will help achieve a professional look for your countertop.
Finishing The Surface
Sanding is important for a smooth surface. Use fine-grit sandpaper for the best results. Start with rough sandpaper, then switch to finer grades. Always sand with the wood grain. This helps avoid scratches and marks.
Choosing a finish protects the wood. Options include varnish, stain, and oil. Each finish gives a different look. Varnish is durable and water-resistant. Stain adds color but may need sealing. Oil enhances the wood’s natural look.
Test the finish on a small area first. This way, you see how it looks. Apply thin coats for even coverage. Allow each coat to dry completely. Lightly sand between coats for a smooth feel.
Sealing And Protecting The Wood
Sealing wood is essential for durability. It protects against moisture and damage. Several sealants work well for plywood.
| Sealant Type | Benefits |
|---|---|
| Polyurethane | Strong and water-resistant. |
| Epoxy | Very durable and good for repairs. |
| Varnish | Gives a nice finish and protects well. |
Apply sealant in thin coats. Use a brush or roller for even coverage. Allow each coat to dry completely before adding more.
Regular maintenance is key. Check for wear and reapply sealant as needed. This keeps the wood looking fresh and protected.
Installation Tips And Tricks
Secure the countertop using strong brackets. This will help prevent any movement. Use a level to check for evenness.
Start by aligning the edges. Make sure everything fits together well. Adjust as needed for a perfect fit. Tighten screws firmly but avoid over-tightening.
Check for gaps between the countertop and cabinets. Fill any gaps with caulk for a smooth finish. This will also stop moisture from getting in.
Maintenance And Care
Regular cleaning keeps your plywood countertop looking great. Use a soft cloth and mild soap for daily cleaning. Avoid harsh chemicals that can damage the surface.
For tough stains, make a paste of baking soda and water. Gently scrub the area with a soft cloth. Rinse well and dry immediately.
To deal with scratches and dents, consider using a wood filler. Apply it carefully to the damaged area. Sand it smooth and match the finish with a stain.
Using coasters and cutting boards will help prevent future damage. Always protect your countertop from heat and moisture.
Customization Ideas
Customize your plywood countertop with creative edge treatments. Consider using a router to shape the edges. This can create a smooth, professional look.
Add beveled, rounded, or straight edges for different styles. Each edge type gives a unique touch to your countertop.
Incorporate unique features like embedded lights or built-in storage. These can enhance both style and functionality.
Using stains or paints can change the color and finish. Choose colors that match your home decor.
Consider decorative inlays for a personal touch. This can include materials like metal, glass, or tile.
Conclusion: Mastering Plywood Countertops
Creating a plywood countertop can be a fun project. It offers a unique look and is cost-effective. Many DIY enthusiasts love showcasing their finished projects. They often share photos online.
Consider looking at these ideas for your next project:
- Stained finishes for a rich, warm look.
- Painted designs for a pop of color.
- Natural wood grain for an organic feel.
- Mixed materials like metal or glass for a modern touch.
These inspirations can help spark your creativity. Always remember to personalize your project. Make it reflect your style and taste.
Frequently Asked Questions
How Do I Choose Plywood For A Countertop?
Choosing the right plywood involves considering thickness and quality. Opt for at least 3/4-inch thick plywood for durability. Look for high-grade plywood like Baltic birch for a smooth surface. Avoid low-quality plywood, as it may warp or crack over time.
Always check for voids and defects before purchasing.
What Tools Do I Need For A Plywood Countertop?
To create a plywood countertop, gather essential tools: a circular saw, drill, measuring tape, and sandpaper. A straight edge will help ensure clean cuts. Additionally, a wood glue and clamps are necessary for securing pieces together. Safety gear like goggles and gloves is also important.
How Do I Finish A Plywood Countertop?
Finishing a plywood countertop involves sanding, sealing, and applying a protective coat. Start with coarse sandpaper and progress to finer grades. Use a wood sealer to prevent moisture damage. Finally, apply a polyurethane or epoxy finish for durability. Allow adequate drying time between each step for the best results.
Can I Use Plywood In A Kitchen?
Yes, plywood is a viable option for kitchen countertops. It is strong and can be finished to resist moisture. Ensure you use high-quality plywood to avoid warping. Regular maintenance, such as sealing and cleaning, will prolong its lifespan. This makes plywood a cost-effective and stylish choice.
Conclusion
Creating a plywood countertop is an achievable and rewarding project. With the right materials and tools, you can enhance your space affordably. Remember to take your time during each step for the best results. Enjoy the satisfaction of your handmade countertop and the beauty it brings to your home.