How to Paint Plywood Without Grain Showing Through
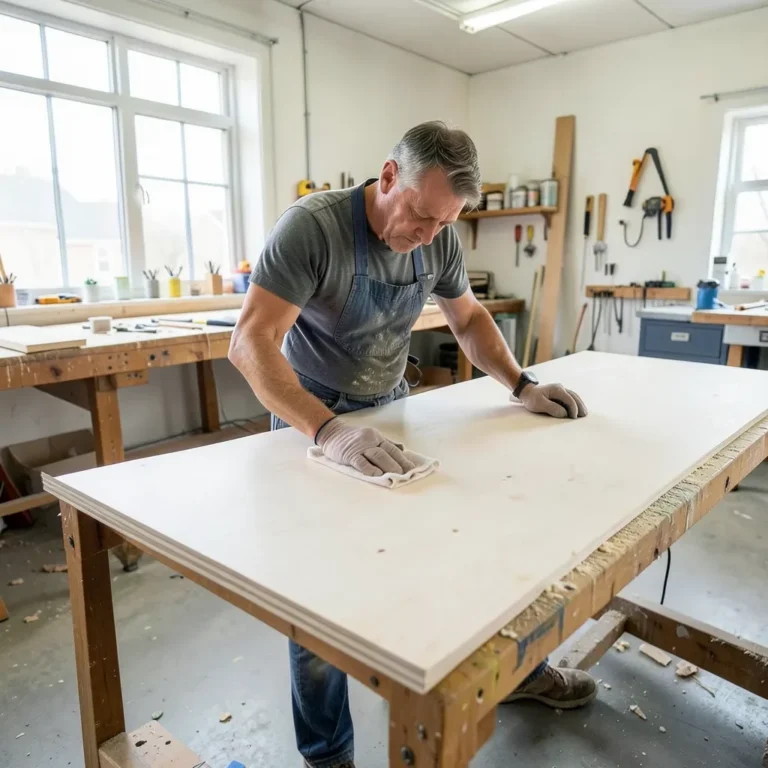
Use void-free, fine-veneer plywood, then seal the surface, fill the pores with a high-build filler or drywall-type skim coat, sand smooth, and apply about 2 coats of primer before paint. On visible oak or birch grain, one filler step is usually enough. Coarse grain may need 2. Skip that sequence and the grain can telegraph through the finish, leaving a wavy, cheap-looking surface that still shows after paint dries. This guide covers plywood choice, filler and primer options, and a step-by-step painting sequence that hides texture.
Build a fill-seal-prime-sand sequence to hide plywood grain


Choose the smoothest plywood you can buy, then treat grain hiding as a buildup job, not a paint-only job. Face veneer, seams, edge grain, and sanding scratches all print through at different rates, so the fix is a sequence: fill, seal, prime, sand, then topcoat.
What you’ll need
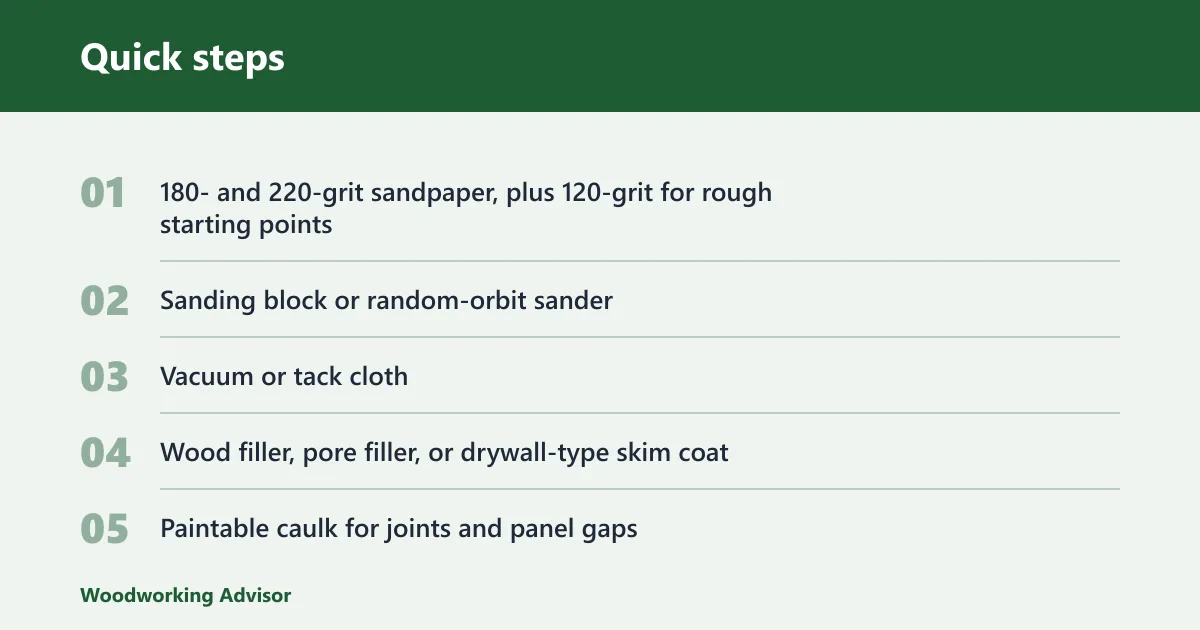
- 180- and 220-grit sandpaper, plus 120-grit for rough starting points
- Sanding block or random-orbit sander
- Vacuum or tack cloth
- Wood filler, pore filler, or drywall-type skim coat
- Paintable caulk for joints and panel gaps
- Bonding primer or stain-blocking primer
- High-build filler primer for heavier grain
- Latex, acrylic, or enamel topcoat
- Brush, foam roller, or spray equipment
- Painter’s tape for cut edges if you are finishing fresh cuts
Grain-hiding system selector
| Plywood scenario | Prep sequence | Filler type | Primer type | Sanding grit | Topcoat type | Common failure point |
|---|---|---|---|---|---|---|
| Raw birch plywood | Inspect, sand 180, fill face pores and seams, spot-seal edges, prime 2 coats | Wood filler or skim coat | Bonding primer or high-build filler primer | 180 then 220 | Latex or acrylic for interiors | Raised grain after primer |
| Construction plywood | Check for voids, sand 120 to 180, fill defects, seal edges, use high-build primer, sand, reprime | Heavy-body filler plus seam sealer | High-build filler primer | 120 then 180 then 220 | Enamel or harder acrylic | Witness lines over core voids |
| Prefinished plywood | Scuff-sand, clean, bond-coat, fill edge nicks only, prime 2 coats | Spot filler at chips and seams | Bonding primer | 220 | Latex, acrylic, or enamel | Poor adhesion from glossy factory finish |
| Outdoor plywood | Sand, seal edges first, fill seams, prime all faces, use flexible exterior topcoats | Exterior-rated filler and paintable caulk | Exterior bonding primer or stain-blocking primer | 180 then 220 | Exterior acrylic or exterior enamel | Cracking at edges and joints |
- Pick cabinet-grade plywood when the surface is visible, and reserve construction-grade plywood for hidden work or heavy buildup. Face veneer quality decides how much texture you must bury, while edge grain always behaves more openly than the face.
- Sand the face first with 180-grit. Then move to 220-grit. Stop before you cut through the veneer; thin veneer can chip, and cross-grain cuts are more likely to splinter if you have to trim the sheet first.
- Fill seams, dents, and open pores with wood filler or a drywall-type skim coat. Let it dry all the way before sanding, because filler that is still soft will shrink and leave the seam visible after paint cures.
- Seal exposed edges separately. Edges absorb more finish than the face, so they often need extra sanding and a dedicated sealing pass before you work on the larger panels.
How do you prep plywood?
Prep starts with the sheet, not the can of paint. Inspect the veneer, sand the face without breaking through, and deal with seams and edges before primer goes on. That sequence keeps scratches, voids, and thirsty edges from showing up as visible bands under paint.
Inspect the sheet for face quality
Look for cabinet-grade faces with tight veneer and few patches if the panel will stay visible. Construction plywood usually needs more filling because the face veneer is rougher and the core can leave shallow dips near the edges. Prefinished plywood needs scuff sanding because the factory surface often resists new coating.
Sand without breaking through the veneer
Start coarse enough to level defects, then move finer. A 120-to-180 progression is common for rough construction stock, while better cabinet panels can start at 180. Finish at 220 before primer so sanding scratches do not print through the paint film.
Fill seams and edge defects
Use paintable caulk at panel gaps and trim joints. Use filler for dents, open pores, and edge damage. Caulk moves with joints; it does not flatten veneer grain, so it should never replace a real leveling step on the face.
How do you prime plywood for a smooth finish?
Prime with the goal of locking down fibers and building a flatter film, then sand that film before color. Bonding primer helps over cleaned or slick surfaces, stain-blocking primer helps when bleed-through is a concern, and high-build primer helps bury grain texture that still reads after sanding.
Choose bonding or stain-blocking primer
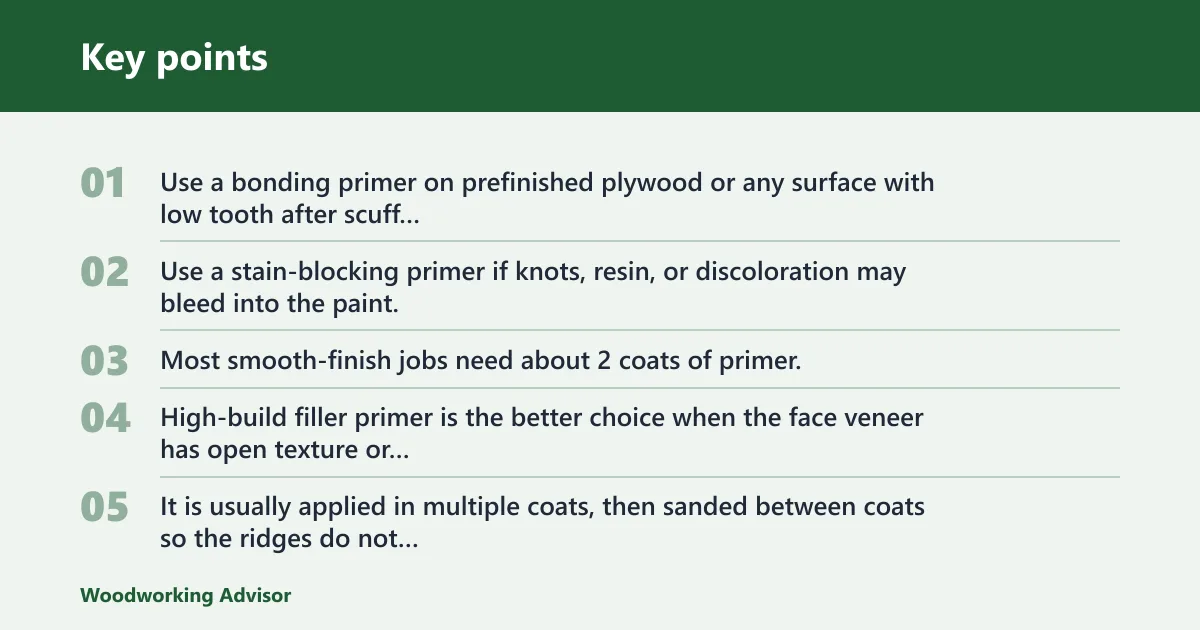
Use a bonding primer on prefinished plywood or any surface with low tooth after scuff sanding. Use a stain-blocking primer if knots, resin, or discoloration may bleed into the paint. Most smooth-finish jobs need about 2 coats of primer, with full drying between coats and a light sand after each coat if the grain is still visible.
Use high-build primer where grain is heavy
High-build filler primer is the better choice when the face veneer has open texture or when you want a flatter cabinet look. It is usually applied in multiple coats, then sanded between coats so the ridges do not build up. About 2 coats are common; a third is sometimes needed on coarse surfaces.
Sand between coats before color
After primer dries, sand lightly with 220-grit or finer. This removes nibs and raised grain and gives the color coat a flatter base. If the primer reveals new texture, stop and add another fill or primer pass before moving on.
How do you paint plywood to look good?
Choose the coating for the environment and the look you want. Latex is common for interiors, acrylic works well where flexibility matters, and enamel gives a harder finish. Sheen matters too: higher sheen reflects more light and can make grain lines easier to see.
Pick latex, acrylic, or enamel for the job
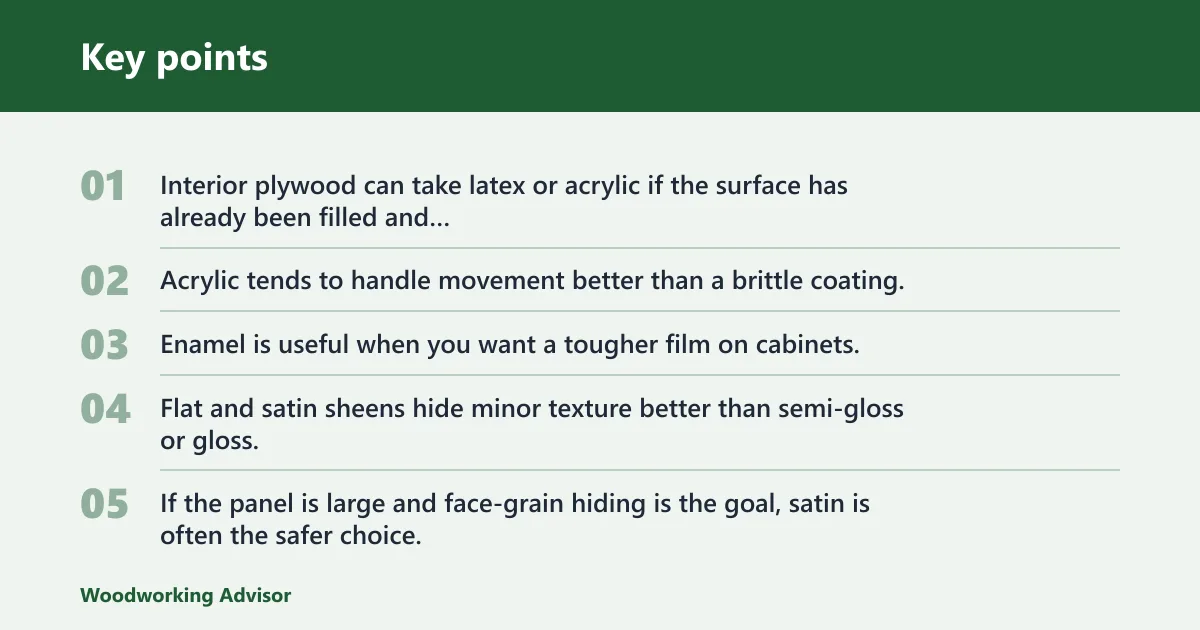
Interior plywood can take latex or acrylic if the surface has already been filled and primed. Acrylic tends to handle movement better than a brittle coating, which helps on panels that may swell or shrink slightly. Enamel is useful when you want a tougher film on cabinets, but it still shows surface flaws if prep is weak.
Choose sheen based on visible texture
Flat and satin sheens hide minor texture better than semi-gloss or gloss. If the panel is large and face-grain hiding is the goal, satin is often the safer choice. Gloss makes sanding scratches, seams, and edge transitions stand out sooner.
Apply thin topcoats and let them cure
Use 2 thin topcoats rather than one heavy coat. Thin coats level better, dry more evenly, and are less likely to telegraph roller marks. Let each coat dry fully before recoating so the film does not trap softness under the surface.
How do you handle edges and seams?
Edges and seams need different treatment than face grain. Edges soak up finish faster and often need extra sealing, while seams need filling or caulk so joints do not show as dark lines after paint dries. Visible furniture parts need this step most.
Seal exposed edges separately
Brush primer or sealer on all exposed edges first, then sand them again when dry. That extra pass reduces the rough, fuzzy look that plywood edges can develop. On shelves, door parts, and cabinet sides, skipped edge sealing is one of the fastest ways to ruin a smooth finish.
Use paintable caulk only for gaps
Caulk belongs in joints, seams, and small panel gaps. It is not a grain filler and will not flatten veneer pores. Use a paintable formulation, tool it smooth, let it dry, then prime over it so the joint reads as one surface.
Avoid witness lines at joints
Suppose a 24-by-30-inch cabinet side has a butt joint near the front edge. If the seam is filled but the edge is not sealed, paint may dry at a different rate along that line and leave a faint witness mark. Seal first, fill second, then prime the whole face.
Common mistakes
The biggest failures come from using the wrong fix for the wrong surface. Grain hiding, seam hiding, and edge sealing are separate jobs, and each one can fail on its own even when the paint itself is good.
- Sanding through the veneer: keep to 180 to 220 grit on good plywood and stop as soon as the surface is flat enough.
- Skipping edge sealing: brush sealer onto all exposed edges before prime, because edges absorb finish more than faces.
- Using caulk to hide grain: use filler or skim coat for the face, and reserve caulk for joints and panel gaps.
- Painting over raised grain too soon: let primer dry, sand it, then check the face again before topcoat.
- Relying on extra paint alone: more coats help, but they do not bury open grain as well as filler plus primer.
Plywood grain table
Different plywood types need different prep because the face veneer quality changes the amount of texture you must hide. The same paint system that works on cabinet-grade birch can fail on construction plywood or an already-finished panel.
| Plywood type | Grain behavior | Best prep focus | Paint path |
|---|---|---|---|
| Cabinet-grade plywood | Finer face veneer, less patchy | Light sanding, spot filling, 2 primer coats | Latex, acrylic, or enamel |
| Construction-grade plywood | More open texture and more visible core issues | Heavier sanding, filler, high-build primer | Best with smoother enamel or acrylic topcoat |
| Prefinished plywood | Factory coating blocks easy adhesion | Scuff sand and use bonding primer | Any compatible interior paint system |
| Raw plywood | Fastest to prep, but most variable | Fill, seal, prime, sand, reprime as needed | Matched to indoor or outdoor exposure |
Frequently asked questions
Does plywood have a grain?
Yes. Plywood face veneer has a grain direction, and that direction can remain visible after paint if the surface is not filled and primed. Edge grain usually reads differently from face grain, which is why the edges need separate treatment before color goes on.
Can you paint prefinished plywood?
Yes, but scuff sanding is required so the new coating can bond. Clean the surface, sand with 220-grit, then use a bonding primer before your topcoat. If the finish is glossy or slick, skipping the primer often leads to peeling later.
Can I paint plywood with acrylics?
Yes. Acrylic works well when you want a finish with more flexibility than many harder coatings. For the best result, fill the surface first, then use a primer that bonds well to the prepared plywood before applying 2 thin acrylic topcoats.
What paint works best on plywood for outdoor use?
Use an exterior-rated acrylic or exterior enamel over an exterior primer. Outdoor plywood moves with moisture, so the coating needs flexibility as well as adhesion. Seal the edges first, because that is where breakdown often starts before the face finish fails.
How do I make plywood smooth for paint?
Sand to 220-grit, fill the face and seams, prime twice, and sand lightly between primer coats. If the veneer grain still shows after primer, add a high-build primer pass instead of relying on more color coats alone.
How do I paint wood grain so it disappears?
Use a leveling filler on the grain, sand it smooth, then cover it with 2 primer coats before paint. A satin or flat topcoat hides more than gloss, but the real gain comes from burying the grain before the color coat goes on.
Sponsored / affiliate links. As an Amazon Associate I earn from qualifying purchases. I may earn additional commission from eligible campaigns.
 Baltic Birch Plywood 1/8'' x 12'' x 18'', 6 Pack, B/BB Grade, Void-Free Core, Laser Cutting Ready, Flat Sheets for CNC, Engraving, DIY Crafts, Art Painting, Wood Burning, Staining
 Baltic Birch Plywood Sheets Box of 45 - Laser Engraving Cutting, Scroll Saw Nature Veneer Color, Stronger Than Basswood, A/A Grade,12 x 12 x 1/8”, 3mm Thickness Perfect for Wood Burning