How to Seal Plywood Edges for a Clean Finish
Use a finish-matched method: choose edge banding or epoxy for exposed clear-finish edges, and use shellac or a dedicated primer sealer before paint. On many porous edges, plan on about 2 coats. Poor sealing leaves fuzzy grain, open pores, and chipped corners that make a project look unfinished. This guide shows which edge-sealing method to choose by finish type and exposure, then how to avoid the common mistakes that ruin the result.
Quick answer
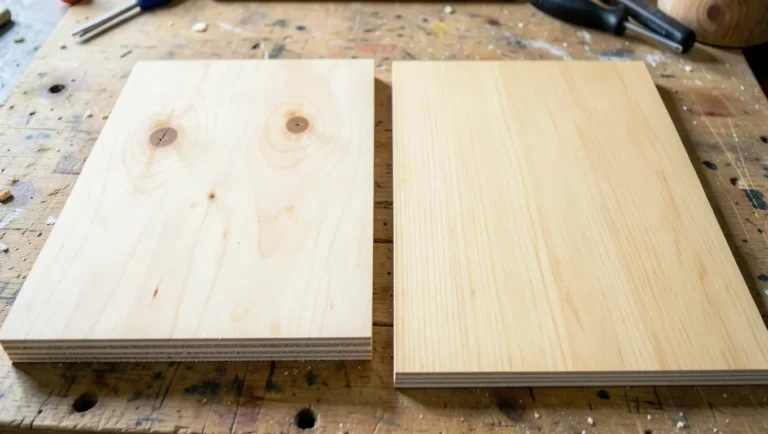
Plywood edges expose alternating veneer layers and glue lines, so they absorb finish faster than the face. That creates rough texture, blotchy color, and weak corners if you skip prep. Moisture also enters more easily through cut edges and joints than through the sheet face.
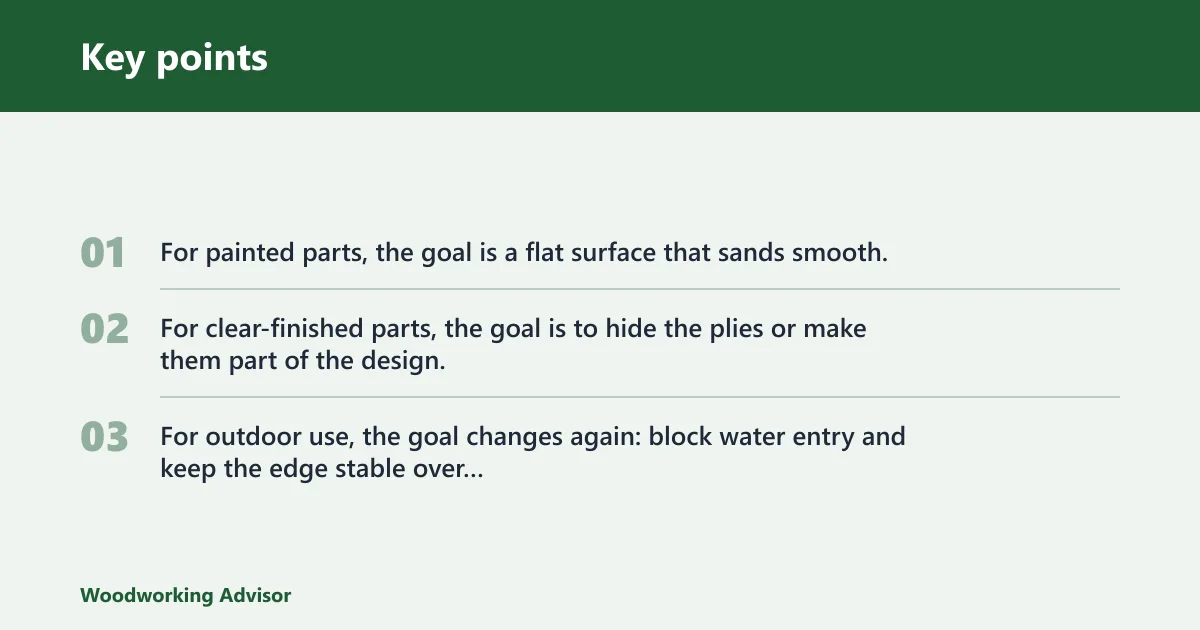
For painted parts, the goal is a flat surface that sands smooth. For clear-finished parts, the goal is to hide the plies or make them part of the design. For outdoor use, the goal changes again: block water entry and keep the edge stable over time.
What you’ll need
- Sandpaper in the about 150 to 220 grit range
- Tack cloth for dust removal after sanding
- Wood filler for paint-grade edges
- Iron-on edge banding with pre-glued backing
- Solid wood trim, glue, clamps, or brad nails
- Brush-on polyurethane, oil-based or water-based
- Epoxy resin for full encapsulation
- Marine-grade coating and a UV-resistant topcoat
- Block plane, flush-trim bit, or sanding block
- Clamps and cutting tools for trim or banding
Which method fits your project?
Choose the edge treatment by finish type first, then by exposure. Paint-grade edges can use filler, primer sealer, or trim. Stain-grade edges usually need banding or solid wood trim. Exterior and wet-use edges need epoxy or a marine coating, not a decorative-only fix.
Paint-grade edges
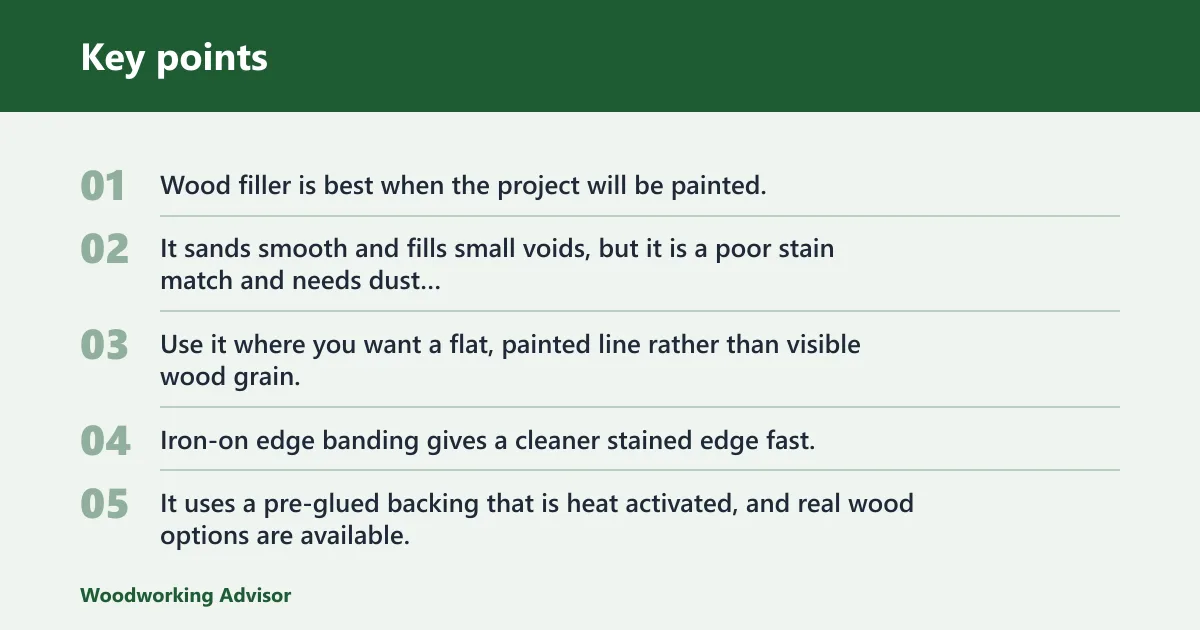
Wood filler is best when the project will be painted. It sands smooth and fills small voids, but it is a poor stain match and needs dust control before priming. Use it where you want a flat, painted line rather than visible wood grain.
Stain-grade edges
Iron-on edge banding gives a cleaner stained edge fast. It uses a pre-glued backing that is heat activated, and real wood options are available. The tradeoff is failure risk on curved or irregular surfaces, where peeling and chipout are more likely.
Exterior and wet-use edges
Epoxy resin is the best choice for full encapsulation, gap filling, and end grain sealing. Marine sealing requires epoxy on all surfaces and edges, and marine edges and joints should get extra epoxy coats. For constant water exposure, plan on a UV-resistant topcoat over the cured epoxy.
Curved or already-assembled edges
Curved edges make edge banding harder, especially on irregular profiles. Already-assembled projects are usually better served by sanding, filling, and coating in place, or by applying solid wood trim where clamps or brad nails can still reach the edge.
Plywood edge decision matrix
| Method | Finish type | Exposure level | Edge shape | Skill level | Failure risk |
|---|---|---|---|---|---|
| Wood filler | Paint | Indoor, low moisture | Straight or simple | Beginner | Blotchy if not primed well |
| Iron-on edge banding | Stain or clear | Indoor, moderate wear | Straight edges | Beginner to intermediate | Peel, chip, or lift on curves |
| Solid wood trim | Paint or clear | Indoor to sheltered exterior | Straight, mitered, or shaped | Intermediate | Gaps if cut or clamped poorly |
| Polyurethane | Clear coat | Indoor or lightly exposed | Straight or curved | Beginner | Runs, bubbles, or thin spots |
| Epoxy resin | Clear or paint undercoat | High moisture | Any shape | Intermediate to advanced | Excess build, drips, or trapped air |
| Marine-grade coating | Exterior protection | Constant water exposure | Any shape | Advanced | Early failure without UV topcoat |
How do you seal plywood edges step by step?
Start with sanding, then remove dust, then apply the edge treatment that matches the finish. For paint, fill and prime. For clear work, band or trim the edge. For wet use, seal with epoxy or a marine system and build enough coats to close the pores.
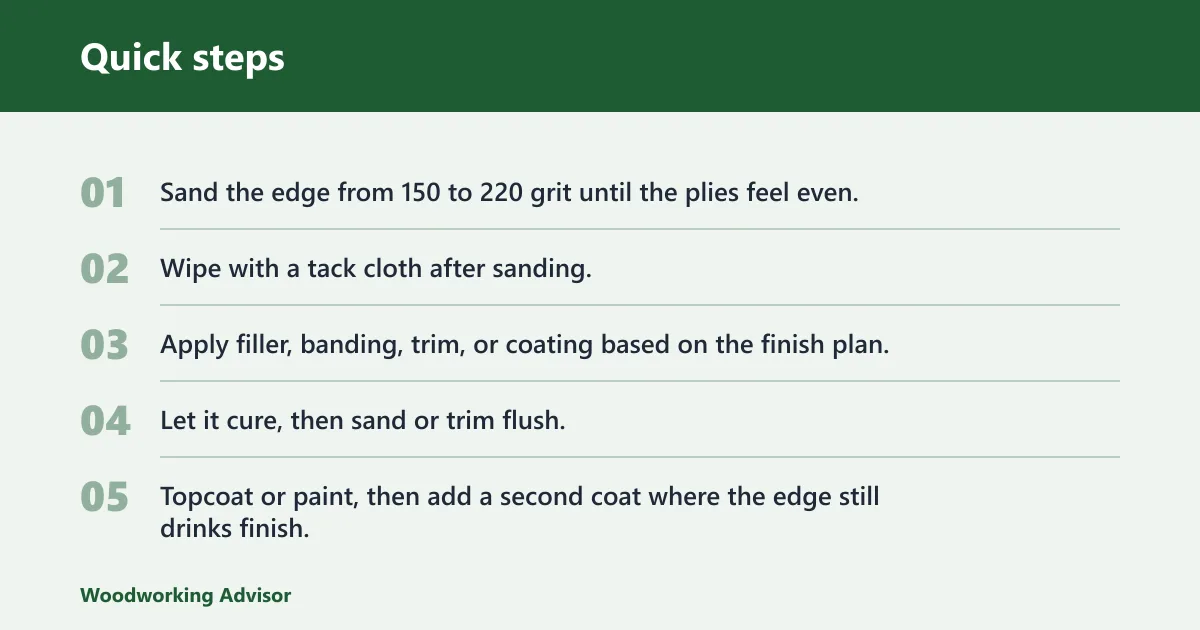
- Sand the edge from 150 to 220 grit until the plies feel even.
- Wipe with a tack cloth after sanding.
- Apply filler, banding, trim, or coating based on the finish plan.
- Let it cure, then sand or trim flush.
- Topcoat or paint, then add a second coat where the edge still drinks finish.
For porous edges, apply the first coat generously, then recheck after it dries. If the surface still looks dry or rough, add another coat rather than forcing a heavy final pass. A common first-timer mistake is putting on the second coat before the first one has closed the pores.
Say your cabinet side is 18 inches long and will be painted white. Wood filler can close the edge fast, but only after sanding and dust removal. Suppose that same edge will stay clear-coated on a bookshelf; edge banding or solid wood trim is the better path.
How do you protect plywood for outdoor use?
For outdoor use, choose epoxy or a marine-grade coating rather than a decorative-only finish. Epoxy should cover all surfaces and edges on marine work, with extra coats on edges and joints. If the part sees sun, a UV-resistant topcoat is needed or the coating can break down early.
Seal end grain and joints first
Cut edges drink finish first, so seal them before broad faces if the part is already assembled. Brush the coating into joints, screw holes, and exposed laminations. Multiple epoxy coats are applied until no absorption occurs.
Add a UV-resistant topcoat
After epoxy cures, add the topcoat that the coating system calls for. For exterior polyurethane, one guide recommends 2-3 coats of PU varnish on cut edges. Recoat only inside the product’s stated window so the layers bond cleanly.
Plan for maintenance and re-sealing
Check high-wear edges after weathering, then touch up worn spots before water reaches bare wood. If finish failure starts at a corner, sand back to sound material and reseal the whole edge, not just the damaged spot.
Common mistakes
Most bad edge finishes come from the same few failures: dust, weak adhesion, and too little build. Fixing them starts with sanding back the bad area, then rebuilding the edge in thinner, cleaner layers.
- Bubbles and peel in banding: Reheat the section, press it flat, and trim any loose edge before it lifts farther.
- Blotchy soak-in on end grain: Seal the edge again with a second coat after the first dries.
- Telegraphing through paint: Sand higher spots, add filler where the ply layers show, then prime again.
- Edge chipout during trimming: Use a sharper flush-trim tool and take lighter passes.
- Dust left on the surface: Wipe with tack cloth before every coat.
For a 3/4-inch plywood shelf with visible layers, a good repair path is to sand the lifted spot, reseal the edge, and repaint the whole run so the patch does not stand out. If the edge banding fails on a curve, solid wood trim usually repairs the shape more reliably.
How to finish plywood edges for stain and clear coats
For stain-grade work, edge banding or solid wood trim is the cleaner choice. Banding is fast and can look close to solid lumber on straight runs. Solid wood trim is the most durable edge finish, but it takes glue, clamps or brad nails, plus flush trimming and sanding.
If the edge is curved, trim usually wins because banding is harder to control there. For already-assembled projects, plan the trim sequence so the fasteners and clamps still reach the edge. Keep the face protected while you sand the joint flush.
Frequently asked questions
How to seal plywood from water
Water protection starts with closed end grain. Brush epoxy into the edges first, let it cure, then add more coats until absorption stops. If the part will sit in sun, finish with a UV-resistant topcoat so the barrier does not break down early.
How to seal plywood floors
For plywood floors, use a floor-rated coating system rather than ordinary banding or trim. Sand to a clean, even surface, remove dust, then apply the coating in the manufacturer’s recoat window. Edges at walls and seams need the same seal attention as the field.
Sponsored / affiliate links. As an Amazon Associate I earn from qualifying purchases. I may earn additional commission from eligible campaigns.