How to Paint Wood Paneling Without Sanding (Deglosser Method)
You can paint wood paneling without sanding by cleaning it thoroughly, wiping it down with a liquid deglosser to chemically dull the old finish, then priming with a stain-blocking bonding primer – skipping the physical sanding step, not surface prep altogether. This works because the deglosser does the same adhesion job sandpaper would (breaking the surface tension of the old finish so primer can grip it) without the dust, the grooves you can’t reach with a sanding block, or the hours of labor. Here’s the exact process, including where this shortcut has real limits.
Why You Can Skip Sanding (And When You Actually Can’t)
Best No-Sand Surface Prep Pick
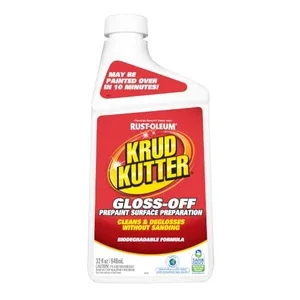 |
Krud Kutter Gloss-Off Prepaint Surface Prep Cleaner, 32 oz – $9.35 This is the exact wipe-on deglosser that replaces the sanding step in this guide – it dulls glossy paneling finish so primer can grip without a random orbital sander.
|
Most painting guides tell you to sand paneling before priming, and for solid wood or MDF trim that’s still the safest advice. But grooved, beaded, or shiplap-style paneling is a different problem: a random orbital sander can’t get into the routed grooves, and a sanding block by hand across dozens of square feet of grooved paneling can turn a weekend project into a week. A liquid deglosser solves the adhesion problem chemically instead of mechanically.
What a Liquid Deglosser Actually Does
A liquid deglosser is a solvent-based wipe-on product that softens and dulls a glossy factory finish (lacquer, varnish, or polyurethane) just enough for primer to mechanically key into it. You don’t need to strip the finish down to bare wood – you’re only removing the sheen, not the coating. Wipe it on with a lint-free cloth in circular motion, re-saturating the cloth as it picks up grime, and let it flash off per the label (usually 10–15 minutes) before priming. This is a different product from TSP (trisodium phosphate) or a TSP substitute cleaner, which degreases and removes wax/nicotine residue but doesn’t dull gloss on its own – on paneling with visible grease or wax buildup (common in old kitchens and dens), clean with a degreaser first, then deglaze.
When You Still Need to Sand
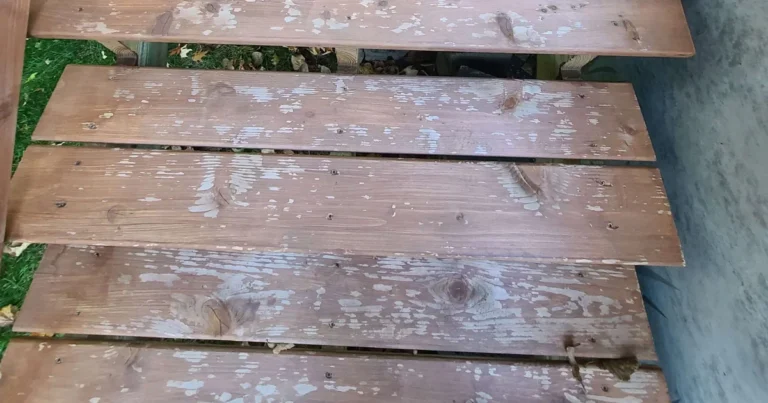
Be honest with yourself about three situations where this shortcut doesn’t apply: paneling with peeling, cracking, or alligatored existing paint (scrape and sand those specific damaged spots, even if the rest of the wall gets the deglosser treatment); heavy catalyzed lacquer or conversion varnish, which is harder than standard finishes and sometimes needs a second deglosser pass plus a light hand-scuff in corners with 220-grit; and water damage or swollen seams, which need repair before any paint goes on regardless of prep method. For everything else – standard factory-finished 1970s-’90s groove paneling, which is the vast majority of what’s still on walls – the clean-deglaze-prime sequence below is enough.
What You’ll Need
- Liquid deglosser (a full-size bottle covers roughly 200–300 sq. ft. depending on how porous the old finish is)
- TSP-substitute cleaner, if the paneling has visible grease, smoke residue, or wax buildup
- Stain-blocking bonding primer (water-based for light tannin bleed, oil-based like Zinsser Cover-Stain for knotty pine or heavy bleed-through woods)
- Paintable caulk or wood filler for nail holes and open seams
- Lint-free rags, nitrile gloves, and eye protection
- A 3/8″ nap roller for the flats and an angled 2″ brush for grooves and corners
- Latex paint in your chosen finish (satin or eggshell hides roller texture and grooves better than flat)
Step-by-Step: Painting Wood Paneling Without Sanding
Step 1 – Clean and Degrease
Wash the entire wall with a TSP-substitute cleaner and water, working bottom to top to avoid streaking, then rinse with clean water and let it dry fully (at least a few hours, overnight if the room is humid). Skipping this step is the single most common reason a no-sand paint job peels within a year: grease and silicone-based furniture polish residue sit on top of the old finish and block the deglosser and primer from bonding to anything, no matter how good the primer is.
Step 2 – Apply the Liquid Deglosser
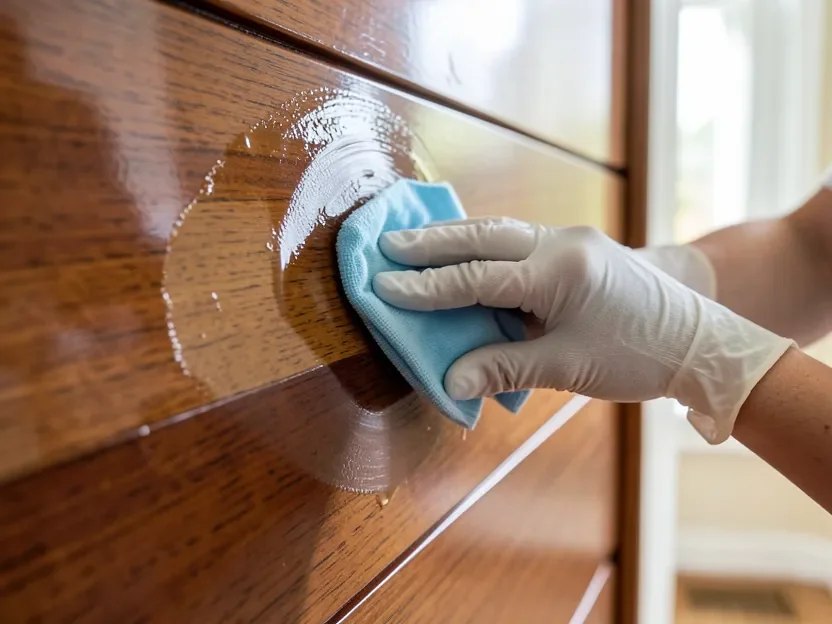
Put on gloves and work in a ventilated room. Saturate a rag with deglosser and wipe every section of paneling in small circular motions, re-wetting the rag often – you’re aiming for an even matte, slightly hazy look across the whole wall, not leaving any glossy patches. Pay extra attention to the bottom of each groove, where finish tends to pool thicker. Let the wall flash off per the product’s label before moving to the next step.
Step 3 – Fill Nicks, Nail Holes, and Open Seams
Press paintable caulk into any gaps between panels and wood filler into nail holes or gouges, then wipe the excess flush with a damp rag before it skins over. This step matters more on a no-sand job than a sanded one, since you’re not knocking down high spots with sandpaper afterward – whatever texture is there when you prime is roughly what shows once painted.
Step 4 – Prime With a Bonding, Stain-Blocking Primer
Roll on one full coat of a stain-blocking bonding primer, cutting into grooves and corners with the angled brush first so the roller doesn’t skip them. This is not an optional step you can skip to save a few dollars: an ordinary wall primer isn’t formulated to grip a deglossed finish or block tannins, and paneling (especially real wood like knotty pine or cedar) will bleed yellow-brown streaks through latex paint within weeks without a stain-blocking coat underneath. Let it cure fully per the label – usually 24 hours – before topcoating.
Step 5 – Paint
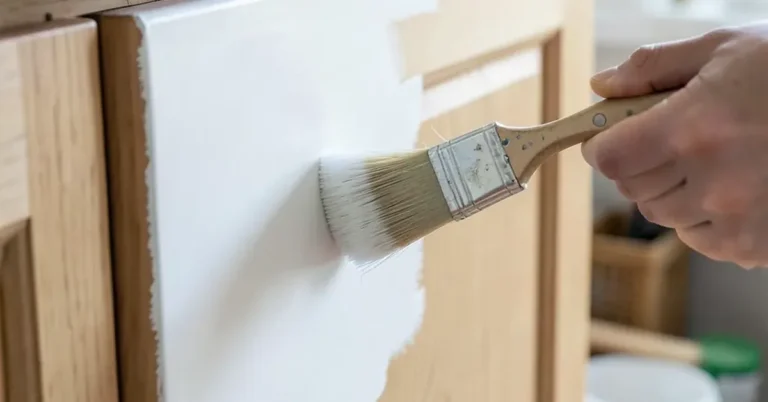
Apply two thin coats of latex paint rather than one thick one, brushing grooves and edges first on each coat, then back-rolling the flats to blend brush and roller texture. Let each coat dry per the label (typically 2–4 hours) before the next. Two thin coats level out more evenly over grooved paneling than one heavy coat, which tends to pool in the grooves and sag.
Common Mistakes That Cause Paint to Peel Later
The failures we hear about most with no-sand paneling jobs trace back to three shortcuts, not the deglosser method itself: skipping the degreasing wash and going straight to deglosser (grease under the new paint eventually lets it release in sheets); using a standard interior primer instead of a bonding/stain-blocking one (adhesion fails at the primer-to-old-finish bond line, not the paint-to-primer bond); and recoating before the primer has fully cured because the room “felt dry” (a primer that’s touch-dry isn’t necessarily cured enough to hold a topcoat’s weight and stress as it shrinks while drying). None of these are deglosser failures – they’re sequence failures, and the fix for all three is following the five steps above in order and giving each one its full cure time.
Grooved, Board-and-Batten, and Knotty Pine Paneling – Any Differences?
The clean-deglaze-prime sequence works the same across paneling styles, but two are worth calling out. Knotty pine bleeds tannins more aggressively than plain fir or birch paneling, so an oil-based stain-blocking primer (rather than water-based) is worth the extra dry time to avoid the tell-tale amber blotches showing through white paint. Deep V-groove or channel-groove paneling holds more old finish and dust down in the grooves than flat board-and-batten, so plan on more deglosser and a slower, more deliberate wipe-down in those recesses. If your project is specifically knotty pine, our shellac-primer guide for knotty pine paneling goes deeper on that tannin-bleed problem. And if you’d rather sand and want the traditional full-prep method side by side with this one, see our complete guide to painting wood paneling.
Frequently Asked Questions
Do I really not need to sand at all?
For standard factory-finished paneling in good condition, yes – a liquid deglosser dulls the sheen chemically so primer can bond the way it would to a sanded surface. The exception is damaged paneling: peeling paint, cracked finish, or swollen seams need to be scraped, filled, and sanded in those specific spots first, even if you deglaze the rest of the wall.
What’s the difference between a deglosser and TSP?
TSP and TSP-substitute cleaners degrease and remove grime, wax, and nicotine residue – they clean the surface but don’t change how glossy the finish looks. A liquid deglosser chemically softens and dulls the gloss itself so primer has something to grip. On greasy or heavily soiled paneling, use both in order: TSP-substitute wash first, deglosser second.
How long should I wait between deglossing and priming?
Follow the flash-off time on your specific product’s label, typically 10–15 minutes, then prime the same day while the surface is still clean and dry. Waiting several days lets household dust resettle on the deglazed surface, which can interfere with primer adhesion just as much as skipping the deglosser step in the first place.
Can I use this method on heavily varnished or polyurethane-coated paneling?
Usually yes, but heavy catalyzed lacquer or conversion varnish is tougher than a standard factory finish and can need a second deglosser pass, plus a light hand-scuff with 220-grit sandpaper in corners the cloth can’t fully reach. Test an inconspicuous section first – if the deglosser leaves an obviously glossy patch after two passes, that’s your sign to scuff-sand that section before priming.
Bottom Line
Painting wood paneling without sanding is a legitimate shortcut, not a corner-cutting risk, as long as you treat “no sanding” as “no physical sanding” rather than “no prep.” Clean, deglaze, fill, prime with a real bonding primer, and paint in two thin coats – skip any one of those and the deglosser gets blamed for a failure it didn’t cause.
Sponsored / affiliate links. As an Amazon Associate I earn from qualifying purchases. I may earn additional commission from eligible campaigns.