Weatherproof Paint for Wood: What to Use, When to Use It
Weatherproof paint for wood is a system choice: use a high-quality exterior acrylic latex over dry, primed wood for most siding and trim, and save specialty coatings for high-exposure or problem substrates. Skip the full system, and you get peeling, water entry, and costly repaints sooner than you should. This guide compares exposure, wood type, primer needs, dry times, and failure risk so you can choose the right setup.
Weatherproof vs waterproof paint explained



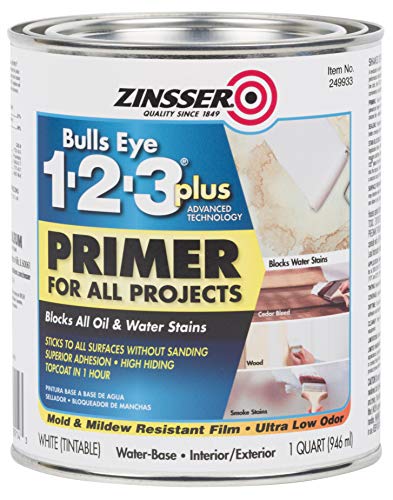
For wood, weatherproofing means resisting rain, UV, and seasonal movement well enough to keep the coating intact. It does not mean the wood is sealed against every bit of moisture. Waterproofing is a stronger claim, and most exterior paints are better described as weather-resistant or water-resistant. EPA guidance on moisture control also matters here: coatings perform best when the substrate is dry and the source of wetting is addressed, not merely covered.
Water-resistant vs waterproof vs weatherproof
Water-resistant exterior paint sheds water and slows absorption. Weatherproof paint must also cope with sunlight, temperature swings, and repeated wet-dry cycles. Waterproof coatings are for special cases and usually form a tighter film; on wood, that can fail if the substrate moves or stays damp underneath. That is why product literature from major coating makers typically frames exterior wood products as weather-resistant systems rather than true waterproof membranes.
That distinction matters because wood changes with humidity and temperature. A coating that blocks liquid water well but stays too rigid can crack. A coating that flexes but lacks UV resistance can break down under sun exposure, then let moisture in later. In freeze-thaw climates, that trapped moisture expands under the film and accelerates cracking, edge lift, and peeling.
What an exterior coating system must handle
A good exterior system balances adhesion, flexibility, moisture resistance, and UV protection. It also has to fit the surface: smooth planed boards, rough-sawn siding, outdoor furniture, doors, fences, sheds, and decks do not all take the same coating system well. Surface texture and exposure level change the right answer, and manufacturer system guidance from Sherwin-Williams, Benjamin Moore, and Rust-Oleum consistently separates standard exterior wall/trim coatings from deck and specialty floor systems.
On exterior wood, “paint” often means more than the top coat. Bare timber may need sanding, knot treatment, filler, and primer before paint. Previously painted wood may need scraping, spot priming, and a fresh topcoat rather than a full reset. End grain is especially vulnerable because it drinks in liquid far faster than face grain, so edges, cut ends, and joints usually need extra sealing attention.
Wood exposure matrix
The right coating depends on where the wood sits, how often it gets wet, and how much sun it takes. A sheltered porch chair has a very different risk profile from a south-facing trim board or a fence panel in wind-driven rain. For a broader substrate overview, see this outdoor wood guide, which is most useful when you are deciding whether to seal, prime, or fully repaint.
| Location | Moisture / UV exposure | Recommended primer type | Topcoat chemistry | Sheen | Coat count | Dry / recoat window | Common failure mode |
|---|---|---|---|---|---|---|---|
| Outdoor furniture under cover | Low moisture, moderate UV | Bonding primer or stain-blocking primer on bare wood; spot prime repairs | Exterior acrylic latex; specialty furniture enamel if specified for wood | Satin or semi-gloss | 2 coats over primer | Follow label; many acrylics recoat in about 4 hours in ideal conditions | Chalking or edge wear, especially on end grain and armrests |
| Siding on a dry, sheltered wall | Moderate moisture, high UV | Exterior wood primer; stain-blocking on knots and tannin-prone species | High-quality exterior acrylic latex | Flat to satin | 2 coats, 3 on bare wood if specified by the system | Dry times vary by brand; repaint only within label window | Fading, hairline cracking, and tannin bleed at knots or joints |
| Exterior doors and trim | Moderate moisture, high UV | Bonding primer plus stain blocker where needed | Exterior acrylic enamel or alkyd-modified exterior trim enamel where permitted | Satin or semi-gloss | 2 coats over primer | Respect recoat window to avoid wrinkling or poor intercoat adhesion | Peeling at edges, blocked movement at panels, and failure at end grain |
| Rough-sawn fences and sheds | High moisture, high UV | Penetrating primer or exterior wood primer rated for rough stock; spot prime end grain | Exterior acrylic or solid-color stain system designed for rough exterior wood | Flat, low-luster, or satin | 2 coats, sometimes 3 on porous wood | Often longer dry time in rough grain; allow full cure before rain | Early peeling from poor penetration, chalking, and end-grain failure |
| Marine/coastal | Very high moisture, salt, high UV | Corrosion-resistant, stain-blocking, or specialty marine primer as directed | Marine enamel or high-performance exterior acrylic/alkyd system rated for severe exposure | Satin to gloss, depending on product | 2 coats over primer, with maintenance coats as needed | Strictly follow temperature and humidity limits; salt air shortens maintenance intervals | Bubbling, blistering, salt-induced chalking, and edge failure |
| Decking | Very high moisture, high abrasion, high UV | Deck-rated primer only if required by the system | Deck coating or deck stain system, not standard wall paint | Low-luster to satin | System-specific; usually 1 to 2 coats | Use label-approved deck dry/recoat intervals only | Wear-through, peeling, and freeze-thaw lifting from trapped moisture |
| Coastal or freeze-thaw sites | Very high moisture, salt, repeated expansion and contraction | High-adhesion exterior primer; stain blocker where bleed is likely | Flexible exterior acrylic or approved specialty system for the exposure | Satin or low-luster | 2 coats, with primer on bare or repaired areas | Allow full dry time before rain, dew, or freezing temperatures | Bubbling, cracking, and edge failure after one wet season if moisture is trapped |
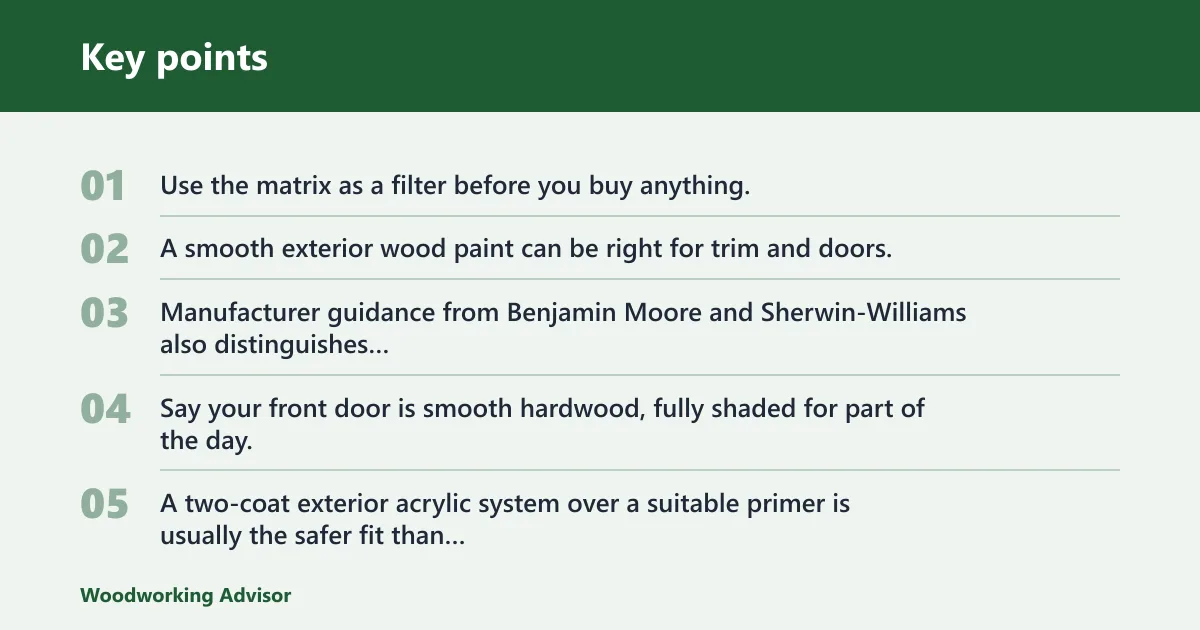
Use the matrix as a filter before you buy anything. A smooth exterior wood paint can be right for trim and doors, but the same label may be wrong for rough-sawn fences, decking, or constantly wet surfaces. Manufacturer guidance from Benjamin Moore and Sherwin-Williams also distinguishes standard exterior coatings from deck-specific systems and from high-exposure trim systems.
Say your front door is smooth hardwood, fully shaded for part of the day, and exposed to wind-driven rain. A two-coat exterior acrylic system over a suitable primer is usually the safer fit than a heavy, rigid coating that can trap movement at the edges. On hardwoods with open pores or tannin content, a stain-blocking primer is often the difference between a clean finish and brown bleed-through.
What paint should you use on outdoor wood?
For most outdoor wood furniture, trim, and siding, use an exterior acrylic or water-based exterior paint. Choose oil-based or alkyd-modified paint when the system specifically calls for it or when you need harder wear on trim, doors, or detailed millwork, but note that slower dry times and greater rigidity can make it a poor choice for sun-baked, movement-prone wood. Match the product to the surface, not the label alone.
Exterior paint for furniture, doors, trim, and siding
Outdoor furniture often does best with a flexible, quick-drying exterior coating that handles handling and small surface movement. Doors and trim need stronger edge coverage and better UV resistance. Siding usually benefits from a system that balances adhesion and flexibility across a larger surface area. End grain, routed profiles, and fastener holes are the first places to fail if they are not sealed well.
Coverage also matters. Ronseal states coverage of up to 12 square metres per litre for its exterior wood paint. Woodworking Clarity says one quart covers about 20 square feet for Wolman outdoor furniture paint. Those figures are useful only when the product is matched to the right surface and applied at the stated film build. For commercial buying, that means comparing not just coverage, but also substrate rating, primer compatibility, and maintenance cycle.
When to choose acrylic or oil-based paint
Acrylic exterior paint is water-based, fast-drying, and commonly used on wood and other exterior surfaces. Manufacturer guidance commonly favors it for broad exterior use because it retains flexibility and is easier to clean up. Water-based exterior paint also tends to offer better brushability and easier cleanup with water.
Oil-based paint is generally more durable and more resistant to water and other elements, but it dries more slowly. That slower cure can help in some cases, yet it also lengthens the window for dust pickup and handling damage. On wood that moves a lot, rigidity can become a drawback. It is useful on certain doors and trim systems, but risky where moisture cycling, wood movement, or recoating windows are unforgiving. Shellac and epoxy are different categories again: good for niche tasks, but not the default choice for ordinary exterior wood painting.
Why acrylic and water-based paints lead most jobs
Water-based exterior paint suits many outdoor wood projects because it dries faster, cleans up with water, and usually has lower VOC content. It also tends to flex better on wood than harder, more brittle coatings. For many DIY jobs, that combination makes application simpler and less risky.
Quick drying and low-VOC cleanup
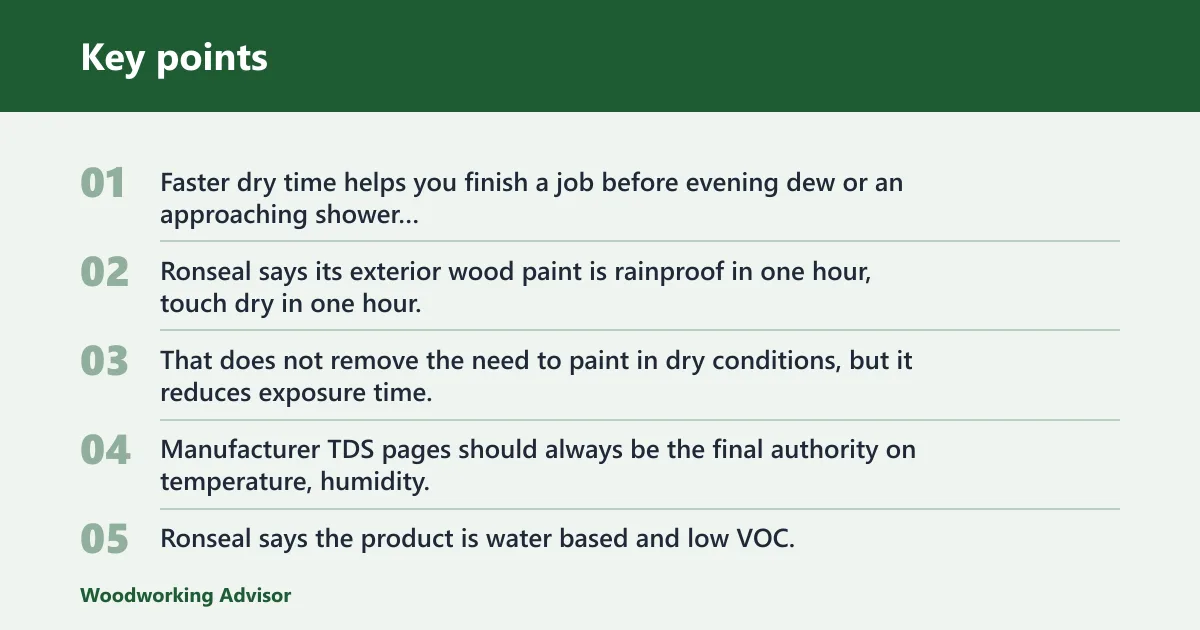
Faster dry time helps you finish a job before evening dew or an approaching shower becomes a problem. The same source says its exterior wood paint is rainproof in one hour, touch dry in one hour, and ready to repaint in four hours. That does not remove the need to paint in dry conditions, but it reduces exposure time. Manufacturer TDS pages should always be the final authority on temperature, humidity, and recoat limits.
Low VOC is another practical benefit. The same source says the product is water based and low VOC. Water cleanup is easier on brushes and tools, especially on small projects where solvent cleanup would add time and odor.
Flexibility on wood and brush application
Wood moves. A coating with some flexibility can handle seasonal expansion and contraction better than a rigid film. That matters most on trim, doors, and outdoor furniture, where joints and edges often fail first. Field failures often show up first at end grain, caulk joints, and fastener penetrations, where moisture gets in and movement is concentrated.
Use a synthetic brush for exterior wood paint and apply with the grain. That gives better control on edges and reduces visible lap marks. A brush also helps work paint into pores, joints, and end grain more reliably than a fast roller pass.
Do you need primer before painting exterior wood?
Primer is usually needed on bare wood and on repaired areas, but not always on sound previously painted wood. Paint-and-primer-in-one products can reduce steps, yet they do not replace primer on all substrates. The deciding factor is wood condition, not marketing language. Forestry and extension guidance also emphasize moisture content: dry wood accepts primer and topcoat more reliably than wood that is still moving moisture.
Bare wood versus previously painted wood
Bare wood absorbs paint unevenly and can telegraph resin, tannins, or end-grain suction through the finish. That is why bare boards often need primer first. The same source recommends three coats on bare wood and two coats on previously painted wood for its exterior wood paint. On tannin-prone species such as cedar, redwood, and some hardwoods, a stain-blocking primer is often essential to stop bleed-through after the first wet season.
Previously painted wood is a different case. If the old coating is sound, clean, and well bonded, you may only need surface prep and a new topcoat system. If the existing paint is flaking or chalking, spot priming becomes more important. Chalking is a common sign that the old coating has degraded and may not be a safe foundation for a fresh topcoat.
Paint-and-primer-in-one limits
Paint-and-primer-in-one can be useful on stable, lightly repaired surfaces. It is less convincing on bare wood with open grain, knots, patched spots, or visible tannin bleed. In those cases, separate primer gives more control over adhesion and stain blocking. That is also why many manufacturer systems still call for a dedicated primer on bare or exposed substrate even when the topcoat is marketed as self-priming.
A common first-timer mistake is assuming one thick coat does the same job as a full system. It usually does not. Thin spots, missed edges, and weak adhesion at the substrate still show up later as peeling or bubbling.
Prep decides how long the finish lasts. Clean, dry, and sound wood gives the coating a stable base. Damp, dusty, or flaky surfaces shorten service life fast, even when the label says weatherproof. Extension guidance on exterior painting consistently puts moisture, cleanliness, and sound substrate ahead of brand choice.
Preparing bare wood
Start by sanding to remove mill glaze and level rough areas. Fill gaps and nail holes with an exterior-grade filler that matches the coating system. Treat knots with a knot blocker where resin bleed is a concern, then prime before the topcoats.
- Let the wood dry fully.
- Sand the surface to a uniform profile.
- Remove dust with a vacuum or tack cloth.
- Fill defects and sand them smooth.
- Seal knots if the wood species needs it.
- Apply primer to bare areas.
- Apply the required topcoats.
Preparing previously painted wood
Scrape away flaking paint and sand the edge where old coating meets bare wood. Wash off chalking, dirt, and mildew residue before recoating. Spot prime exposed wood and any repaired patches so the finish builds evenly.
Suppose a fence post has peeling paint on the sun side but firm coating on the sheltered side. Strip only the loose material, feather the edges, prime the bare spots, and then use the full topcoat system across the repaired section. That keeps the repair from telegraphing through the finish. If the substrate has freeze-thaw damage or water intrusion at the base, fix the source first; no coating holds up well over rotten or moving wood.
Do not paint over marginally damp wood just because the surface feels dry. That is a common cause of bubbling and premature peeling. Moisture trapped under the film can also encourage mildew on the surface later, especially in humid weather or shaded corners. In coastal and freeze-thaw settings, the first failure is often at the lowest edge, end grain, or joint where water sits longest.
How many coats and how long to dry?
Most exterior wood paint systems need two coats, and bare wood often needs three when the product specifies it. Dry time is product-specific, but exterior jobs should also account for rain risk, dew, and the substrate’s moisture level. A coating can feel dry before it is ready for weather. Always follow the manufacturer TDS/SDS for recoat, cure, and temperature limits.
Coverage per litre and coat count by surface
The same source states up to 12 square metres per litre, and recommends two coats on previously painted wood and three on bare wood. The same source says Wolman outdoor furniture paint covers about 20 square feet per quart and recommends two coats. Use the label’s coverage at the stated coat count, not a guess based on one thin pass.
Thicker or rougher surfaces consume more paint than smooth planed boards. End grain, joints, and profiles soak up more material, so trim and furniture details often need extra attention. Rough-sawn wood can need a different product entirely if the coating is not rated for that texture. Real-world field use often shows that rough cedar, softwood fence rails, and sun-facing end grain need more attention than the flat fields of the board suggest.
Dry time, recoating windows, and weather risk
The same source lists touch dry time at one hour and repaint time at four hours. The same source says Wolman outdoor furniture paint dries to the touch in 2 to 4 hours. Those figures help set the schedule, but they do not override temperature, humidity, or wind.
High humidity slows drying. Coastal salt air increases surface stress and maintenance demand. Freeze-thaw climates punish weak adhesion because trapped moisture expands and contracts under the film. In those conditions, a good prep job matters as much as the brand name on the can. For a moisture-stressed project, the safer play is often a coating designed for the exposure or a stain/deck system rather than a standard exterior wall paint.
Buying guide: how to choose a commercial-grade exterior wood coating
Buy by system, not by color card. The best choice is the product that matches the substrate, weather exposure, and maintenance plan.
- Substrate: smooth trim, rough-sawn fencing, hardwood furniture, or decking all need different products.
- Exposure: sun, salt, standing water, and freeze-thaw cycles shorten service life.
- Primer compatibility: confirm whether bare wood, tannin-prone species, or spot repairs need a separate primer.
- Sheen: flatter finishes hide defects better; satin and semi-gloss usually clean more easily on trim and doors.
- Dry/recoat window: choose a product whose recoat timing fits your weather forecast and crew schedule.
- Maintenance cycle: decks, fences, and coastal wood generally need more frequent upkeep than sheltered trim.
- Failure mode: if the likely failure is peeling, choose for adhesion; if it is tannin bleed, choose for stain blocking; if it is abrasion, choose a deck-rated system.
For most homeowners and contractors, the safest purchase is a high-quality exterior acrylic system plus the correct primer, with a separate deck coating or solid stain where the wear and moisture load are too high for standard paint.
Frequently asked questions
What’s the best outdoor paint for wood?
The best outdoor paint for wood is the one matched to the substrate and exposure level. For most smooth exterior wood, a high-quality acrylic exterior paint is the safest default because it dries quickly, flexes well, and cleans up with water. For water-heavy exposure, consider a more durable system with stronger resistance. For decks, choose deck coatings or stains rather than standard exterior paint.
How do I weatherproof painted wood for outdoors?
Weatherproof painted wood by cleaning the surface, sanding loose areas, priming bare or repaired wood, and applying the correct number of exterior topcoats. Seal edges carefully, use a synthetic brush with the grain, and avoid painting over damp wood. The goal is a stable coating system, not a single thick layer.
How do I waterproof painted wood for outdoors?
Most painted wood is not truly waterproof in the strict sense. If you need the highest water resistance, use a coating system made for the surface and keep moisture out through prep, primer, and full coverage. For standard outdoor wood, weather resistance is usually the more realistic target, and for decks the right answer is often a deck coating or stain system rather than standard paint.
How many coats does weatherproof wood paint need?
Most systems need two coats on previously painted wood and three coats on bare wood when the manufacturer says so. A rough or porous surface may need more material to reach the stated coverage. If the wood is rough-sawn, decking, or heavily weathered, check whether the product is suitable first.
Sources
- Manufacturer technical data sheets and application guidance from Ronseal, Wolman, Sherwin-Williams, Benjamin Moore, and Rust-Oleum for exterior wood, trim, and deck systems.
- EPA guidance on moisture control, substrate preparation, and durable exterior coating performance.
- University extension and forestry resources on exterior wood durability, moisture cycling, tannin bleed, and paint failure in wet or freeze-thaw climates.
Sponsored / affiliate links. As an Amazon Associate I earn from qualifying purchases. I may earn additional commission from eligible campaigns.