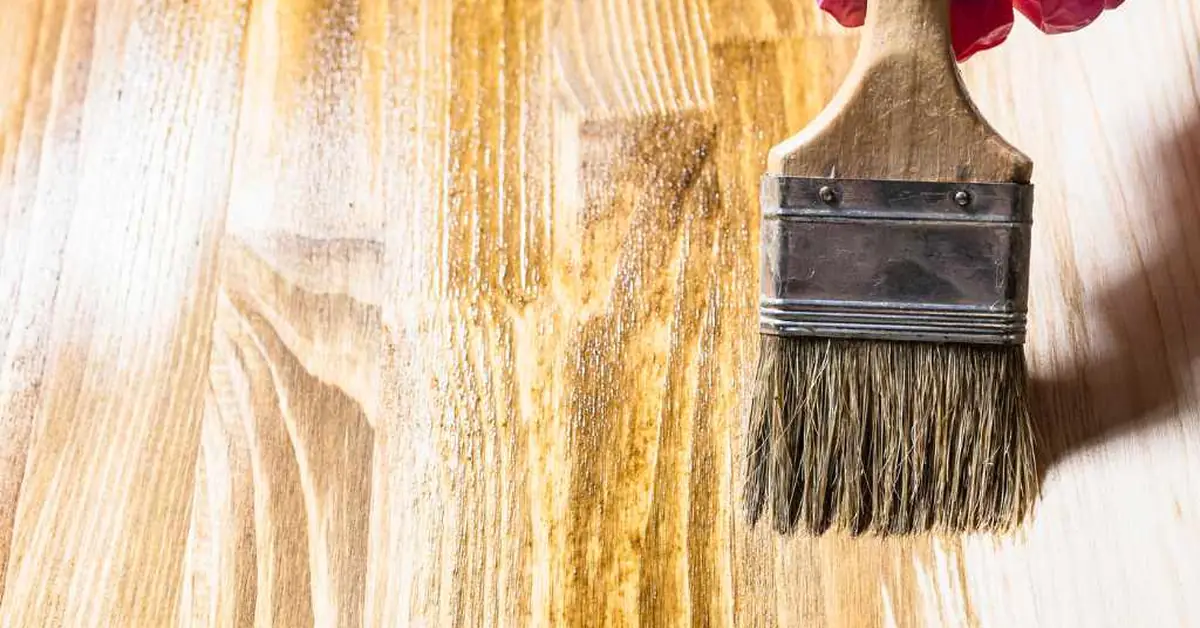
How to Stain Wood: Step-by-Step Guide (No Blotching)
To stain wood evenly, sand through 120 to 220 grit, apply oil-based or gel stain with the grain, and wipe off the excess within 5 to 10 minutes — but pine, maple, birch, and cherry blotch badly with regular oil stain unless you use gel stain or a conditioner first. Skip that step and no amount of sanding fixes the splotches afterward. This guide covers picking the right stain type, prepping and sanding correctly, the exact application steps, and how long to wait before sealing.
Choosing The Right Wood Stain
Best Wood Stain Pick
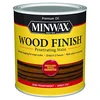
Minwax Wood Finish Oil-Based Stain, Honey, 1 Quart – $13.88
A penetrating oil-based stain that soaks in within 5 minutes and dries in about 2 hours — matches the wipe-off window and recoat timing this guide walks through above.
- Best for: Hardwood furniture, doors, and trim
- Why we picked it: Fast, predictable dry time matches the step-by-step process above
- Main drawback: Not ideal alone on pine or maple — pair with a conditioner or use gel stain instead
Compare more wood stain options
 Option 1 Minwax Gel Stain, Walnut, 1 Quart – $19.05
|
 Option 2 Wooster Foam King Foam Brush, 2-Inch – $4.05
|
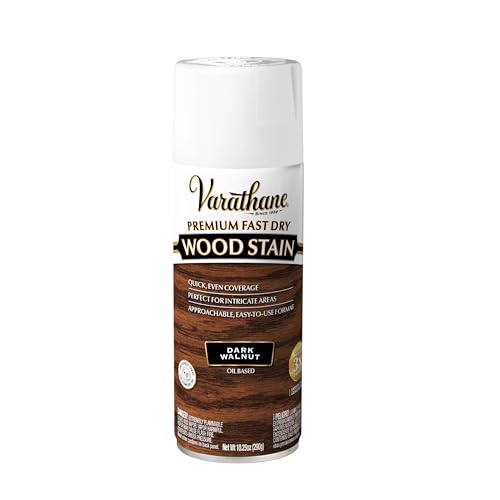
 Option 3 Varathane Premium Wood Conditioner, Quart – $16.08
|
As an Amazon Associate we earn from qualifying purchases.
The stain type you choose determines the final color, durability, and whether the wood blotches — get this decision right before you touch sandpaper. For the full finishing workflow beyond just the stain step, see our wood finishing guide.
Types Of Wood Stains
Wood stains come in three main types. Penetrating stains (oil-based or water-based) soak into the wood and show the grain clearly. Gel stains are thick and sit on the surface instead of soaking in, which makes them useful on vertical surfaces and blotch-prone species. Water-based stains dry fast and clean up easily; oil-based stains take longer to dry but bring out deeper, warmer color.
| Stain Type | How It Works | Best For |
|---|---|---|
| Oil-Based | Penetrates deep into the grain for rich, warm color | Hardwoods, furniture, outdoor projects |
| Water-Based | Dries fast, low odor, cleans up with soap and water | Indoor projects, fast turnarounds |
| Gel Stain | Sits on the surface instead of soaking in, so it can’t blotch | Pine, maple, birch, cherry, vertical surfaces |
Oil-based Vs Water-based
Oil-based stains soak deeply and last longer. They bring out rich, warm tones in wood. These stains need mineral spirits for cleanup. Water-based stains dry quickly and have less odor. They clean easily with soap and water. Water-based stains keep colors bright and resist fading. Choose oil-based for outdoor use or heavy wear. Pick water-based for indoor projects and faster work.
Should You Use Gel Stain for Blotch-Prone Wood?
Pine, maple, birch, and cherry absorb regular oil- or water-based stain unevenly, which shows up as dark, splotchy patches once the stain dries. Gel stain is a thick, oil-based product that sits on top of the wood instead of soaking in, so it can’t blotch the way penetrating stains can. If you’d rather stick with a traditional penetrating stain on one of these species, apply a pre-stain wood conditioner first — it partially seals the grain so the stain absorbs more evenly. See our full gel stain vs. oil stain comparison for how the two hold up over time.
Picking The Perfect Color
Color choice changes the wood’s mood and style. Light stains keep a natural, fresh look. Dark stains add drama and hide imperfections. Test colors on a small wood piece first. Check how the stain looks after drying. Consider the wood type and room lighting. Neutral tones fit most styles and spaces. Bold colors make a strong statement.
Preparing Wood For Staining
Proper prep determines whether the stain absorbs evenly. Rushing this stage is the single biggest cause of blotchy, uneven results.
Cleaning And Sanding Techniques
Start by cleaning the wood surface. Remove dirt, dust, and grease with a damp cloth. Let the wood dry completely before sanding. For bare wood, work through the grits in order — #120, then #150, #180, and finish at #220 — rather than jumping straight to fine paper, which burnishes the surface and makes it harder for stain to absorb evenly. Always sand in the direction of the wood grain, and wipe off sanding dust with a tack cloth or a rag dampened with mineral spirits.
“…for all we know this might be a thin layer of veneer.”
On veneered furniture, skip the power sander. Tom Silva sands those pieces by hand instead, since a belt sander can cut straight through a thin veneer layer before you notice. He starts around 150-grit and works up from there.
Dealing With Imperfections
Check the wood for cracks, holes, or dents. Use wood filler to fix any imperfections. Apply the filler with a putty knife and let it dry fully. Sand the filled areas smooth to match the wood surface. Imperfections can affect how the stain looks later. Fixing them early ensures a clean, even finish.
Testing Stain On Scrap Wood
Test the stain on a scrap piece of the same wood. This shows how the color will look once applied. Apply the stain with a brush or cloth on the scrap. Let it dry and check the color under good light. Adjust the stain or preparation steps if needed. Testing helps avoid surprises on your main project.
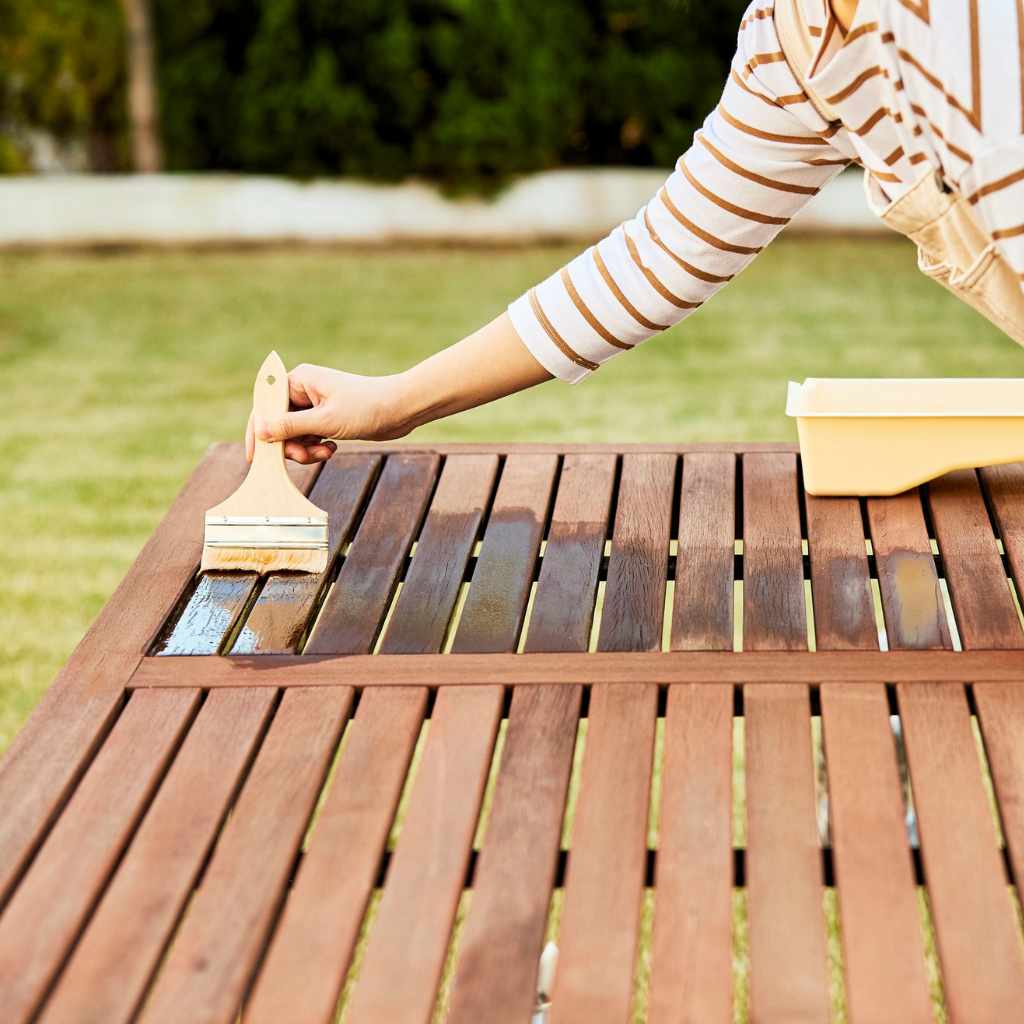
Applying Wood Stain Like A Pro
Applying wood stain correctly determines the final look more than the stain itself does — the right tools and technique are what create a professional, blotch-free result.
Tools You’ll Need
A clean, lint-free rag gives the most control and the smoothest, brush-mark-free finish on flat panels and tabletops. A foam brush works better in corners, moldings, and vertical surfaces where a rag is awkward to hold flat.
- Clean, lint-free cloths or rags for wiping excess stain
- A foam brush or natural-bristle brush for corners and vertical surfaces
- Sandpaper in 120, 150, 180, and 220 grit for surface preparation
- Gloves to protect your hands
- Stir sticks to mix the stain well
- Drop cloth to protect the work area
- Painter’s tape for clean edges
Step-by-step Application Process
- Sand and clean: Sand through 120, 150, 180, and 220 grit, then wipe away all dust with a tack cloth or a rag dampened with mineral spirits.
- Stir, don’t shake: Stir the stain thoroughly so any settled pigment redisperses — shaking traps air bubbles that show up in the finish.
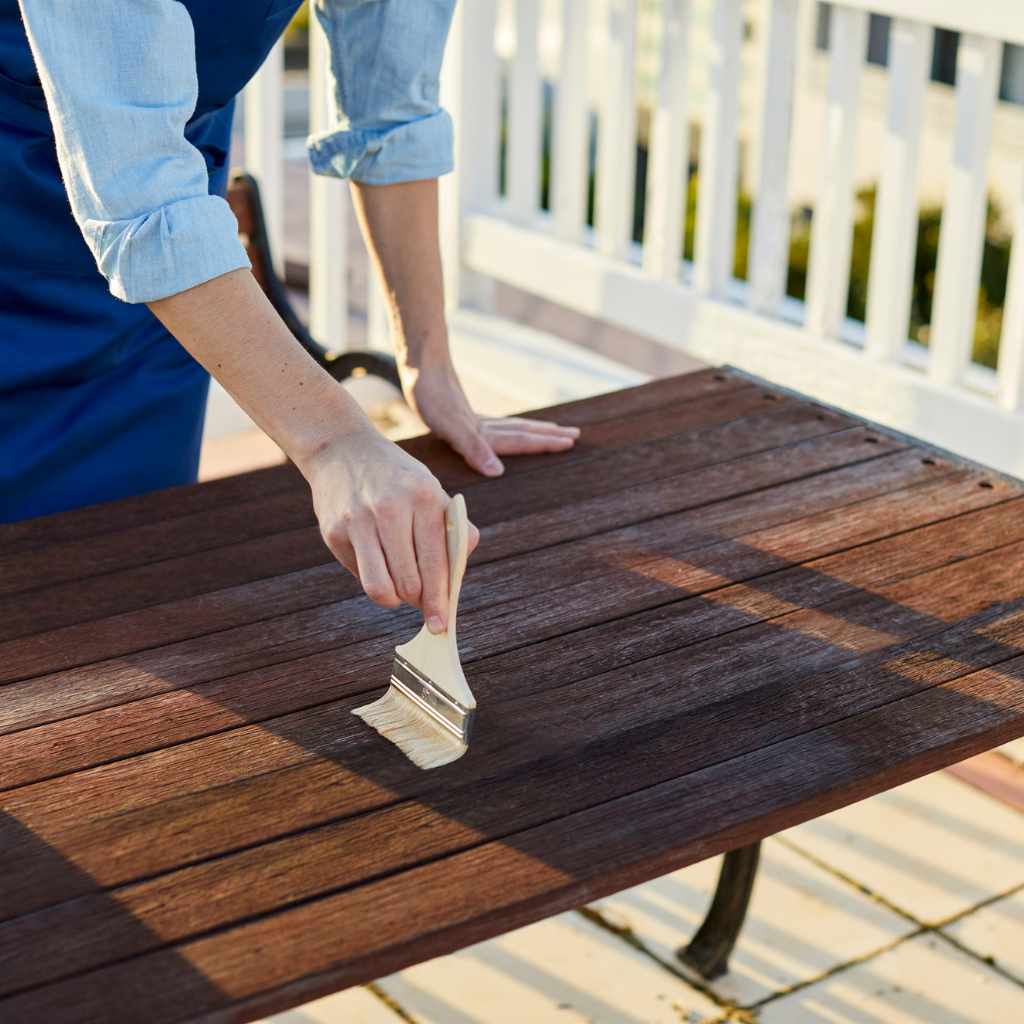
- Apply across the grain: Brush or wipe the stain on generously until the wood looks saturated, working in manageable sections.
- Let it penetrate: Give the stain 5 to 10 minutes to soak in — longer penetration time means darker color.
- Wipe off the excess: Wipe in the direction of the grain with a clean cloth before the stain dries. Never let it dry on the surface.
- Recoat if needed: For a deeper color, apply a second coat after about 2 hours. Don’t sand between stain coats.
- Seal it: Once fully dry, protect the color with a clear topcoat.
Tips To Avoid Common Mistakes
- Do not rush the drying time between coats.
- Always test the stain on a scrap piece of wood first.
- Use even strokes to prevent blotchy areas.
- Keep your work area dust-free to avoid particles on the finish.
- Wear gloves to avoid skin stains.
- Clean tools immediately after use to keep them reusable.
- Apply stain in thin layers to control the color depth.
- Never leave oil-stain-soaked rags balled up in a pile or trash can — as they dry, they can heat up and ignite on their own. Lay them flat outside to dry completely, then store them in a sealed, water-filled metal container before disposal.
Enhancing And Protecting The Finish
A stain without a topcoat isn’t protected — moisture, UV, and everyday wear will dull and damage bare stained wood within a season.
Choosing The Right Sealant
Select a sealant that fits your wood type and use. Oil-based sealants offer deep protection and rich color. Water-based sealants dry fast and stay clear. Some sealants resist UV rays to prevent fading. Pick one that matches indoor or outdoor needs. Test on a small area before full application.
Applying A Clear Coat
Clear coats add a smooth, shiny layer over stain. They protect from scratches and spills. Use a brush or spray for even coverage. Apply thin coats and let each dry fully. Sand lightly between coats for a smooth finish. Multiple coats build stronger protection and better shine.
📊 At 77°F and 50% relative humidity, oil-based penetrating wood stain dries to the touch in 1-2 hours and can be recoated in about 2 hours — but needs 8 hours before an oil-based topcoat, or 24 hours before a water-based one. Cooler or more humid conditions extend all of these times. — Source: Varathane Premium Wood Stain Technical Data Sheet, Rust-Oleum
Maintaining Your Stained Wood
Clean stained wood regularly with a soft cloth. Avoid harsh chemicals that can damage the finish. Reapply sealant every few years to keep protection strong. Cover outdoor wood during bad weather to avoid wear. Check for signs of damage and fix quickly to prevent bigger problems.
Troubleshooting Stain Issues
Most stain problems trace back to one of three causes: rushed prep, the wrong stain for the wood species, or wiping off excess too late.
Fixing Uneven Stains
Uneven stain happens when wood absorbs color differently. Light spots may appear where the stain did not soak in well. Use a clean cloth to rub the area gently. This evens out the stain by spreading the color. Let it dry fully before adding more stain. Sanding lightly with fine grit sandpaper also helps smooth rough areas. Always test on a small spot first.
Removing Excess Stain
Too much stain can create sticky, dark patches. Wipe off extra stain quickly with a clean rag. If the stain has dried, use mineral spirits to remove it. Apply the spirits lightly and rub gently. Avoid using too much liquid to prevent damaging the wood. After cleaning, allow the surface to dry completely before proceeding.
Dealing With Stain Blotches
Blotches appear as dark, uneven spots on the wood, and they show up most often on pine, maple, birch, and cherry. Sand the blotchy areas lightly to remove the top layer. Next time, switch to gel stain or use a wood conditioner before staining to prevent blotches from forming in the first place. If blotches remain, apply a second, lighter coat of stain carefully.
Frequently Asked Questions
What Is The Best Wood Stain For A Natural Look?
Oil-based penetrating stain gives the most natural look because it soaks into the grain instead of sitting on top of it. On blotch-prone woods like pine or maple, use a gel stain instead — it still shows the grain but resists the splotchy absorption regular oil stain causes on those species.
How Do I Prepare Wood Before Staining?
Sand bare wood through 120, 150, 180, and 220 grit, always in the direction of the grain, then wipe away all dust with a tack cloth. Fill any dents or cracks with wood filler and sand it flush before staining, and always test the stain on a scrap piece of the same wood first.
How Long Should Wood Stain Dry Before Finishing?
At 77°F and 50% humidity, most oil-based stains dry to the touch in 1-2 hours and can take a second coat after about 2 hours. Before sealing, wait at least 8 hours for an oil-based topcoat or 24 hours for a water-based one — cooler or more humid conditions take longer.
Can I Stain Over Old Wood Stain?
Yes, as long as the surface is clean, sanded, and free of wax or peeling finish. Light sanding with 220-grit paper opens the surface enough for the new stain to adhere, and a darker color will always cover more evenly than a lighter one.
Should I Use a Rag or a Brush to Apply Wood Stain?
A lint-free cotton rag gives the most control on flat surfaces like tabletops and doors, and makes it easy to wipe off excess before it dries. Switch to a foam brush or a natural-bristle brush for corners, moldings, and vertical surfaces where a rag is hard to hold flat.
Is Gel Stain Better Than Oil-Based Stain for Pine or Maple?
Yes, for those species specifically. Gel stain sits on the wood’s surface instead of soaking in unevenly, so it avoids the dark blotches that pine, maple, birch, and cherry are prone to with regular penetrating oil stain. If you prefer a traditional stain, apply a pre-stain wood conditioner first instead.
Why Are Stain-Soaked Rags a Fire Hazard?
Oil-based stain oxidizes as it dries, a chemical reaction that gives off heat. A rag balled up in a pile or trash can traps that heat instead of releasing it, and can ignite on its own with no flame nearby. Lay used rags flat outside to dry completely, then store them in a sealed, water-filled metal container before disposal.
Conclusion
The best way to stain wood is to prepare it properly, match the stain type to the wood species, and respect the dry times on the label. Sand through the full grit progression, choose gel stain for blotch-prone species like pine and maple, wipe off excess within 5-10 minutes, and give the stain at least 8 hours before sealing. Skipping any one of these steps is what turns a straightforward weekend project into a blotchy redo.
Sponsored / affiliate links. As an Amazon Associate I earn from qualifying purchases. I may earn additional commission from eligible campaigns.