How to Use a Ryobi Circular Saw: Blade Depth, First Cut, and 4 Mistakes to Avoid
Most Ryobi circular saw problems come down to one setting: blade depth. Set it too deep and the saw binds, kicks back, and tears the cut edge; the correct depth exposes only about a quarter-inch of tooth below the material. Get that one adjustment right, along with a squared base plate and a firm two-hand grip, and the rest of using a Ryobi circular saw is straightforward. This guide covers the specific setup and cutting steps, plus the mistakes that actually cause injuries and blown cuts, using Ryobi’s own circular saw line since it is the model most homeowners buying “a Ryobi saw” actually mean.
Which Ryobi Saw Are You Actually Using?
Best Ryobi Circular Saw for This Guide
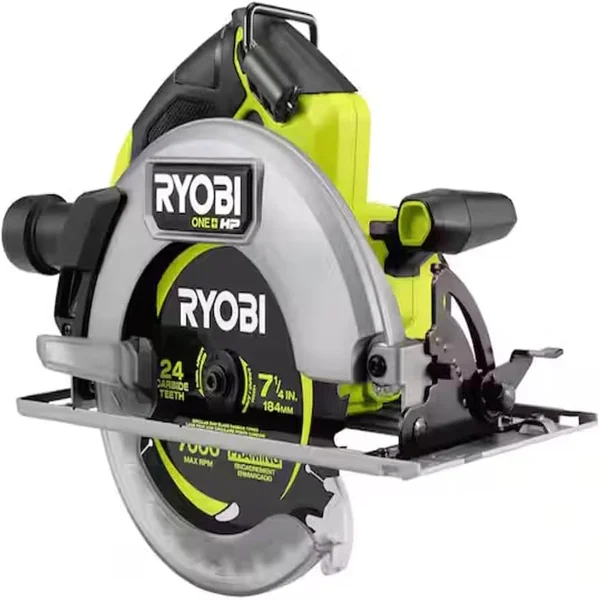 |
RYOBI ONE+ HP 18V Brushless Circular Saw – $134 The lightest full-size 7-1/4″ saw in its class at 7.0 lbs bare, with tool-free depth and bevel adjustments that make the setup steps below easier for a first-time user.
|
“Ryobi saw” covers several very different tools, and the setup steps below apply specifically to a circular saw — if you have a different type, the blade-depth and base-plate steps do not transfer directly.
| Saw Type | Best For | Not Good For |
|---|---|---|
| Circular Saw | Straight rip and cross cuts in sheet goods and lumber, portable job-site cutting | Tight curves, precise angled miters |
| Table Saw | Repeated straight cuts with a fence, ripping long boards accurately | Portability, cutting large sheets alone |
| Miter Saw | Angled and crosscuts on trim, framing lumber | Ripping a board lengthwise |
| Jigsaw | Curves, cutouts, scrollwork | Long straight cuts, thick stock |
| Reciprocating Saw | Demolition, cutting through nails and mixed materials | Clean, precise woodworking cuts |
Unplug the saw (or remove the battery on a cordless model) before adjusting anything. Loosen the depth adjustment lever at the rear of the base plate, rest the saw’s base flat on the material you are about to cut with the blade guard retracted, and lower the saw until the blade just touches the material’s surface. Re-tighten the lever there, then lower the blade one more notch — roughly a quarter inch of tooth below the material is the target. That small amount exposed is enough to cut cleanly while keeping most of the blade shrouded, which limits kickback force and reduces tear-out on the underside of the cut.
Squaring the Base Plate
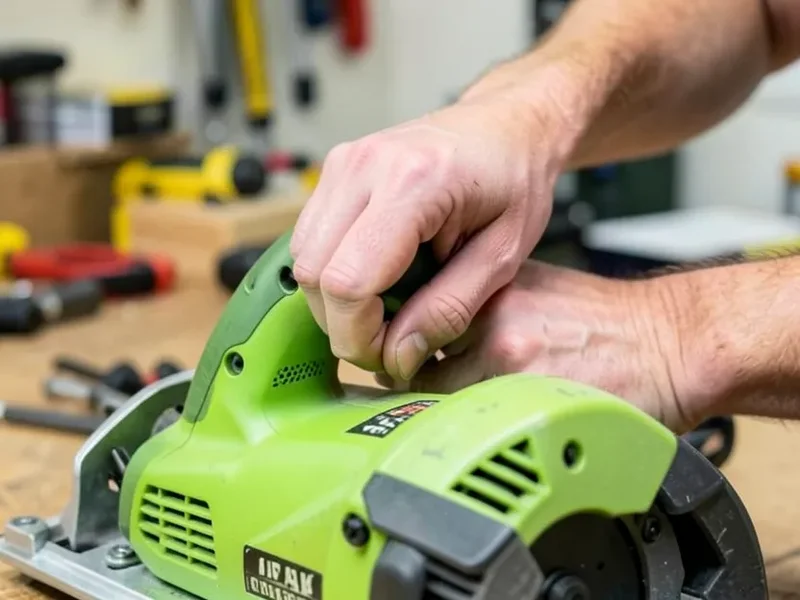
Most Ryobi circular saws let you bevel the base plate for angled cuts, and that same pivot can drift out of square during storage or a drop. Before a cut that needs to be perfectly vertical, loosen the bevel adjustment knob, use a speed square held against the base plate and the blade to confirm 90 degrees, then retighten. Skipping this check is the single most common reason a “straight” cut comes out slightly beveled without the user noticing until the pieces do not fit.
Making the First Cut
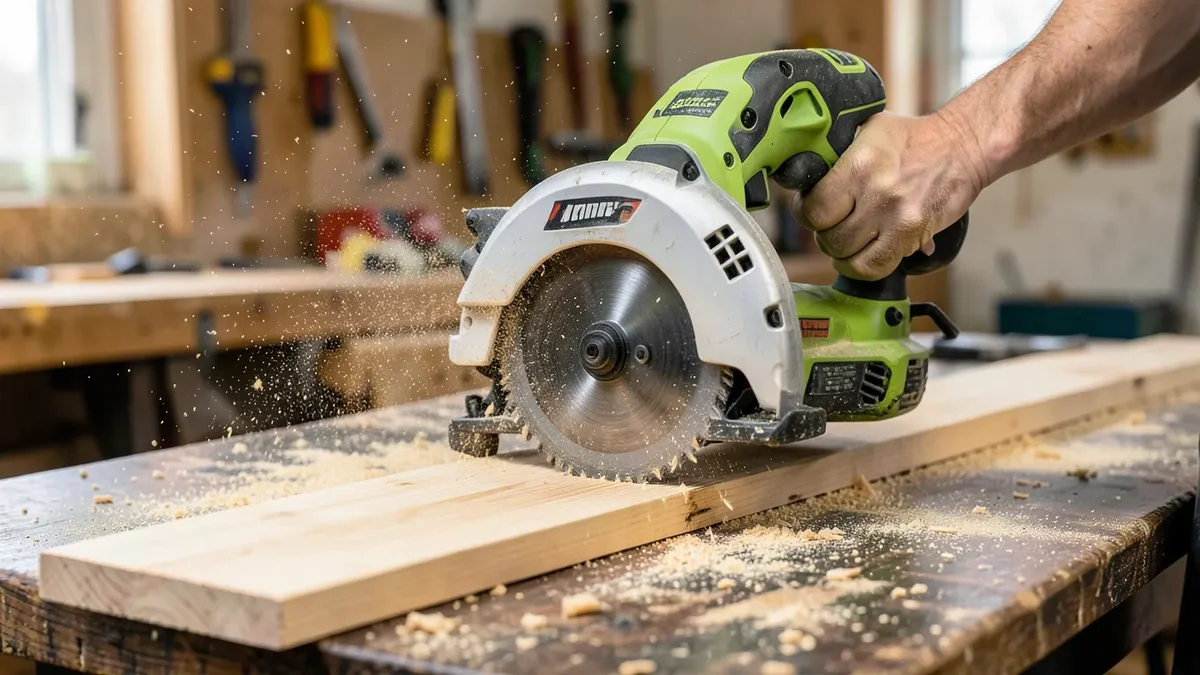
Clamp the workpiece down so it cannot shift — never hold a board with one hand and cut with the other unsupported. Support both sides of the cut line if possible, or make sure the offcut side can fall free instead of pinching the blade as the cut closes. Align the saw’s guide notch (the small V-shaped mark on the front of the base plate) with your cut line, start the saw at full speed before the blade touches the material, and feed it forward at a steady pace. Forcing the saw faster than the motor wants to cut is what causes bogging, burning, and blade binding — let the saw’s speed set the feed rate, not the other way around.
The Kickback Mistake That Causes Most Injuries
Kickback happens when the blade binds in the cut and the saw is thrown back toward the user — it is the leading cause of circular saw injuries, more than the blade itself in day-to-day use. It is almost always caused by one of two things: the offcut piece pinching the blade because it was not supported (or was supported in a way that let the kerf close as the cut progressed), or the saw being twisted sideways mid-cut so the blade binds in the slot. Keep the cord or battery pack clear of your cutting path, never reach under the material while the blade is exposed, and if the saw ever binds, release the trigger immediately and let the blade stop completely before backing it out of the cut.
Maintenance That Actually Extends Blade and Motor Life
Resin and pitch build-up on the blade is the main reason a Ryobi circular saw seems to “lose power” over time — it is rarely the motor. Clean the blade periodically with a resin-and-pitch remover or mineral spirits on a rag rather than replacing it outright. Blow out the motor housing’s vents with compressed air after heavy use, since sawdust packed around the motor is a common cause of overheating and premature brush wear on brushed models. Check the base plate’s pivot points for sawdust buildup too — a gritty pivot is often mistaken for a broken depth or bevel adjustment.
Frequently Asked Questions
How Deep Should the Blade Be Set on a Ryobi Circular Saw?
About a quarter inch of blade tooth should extend below the material being cut. Setting it deeper increases kickback force and tear-out without making the cut any faster.
Why Does My Ryobi Circular Saw Keep Binding in the Cut?
Binding is almost always caused by the offcut piece pinching the blade as the kerf closes, or the saw being twisted sideways mid-cut. Support both sides of the cut so the offcut can fall free, and keep the saw moving in a straight line without side pressure.
Do I Need to Check the Base Plate Before Every Cut?
Yes, if the cut needs to be square. The bevel pivot on most circular saws can drift slightly from storage or a drop, so a quick speed-square check before an important cut catches an out-of-square base plate before it ruins the piece.
Why Does My Ryobi Saw Feel Like It’s Losing Power?
Resin and pitch buildup on the blade is the most common cause, not a failing motor. Clean the blade with a resin remover or mineral spirits before assuming the saw itself needs service.
Bottom Line
A Ryobi circular saw is straightforward once blade depth and base-plate squareness are dialed in and the workpiece is properly supported — most of what feels like “the saw is fighting me” traces back to one of those two settings, not the tool itself.
Sponsored / affiliate links. As an Amazon Associate I earn from qualifying purchases. I may earn additional commission from eligible campaigns.