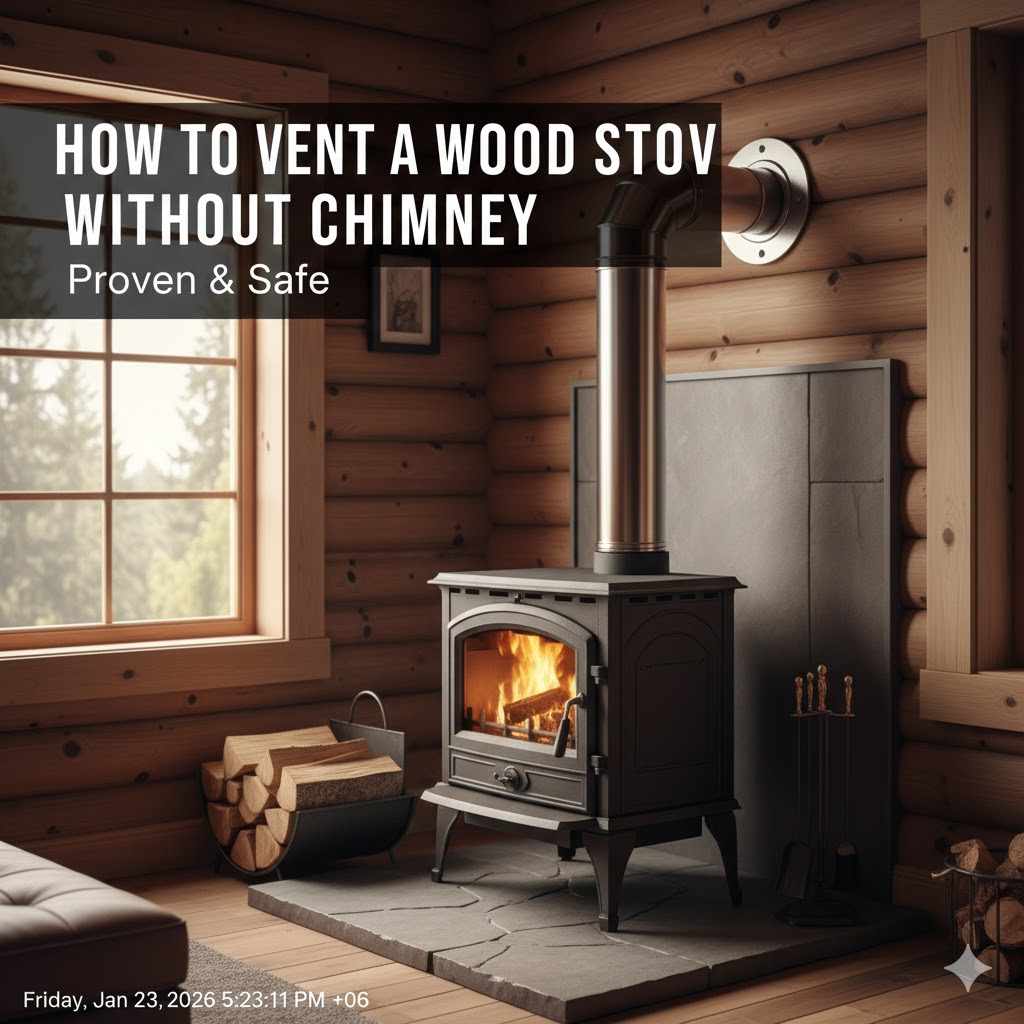
How To Vent a Wood Stove Without a Chimney Proven & Safe
Yes, you can safely vent a wood stove without a traditional chimney by using a modern, pre-fabricated Class A insulated metal chimney system. This proven method involves venting the stovepipe directly through an exterior wall and up the side of your home, ensuring smoke and gases are routed outside safely and efficiently.
Thinking about a cozy wood stove but don’t have a chimney? You are not alone. Many people dream of the warmth and comfort a wood stove brings. But the thought of building a big brick chimney can feel like too much work. It can also be very expensive.
Good news! You do not need an old-fashioned chimney. There is a safe and simple way to vent your stove. This guide will show you how. We will walk through each step together. You will learn how to install a modern chimney pipe system through your wall. It is easier than you think. Let’s get started on bringing that wonderful warmth into your home.
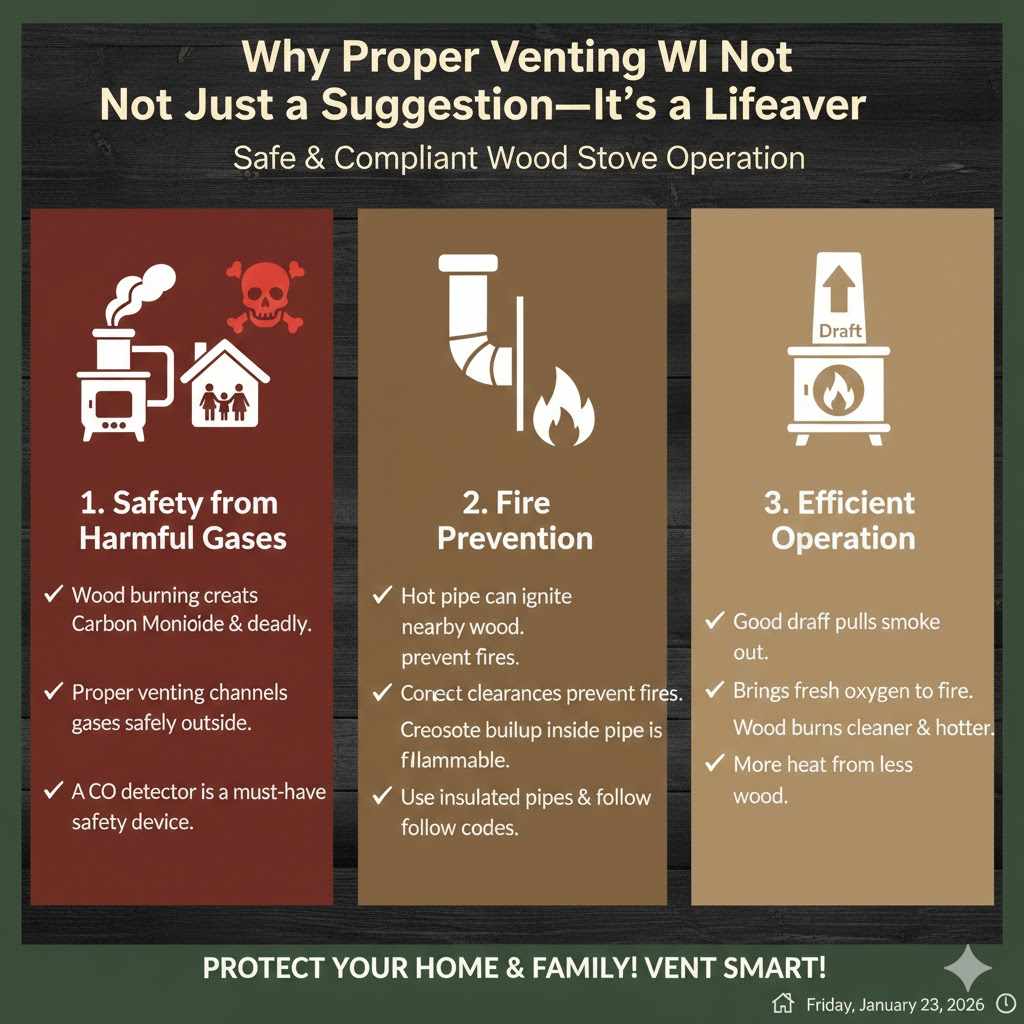
Why Proper Venting Is Not Just a Suggestion—It’s a Lifesaver
Before we pick up any tools, let’s talk about why this is so important. A wood stove is more than just a metal box for fire. It’s a heating appliance that produces smoke, soot (creosote), and dangerous gases like carbon monoxide. Proper venting is the system that carries all these harmful byproducts safely out of your home.
Without a good vent, these things can build up inside. Carbon monoxide is odorless and invisible, making it extremely dangerous. Poor venting can also lead to creosote buildup in the pipe, which is a major fire hazard. So, when we talk about venting, we are really talking about keeping your family and your home safe. We will follow all the rules and use the right materials to do this job perfectly.
Understanding Your Chimney Alternative: The Class A System
So, if not a brick chimney, then what? The answer is a Class A Insulated Chimney Pipe System. You might also hear it called an all-fuel chimney or a double-wall/triple-wall chimney pipe.
Think of it as a high-tech, pre-built chimney. Here’s what makes it special:
- It’s Insulated: The pipe has at least two layers of metal (usually stainless steel) with a special, fire-resistant insulation packed between them. This insulation keeps the outside of the pipe cool enough to safely pass through walls and near other building materials.
- It’s a Complete Kit: These systems come with all the parts you need: straight pipes, elbows, a wall thimble (the piece that protects the wall), roof flashing, a chimney cap, and supports.
- It’s Safe and Certified: Class A systems are tested and certified by safety organizations like the Underwriters Laboratories (UL). This means they meet strict safety standards for high-temperature venting. You can find more information about these standards at resources like the Hearth, Patio & Barbecue Association.
This is the only type of pipe you can use to go through a wall or ceiling. Never, ever use a single-wall “stove pipe” to pass through a combustible wall. That is for interior use only, to connect your stove to the insulated chimney system.
Planning Your Installation: The Most Important Step
Taking the time to plan will make the whole project go smoother and, most importantly, safer. A good plan is your roadmap to success. Here’s what to think about.
Choosing the Best Location
Where you put your stove determines everything. Here are the rules for picking the perfect spot:
- Find an Exterior Wall: Since you’re venting through a wall, the stove should be placed near an outside wall. This keeps the pipe run as short and straight as possible.
- Think About Clearances: This is the magic word in stove installation. “Clearance” is the minimum safe distance between your stove (and pipe) and any combustible materials like wood, drywall, furniture, or curtains. Every stove has its own required clearances listed on a metal plate on the back. Always follow these numbers!
- Avoid Obstacles: Look inside and outside. Are there any wall studs, electrical wires, or plumbing pipes where you want to cut your hole? Outside, are there windows, roof overhangs, or decks in the way? Try to find a clear path.
- Plan for the Chimney Height: Your exterior chimney pipe must follow the “2-10-3 rule” for safety and proper draft. This means the pipe must be at least 3 feet taller than the roof where it passes through, and at least 2 feet higher than any part of the building within a 10-foot horizontal distance.
Tools and Materials You’ll Need
Gathering all your supplies before you start makes the job much easier. Here is a list of what you will likely need.
| Category | Item |
|---|---|
| Materials |
|
| Tools |
|
Always double-check the instruction manual for your specific stove and chimney kit. It will have the most accurate list and measurements for your project.
Step-by-Step Guide to Venting Your Wood Stove Through a Wall
Alright, you’ve got your plan and your gear. Now it’s time for the fun part. We’ll take this one step at a time. Work slowly, check your measurements twice, and always put safety first.
Step 1: Set Up Your Stove and Hearth
First, place the hearth pad on the floor where your stove will go. A hearth pad is essential to protect your floor from heat and stray embers. Then, carefully move your stove into position on top of the pad. Use your tape measure to confirm you have the correct clearances from the back and side walls, as listed in your stove’s manual.
Step 2: Mark Your Wall for the Vent Pipe
Attach a section of single-wall pipe to the stove’s flue collar. Use a 90-degree elbow to turn the pipe toward the wall. Hold a plumb bob or a level against the center of the pipe where it meets the wall and mark this center point. This is where the center of your hole will be.
Your wall thimble kit will tell you how large the opening needs to be. For example, if you have a 6-inch pipe, the thimble might require a 12-inch by 12-inch square hole to ensure proper clearance from the wall studs. Use your level and tape measure to draw this square on the wall around your center point.
Step 3: Cut the Opening in the Wall
Before you cut, check one last time for wires or pipes. You can use a stud finder or drill a small exploratory hole. Once you’re sure the area is clear, it’s time to cut. A reciprocating saw is usually the best tool for this job. Cut carefully along the lines you drew. You’ll need to cut through the interior wall (like drywall) and the exterior wall (like siding and sheathing).
Step 4: Install the Wall Thimble
A wall thimble is a metal sleeve that frames the hole you just cut. It keeps the hot chimney pipe safely insulated and separated from the combustible materials of your wall. Most thimbles come in two pieces—one for the inside and one for the outside. Slide them together through the hole and secure them according to the manufacturer’s instructions. This creates a safe passthrough for your pipe.
Step 5: Connect the Interior Stove Pipe
Now, connect the single-wall pipe from your stove to the wall thimble. The sections of pipe should fit together snugly. Secure each joint with at least three sheet metal screws. The pipe should run slightly uphill toward the thimble (about a 1/4 inch rise for every foot of horizontal run) to improve the draft.
Step 6: Assemble and Install the Exterior Chimney
This is where you switch to the insulated Class A pipe. Start by attaching a “tee” section to the outside of the wall thimble. This special piece allows you to run the chimney pipe straight up the wall and has a clean-out cap on the bottom. From there, start adding straight sections of pipe, locking them together. The U.S. Environmental Protection Agency (EPA) recommends using certified appliances and installation techniques for best performance.
Step 7: Secure the Chimney with Wall Supports
The vertical chimney pipe is heavy, so it needs support. Your kit should include wall support brackets. Attach these to the house siding, securing them to wall studs for maximum strength. The general rule is to have a support bracket every 8 feet. This keeps the chimney stable against wind and weather.
Step 8: Reach the Right Height and Add the Cap
Continue adding pipe sections until you have met the “2-10-3 rule” for height. This is crucial for fire safety and for making sure your stove drafts properly. Once you’re at the correct height, install the chimney cap. This cap keeps rain, snow, debris, and animals from getting inside your chimney.
Step 9: Seal and Finish the Job
Use high-temperature sealant around the connection between your pipe and the wall thimble on the interior. On the exterior, use a weatherproof, fire-rated caulk to seal any gaps between the thimble and your siding. This prevents drafts and moisture from getting into your walls. Also, install a carbon monoxide detector in the same room as the stove for an added layer of safety.
Costs to Consider
Budgeting is a big part of any home project. The cost can vary widely, but here is a general idea of what to expect.
| Item | Estimated Cost Range (USD) |
|---|---|
| EPA-Certified Wood Stove | $700 – $3,000 |
| Class A Chimney Kit (Basic Through-the-Wall) | $400 – $800 |
| Additional Pipe Sections (per 3-foot section) | $80 – $150 |
| Hearth Pad | $100 – $400 |
| Professional Installation (Optional Labor) | $1,000 – $2,500 |
| Total Estimated DIY Cost | $1,200 – $4,350+ |
Remember, investing in high-quality materials is investing in your home’s safety. It’s not the place to cut corners.
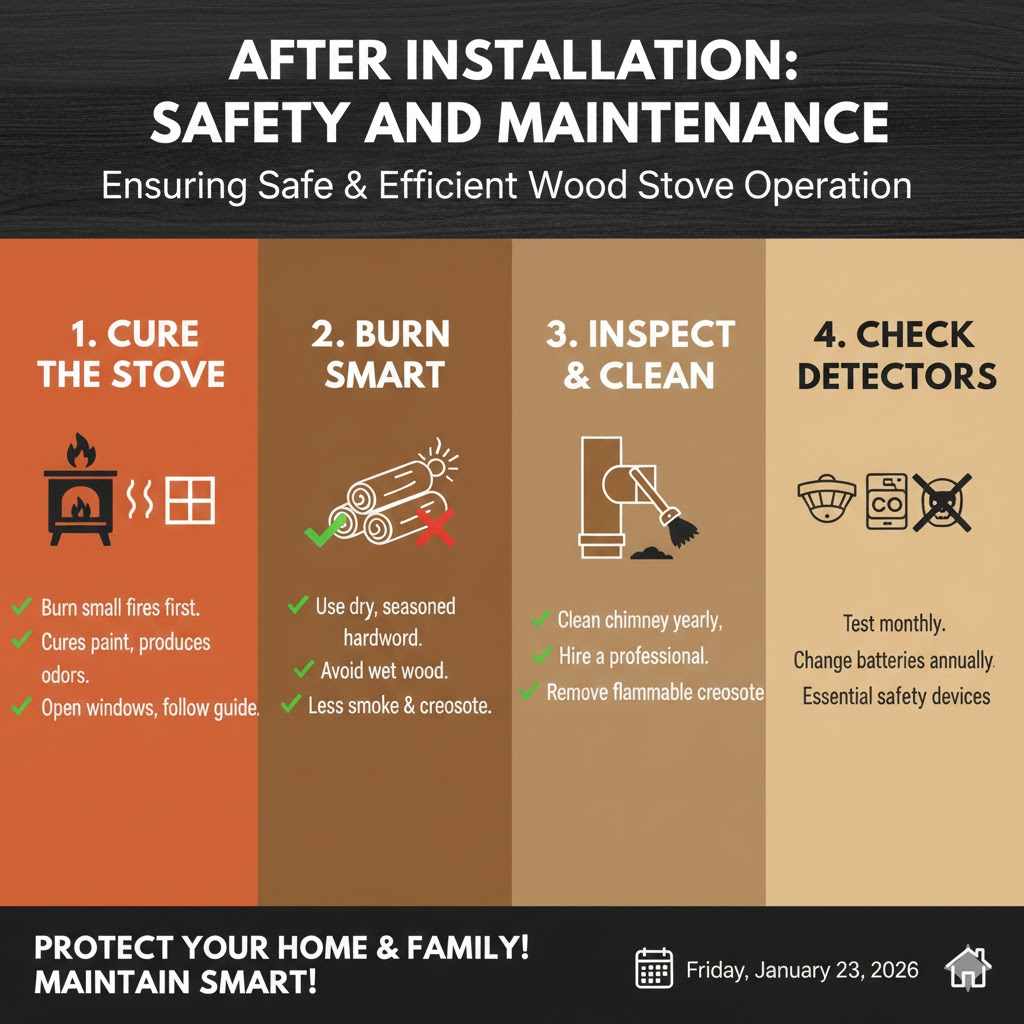
After Installation: Safety and Maintenance
Your work isn’t done once the stove is installed. Regular maintenance ensures your stove works safely and efficiently for years to come.
- Cure the Stove: The first few fires you burn should be small. This “cures” the special paint on the stove. It might produce some odors, so open your windows. Follow the manufacturer’s guide for this process.
- Burn Smart: Only burn dry, seasoned hardwood. Wet or green wood produces more smoke and creosote, which can clog your chimney and cause a fire.
- Inspect and Clean Regularly: You must clean your chimney pipe at least once a year, or more if you use your stove often. You can hire a professional chimney sweep or do it yourself with the right tools. Regular cleaning removes flammable creosote buildup.
- Check Your Detectors: Test your smoke and carbon monoxide detectors monthly and change the batteries every year.
Frequently Asked Questions (FAQ)
1. Do I need a permit to install a wood stove?
Almost always, yes. Most towns and cities require a building permit for installing a wood stove to ensure it meets local safety codes. Contact your local building department before you start. An inspection may be required after the installation is complete.
2. Can I vent a wood stove directly out the wall horizontally?
No, you cannot. A wood stove must have a vertical chimney run to create a proper draft. The draft is what pulls smoke up and out of the stove. The venting must exit the wall and then immediately turn 90 degrees to go straight up along the exterior of the house.
3. How high does the outside chimney pipe need to be?
The pipe must follow the “2-10-3 rule.” It needs to be at least 3 feet higher than the point where it passes through the roofline, and at least 2 feet higher than any part of the roof that is within 10 feet horizontally.
4. Can I do this myself, or should I hire a professional?
If you are a confident and skilled DIYer with experience in home projects, you can likely handle this installation by carefully following all instructions. However, because of the safety risks involved with fire and carbon monoxide, hiring a certified professional is always the safest option, especially if you feel unsure about any step.
5. What is the difference between a single-wall and a double-wall stove pipe?
A single-wall stove pipe is a simple, uninsulated pipe used only in the room where the stove is, to connect the appliance to the ceiling or wall support box. A double-wall or triple-wall pipe (Class A) is insulated and is the only type of pipe that can safely pass through walls, ceilings, and be used on the exterior of the home.
6. How often do I need to clean the chimney pipe?
You should inspect your chimney for creosote buildup every month during the heating season and have it professionally cleaned at least once a year. If you use your stove as a primary heat source, you may need to clean it more often.
Conclusion: Enjoying Your Cozy New Space
There you have it. Venting a wood stove without a chimney is not only possible but also a very common and safe project for many homeowners. By using a modern Class A insulated chimney system and carefully following the steps for a through-the-wall installation, you can bring that wonderful, radiant heat into your home.
Remember that planning is everything. Take your time, double-check your measurements, and always prioritize safety by respecting clearances and using the right materials. Soon, you’ll be able to relax in front of a crackling fire, feeling proud of the safe and beautiful installation you completed yourself. Enjoy the warmth!