Stainless Steel Cable Railing Systems: 2026 Cost & Code Guide
Stainless steel cable railing costs $150 to $285 per linear foot installed, with cable itself running just $0.50 to $1.70 per foot — posts, tensioners, and labor make up most of the price. Get the spacing wrong and it fails inspection: code caps gaps at 3 inches, not the 4 inches many DIYers assume. This guide covers real 2026 pricing, code-compliant spacing and load specs, 304 vs. 316 stainless grades, and a step-by-step install.
What Is a Stainless Steel Cable Railing System?
Best DIY Cable Railing Kit Pick
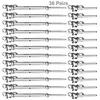
WAYSKA 36-Pair T316 Cable Railing Hardware Kit
A complete hardware set built for 1/8″ cable, with 0–180° adjustable turnbuckles for angled stairs and level runs alike.
- Best for: A full DIY run of 30+ feet of railing needing angle-adjustable ends
- Why we picked it: T316 marine-grade construction and a 180° adjustable base cover both flat decks and raked stair rails with one kit
- Main drawback: Cable and posts are sold separately — budget for those on top of this kit
Compare more cable railing supplies
 Option 1 Muzata 50-Pair Swage Toggle Hardware
|
 Option 2 CELYND 500-Ft T316 Cable Spool
|
 Option 3 Muzata Hydraulic Crimping Tool
|
As an Amazon Associate we earn from qualifying purchases.
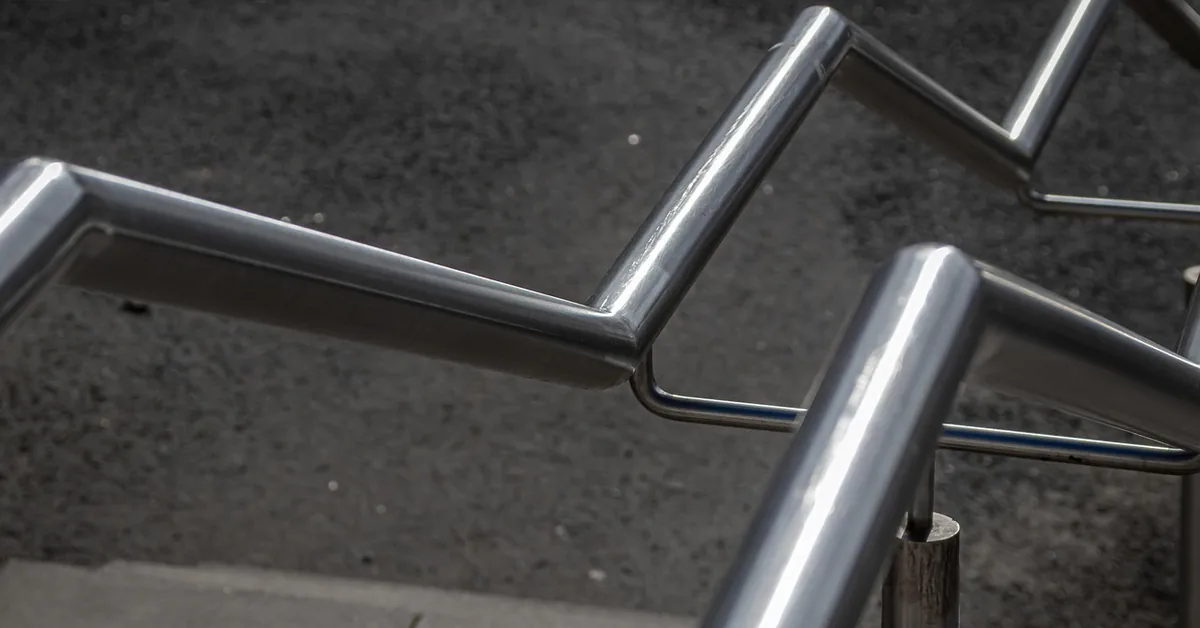
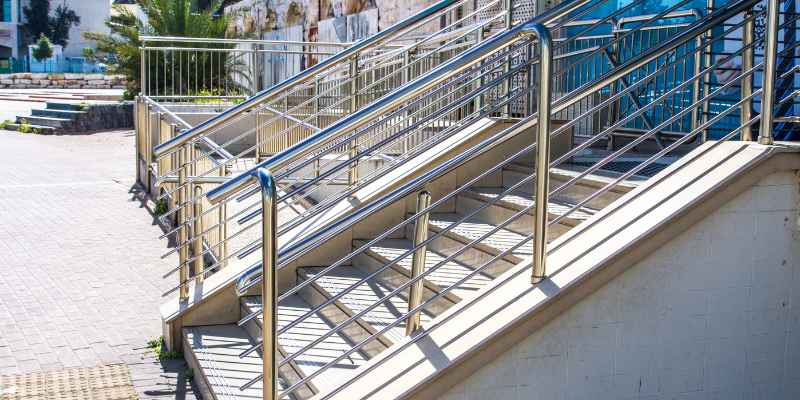
Stainless steel cable railing is a guard system that uses thin, horizontally or vertically tensioned steel cables — typically 1/8″ or 3/16″ diameter — strung between posts instead of balusters or glass panels. It relies on structural posts and a top rail to carry the load, while the cables provide the code-required infill. The appeal is the view: from a few feet away the cables all but disappear, which is why it’s become the default upgrade pick for deck and balcony railing systems with a water, tree-line, or skyline view worth protecting.
The trade-off: cable systems need more structural reinforcement than a picket railing, because every cable pulls the end posts inward under tension. That’s the single biggest thing first-time installers underestimate, and it’s why corner and end posts on a cable system are usually doubled up or sleeved in steel rather than a single 4×4.
304 vs. 316 Stainless Steel: Which Grade Should You Buy?
Grade matters more than most product listings let on. 316 stainless steel contains 2–3% molybdenum that 304 doesn’t, and that one element is what resists pitting corrosion from salt and chlorides. On an inland deck, 304 performs fine for a fraction of the cost. Within a few miles of saltwater, 304 cable will develop rust-colored pitting within a few seasons — 316 (often stamped “T316” on hardware) is the only grade rated for that environment.
| Factor | 304 Stainless | 316 Stainless |
|---|---|---|
| Molybdenum content | None | 2–3% |
| Salt/chloride resistance | Fair — pits over time | Strong — marine-grade |
| Relative cost | Lower | 10–25% higher |
| Best for | Inland decks, interior stairs | Coastal decks, pools, high-humidity climates |
Both grades meet the same structural load ratings for residential railing — 316’s advantage is corrosion resistance, not strength. If you’re within roughly 5 miles of saltwater, spend the extra 10–25% on 316 cable and hardware; anywhere else, 304 is a reasonable way to trim the budget.
How Much Does Stainless Steel Cable Railing Cost?
Installed stainless cable railing runs $150 to $285 per linear foot, according to 2026 contractor pricing data. That figure includes posts, top rail, cable, hardware, and labor — not just the cable itself.
| Cost component | Typical price range |
|---|---|
| Stainless cable (per linear ft) | $0.50 – $1.70 |
| Squared stainless posts (each) | $140 – $230 |
| Rounded stainless posts (each) | $110 – $200 |
| Stainless handrail (per linear ft) | ~$20 |
| Professional installation labor (per linear ft) | $20 – $50 |
| Total installed (per linear ft) | $150 – $285 |
Real project examples bear this out: a 36-foot white deck railing job has run $5,000–$7,000, while a 92-foot cliffside cable railing project came in around $16,000–$18,000 — both consistent with the per-foot range once post count and mounting style are factored in. Building your own from a hardware kit and running the cable yourself is the main way to cut that cost; a DIY hardware-and-cable kit runs a fraction of professional install pricing, though you still need to source or build the posts and top rail separately.
Cable Railing Code Requirements: Spacing, Height, and Load Standards
Most DIY cable railing guides repeat one outdated number: “keep gaps under 4 inches.” That’s the sphere-passage limit, not the installed cable spacing — and the difference is what fails inspections. Cable sags under pressure, so the International Residential Code (IRC) requires cables to be spaced no more than 3 inches apart so that even with deflection, nothing bigger than a 4-inch sphere can pass through.
- Cable spacing: 3 inches center-to-center maximum (accounts for deflection under the 4-inch sphere test)
- Guardrail height: 36 inches minimum for residential decks; 42 inches for high-density residential or commercial
- Intermediate post spacing: every 3–4 feet to control cable sag
- Structural post spacing: no more than 6–8 feet apart
- Top rail load: must resist a 200-lb concentrated load
- Cable infill load: must resist a 50-lb load applied to any 1-square-foot area
- Cable deflection test: no more than 1 inch of movement when pulled firmly at the center of a 4-foot span
📊 Corner and end posts carry the cumulative tension of every cable run — a single run of 20+ cables at 200–300 lbs of tension each can exert well over a ton of inward pull on an end post. Code inspectors specifically check that corner posts are doubled, sleeved, or otherwise reinforced beyond a standard single 4×4. — Source: IRC guard/cable railing provisions, cross-referenced against manufacturer install specs.
Always confirm the exact numbers with your local building department before buying materials — jurisdictions can and do impose stricter rules than the IRC baseline, and HOAs sometimes add their own restrictions on top.
Is Horizontal Cable Railing Safe? The “Ladder Effect” Myth
A lot of homeowners hesitate on horizontal cable railing because they’ve heard it creates a “ladder” a toddler could climb. That fear is real, but the code ban that used to back it up isn’t — the model code’s ladder-effect restriction on horizontal guard infill was removed in 2001, and it has not been reinstated since. Today’s IRC and IBC don’t prohibit horizontal cable orientation; they regulate it the same way as any other infill, through the height, spacing, and load rules above, regardless of whether the cables run horizontal or vertical.
That doesn’t mean the concern is baseless for every household. If young children will be using the space unsupervised, vertical cable or vertical baluster infill removes the climbing surface entirely, and some local jurisdictions or HOAs still add their own horizontal-infill restrictions on top of the model code. Check with your building department and HOA before you commit to a horizontal layout — the IRC allows it, but the final word is always local.
Design Aesthetics and Where Cable Railing Works Best
Cable railing’s main design advantage is that it disappears at a distance, which is why it shows up most on decks and balconies with a view worth protecting rather than blocking — waterfront lots, wooded backyards, rooftop terraces, and elevated decks with a skyline or mountain view. Because the cables read as nearly invisible, they pair well with almost any post material: stainless steel posts for a fully modern look, wood posts for a warmer contrast, or aluminum posts to hold down cost on a longer run.
Commercially, the same logic applies to mezzanines, rooftop bars, and glass-adjacent storefronts where an unobstructed sightline is part of the design brief. Cable is customizable within a fairly narrow band — cable diameter (1/8″ or 3/16″), post finish, and post spacing are the real variables, since the cables themselves are visually similar regardless of manufacturer. If cable turns out to be more than your budget or view calls for, it’s worth comparing it against wood, composite, and vinyl deck railing systems before you commit to materials.
Cable Railing Components: Posts, Top Rails, and Cables
A cable railing system has three structural parts. Posts anchor to the deck frame or stair stringer and carry both the guardrail load and the cumulative inward pull of every cable — end and corner posts need to be beefier than field posts for this reason. The top rail ties the posts together and is what actually has to resist the 200-lb code load; it also doubles as the graspable handrail on stairs. The stainless steel cables are the infill — strong enough to meet the 50-lb infill load, but they’re not what the system leans on structurally; that’s the posts and top rail.
Cable Gauge: 1/8″ vs. 3/16″
1/8″ cable is the standard choice for most residential runs and is what the majority of DIY hardware kits are sized for. 3/16″ cable is thicker, marginally more visible, and typically reserved for longer spans or commercial specs where the added strength margin is worth the extra material cost. For a typical home deck or stair railing, 1/8″ T316 cable meets code with room to spare.
DIY Installation: Step-by-Step Guide
DIY installation saves the $20–$50 per linear foot that professional labor adds — but it requires accurate measuring, a drill, and (for swage-style hardware) a crimping tool. Here’s the process from start to tensioned finish:
- Measure and plan post layout: Space structural posts no more than 6–8 feet apart, and confirm corner/end posts can be doubled or sleeved to handle cable tension.
- Set and anchor the posts: Install posts plumb and level, anchored to the deck frame or stair stringer per your hardware manufacturer’s load specs — this step determines whether the whole system passes inspection.
- Attach the top rail: Secure the top rail across all posts; this is the primary structural member that must resist the 200-lb code load.
- Drill cable holes at 3-inch spacing: Mark and drill through each post at consistent 3-inch intervals, not 4 — this is the step where the outdated “4-inch” figure most often creeps in.
- Thread and swage or toggle each cable: Run cable through the holes, then crimp (swage) or attach toggle-and-turnbuckle hardware at each end per your kit’s instructions.
- Tension every cable: Tighten turnbuckles until each cable meets the deflection standard — no more than 1 inch of movement when pulled firmly at mid-span.
- Trim and cap: Cut excess cable close to the fitting and cap or cover any exposed sharp ends.
- Re-check tension after 2–4 weeks: New cable stretches slightly as it seats — plan on one re-tensioning pass a few weeks after install, and again annually after that.
If any of this feels outside your comfort zone — especially the structural post anchoring — hiring a professional for just that portion and DIYing the cable threading and tensioning yourself is a reasonable middle ground that still saves money.
Maintenance and Long-Term Durability
Stainless cable railing is genuinely low-maintenance, but “low” isn’t “none.” Wipe cables and posts down with mild soap and water periodically — more often in coastal or high-pollen environments — and skip abrasive cleaners, which can scratch the passivation layer that gives stainless its corrosion resistance. The maintenance step most guides skip entirely: cable tension needs to be checked annually. New cable stretches as it seats in the first month, and even properly tensioned cable can loosen slightly over years of thermal expansion and contraction. A turnbuckle re-tightening once a year keeps the system at its code-required deflection limit.
With that annual check, a properly specified system (316 stainless in coastal climates, 304 inland) can last decades without needing cable replacement.
Frequently Asked Questions
How much does it cost to install stainless steel cable railing?
Installed stainless steel cable railing costs $150 to $285 per linear foot in 2026, covering posts, top rail, cable, hardware, and labor. Cable alone runs $0.50 to $1.70 per foot; the bulk of the cost is in stainless posts ($110–$230 each) and $20–$50 per foot in installation labor. DIY installation cuts the labor portion significantly if you’re comfortable with the structural post work.
What are the disadvantages of stainless steel cable railings?
The main disadvantages are higher upfront cost than wood or vinyl, more demanding post-and-tension installation, and an annual cable re-tightening requirement. In coastal environments, 304-grade stainless can pit from salt exposure — 316 grade resists this but costs 10–25% more. Some local codes and HOAs also restrict cable railing regardless of orientation, so it’s worth confirming before buying materials.
What is the correct spacing for stainless steel cable railing?
Cable spacing should be no more than 3 inches center-to-center, not 4. The IRC’s 4-inch figure is the maximum opening a sphere can pass through under deflection — because cable sags when pushed on, installers have to set the resting spacing tighter, at 3 inches, so the gap never exceeds 4 inches even under pressure. Consult your local building department to confirm before installing.
Is horizontal cable railing safe for homes with kids?
Yes, according to current model code — the IRC and IBC don’t prohibit horizontal cable infill, and the “ladder effect” ban that once restricted it was removed from model code in 2001. Horizontal cable railing has to meet the same height, spacing, and load rules as any other infill. For households with young children, vertical cable or baluster infill removes the climbing surface as an extra precaution, and it’s worth checking whether your local jurisdiction or HOA has its own horizontal-infill restriction on top of the IRC baseline.
Do you need a top rail with cable railing?
Yes. A top rail is almost always required by code because it’s the structural member that resists the 200-lb concentrated load guard systems must withstand — the cables alone aren’t rated to carry that. On stairs, the top rail also serves as the graspable handrail, which has its own height and graspability requirements separate from the guard height rules.
Stainless steel cable railing pays off precisely where an unobstructed view matters — a $150–$285-per-foot system that’s built to the real 3-inch spacing and 200-lb load standards, in the right stainless grade for your climate, is what actually passes inspection and lasts decades with a yearly re-tension. Confirm the exact numbers with your local building department, then use the cost table above to budget the project realistically before you buy materials.
Sponsored / affiliate links. As an Amazon Associate I earn from qualifying purchases. I may earn additional commission from eligible campaigns.