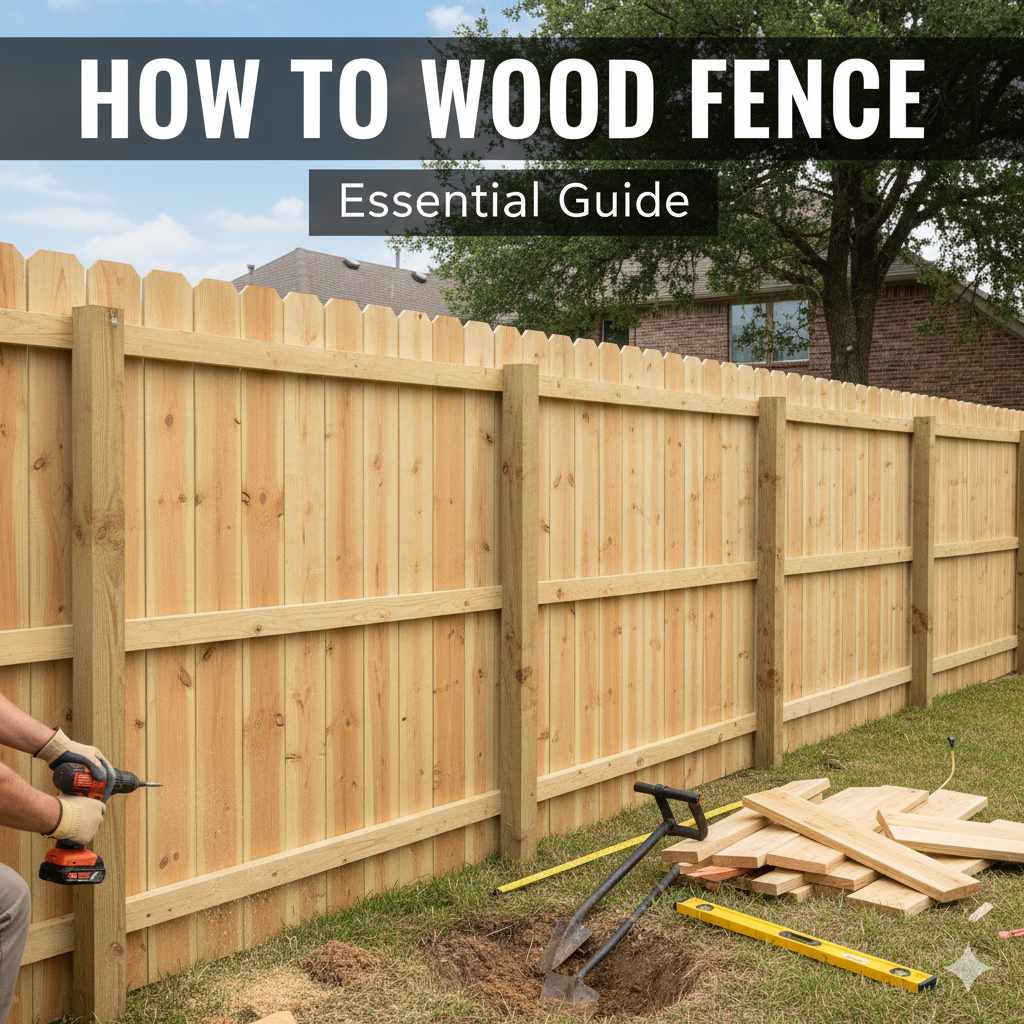
How to Wood Fence: Essential Guide
Learn how to wood fence with this easy-to-follow guide. We’ll cover everything from planning and choosing materials to setting posts and installing panels, ensuring a durable, beautiful fence for your home. Get ready to enhance your property with confidence!
Building a wood fence can seem like a big project, but with the right guidance, it’s totally achievable for any homeowner. Many folks worry about getting it right – digging holes, setting posts straight, and making sure the fence looks great and lasts. But don’t let that stop you! This guide is designed to break down the entire process into simple, manageable steps. We’ll walk you through everything you need to know to build a sturdy and attractive wood fence that you’ll be proud of.
Why Build a Wood Fence?
Wood fences offer a classic, beautiful look that complements almost any home style. They provide privacy, security for children and pets, and can significantly boost your property’s curb appeal and value. Unlike vinyl or metal options, wood fences offer a warm, natural aesthetic that many homeowners prefer. They are also a relatively affordable option, especially if you choose common wood types and handle the installation yourself.
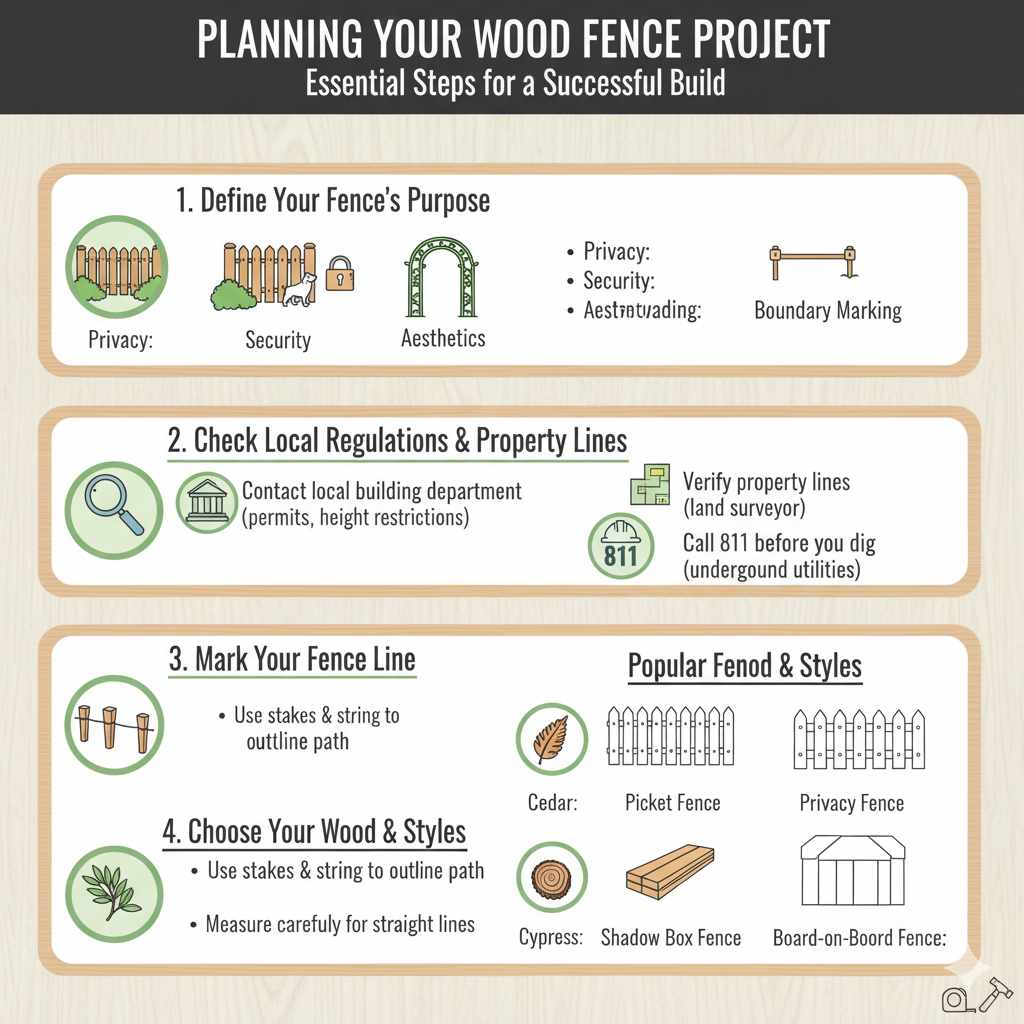
Planning Your Wood Fence Project
Before you even pick up a hammer, good planning is key. It saves you time, money, and headaches later on.
1. Define Your Fence’s Purpose
What do you need your fence for?
- Privacy: Do you want to block views from neighbors or the street? This means choosing taller fences and closer board spacing.
- Security: Are you keeping pets in or unwelcome visitors out? Height and sturdy construction are important here.
- Aesthetics: Is it mainly to enhance your garden or property’s look? You might opt for decorative styles.
- Boundary Marking: Simply want to mark your property line? A simpler, less imposing fence might suffice.
2. Check Local Regulations and Property Lines
This is a crucial step! Before any digging, you must:
- Contact your local building department: They will have regulations regarding fence height, style, and setback requirements from property lines. Some areas may even require a permit. It’s always better to check than to have to tear down your work later. You can often find this information on your municipality’s official government website. For example, the U.S. Department of Housing and Urban Development (HUD) provides general guidance on property lines and fences.
- Verify property lines: Ensure you know exactly where your property ends. If you’re unsure, consider hiring a land surveyor. Building on a neighbor’s property can lead to serious disputes.
- Call 811 before you dig: This free service will have utility companies mark underground lines (gas, electric, water) to prevent dangerous and costly accidents. Plan to call this service a few days before you plan to dig for your posts.
3. Mark Your Fence Line
Use stakes and string to outline where your fence will go. Measure carefully to ensure straight lines and accurate lengths. This visual guide will help you as you work.
4. Choose Your Wood and Style
The type of wood and fence style you choose will impact durability, cost, and maintenance.
Common Wood Types for Fencing:
- Cedar: Naturally resistant to rot and insects, beautiful grain, but can be more expensive.
- Redwood: Similar to cedar, highly durable and attractive, but often the priciest option.
- Pressure-Treated Pine: The most common and budget-friendly choice. It’s treated with chemicals to resist rot and insects, making it very durable. However, it can be prone to warping or cracking if not properly maintained.
- Cypress: Another naturally durable wood, often found in southern regions.
Popular Fence Styles:
- Picket Fence: Classic and charming, with spaced vertical boards.
- Privacy Fence: Boards are mounted side-by-side for maximum seclusion.
- Shadow Box Fence: Boards are alternated on each side of the rails, offering a semi-privacy look.
- Board-on-Board Fence: Offers excellent privacy and a unique look with overlapping boards.
Essential Tools and Materials
Gathering everything you need beforehand makes the process much smoother. Here’s a checklist:
Tools:
- Measuring tape
- Level (4-foot is ideal)
- Post-hole digger or power auger
- Shovel
- Wheelbarrow
- Circular saw or miter saw
- Drill/driver with appropriate bits
- Hammer
- Safety glasses
- Work gloves
- String line and stakes
- Pencil or marker
- Trowel (for concrete), if using
- Optional: Post level, speed square
Materials:
- Fence posts (typically 4×4 or 6×6 lumber), 8-foot or longer
- Gravel (for drainage at post base)
- Concrete mix (if using concrete to set posts)
- Post caps (optional)
- Fence rails (typically 2×4 lumber)
- Fence boards (pickets or panels)
- Deck screws or galvanized nails (weather-resistant)
- Wood sealant or stain (for protection)
Step-by-Step Guide: How to Build a Wood Fence
Let’s get building! Follow these steps carefully for a strong, attractive fence.
Step 1: Set Your Corner and Gate Posts
These are the most critical posts for stability. They need to be set deep and perfectly plumb (vertical).
- Dig Post Holes: Dig holes for your corner posts. The general rule is to dig a hole that is about one-third the length of the post plus 6 inches for gravel, and about three times the width of the post. For a 6-foot fence, a 6-foot post needs to be buried at least 2 feet. So, dig an 8-foot post for a 6-foot fence that goes 2 feet in the ground. The top of the hole should be at least below your local frost line to prevent heaving in winter.
- Add Gravel: Place a 6-inch layer of gravel at the bottom of each hole for drainage. This prevents the post from rotting due to water sitting around its base.
- Position the Post: Place the post in the hole on top of the gravel.
- Add Concrete (Recommended): Mix concrete according to the bag’s instructions. Pour the concrete around the post, filling the hole. Use a trowel to shape the top of the concrete slightly away from the post to allow water to run off.
- Brace and Level: Use temporary braces (scrap wood staked into the ground) to hold the post perfectly vertical. Use your level on two adjacent sides of the post to ensure it’s plumb. Double-check that it’s in the correct position according to your string line.
- Let Concrete Cure: Allow the concrete to set for at least 24-48 hours before proceeding. This ensures a rock-solid foundation.
Step 2: Install Line Posts
These posts run between your corner posts.
- Mark Post Spacing: Measure the distance between your corner posts. The standard spacing for line posts is typically 6 to 8 feet apart. Mark the location for each line post along your string line.
- Dig Holes and Set Posts: Repeat the process from Step 1 for your line posts. Ensure they are set at the same depth and are perfectly plumb. You can use string lines to keep them perfectly aligned with the corner posts.
Step 3: Attach Rails
Rails are the horizontal pieces that connect the posts and support the fence boards.
- Determine Rail Height: For a typical 6-foot fence, you’ll usually install two or three rails. The top rail should be a few inches from the top of the posts, and the bottom rail should be a few inches from the ground. If you have a center rail, place it roughly in the middle.
- Mark Rail Locations: Use your level and measuring tape to mark the exact height for the rails on each post.
- Cut Rails to Length: Measure the distance between posts and cut your rails to fit.
- Attach Rails: Secure the rails to the posts using weather-resistant screws or nails. Ensure the rails are level. Using a post-and-beam jig or a speed square can help make this process easier and more accurate.
A common setup for a 6-foot fence involves:
| Fence Height | Rail Placement (from top of post) | Number of Rails |
|---|---|---|
| 6 feet | 2-4 inches | 2 (top and bottom) or 3 (top, middle, bottom) |
| 4 feet | 2-3 inches | 2 (top and bottom) |
Step 4: Install Fence Boards (Pickets)
This is where your fence starts to take shape!
- Start at one end: Begin attaching your fence boards to the rails.
- Ensure Plumbness: Use your level to make sure each board is perfectly vertical.
- Spacing: For privacy fences, butt the boards directly against each other. For other styles, use a spacer (like a thin piece of wood) to maintain consistent gaps between boards.
- Secure Boards: Attach each board to the rails at the top, middle, and bottom (or as appropriate for your rail configuration) using weather-resistant screws or nails. Use at least two fasteners per rail connection.
- Cut and Fit: As you work your way down the fence line, you may need to cut the last board in a section to fit. Measure carefully and cut for a clean finish.
Step 5: Install the Top Cap and Trim (Optional)
Adding a top cap can give your fence a finished look and add protection.
- Cut top caps: Measure and cut your top cap pieces to fit over the top boards or directly onto the top rail.
- Attach: Secure the top caps using screws or nails.
- Trim: You can also add decorative trim pieces to the edges of your fence for a more polished appearance.
Step 6: Finishing Touches and Protection
Protecting your wood fence from the elements will make it last much longer.
- Sand Rough Spots: Lightly sand any rough edges or splinters.
- Apply Sealant or Stain: Once the wood is completely dry (especially important for pressure-treated lumber, which can take weeks to dry out), apply a good quality wood sealant or stain. This protects against UV rays, moisture, and insects. Follow the manufacturer’s instructions for application and drying times.
- Install Post Caps: If you’re using post caps, install them now. They add a decorative element and help prevent water from entering the top of the posts.
Maintaining Your Wood Fence
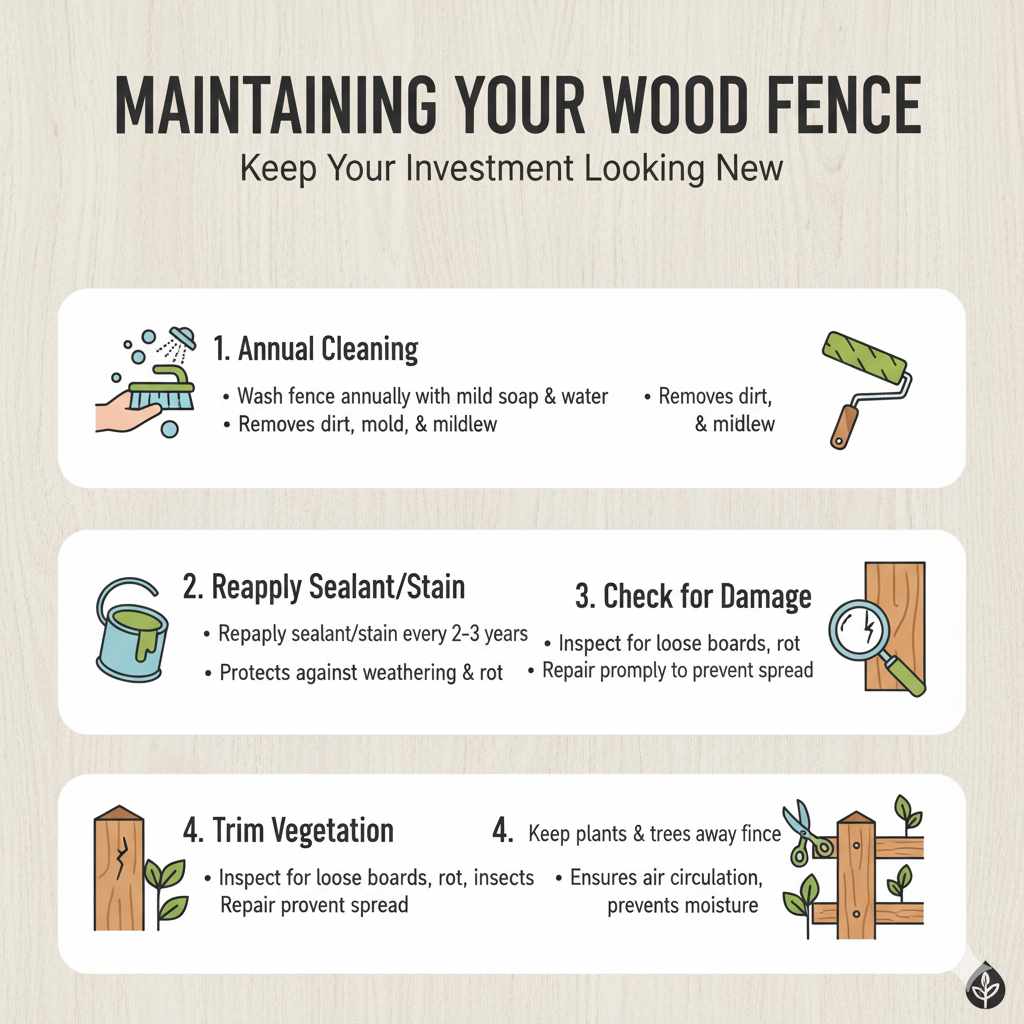
A little regular maintenance goes a long way in keeping your fence looking great and extending its lifespan.
- Annual Cleaning: Wash your fence annually with mild soap and water or a specialized fence cleaner to remove dirt, mold, and mildew.
- Reapply Sealant/Stain: Reapply a sealant or stain every 2-3 years, or as recommended by the product manufacturer.
- Check for Damage: Periodically inspect your fence for loose boards, rot, or insect damage and repair promptly.
- Trim Vegetation: Keep plants and trees trimmed away from the fence to allow for air circulation and prevent moisture buildup.
Cost Considerations
The cost of building a wood fence can vary significantly based on materials, size, style, and whether you DIY or hire a professional. Here’s a general breakdown:
| Component | Estimated Cost Range (DIY Materials) | Notes |
|---|---|---|
| Posts (4×4 or 6×6) | $15 – $50 each | Pressure-treated pine is most affordable. Cedar/redwood are premium. |
| Rails (2×4) | $10 – $25 per 8ft section | Depends on wood type. |
| Fence Boards/Pickets | $3 – $10 per board/foot | Varies wildly by wood type, width, and style. Treated pine is cheapest. |
| Gravel | $5 – $10 per bag/cubic foot | Needed for drainage. |
| Concrete Mix | $5 – $10 per bag | Needed if setting posts in concrete. |
| Screws/Nails | $10 – $30 per box | Always use exterior-grade, galvanized or stainless steel. |
| Sealant/Stain | $30 – $80 per gallon | One gallon covers a decent section of fence. |
For a typical 100-foot fence, DIY material costs could range from $1,500 to $3,500 or more. Professional installation can double or triple these costs.
Frequently Asked Questions (FAQ)
Q1: How deep should I dig my fence post holes?
A: For a 6-foot fence, the hole should be at least 2 feet deep. Always ensure the depth is one-third of the post’s total length plus about 6 inches for gravel, and it should extend below your local frost line.
Q2: What is the best wood for a fence?
A: Pressure-treated pine is the most common and budget-friendly choice, offering good durability. Cedar and redwood are more expensive but are naturally resistant to rot and insects and have a beautiful appearance.
Q3: How far apart should fence posts be?
A: Standard spacing for line posts is typically 6 to 8 feet apart. This provides adequate support for the rails and fence boards.
Q4: Do I need to put concrete in my fence post holes?
A: While you can backfill with soil and gravel, using concrete provides the most stable and durable foundation for your fence posts, especially in areas with frost or high winds.
Q5: How often should I seal or stain my wood fence?
A: You should reapply sealant or stain every 2-3 years, depending on your climate and the quality of the product used. Annual cleaning will also help maintain the finish.
Q6: Can I build a fence on a slight slope?
A: Yes, you can build a fence on a slope. There are two main methods: stepping the fence up or down the slope with longer posts, or “racking” the fence sections so they follow the contour of the ground. Stepping is generally more stable and visually appealing.
Conclusion
You’ve now got a comprehensive guide on how to wood fence! From the initial planning stages and understanding local rules to carefully setting posts, attaching rails, and finishing with protective sealants, each step is designed to lead you toward a successful and rewarding DIY project. Remember, taking your time, planning thoroughly, and using the right tools will ensure your new wood fence is not only beautiful and functional but also durable for years to come. Enjoy the satisfaction of building something lasting for your home!