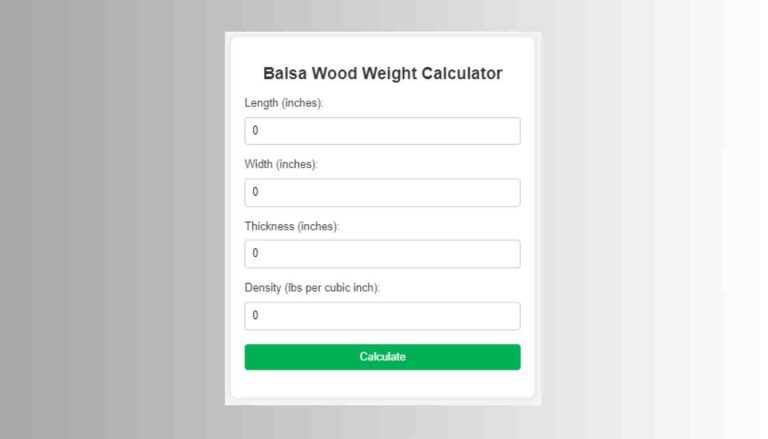
Kerf Calculator: How to Calculate Cut Loss
A kerf calculator subtracts the saw’s material loss from your target length: total loss = kerf × number of cuts, so count every cut line and add compensation before cutting. Miss that math, and parts come out short, panels drift out of square, and bent-wood layouts or joinery gaps burn through good stock fast. I use this method on saws, CNC work, laser jobs, and kerf bending, because the cut list only stays honest when the loss is counted up front.
How is this calculated?
Press Calculate to see the math with your numbers.
What kerf is and why it changes your cut list



Kerf is the width of material removed by a cutting tool. It matters because every cut removes a sliver of stock, so final parts are shorter than the drawn dimensions unless you account for that loss in the cut list. That applies to saws, CNC routers, and laser cutters.
Kerf on saws, CNC routers, and laser cutters
On a table saw, the blade removes a strip of wood equal to its kerf. On a CNC router, the cutter diameter and path offset create the same kind of loss. On a laser cutter, the beam width and heat-affected edge do the same job, only with a much smaller kerf.
Full kerf blade vs thin kerf blade
A full kerf blade is about 1/8 inch (roughly 3.2 mm), and it is often more rigid. A thin kerf blade removes less material per cut, often around 3/32 inch (about 2.2-2.4 mm), and it can put less load on the motor. Thin kerf blades are about 40% thinner than full kerf blades.
When the blade label is close, and when it is not
The printed blade size is a starting point, not the final answer. Wear, feed rate, the material being cut, and blade deflection can widen or narrow the real cut. On worn blades or dense sheet goods, the label can miss enough to matter in a tight cut list.
According to What Is Kerf on a Saw Blade and Why Does It Matter? — The practical rule given is to use thin kerf blades on saws under 3 horsepower.
How do you calculate kerf for a cut list?
Use the cut-loss formula: kerf loss equals the number of cuts multiplied by kerf width. That means you count every cut that removes material, then add that loss back into the starting stock length. Finished piece count alone is not enough.
The basic cut-loss formula
The working formula is simple: required starting stock = sum of finished lengths + total kerf loss. Total kerf loss = number of cuts × actual kerf width. For a 12-inch board cut into two 6-inch pieces, a 1/8-inch kerf leaves about 11-7/8 inches of usable total length after the cut.
How to count actual cuts, not just finished parts
Count the cuts that actually remove material, not the pieces on the cut list. A five-piece layout from one board uses four cuts between the pieces. Trim cuts, square-up cuts, and cleanup cuts also count because they consume stock just like the main cuts.
How to handle trim cuts and repeat cuts
Repeat cuts stack kerf loss fast. A rough board may need one trim cut at each end before the parts are even laid out, and those trims matter as much as the final part cuts. If the board is damaged, include the cleanup cut in the count before you size the stock.
How do you use a kerf calculator?
A kerf calculator typically needs three inputs: finished part lengths, number of cuts, and the measured kerf. It then gives you required starting stock and total waste. The useful ones also let you switch between inches, millimeters, and centimeters, so the numbers match the plan on the bench.
Inputs the calculator needs
- Finished part lengths for every piece in the cut list
- Number of cuts, including trim cuts and waste cuts
- Actual measured kerf, not just the blade label
- Units: inches, millimeters, or centimeters
How to read required starting stock and total waste
Required starting stock tells you the minimum board, sheet, or blank length to buy or pull from the rack. Total waste shows how much material disappears into kerf and offcuts. That matters most on expensive plywood, narrow trim stock, and nested sheet layouts where one missed cut can ruin yield.
When to round up or keep a small allowance
For hobbyist work, a small allowance is sensible if the pieces will be trimmed or sanded later. For tighter joinery, keep the allowance tiny and controlled. The point is not to guess bigger; it is to separate rough stock breakdown from final fit math.
How do you measure actual kerf instead of trusting the label?
Measure kerf with a test cut and calipers. The label gives a nominal value, but the real cut can change with blade wear, feed rate, and material. A test cut is the only practical way to learn what your saw is removing today, in that stock, with that setup.
Make a test cut and measure it with calipers
- Cut a straight scrap piece with the same blade and setup you plan to use.
- Measure the remaining width of the piece and compare it to the original marked line or reference dimension.
- The difference is the actual kerf, or close enough for shop math.
- Repeat the cut if the result looks inconsistent.
Why material and feed rate change the result
Plywood, MDF, and trim stock do not all cut the same way. Sheet goods can fuzz or tear, and that changes the effective cut width. Feed rate matters too: too slow can burn the edge, while too fast can deflect the blade or bit. Either one can widen the real loss.
A practical tolerance range for general woodworking and tighter fitting work
For general woodworking, a small kerf error is often fine if the parts will be sanded or fitted later. For joinery, cabinetry, and parts that must close cleanly, use the measured kerf and keep the cut list organized by operation. Stock breakdown math and fit-and-finish math should not be treated the same way.
What kerf width should you enter for MDF, plywood, or a thin kerf blade?
Use a measured kerf when the fit matters. If you need a starting value, a standard table saw blade kerf ranges from about 3/32 inch to 1/8 inch. Full kerf blades measure 0.110 to 0.125 inches thick, and thin kerf blades measure 0.087 to 0.091 inches thick.
Typical starting values for full kerf and thin kerf blades
| Setup | Typical starting kerf | Notes |
|---|---|---|
| Full kerf blade | About 1/8 inch or 3.2 mm | More rigid, usually better on higher-power saws |
| Thin kerf blade | About 3/32 inch or 2.2-2.4 mm | Less waste per cut, lower motor load |
| Laser cutting | About 0.1 mm to 0.4 mm | Depends on machine, material, and settings |
Why different sheet goods can read differently
MDF often cuts cleanly but can swell at the edge. Plywood can vary by core quality and veneer thickness. That means the blade label may be fine for rough work, but the actual kerf should be rechecked when the material changes or when the cut list has little margin.
When to remeasure after blade wear or setup changes
Remeasure after blade changes, major height adjustments, saw tune-ups, and any setup that alters feed behavior. For a thin kerf blade, the practical rule is to use it on saws under 3 horsepower. That rule is about keeping the motor in a comfortable range, not about kerf alone.
Kerf worksheet: use the inputs before you cut
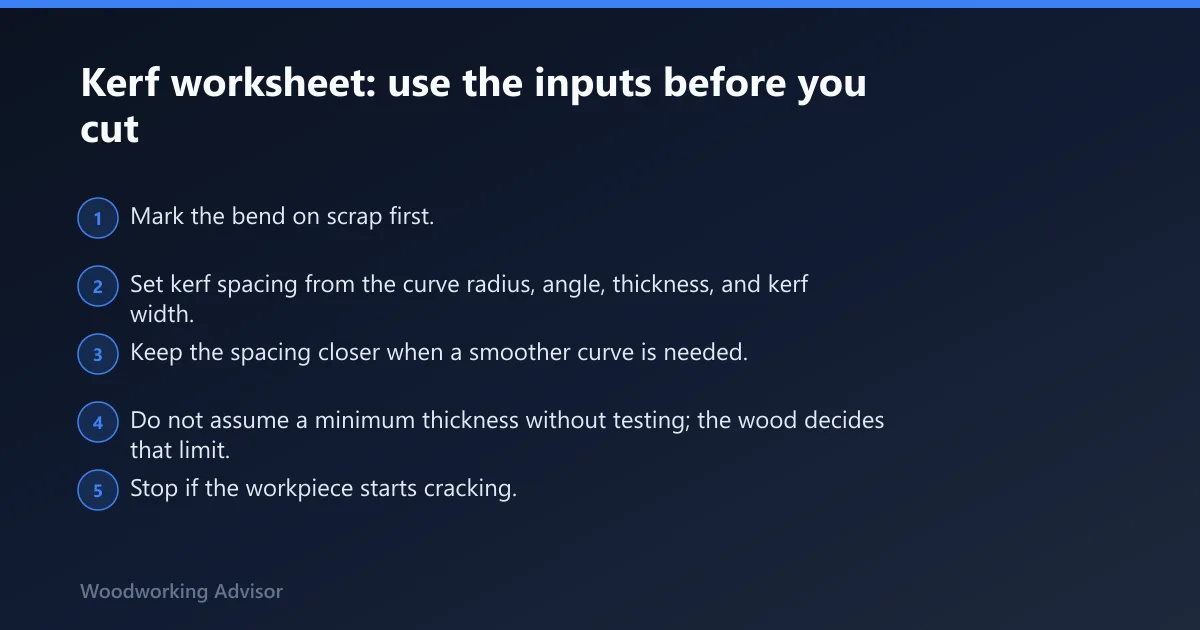
This worksheet turns a cut list into stock length and waste, then adds a separate bending check. Fill in finished part lengths, count every cut, enter actual measured kerf, and calculate the starting stock before the saw is turned on. Keep the bending notes separate from straight-cut math.
One-page kerf worksheet
| Section | Input | Example value | Output |
|---|---|---|---|
| Stock breakdown | Finished part lengths | 6 in + 6 in | 12 in finished total |
| Stock breakdown | Number of cuts | 1 | 1 kerf loss |
| Stock breakdown | Actual measured kerf | 1/8 in | 1/8 in total loss |
| Stock breakdown | Required starting stock | 12 in of finished parts | 11-7/8 in usable after cut in the example |
| Stock breakdown | Total waste | 1/8 in | Kerf loss only, plus sawdust and trim waste if present |
| Bending check | Curve radius, angle, thickness, kerf | Set by the job | Spacing plan for test scrap |
| Bending check | Failure warnings | Cracking, faceting, springback | Stop and revise spacing |
Kerf-bending spacing checklist and failure warnings
- Mark the bend on scrap first.
- Set kerf spacing from the curve radius, angle, thickness, and kerf width.
- Keep the spacing closer when a smoother curve is needed.
- Do not assume a minimum thickness without testing; the wood decides that limit.
- Stop if the workpiece starts cracking.
- Stop if the curve looks faceted instead of smooth.
- Stop if springback is so strong that the shape will not hold.
When does kerf spacing make sense for bending wood?
Kerf spacing makes sense when a board or panel needs to bend without breaking and the curve is too tight for the wood to take naturally. Spacing depends on curve radius, angle, thickness, and kerf width. Thin kerf cuts can be spaced closer together for a smoother curve, but test scrap comes first.
How spacing relates to curve radius, angle, and thickness
Tighter curves usually need closer spacing or deeper relief. Thicker stock resists bending and may need more relief cuts, while thinner stock bends more easily. The useful rule is simple: the bend geometry and the wood species control the layout more than any single calculator number.
Why test scrap comes first
Blocklayer notes that the optimum minimum thickness cannot be calculated and depends on the wood. That is why a kerf spacing calculator is a starting point, not a final answer. A scrap test tells you whether the bend is smooth, weak, or still too stiff.
Signs the bend is failing: cracking, faceting, or springback
Cracking means the spacing or cut depth is too aggressive. Faceting means the spacing is too wide for the curve you want, so the bend looks stepped instead of smooth. Springback means the piece relaxes after bending and does not hold the intended shape. Any of those signs means the layout needs revision.
Frequently asked questions
How do I calculate kerf?
Use kerf loss = number of cuts × kerf width. Then add that loss back into the starting stock length. Count every cut that removes material, including trim cuts and cleanup cuts. The blade label is only a starting point; the measured kerf is the number that matters for accurate cut lists.
How do I calculate kerf cuts?
Count the cuts that remove material, not the number of parts alone. A five-piece cut list usually needs four cuts between the pieces, plus any trim or square-up cuts. Multiply that cut count by the actual kerf width to find total loss, then adjust the stock length.
What is kerf on a saw blade?
Kerf is the width of material removed by the blade as it passes through the stock. On saws, that loss becomes sawdust and waste off the cut line. On CNC routers and laser cutters, the same idea applies even though the cutting method is different.
Can kerf calculators work in inches and millimeters?
Yes. A useful kerf calculator should accept inches, millimeters, and centimeters so the cut list matches the shop drawings. Keep one unit system through the whole calculation. Mixed units are where simple stock breakdown math gets messy and parts begin to drift off target.
When does a kerf spacing calculator for bending wood make sense?
Use it when you need a bent panel, curved trim, or a relief-cut bend that would not form cleanly otherwise. It is most useful as a starting layout for scrap testing. Check for cracking, faceting, and springback before committing good stock to the final bend.
Sponsored / affiliate links. As an Amazon Associate I earn from qualifying purchases. I may earn additional commission from eligible campaigns.