Charcuterie Board Gift: How to Build One
Build a charcuterie board gift from hardwood that is about 3/4 to 1 inch thick and around 12 x 18 to 14 x 20 inches. That size can suit around 4 to 8 guests and is still easy to carry. Too small, too porous, or finished with the wrong coating, and it looks good once but wears out fast. This guide covers wood choice, board dimensions, safe finishing, and how to plan the cheese, meat, fruit, and crackers around the board’s shape.
What a charcuterie board gift
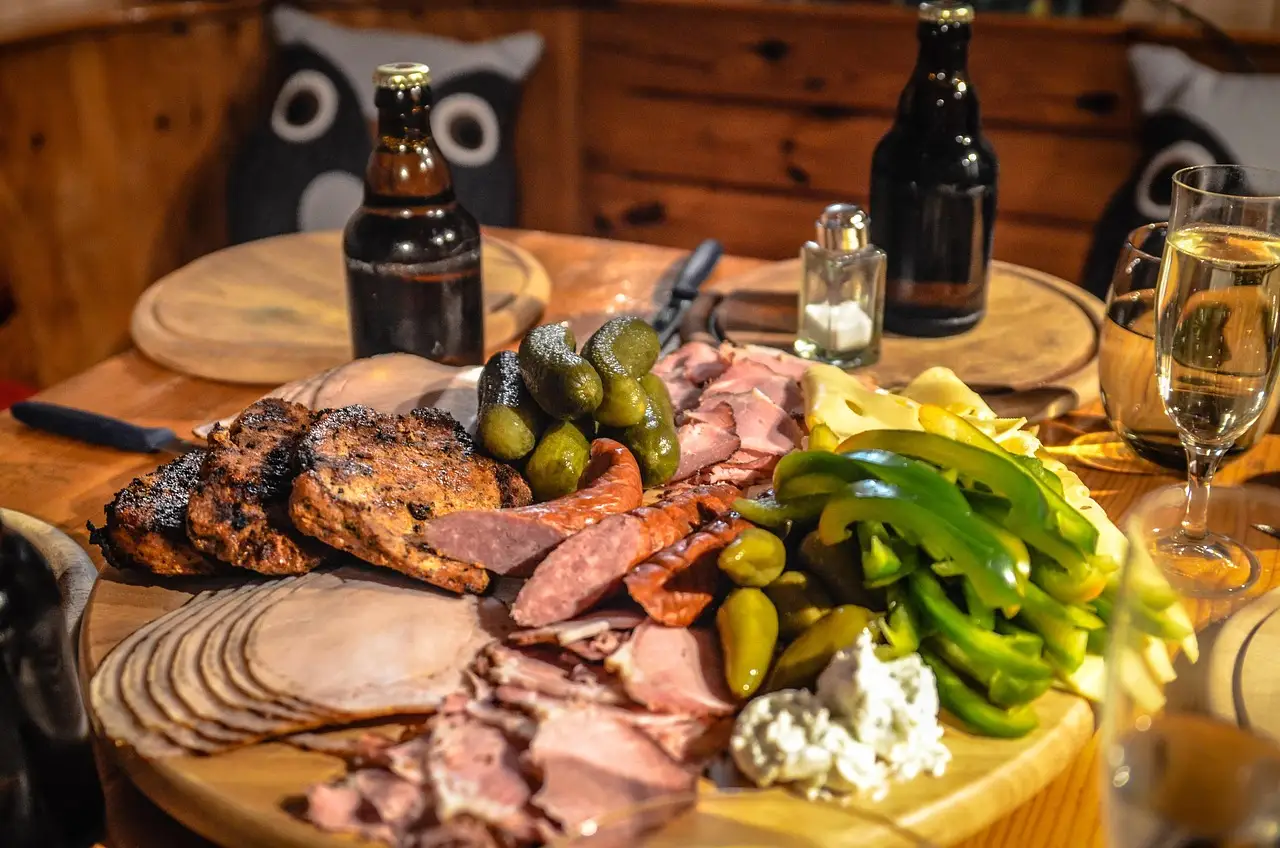


A charcuterie board gift is a reusable serving board paired with a food spread built for grazing. In practical use, it can include cured meats, cheeses, bread or crackers, fruit, nuts, spreads, pickles, and olives. The board should look good, serve cleanly, and hold up to reuse.
The board matters as much as the food. If the wood warps, stains, or feels awkward to carry, the gift becomes temporary. A better choice is a food-safe wooden serving board with enough thickness for stability, enough surface area for the food, and a shape that suits transport and storage.
Why the board itself matters
Many people focus on what goes on top. For a gift, the board is the item the recipient keeps, washes, stores, and uses again. That means grain direction, finish, edge treatment, and weight are part of the decision, not afterthoughts.
Spend with Pennies notes that any shape or size of wood board can be used as a serving platter, but gift use narrows the field. A board that is too wide to fit in a cupboard or too heavy to carry with one hand can be less useful than a smaller, better-made board.
Choose the right wood board
Select a hardwood serving board with food-safe finish, stable grain, and enough thickness to resist cupping. Maple, walnut, cherry, teak, acacia, olive wood, and bamboo are common choices. Avoid pine and cedar for serving boards.
For a gift board, plain utility is not enough. You want a surface that resists knife marks reasonably well, cleans without drama, and does not telegraph stains from oils or wet foods the first time it is used.
Best wood species for serving boards
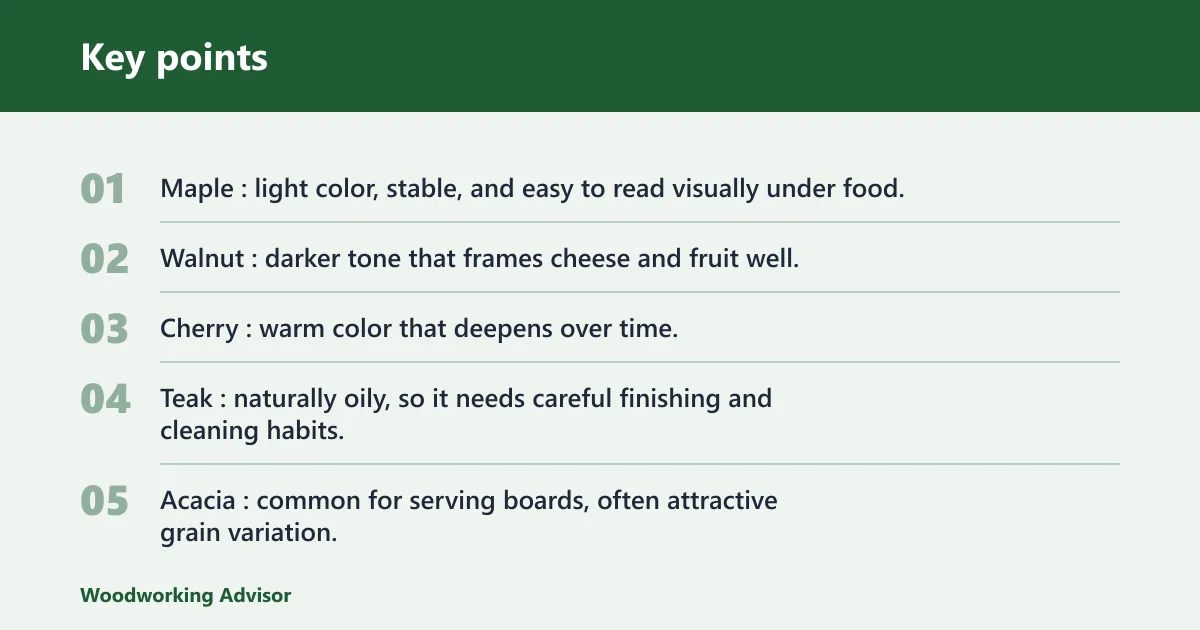
- Maple: light color, stable, and easy to read visually under food.
- Walnut: darker tone that frames cheese and fruit well.
- Cherry: warm color that deepens over time.
- Teak: naturally oily, so it needs careful finishing and cleaning habits.
- Acacia: common for serving boards, often attractive grain variation.
- Olive wood: highly figured, but dense and sometimes more variable in movement.
- Bamboo: widely available, though it behaves more like a grass laminate than a solid hardwood board.
Thickness, grain, and edge choices
Bubblerelief recommends a board at least 3/4 inch thick, and that is a practical floor for a gift board that will be carried and reused. The grain should run lengthwise, not across the board, which helps the board behave more predictably over time.
A router with a roundover bit softens the edge and makes the board more comfortable to hold. A sharp square edge is more likely to feel unfinished and can chip easier, especially on a board that will be moved from counter to table to sink.
Food-safe finish options
Use a food-safe oil or beeswax finish. That keeps the board from looking dry, helps reduce stain absorption, and makes cleanup easier. Finish does not make the board waterproof, so standing moisture still needs to be wiped away quickly.
If the board is made from a naturally oily species, the finish still matters. Oily woods can resist moisture differently from maple or cherry, but they are not immune to staining from olives, dips, or red fruit.
What size board do you need?
For a charcuterie board gift, size should match guest count and the amount of food you want visible at once. A board that is too small looks crowded and messy. A board that is too large looks sparse, even if the food amount is right.
For about 4 to 8 guests, a board around 12 x 18 to 14 x 20 inches is a common target. It gives enough room for meat, cheese, crackers, fruit, and a few wet items without forcing everything into one tight cluster.
Round, rectangular, oval, and paddle shapes
Rectangular boards are easiest to pack and plate. Round boards feel more casual and work well when the spread sits in the center. Oval and paddle boards usually give a gift a more handcrafted look, and free-form boards can feel special if the edge profile is still practical.
Choose shape with the intended use in mind. A board with a handle can help for serving, but a handle adds length for storage. A free-form board may look striking, yet a rectangular board often fits better in a refrigerator shelf or carrying bag.
When a board is too small or too large
A board is too small if the meats overlap into the cheeses, crackers topple, or bowls crowd the edge. A board is too large if the food sits in isolated patches with empty wood between them. The goal is a full look without waste.
Say your board is 10 x 14 inches and you plan food for 8 guests. The spread will likely need tighter stacking, fewer cracker styles, and smaller bowls. If you keep the same food plan but move to 14 x 20 inches, the layout breathes without needing more ingredients.
Gift board planning sheet
This planning sheet gives a practical way to match budget, board size, and food volume. It also flags common failure points before they show up as a warped board or a messy tray.
| Budget tier | Board dimensions | Guests | Estimated ingredient quantities | Transport notes | Failure check |
|---|---|---|---|---|---|
| Low | 10 x 14 inches | 4 to 5 | Meat: 8 to 12 ounces; cheese: 12 to 15 ounces; crackers or bread: 1 to 2 packages; fruit: 1 cup; nuts: 1 small bowl; spread or jam: 1 small bowl | Use a flat tray with a lipped edge. Chill the board before packing food. | Check for warp, slip risk, and overcrowding. |
| Mid | 12 x 18 inches | 6 to 8 | Meat: 1 to 1 1/2 pounds; cheese: 1 1/2 pounds; crackers or bread: 2 to 3 packages; fruit: 2 cups; nuts: 1 to 2 bowls; pickles or olives: 1 small bowl; spread: 1 to 2 bowls | Wrap loose items separately. Place bowls first, then meats, then crackers. | Check for stain risk from wet fruit and olives. |
| Higher | 14 x 20 inches | 8 to 10 | Meat: 1 1/2 to 1 3/4 pounds; cheese: 1 3/4 to 2 pounds; crackers or bread: 3 packages; fruit: 2 to 3 cups; nuts: 2 bowls; pickles or olives: 2 bowls; spreads: 2 bowls | Use a rigid carrier base. Keep condensation off the finish with chilled inserts or separate cold packs under the transport tray. | Check for crowding at corners and for board weight during carry. |
What foods should go on it?
A charcuterie board should balance visual appeal and ease of serving. The standard food set includes meats, cheeses, bread or crackers, fruit, nuts, spreads, pickles, and olives. The mix can be adjusted for meat-free, alcohol-free, kid-friendly, or lactose-light guests.
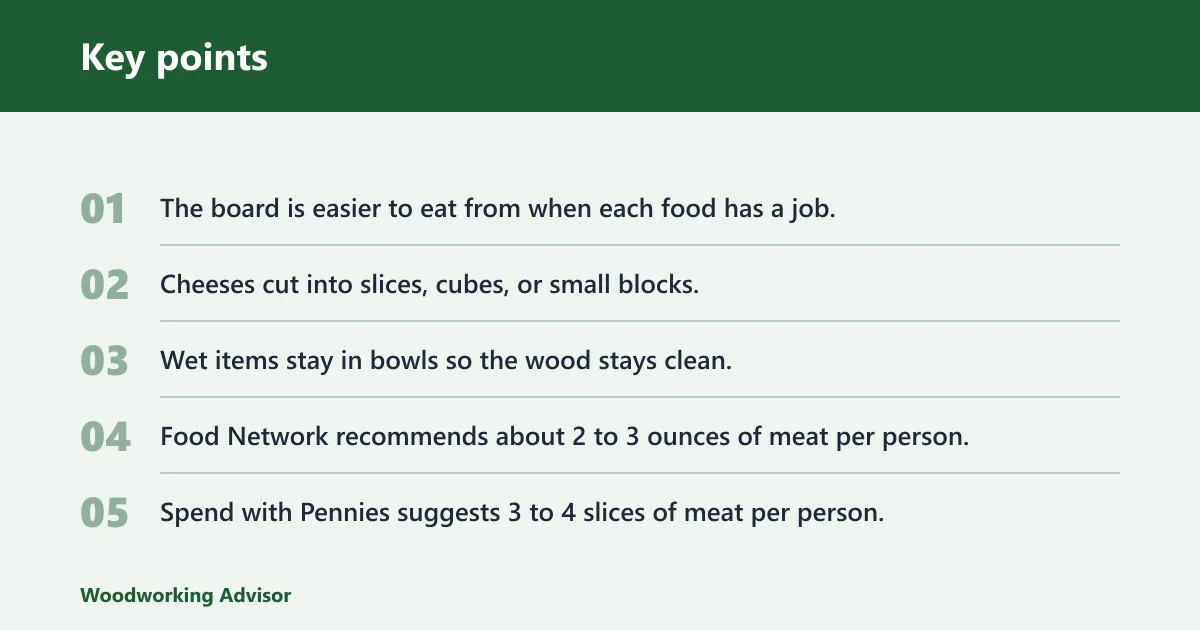
The board is easier to eat from when each food has a job. Meats fold or roll. Cheeses cut into slices, cubes, or small blocks. Crackers carry the toppings. Wet items stay in bowls so the wood stays clean.
Meats and portion ranges
Food Network recommends about 2 to 3 ounces of meat per person, and for 8 to 10 people suggests 1 to 1 1/2 pounds of meat. Spend with Pennies suggests 3 to 4 slices of meat per person. Good options include salami, ham, prosciutto, and pancetta.
Use variety in shape, not only flavor. Roll some slices, fold others into ribbons, and shape a few into loose fans. That keeps the tray from looking flat.
Cheeses and texture variety
The same source recommends about 3 ounces of cheese per person, and for 8 to 10 people suggests 1 1/2 to 1 3/4 pounds of cheese. Spend with Pennies suggests 1 to 2 ounces per person. Good choices include cheddar, manchego, Gruyere, Parmesan, gouda, brie, goat cheese, and burrata.
Mix firm and soft textures. Slice one cheese, cube another, and leave a wedge or small block intact for the eye. That variation helps the board read as full without needing more food.
Crackers, bread, and extras
Include at least one cracker or one piece of bread per slice of meat. Crostini, water crackers, grain crackers, and toasted baguette all work. The vehicle foods should be sturdy enough to hold cheese and a spread without breaking at first touch.
Spread foods belong in small bowls or ramekins. That includes jams, dips, olives, and pickles. Bowls also keep brine and syrup from bleeding into the wood grain.
Fruit, nuts, pickles, and spreads
Fruit, nuts, pickles, and olives add color and fill gaps between larger items. Use grapes, berries, dried apricots, or sliced pears if the fruit will hold up long enough. Rosemary or basil can sit in small bunches as garnish, but use them sparingly.
Suppose a lactose-light board is needed. Use mostly cured meats, firm cheeses in smaller amounts, more fruit, and extra crackers. If the guest is meat-free, shift toward cheeses, marinated vegetables, nuts, olives, and fruit, while keeping the same board rules for bowls and spacing.
How do you build the board?
To build the board itself, shape the wood, sand it smooth, ease the edges, and finish it with a food-safe coating. Then arrange the food from the largest elements outward. That order keeps the board stable and the layout easier to control.
If the board is being made from scratch, the tools are straightforward: a jigsaw or band saw for shaping, a random orbital sander or sandpaper, a router with a roundover bit, and a food-safe oil or beeswax finish.
Shaping, sanding, and roundover steps
- Mark the board shape on the blank.
- Cut the outline with a jigsaw or band saw.
- Refine the edge with sanding.
- Start sanding at 80-grit and progress to 220 grit.
- Use a router with a roundover bit on the edges.
- Apply food-safe oil or beeswax finish in thin coats.
- Let the finish cure fully before food contact.
Assembly order for the food layout
Place bowls first so wet items are anchored. Next set the cheeses, then the meats, then the crackers and bread. Fill gaps with fruit and nuts, then finish with herbs.
Layering and patterning make the board look planned without becoming stiff. Fold some meat, twist a few slices, and vary the height of cheese and fruit. That gives the eye places to land and helps guests see where to start.
How far ahead can you make it?
A charcuterie board can be left out for grazing for up to 2 hours. For make-ahead planning, assemble the board ahead of time, chill it, and bring it out shortly before serving. That keeps food safer and preserves texture.
The main risk is condensation. Cold food placed on a bare wooden board can leave moisture behind, which can stain the finish or make the surface look dull and tired. Separate wet ingredients help reduce that problem.
Chilling and storage
Store the board and food separately if possible. Assemble dry items first, then add fruit and meats near serving time. If the full board must be chilled, cover it lightly so the surface does not collect excess moisture.
A common first-timer mistake is overloading the board, then refrigerating it under tight wrap. The wrap can flatten crackers, wet the garnish, and leave condensation on the wood. Leave enough space for the surface to breathe.
Condensation and stain control
Keep brined foods, juicy fruit, and oily spreads in bowls. Wipe the board dry after serving. Do not soak the board or leave it in standing water, because that can damage the wood and the finish.
For transport, keep cold components in a separate chilled container when possible, then plate them on arrival. That lowers drip risk and makes the final layout look fresher.
Frequently asked questions
How do you gift a charcuterie board?
Gift the board as a reusable serving piece, not only as a snack tray. Choose a stable hardwood board, add a food-safe finish, and pair it with foods that fit the surface without crowding. Pack it flat, keep wet items separate when possible, and include care notes if the recipient is new to wooden serveware.
How do you make your own charcuterie board?
Shape a hardwood blank with a jigsaw or band saw, sand from 80-grit to 220 grit, ease the edge with a router and roundover bit, then apply a food-safe oil or beeswax finish. Let it cure fully before loading it with food. Keep the grain running lengthwise for better stability.
How do you create a charcuterie board for a gift?
Start with the recipient’s guest count, then size the board to match. A 12 x 18 inch board works well for many gift uses because it can hold enough food for around 6 to 8 guests without becoming hard to carry. Build the layout around bowls, then add meats, cheeses, crackers, and garnish.
What size board should you use for a charcuterie gift?
For 4 to 8 guests, a board around 12 x 18 to 14 x 20 inches is a practical target. Smaller boards suit intimate gifts, while larger boards fit more items and create a fuller look. A board that is too small will feel crowded, and one that is too large can look sparse.
What foods should go on a charcuterie board gift?
Use a mix of meats, cheeses, bread or crackers, fruit, nuts, spreads, pickles, and olives. Good meat choices include salami, ham, prosciutto, and pancetta. Good cheese choices include cheddar, manchego, Gruyere, Parmesan, gouda, brie, goat cheese, and burrata. Keep wet foods in bowls.
How far ahead can you make a charcuterie board?
A charcuterie board can be left out for grazing for up to 2 hours, so plan the final assembly close to serving time. You can prep ingredients earlier in the day, chill them, and place the most moisture-sensitive pieces on the board near the end. That keeps texture and appearance in better shape.
Sponsored / affiliate links. As an Amazon Associate I earn from qualifying purchases. I may earn additional commission from eligible campaigns.