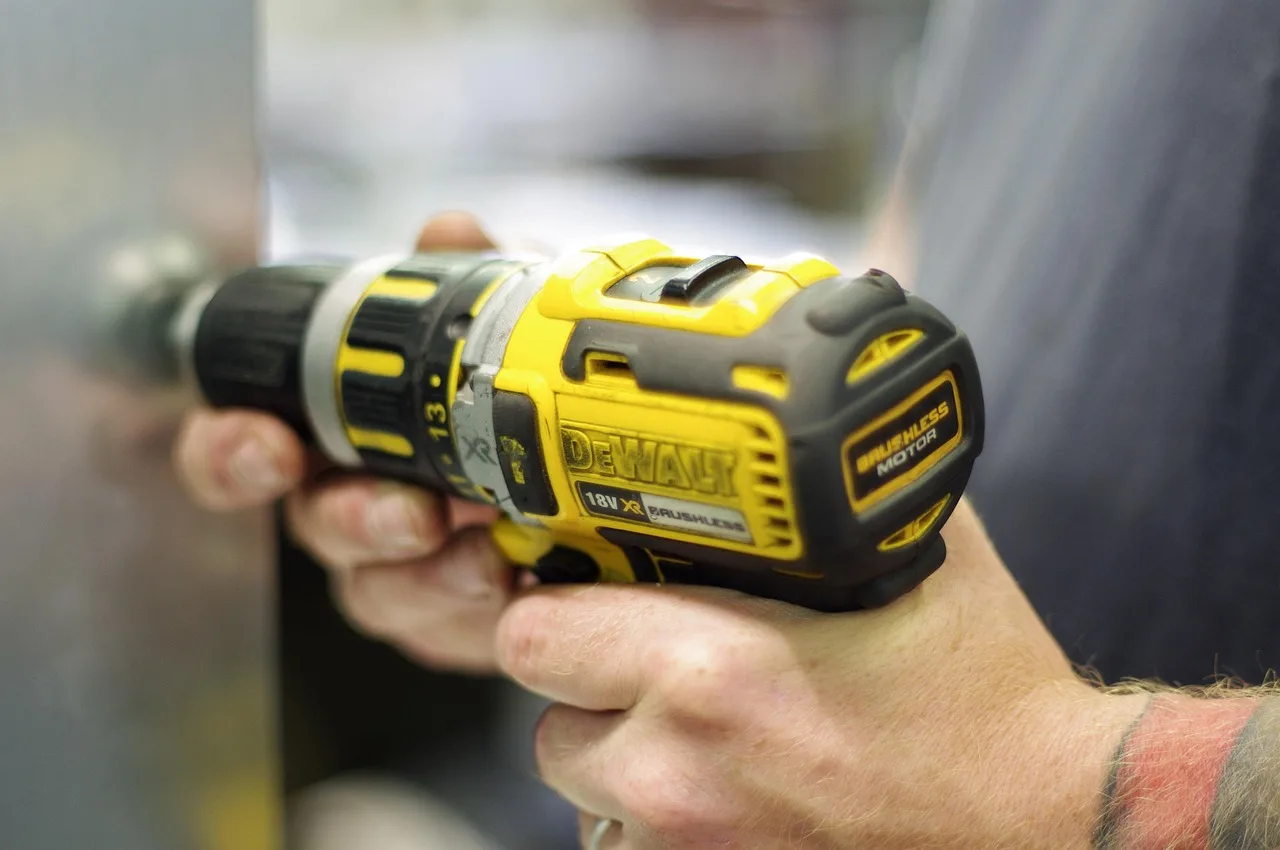
Power Tool Battery Not Charging: Common Causes
A power tool battery that will not charge is usually blocked by temperature, dirty contacts, a bad charger, or a BMS lockout. After you warm it to room temperature, clean the contacts, and try a known-good charger, treat end of life as the next likely cause. Guessing wrong can waste money on parts, leave you with a dead pack, and hide a charger fault that may be unsafe. This guide walks you through a fault-isolation workflow for temperature lockout, contact problems, charger failure, BMS lockout, and true battery failure.
What you’ll need


- A compatible battery and charger pair
- A known-good wall outlet
- A dry cloth or cotton swab
- The charger owner’s manual for indicator light codes
- A second compatible battery for cross-testing, if available
Why won’t my power tool battery charge?
The quickest fix path is to split battery faults from charger faults. Check power, compatibility, temperature, and contact quality before you call the pack failed. Lithium-ion power tool batteries often have built-in protection circuitry, so a pack can block charging even when it is not fully dead.
Start with the simplest fault checks
- Plug the charger into a known-good outlet and confirm it has power.
- Check that the charger matches the battery platform and voltage.
- Inspect the cord, plug, and adapter for cuts, kinks, or damage.
- Let a hot or cold pack return to room temperature before you try again.
Separate battery faults from charger faults
If one compatible battery charges and another does not, the battery pack is the stronger suspect. If no compatible battery charges, the charger or its power lead is the more likely fault. That split is the heart of the process, because the same symptom can come from either side.
Watch for temperature lockout, dirty contacts, and BMS lockout
Some packs refuse charge when they are too hot or too cold. Others fail because dust, grease, sawdust, or corrosion blocks the battery contacts. A deeply discharged pack may also stay locked out until voltage recovers enough for the battery management system to allow charging again.
Step 1: Check power and compatibility
Confirm that the outlet has power and that the charger matches the battery platform and voltage. A wrong platform or adapter misuse can look like a dead pack. If the charger has no lights at all, a damaged lead or internal charger fault is more likely than a battery problem.
- Move the charger to a known-good outlet.
- Check the charger label against the battery voltage and platform.
- Inspect the cord and plug for cuts, kinks, or loose ends.
Step 2: Check the battery and contacts
Inspect the pack for swelling, cracks, heat damage, or leaks before you do anything else. If the battery looks sound, clean the terminals on both the battery and charger with a dry cloth or cotton swab. Reseat the pack firmly and try again.
- Remove the battery from the charger.
- Wipe the metal terminals on both parts.
- Seat the pack until it locks fully.
How do you tell whether the charger is bad?
A second compatible battery usually gives the clearest answer. If that battery charges normally, the charger is probably fine and the first pack needs closer attention. If neither battery charges, the charger, cord, or wall power is the likely fault. Flash codes matter, but only when matched to the manual.
- Insert a second compatible battery into the charger.
- Compare the light behavior to the charger manual.
- Swap outlets once more if the charger shows no power.
Battery troubleshooting matrix
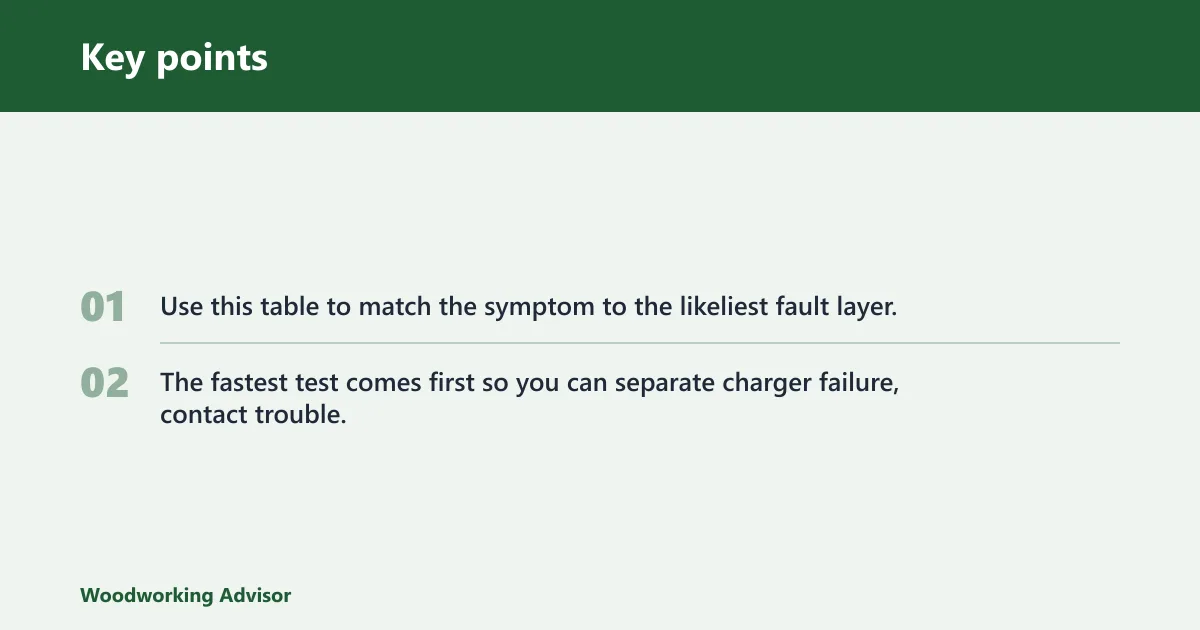
Use this table to match the symptom to the likeliest fault layer. The fastest test comes first so you can separate charger failure, contact trouble, temperature lockout, BMS lockout, and true battery end of life without guessing.
| Symptom | Likely cause | Quickest test | Likely pass/fail result | Next action |
|---|---|---|---|---|
| No charger lights | No power, damaged lead, or dead charger | Try a known-good outlet and another compatible battery | Still no lights on either battery | Inspect cord, plug, and charger; replace or service the charger |
| Flashing lights | Charge state, hot/cold pack, fault, or no power | Check the manual for the exact flash code | Code matches hot/cold or fault behavior | Follow the matching recovery step or stop if the code signals failure |
| Hot pack | Temperature lockout | Leave the pack at room temperature | Charging starts after cooling | Wait before retrying; RYOBI says 30 minutes if too hot to charge |
| Cold pack | Temperature lockout | Bring the pack indoors to room temperature | Charging resumes after warming | Retry only after the pack is near room temperature |
| Dirty contacts | Dust, grease, sawdust, or corrosion | Clean the terminals with a dry cloth or cotton swab | Improved fit and charge response | Reseat and test again |
| Loose fit | Misaligned or worn terminals | Press the pack fully into the charger | Battery locks in place | Retry charging; if it still slips, inspect the latch and contacts |
| Dead charger | Internal charger failure | Test with another compatible battery | Neither battery charges | Replace or service the charger |
| Deeply discharged battery | BMS lockout or near-zero voltage | Leave it on the charger for 30 to 45 minutes | Pack begins to wake or still refuses charge | Continue only if the charger/manual allows it; otherwise stop |
| Swollen battery | Cell damage or internal failure | Visual inspection only | Case is bulged or distorted | Stop use and replace the pack |
| Battery age/end-of-life | Capacity loss or cell imbalance | Check runtime history and charge behavior | Short runtime, poor charge acceptance, or repeated drop-off | Replace the battery |
| Works with one battery but not another | Battery-side fault | Cross-test on the same charger | Only the suspect pack fails | Treat that pack as failed or near failure |
| Charging stops below full | Weak cells or BMS protection | Retest after a full cool-down and clean contacts | Stops at the same point again | Replace the battery if the pattern repeats |
Common mistakes
These errors waste time and can make a safe diagnosis harder. Skip the charger manual, and flashing lights become guesswork. Rush a hot or cold pack back onto charge, and temperature lockout can look like failure. Try a charger cross-test before you buy a replacement battery.
- Ignoring hot or cold pack lockout
- Reading charger lights without the manual
- Using jumper cables or other unsafe revival tricks
- Replacing the battery before testing the charger
- Continuing with a swollen, cracked, burnt, or leaking pack
Say your 20V pack has been in a truck overnight at near-freezing temperature. If it blinks on the charger and refuses to start, warming it to room temperature is the right first move. A different battery on the same charger that charges normally points away from the charger.
Suppose a pack charges for about 40 minutes, then drops out again and never reaches full. That pattern fits a deeply discharged pack with weak cells or BMS lockout, not a dirty contact alone. If the same result repeats after a full cool-down and clean terminals, replacement is usually the practical answer.
If that didn’t work, try this next
Escalate in order. A battery that still will not charge after power, compatibility, temperature, contacts, and cross-testing usually has a fault inside the charger or inside the pack itself.
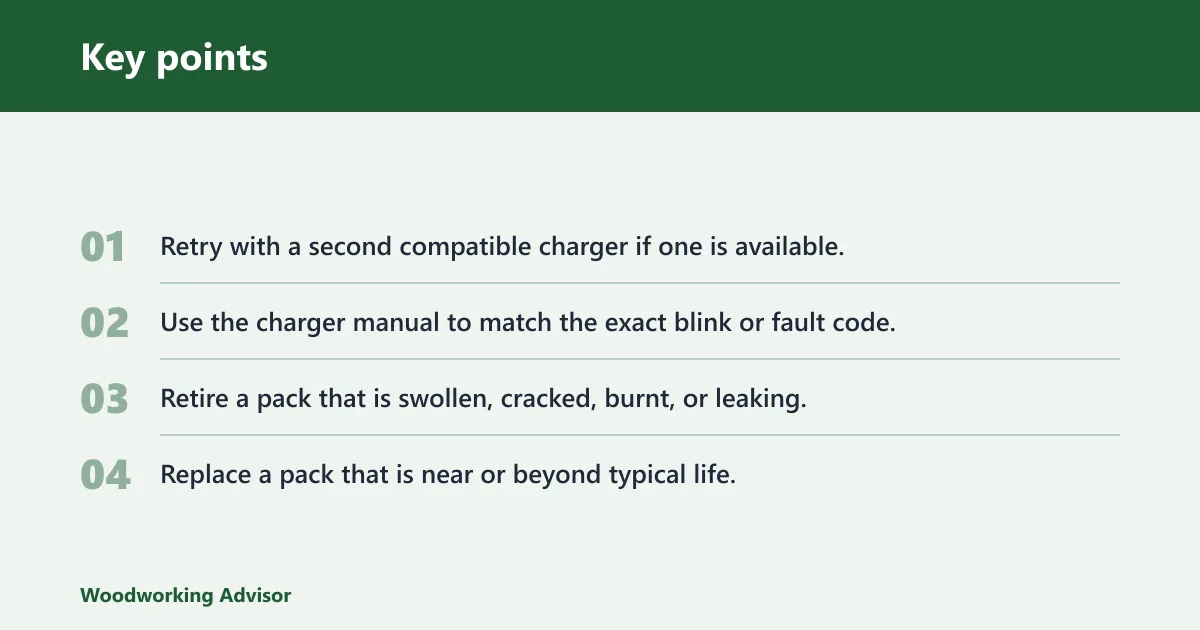
- Retry with a second compatible charger if one is available.
- Use the charger manual to match the exact blink or fault code.
- Retire a pack that is swollen, cracked, burnt, or leaking.
- Replace a pack that is near or beyond typical life.
Store batteries with at least 2 bars, or about 30-50% charge, and keep storage and charging temperatures between 10°C and 37°C. That lowers the chance of lockout and deep discharge. A charger that regularly fails with the same pack should still be checked, because the charger can be the real fault source.
Frequently asked questions
Why is my power tool battery not charging?
The most common causes are temperature lockout, dirty contacts, charger failure, or a BMS lockout after deep discharge. Start with a known-good outlet, clean terminals, and a matched charger-battery pair. If another compatible battery charges normally, the suspect pack is the stronger candidate for replacement.
How do I tell if the charger or battery is bad?
Cross-test with another compatible battery on the same charger. If both packs fail, check the cord, outlet, and charger lights. If only one pack fails, the battery is often the likely cause. Flashing lights are only useful when you match them to the charger manual.
What do flashing lights on a battery charger mean?
They can mean charging, hot or cold pack delay, fault, or no power. The pattern can be brand-specific, so the manual is often the most reliable decoder. Treat the code as a diagnostic clue, not a universal warning signal.
Can a hot or cold battery stop charging?
Yes. Many lithium-ion packs block charge when they are outside the charging range, and some guidance puts that practical range at 10°C to 37°C. If the pack is too hot, RYOBI says to wait 30 minutes before retrying.
Can a deeply discharged lithium-ion battery be revived?
Sometimes, but not always. A deeply discharged pack may need 30 to 45 minutes on the charger before the BMS allows charging again. If voltage recovery never happens, or the pack drops out again, the cells may have failed and the battery should be replaced.
How long do lithium-ion power tool batteries usually last?
Witmer Motor Service says lithium-ion batteries typically last 300 to 500 full charge cycles. Real life varies with heat, storage habits, and how deeply the pack is discharged. Short runtime, repeated charge refusal, and faster self-discharge are common signs that the pack is near the end.
Sponsored / affiliate links. As an Amazon Associate I earn from qualifying purchases. I may earn additional commission from eligible campaigns.