Wood Floor Scratch Repair Kit: How to Use One (+ Fingernail Test)
A wood floor scratch repair kit fixes finish-level scratches with wax sticks, filler putty, or touch-up markers, but only if the scratch hasn’t broken through to bare wood. Skip the fingernail test first and you risk spending $15 to $30 on a kit that can’t fix what’s actually a $3,067 refinishing job. This guide covers the fingernail test, which kit type matches each scratch depth, and the exact drying time each filler needs before you can walk on it.
Do the Fingernail Test First
Best All-in-One Scratch Repair Kit Pick
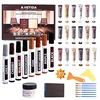
Wood Floor Scratch Repair – 39-Piece Set (18 Fillers + 8 Markers)
Covers the widest range of floor colors and scratch depths in one box, so you’re not guessing which kit type to buy first.
- Best for: First-time buyers unsure whether they need markers, wax, or putty
- Why we picked it: 18 filler colors plus 8 marker colors cover nearly every common floor tone without a second purchase
- Main drawback: More pieces than a single-scratch repair actually needs
Compare more scratch repair kit options
 Option 1 Weiman Wood Restore & Repair Kit
|
 Option 2 Weiman Wood Repair System (4 Sticks + 4 Markers)
|
 Option 3 Gorilla All Purpose Wood Filler Kit
|
As an Amazon Associate we earn from qualifying purchases.
Before you buy anything, run a fingernail across the scratch. If your nail glides over it without catching, the damage is in the finish only – a repair kit will fix it. If your nail catches and you can see pale, unstained wood underneath, the scratch has gone through the finish into the wood itself. A kit can still help there, but you’re filling open wood, not just recoloring a topcoat.
This distinction matters because kits are built to repair the finish, not rebuild the board. A wax stick or marker recolors a shallow mark in seconds. A putty or epoxy filler physically fills a gouge, but it’s still a patch, not new wood.
📊 Scratches covering more than roughly 30% of a room’s floor area are past the point where spot-repair kits make sense – full refinishing becomes the more practical option per repair. Average U.S. hardwood floor replacement runs about $3,067 for roughly 500 square feet, and a well-maintained floor can typically be sanded and refinished 4-6 times over its lifespan. – Source: flooring industry cost-guide aggregation, 2026 estimates
Why Wood Floor Scratches Happen
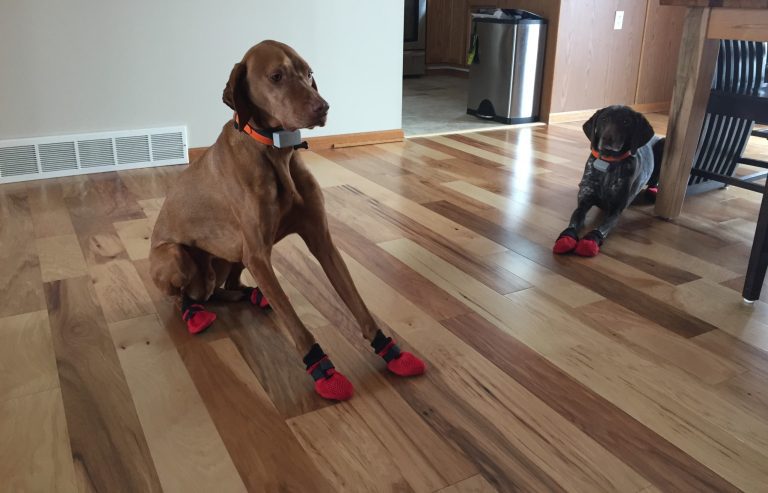
Furniture legs being dragged, pet nails, dropped tools, and grit tracked in on shoes cause most scratches, roughly in that order. Left alone, a scratch collects dirt and can let moisture into the wood, which is how a small mark turns into a bigger repair. Fixing scratches early is cheaper than waiting.
A scratch repair kit is the middle option between ignoring the damage and sanding the whole room down to bare wood. It won’t rebuild a board, but for finish-level and shallow-wood scratches, it’s faster and far less disruptive than a full refinish.
For the full picture on keeping wood floors in shape beyond scratch repair – cleaning, water damage, refinishing, and installation – see our wood flooring guide. If the damage goes deeper than a repair kit can handle, our guide to fixing scratches on hardwood floors covers sanding-based methods as well.
What’s Actually in a Scratch Repair Kit
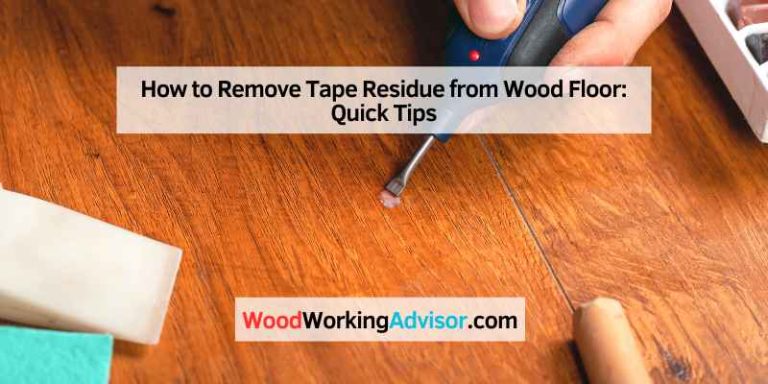
A wood floor scratch repair kit is a small toolbox of finish-matching products – touch-up markers, filler sticks, putty, wax, or stain pens – built to fill a scratch and blend it into the surrounding finish. Most include an applicator or fine sandpaper for smoothing. Check the label before buying: a wax-based filler made for hardwood usually won’t bond well to laminate’s melamine surface, and a laminate-rated kit may not match a hardwood stain.
Hardwood floors typically do best with a wax-based or putty filler. Engineered wood behaves similarly to hardwood at the surface. Laminate usually needs a putty or resin-based filler formulated to grip a synthetic surface. Most kits are designed for DIYers, so no woodworking experience is required to get a usable result.
Types of Scratch Repair Kits Available
Not every kit works the same way, and matching the type to your scratch is what determines whether the repair holds up. Here’s how the main categories compare, including how long each one actually takes to dry before you can walk on it – a detail most kit boxes don’t spell out clearly.
| Type of Kit | Best For | What’s Included | Dries Before Walking On It |
|---|---|---|---|
| Marker-Based | Light scratches and scuffs | Touch-up markers, blending pencils | 5-10 minutes |
| Wax-Based | Medium scratches, engineered wood | Wax sticks, applicator, sharpener | 1-4 hours |
| Putty-Based | Deep scratches, hardwood floors | Wood putty, stain pens, sandpaper | 2-24 hours |
| All-in-One | Multiple scratch types on one floor | Markers, wax, putty, varnish | Varies by component used |
| Epoxy / 2-Part Filler | Deep gouges needing structural fill | Resin, hardener, tint | 24-48 hours to fully cure |
Marker-based kits are the fastest fix for light surface marks – think a dog’s claw catching the finish. Putty-based kits take longer but hold up better on deep gouges, like the dent a dropped tool leaves. If you’re not sure which you need, run the fingernail test above first, then match the result to this table.
How to Choose the Right Scratch Repair Kit
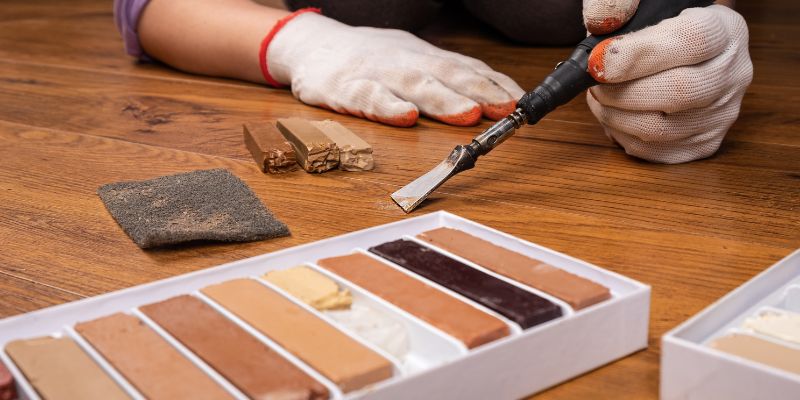
Start with your floor type – solid hardwood, engineered wood, or laminate – and check with your flooring manufacturer if you’re not sure. Finish matters too: glossy, matte, and semi-glossy floors don’t all take a filler the same way.
Next, match severity to kit type using the table above. A cheap kit with only one or two colors is the most common mistake – the repair ends up a shade off and stands out more than the original scratch. Look for a kit with several color options, or one you can blend, like mixing stain colors to match. Weiman and MagicEzy both include a wider color range than most budget kits.
How to Use a Wood Floor Scratch Repair Kit: Step by Step
The process is the same across most kit types – only the drying time changes based on which filler you’re using.
- Clean the area: Wipe the scratch with a soft cloth and a neutral-pH hardwood floor cleaner. Harsh chemicals can strip the surrounding finish, so skip anything acidic or ammonia-based.
- Run the fingernail test: Confirm whether the mark is a surface scratch or one that has broken through to bare wood, and pick the kit type from the table above.
- Choose the color: Test on a hidden spot first, such as inside a closet or under a rug. Blending two shades usually gets closer to an exact match than using one straight from the kit.
- Apply the filler: Press putty or wax into the scratch with a plastic applicator and smooth it level. Warming a wax stick slightly with a hairdryer makes it easier to work into the groove without cracking.
- Blend and stain: Follow the wood grain direction with a stain pen or marker. Wipe excess product immediately with a clean cloth, since it is much harder to remove once it sets.
- Sand lightly (if needed): If the kit includes sandpaper, use 400-grit to level the repair flush with the floor. Skip this step entirely on marker-only fixes.
- Seal the repair: Apply a thin coat of the included sealant, or a clear polyurethane if the kit does not include one. Let it cure the full time listed in the drying-time table above; rushing this step is the most common reason repairs fail.
- Buff and blend: Once fully cured, buff the area with a soft cloth to match the sheen of the surrounding floor.
Tips for a Repair That Actually Blends In
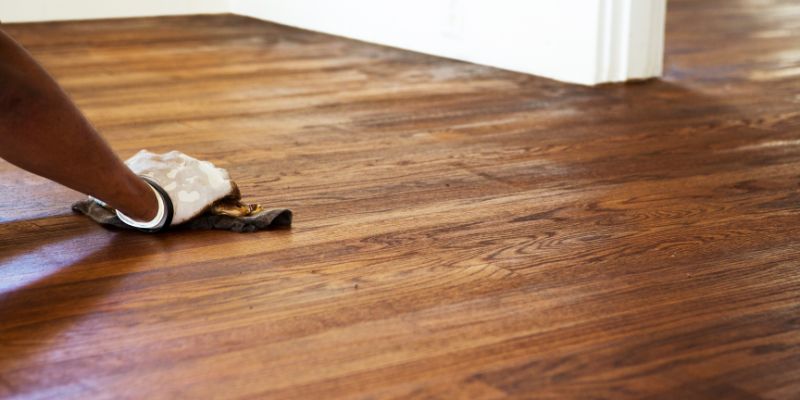
- Work in strong, direct light – a desk lamp angled across the floor shows color mismatches that overhead light hides.
- Practice on a scrap piece of wood or an inconspicuous spot first if it’s your first time using a kit.
- Apply filler in thin layers rather than overfilling – a lumpy repair catches light and draws the eye more than a shallow one.
- On floors with a strong grain pattern, use a fine-tipped marker to draw in a few grain lines over the filled area – it’s a small detail that makes a bigger difference than color alone.
Common Mistakes to Avoid
Skipping the cleaning step is the most common one – dirt trapped under the filler shows through later. Using a furniture-specific product on a floor is another: furniture polish left a slippery spot the one time it was tried on a floor scratch, since furniture and floor products aren’t formulated the same way. And don’t rush the cure time listed on the kit – a repair that hasn’t fully hardened smudges or dents under the first footstep.
Preventing Scratches on Wood Floors
Felt pads under furniture legs prevent the single most common cause of scratches. Area rugs in high-traffic spots – hallways, under dining tables – catch grit before it gets ground into the finish. Trimmed pet nails and a no-shoes policy handle the other two big causes. For a broader daily and deep-cleaning routine that keeps scratches from forming in the first place, see our guide on how to care for hardwood floors and make them last longer.
When Kit Repair Isn’t Enough: Calling a Professional
If scratches cover a large share of the room, if you’re seeing water damage alongside the scratches, or if the fingernail test shows a gouge deep enough that filler alone won’t hold, it’s time to call a flooring specialist rather than keep buying kits. A professional can sand and refinish the floor, or replace individual damaged boards – something no repair kit is built to do. Most hardwood floors can go through a full sand-and-refinish cycle 4 to 6 times over their lifespan before the wear layer is too thin to sand again, so refinishing isn’t a last resort; it’s a normal part of a hardwood floor’s maintenance cycle.
Comparing Popular Scratch Repair Kits
| Kit | Price | Best Feature | Best For |
|---|---|---|---|
| Wood Floor Scratch Repair, 39-Piece Set | ~$21 | 18 filler colors + 8 markers in one box | First-time buyers, mixed scratch types |
| Weiman Wood Restore & Repair Kit | ~$21 | Cleaner and repair markers combined | Cabinets and floors together |
| Weiman Wood Repair System | ~$11 | 4 filler sticks + 4 markers, budget price | Light-to-medium scratches on a budget |
| Gorilla All Purpose Wood Filler Kit | ~$12 | Includes putty knife and sanding block | Deep gouges, DIYers who want raw materials |
Conclusion
The fingernail test takes ten seconds and tells you whether a $15-$30 kit will fix your floor or whether you’re better off saving for a refinish. For anything the nail doesn’t catch, a marker or wax-based kit handles it in under an hour, drying time included. For gouges that do catch, budget a full evening with a putty-based kit and don’t rush the cure – a repair that hasn’t fully hardened will show. When scratches cover more than roughly a third of the room, refinishing usually delivers better value per repair than kit after kit.
FAQs
What is the fingernail test for wood floor scratches?
Run a fingernail across the scratch. If it glides over without catching, the damage is in the finish only and a repair kit will fix it. If your nail catches and you see pale wood underneath, the scratch has broken through the finish and may need a putty-based kit or, for wide coverage, professional refinishing.
What is the difference between a scratch repair kit for wood floors and one for furniture?
Floor kits use stronger fillers and sealants built to handle foot traffic; furniture kits are formulated for lighter use and can wear off within days when used on a floor instead. Check the label – a furniture repair kit isn’t a substitute for a floor-rated one.
Can I use a scratch repair kit on laminate floors?
Some kits work on both hardwood and laminate, but many are hardwood-only. For laminate, look for a putty or resin-based filler specifically labeled for synthetic surfaces – wax-based hardwood fillers often don’t adhere well to laminate’s melamine layer.
How long does a scratch repair kit take to dry?
It depends on the filler type: markers dry in 5-10 minutes, wax sticks in 1-4 hours, putty or wood filler in 2-24 hours, and 2-part epoxy fillers in 24-48 hours to fully cure. Always wait the full time before walking on the repair or it can smudge or dent.
Will the repair be completely invisible?
With a good color match and grain-line technique, most repairs are difficult to spot from a normal viewing distance. Deep gouges filled with putty are more likely to show slightly on close inspection, even with a good color match, since the surface texture differs from the surrounding finish.
How much does it cost to refinish a hardwood floor instead of using a repair kit?
A full hardwood floor refinish averages around $3,067 for roughly 500 square feet, compared to $15-$50 for a repair kit. Refinishing only makes financial sense once scratches are widespread – for a handful of isolated marks, a kit is almost always the cheaper option.
Can I prevent scratches without a repair kit?
Yes. Felt pads under furniture legs, area rugs in high-traffic spots, trimmed pet nails, and a no-shoes policy prevent most of the scratches a kit would otherwise need to fix.
Sponsored / affiliate links. As an Amazon Associate I earn from qualifying purchases. I may earn additional commission from eligible campaigns.
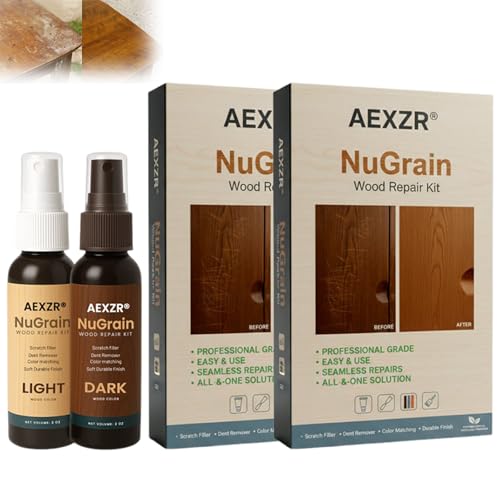 NuGrain Wood Repair Kit, Professional Wood Floor Scratch Repair, Floor Cover Nicks and Scratches, Hides Minor Defects, Restore a Finish for Wood (2 Bottle)
 Wood Filler Furniture Repair - Wood Floor Scratch Repair, Furniture Marker | Wood Fill Restore, Hardwood Laminate Floor Repair, Wood Scratch Putty Marker Filler Restore, Furniture Scratch Repair Paste