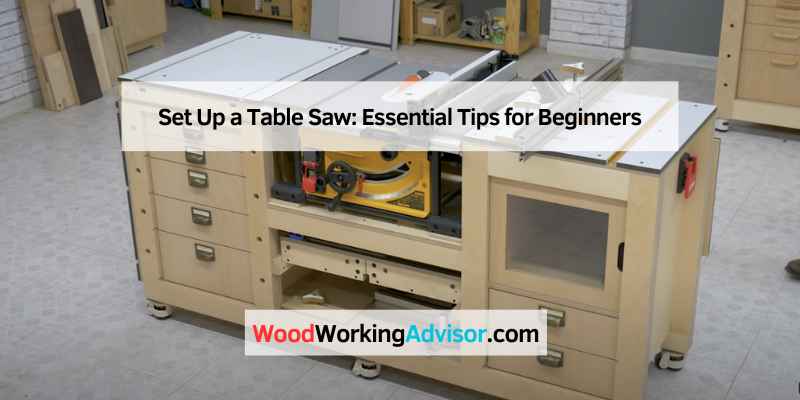
How to Set Up a Table Saw (7-Step Calibration Guide)
Setting up a table saw correctly takes under 30 minutes — and the 7-step calibration sequence below is the difference between clean, safe cuts and dangerous kickback. The blade must be parallel to the miter slot within 1/64 inch; the fence must toe in 1/32 inch at the rear; blade height sits one full tooth above the material. Skip any one of these and you risk burning, binding, or a projectile. This guide covers each calibration step with exact measurements, plus the safety gear you need before your first cut.
Quick Answer
To set up a table saw: install the blade at 1 tooth above your material, align the blade parallel to the miter slot within 1/64 inch, then set the fence parallel to the blade with a 1/32 inch toe-in at the back. Attach the riving knife and blade guard, keep push sticks within reach, and make a test cut on scrap before cutting project wood.
What Type of Table Saw Should You Start With?
Best Table Saw Push Stick Pick
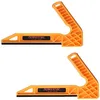
POWERTEC Deluxe Push Stick Set (2-Pack)
Dual L-shaped design grips from above and the side simultaneously, giving downward and forward control without moving your hand closer than 12 inches to the blade.
- Best for: Narrow rip cuts under 4 inches wide
- Why we picked it: Dual L-shaped design grips board from above and side — keeps hands 12+ inches from blade on every cut
- Main drawback: Slightly bulkier than thin push sticks; less ideal for wide sheet goods
Compare more push stick options
 Option 1 Table Saw Push Stick Safety Set of 2
|
 Option 2 Table Saw Push Stick 2-Pack Woodworking Safety Set
|
 Option 3 Chazcool Table Saw Push Stick 16.5 x 2.8 Inch
|
As an Amazon Associate we earn from qualifying purchases.
Choosing the right table saw before setup prevents frustration on day one. Each type has a distinct weight, power range, and rip capacity that affects how you set it up and where you use it.
| Type | Motor | Rip Capacity | Best For |
|---|---|---|---|
| Benchtop | 15 amp universal | Up to 28 in | Small shops, apartment workshops, light softwood |
| Job-Site / Contractor | 15 amp universal | Up to 30 in | Home workshops, site work, sheet goods under 3/4 in |
| Hybrid | 1.75 HP induction | Up to 36 in | Serious hobbyists who want cabinet-saw accuracy at contractor prices |
| Cabinet | 3-5 HP 240V | 50+ in | Professional shops, hardwoods over 2 in thick, all-day production runs |
Most beginners start with a job-site or contractor saw. If you are learning to use a table saw for the first time, a 10-inch contractor saw with a rack-and-pinion fence gives you the accuracy of a cabinet saw without the 400-lb footprint.
Safety Gear and Equipment You Need Before the First Cut
A table saw generates enough force to throw a 2×4 at 120 mph during a kickback event. The right personal protection and machine-mounted safety accessories reduce that risk to near zero — but only if they are in place before the saw is switched on.
| Safety Item | Standard | Why It Matters |
|---|---|---|
| Safety glasses or goggles | ANSI Z87.1 | Table saws throw chips at face height |
| Hearing protection | NRR 22+ dB | A 10-inch blade at 3,450 RPM exceeds 90 dB — above the OSHA action level |
| Dust mask or respirator | N95 or P100 | Hardwood dust is an IARC Group 1 carcinogen; softwood dust is Group 2A |
| Fitted clothing | No gloves | Loose fabric or gloves can catch the blade and pull the hand in — avoid both |
Do You Need a Riving Knife?
A riving knife is a curved metal plate that mounts directly behind the blade and rises and falls with it as you adjust blade height. It keeps the kerf open after the cut, preventing the wood from pinching the back of the blade — the most common cause of kickback. A traditional fixed splitter does the same job but sits at a fixed height, meaning it must be removed for non-through cuts (dados, rabbets). If your saw shipped with a riving knife, use it on every through cut. Do not remove it for convenience. See our full guide on the table saw gripper and kickback prevention devices for a complete comparison.
Push Sticks, Push Blocks, and Featherboards
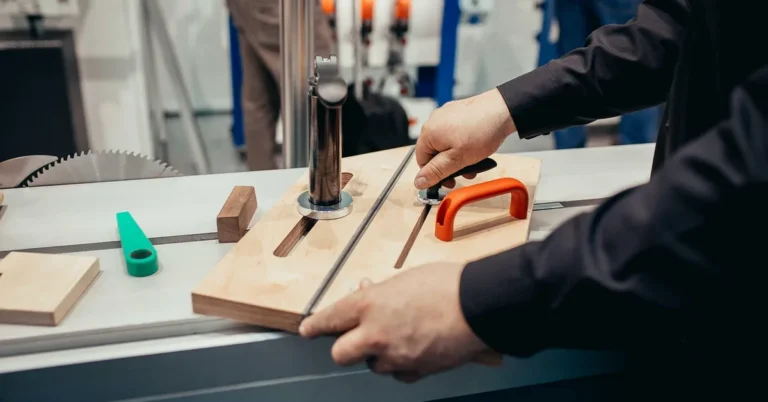
Never allow your hands within 6 inches of the blade. Push sticks and push blocks move the workpiece through the blade while keeping your hands at a safe distance. A push stick (L-shaped or notched) works for most rip cuts. A push block (flat pad with a rear hook) gives more control on jointers and wide panel cuts. A featherboard clamps to the fence or table and applies sideways pressure to keep the board against the fence throughout the cut. For DIY push stick plans, see our guide to table saw push stick design.
How to Set Up a Table Saw: 7 Calibration Steps
Work through these steps in order, with the saw unplugged at all times until the final test cut. Each step builds on the previous one — rushing ahead while the blade is still out of alignment wastes every subsequent calibration effort.
Step 1: Level the Table Saw on a Stable Surface
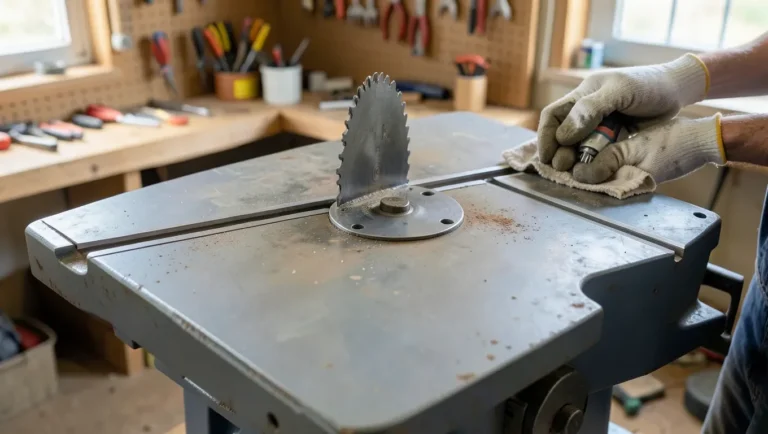
Place the saw on a flat, stable surface with enough clearance for full-length boards on all four sides — typically 8 feet in front, 8 feet behind, and 4 feet to each side as a minimum. Use a machinist’s level across both axes of the table to confirm it is not rocking. An uneven table introduces twist into every cut. If the floor is uneven, shim the saw feet or mount on a dedicated outfeed or table saw stand.
Step 2: Install and Torque the Blade
Choose the correct blade for your cut type: a 24-tooth flat-top rip blade for cutting along the grain, a 60-80 tooth ATB crosscut blade for cutting across the grain, or a 40-tooth combination blade for general use. Slide the arbor washer onto the arbor, then thread the nut on by hand. Hold the blade with the manufacturer’s wrench and tighten to snug — do not overtighten, as most table saw arbors use a left-hand thread that can loosen further with excess force on a standard right-hand turn. The arrow on the blade must face the direction of rotation (teeth at the front table edge should point downward toward the operator).
Step 3: Set Blade Height for the Cut
Raise the blade so that the highest tooth clears the top of your workpiece by exactly 1/4 inch — roughly one full tooth. This is the standard setting for through cuts in solid wood or sheet goods. A blade set too high exposes more blade surface and increases kickback risk; too low and the blade pushes down into the stock at an angle, generating heat and tear-out. For hardwoods over 1.5 inches thick, raise to 3/8 inch above the stock to reduce heat buildup. For dados or grooves, set blade height to the exact groove depth using a combination square referenced off the table surface.
Step 4: Align the Blade Parallel to the Miter Slot
Blade-to-miter-slot parallelism is the most critical adjustment on a table saw. A blade that is even 1/32 inch out of parallel creates friction, burn marks, and kickback risk on every rip cut. Here is the complete process:
- Unplug the saw. This step requires reaching near the blade.
- Mark a tooth. Use a marker to identify one tooth at the front of the blade nearest the table surface.
- Measure front-to-slot gap. Place a combination square or dial indicator in the miter slot and slide it to touch the marked tooth. Record the measurement.
- Rotate blade 180 degrees. Bring the marked tooth to the rear of the blade, still at table height.
- Measure rear-to-slot gap. Slide the square rearward to touch the marked tooth again and record.
- Compare both measurements. The difference should be 0 to 0.015 inch (approximately 1/64 inch). Any more requires adjustment.
- Adjust the trunnion. On most contractor and cabinet saws, loosen the trunnion bolts and tap the motor assembly left or right until front and rear measurements match. Retighten and re-measure to confirm.
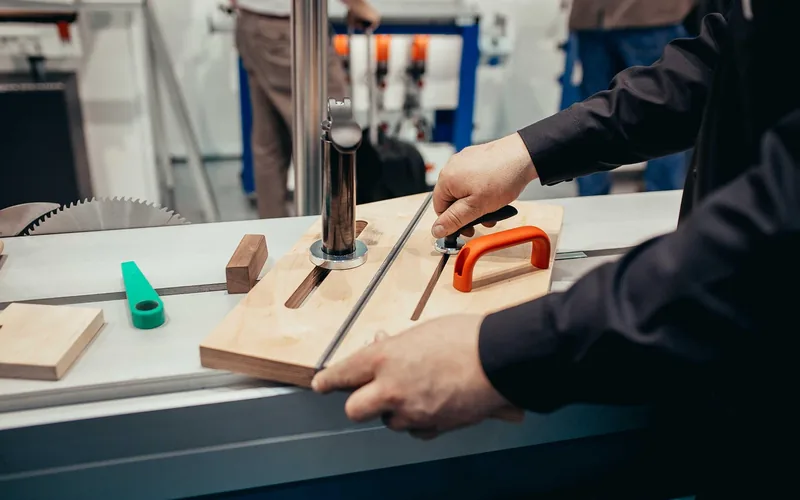
Step 5: Square and Set the Rip Fence
The rip fence must be parallel to the blade — but with one deliberate exception: the rear of the fence should toe in (angle toward the blade) by approximately 1/32 inch. This toe-in ensures that as the workpiece exits the blade at the rear, it moves slightly away from the spinning teeth rather than pressing into them. A fence that toes out causes the board to drift away from the fence during the cut, producing tapered pieces. To check alignment, lock the fence at an exact measured distance, then measure from the miter slot to the fence face at both the front and rear of the blade. Rear should be 1/32 inch closer to the fence than front. Adjust via the set screw on the rear fence bracket. For precision fence upgrades, see our guide to table saw fence replacement.
Step 6: Calibrate the Miter Gauge to 90 Degrees
Slide the miter gauge into the miter slot and set the gauge body to the 0-degree mark. Clamp a known-square piece of scrap to the gauge and make a test crosscut. Flip one piece over and butt the two cut ends together. If the combined edge shows a gap at one end, the miter gauge is off by half that gap amount. Adjust the stop screw behind the 0-degree mark to correct. Never use the rip fence as a stop when crosscutting — an offcut piece trapped between fence and blade at the rear will be launched toward you. See our dedicated guide to table saw miter gauge calibration for the flip-test method in detail.
Step 7: Install the Throat Plate and Zero Clearance Insert
The standard throat plate has a wide slot that allows small offcuts and narrow strips to drop through and contact the blade — creating a dangerous projectile. A zero clearance insert is a shop-made or aftermarket throat plate with a slot that exactly matches your blade’s kerf. To make one: trace your stock throat plate onto 1/2-inch hardwood (birch plywood works well), cut to shape on the band saw, and plane flush to the table surface. Raise the spinning blade slowly through the insert to cut its own slot. Install the insert flat and check for rocking — shim from below if needed. For more accessory upgrades including featherboards and hold-downs, see must-have table saw accessories for safety.
How to Prevent Table Saw Kickback
Kickback occurs when the blade catches the rear of the workpiece and launches it back at the operator at speeds up to 120 mph. Understanding every cause is the only reliable way to eliminate every risk.
| Kickback Cause | Prevention |
|---|---|
| Blade out of parallel to miter slot | Complete Step 4 alignment every time the saw is moved |
| Fence toes out or is perfectly parallel (zero toe-in) | Set 1/32 inch toe-in at rear per Step 5 |
| Board pinches on dull blade due to internal wood stress | Use riving knife or splitter on every through cut |
| Operator stands directly behind the blade | Always stand to the left of the blade, never in line with the cut path |
| Hands closer than 6 inches to blade | Use push sticks for all cuts under 6 inches wide |
| Board not flat against table and fence | Joint one face and one edge before ripping — never rip a twisted board |
| Crosscutting with fence as a stop | Use a stop block clamped to the fence rail, not the fence face, for repeat crosscuts |
For a dedicated review of kickback-prevention devices including riving knives and anti-kickback pawl sets, see our guide to the table saw gripper and kickback prevention.
Common Table Saw Setup Mistakes Beginners Make
- Skipping blade-to-slot alignment after moving the saw. Any transport can knock the trunnion out of alignment. Re-check parallelism whenever the saw has been relocated.
- Setting blade height too high. More exposed blade does not mean a faster cut. It means more kickback risk if the blade catches.
- Using the fence for crosscuts. The fence controls width for rip cuts only. For crosscuts, use the miter gauge in the miter slot. Using the fence for crosscuts traps the offcut between blade and fence — a classic kickback setup.
- Wearing work gloves. Table saw manufacturers and OSHA both advise against gloves at the saw. A glove caught by the blade pulls the hand in. Bare hands can often pull back in time; a gloved hand cannot.
- Not jointing the board before ripping. Ripping a bowed or twisted board with the concave face against the fence causes the board to rock off the fence mid-cut. Joint one face flat and one edge square before any rip cut.
- Leaving the blade guard off permanently. For standard through cuts in solid wood, the guard and anti-kickback pawls should always be in place. Remove them only when the operation genuinely requires it, and reinstall immediately after.
How to Make Your First Test Cut
Before cutting any project wood, always run a test cut on a piece of scrap the same species and thickness as your project material. This validates all 7 calibration steps at once:
- Check the offcut for squareness: use a framing square on the ripped edge. If it tilts, the fence is out of alignment.
- Check for burn marks: light scorch marks on the cut edge indicate blade friction — recheck parallelism and fence toe-in.
- Check for tearout on the bottom face: excessive tearout with a combination blade usually means the blade is dull or set too low.
- Check for drift: if you had to angle the board away from the fence to keep it from binding, the fence toes out. Adjust toe-in per Step 5.
For jigs that improve accuracy on repeated cuts, see our guide to table saw jigs — 7 types and which to build first.
Table Saw Maintenance After Setup
A table saw calibrated perfectly at setup will drift over time if not maintained. After every session: blow sawdust from the blade guard, trunnion area, and motor housing with compressed air. Once a month: apply a thin coat of paste wax to the cast iron table (never spray wax containing silicone — it contaminates wood and prevents finish adhesion). Every 6 months or after every 100 hours of use: recheck blade-to-slot parallelism from scratch. Blades dull visibly after 50-80 linear feet of hardwood ripping — a dull blade generates 3 times more heat and dramatically increases kickback risk.
Frequently Asked Questions
What is the correct blade height for a table saw?
Set the blade height so the highest tooth clears the top surface of your workpiece by exactly 1/4 inch — roughly one full tooth. For 3/4-inch stock, the blade top should sit at 1 inch. For 1.5-inch stock, set it at 1.75 inches. Raising the blade more than 1/4 inch above the material exposes more blade, increasing kickback risk without any cutting benefit.
How do you align a table saw fence?
Lock the fence at a measured distance from the blade. Measure from the miter slot to the fence face at the front of the blade and again at the rear. The rear measurement should be 1/32 inch closer to the fence than the front — this is the toe-in setting. Adjust via the set screw on the rear fence bracket; most rack-and-pinion fences have a 2-5mm hex screw on the locking bracket for this adjustment.
What is a riving knife and do I need one?
A riving knife is a curved metal plate that mounts directly behind the blade and moves up and down with it as you adjust blade height. Unlike a fixed splitter, a riving knife stays 1/8 inch behind the blade at every height setting. It keeps the saw kerf open as the board passes the blade, preventing the two sides from pinching the spinning teeth — the direct cause of most kickback events. Use it on every through cut. Remove it only for non-through operations like dados, and reinstall immediately after.
What causes table saw kickback?
The seven most common causes of table saw kickback are: blade not parallel to the miter slot, fence set with zero or negative toe-in, no riving knife or splitter in use, standing directly behind the blade, hands too close to the blade (under 6 inches), ripping a bowed or twisted board, and using the rip fence as a stop for crosscuts. Correcting all seven during setup eliminates the majority of kickback events.
What safety gear do I need to use a table saw?
Minimum required: ANSI Z87.1 safety glasses, hearing protection rated at NRR 22 or higher, and an N95 or P100 dust mask — hardwood dust is a Group 1 carcinogen. Do not wear work gloves at the table saw; a glove caught by the blade pulls the hand in faster than a bare hand can react. Wear fitted clothing with no loose cuffs or drawstrings. Keep push sticks within arm’s reach before the saw is turned on. For the full accessory checklist, see must-have table saw accessories for safety.
Conclusion
Table saw setup is a 7-step process that takes about 30 minutes the first time: level the saw, install the blade at the correct height, align it parallel to the miter slot within 1/64 inch, set the fence with 1/32 inch toe-in, calibrate the miter gauge, install a zero clearance insert, and always run a test cut on scrap before project wood. The safety equipment — riving knife, blade guard, push sticks, and proper PPE — belongs in place before the saw is plugged in, not after a close call. Master the calibration sequence once and it becomes second nature on every subsequent session.
Sponsored / affiliate links. As an Amazon Associate I earn from qualifying purchases. I may earn additional commission from eligible campaigns.