Turn a Picture Into a Wood Ornament
Turn a picture into a wood ornament by matching the photo to the blank first, then using a transfer method that fits the image and your skill level: photo decoupage for an easier result, gel transfer for a worn look, or a label-sheet transfer for sharper detail. A bad crop, warped wood, or the wrong method usually leads to muddy faces, peeling edges, or a brittle ornament that fails before Christmas.
What you’ll need

- Large 7-inch size for crafting
- Cute heart shape with hanging detail
- Lightweight and smooth surface
- Unfinished wood ornament blank in a circle or heart, or a wood slice alternative
- Photo to transfer, cropped to the ornament shape
- Inkjet printer or access to a color photocopy, depending on the transfer method
- Transfer medium matched to the method you choose
- 220-grit sandpaper, or higher if the surface is rough
- Dust brush or dry cloth
- Scissors or a craft knife
- Spray clear acrylic coating, preferably UV-resistant
- String, ribbon, or cord
- Eye hook if you are using a wood slice or want a more secure hanger
Turn picture into wood decision table
Choose the method before you print. The right match depends on the ornament shape, the kind of photo you have, and how much cleanup you are willing to do after the transfer.
| Ornament type | Photo type | Skill level | Best transfer method | Supplies | Dry time | Smudge risk | Finish needed | Common failure points |
|---|---|---|---|---|---|---|---|---|
| Flat unfinished wood ornament | High-contrast portrait or simple image | Beginner | Photo decoupage | Inkjet print, decoupage medium, spray sealer | Several hours before sealing; overnight is safer | Low after sealing, moderate while wet | Two thin spray clear acrylic layers | Wrinkles, trapped bubbles, torn edges |
| Flat unfinished wood ornament | Text, face, or detailed graphic | Intermediate | Label-sheet transfer | Inkjet printer, waxy label sheet, clear coat | Allow the transfer medium to dry fully; overnight in one example | Medium during paper removal | UV-resistant clear acrylic coating | Smudging during backing removal, bead-up from dark ink |
| Wood slice, 3"-4" wide | Rustic portrait or simple seasonal image | Intermediate to advanced | Gel transfer | Photocopy, gel medium, wet cloth or paper towel | Long enough for a full cure before rubbing | Higher until the paper is removed cleanly | Clear acrylic topcoat after cure | Poor adhesion on rough bark edge, paper residue, blurred detail |
A flat unfinished wood ornament is commonly a good choice when you want a neat circle or heart with a clean edge. A wood slice fits a rustic look, but it needs a hanging hole or eye hook because the bark and end grain make the edge less predictable.
How do you prep the wood?
Choose a blank that matches your crop, then sand it before any transfer touches the surface. A smooth, dust-free face gives the medium an even grip and keeps the photo from breaking across ridges or rough grain.
- Pick a blank that fits the image crop.
- Sand the face with 220-grit sandpaper until the surface feels smooth to the touch, or use a finer grit on a rough blank.
- Round the sharp edges lightly so the finish does not chip at the corners.
- Brush or wipe away all dust before moving on.
Say your photo is a square family portrait and the blank is a 3-inch circle. Crop first, then sand, or the face will land too close to the edge and disappear into the curve.
How do you print and transfer the photo?
Size the image before you print or copy it, and choose the output that matches the method. Inkjet prints are commonly used for label-sheet transfer and many decoupage products, while a color photocopy is typically used for the photocopy-based gel method.
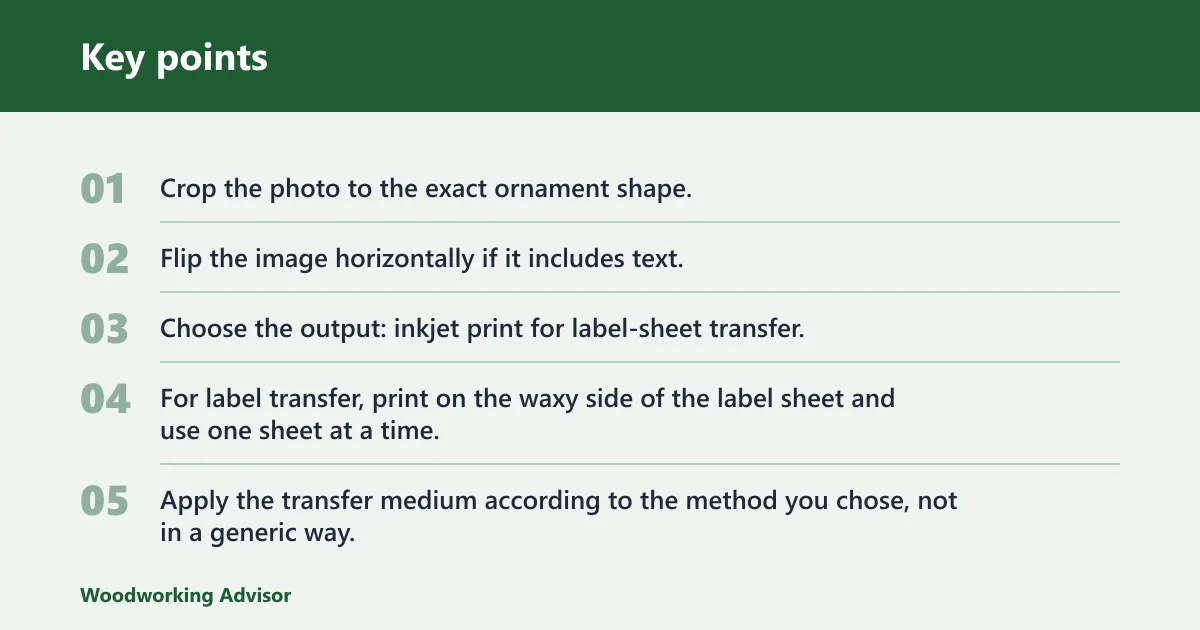
- Crop the photo to the exact ornament shape.
- Flip the image horizontally if it includes text.
- Choose the output: inkjet print for label-sheet transfer, or color photocopy for photocopy transfer.
- For label transfer, print on the waxy side of the label sheet and use one sheet at a time.
- Apply the transfer medium according to the method you chose, not in a generic way.
- Place the image, press it flat, and leave it alone while it sets.
Black ink can bead up on some transfers. If that happens often with a portrait, sepia or navy may transfer better because the tone stays legible without relying on deep black coverage.
Suppose you are using a wood slice that measures 3"-4" across. That format works well for a cropped face, but only if the photocopy is sized before copying; otherwise, the image lands too large and the bark edge steals part of the subject.
How do you seal and hang the ornament?
Seal only after the image is dry enough for the transfer method you chose. A UV-resistant clear acrylic coating is a good topcoat for handled ornaments, and two thin layers resist rubbing better than one heavy coat.
- Wait for the transfer to dry fully before sealing; one example method used an overnight dry.
- Spray on a light first coat of clear acrylic.
- Let it flash off, then add a second thin coat.
- Leave the finish to cure before threading hardware through it.
- Install the eye hook after the transfer is complete.
- Add string, ribbon, or cord through the eye hook or hanger opening.
Do not rush this step. If the finish goes on too early, it can soften the image or trap moisture under the film, which raises the chance of rubbing and clouding later.
Common mistakes
The biggest errors are choosing the wrong transfer method for the photo, skipping sanding, and handling the ornament before the surface has cured. Any one of those can turn a clean transfer into a blurry or peeling piece.
- Wrong method for the photo: Use photo decoupage for the easiest result, label-sheet transfer for sharper detail, and gel transfer when you want a distressed look.
- Skipping sanding: Prep with 220 grit or higher so the transfer medium can grab evenly.
- Too much handling: Wait through the full dry time, including overnight when the method calls for it.
- Sealing too early: Do not spray acrylic until the transfer is dry and stable to the touch.
- Wrong hanger order: Add the eye hook and string after the finish step, not before.
What kind of wood works best for a photo ornament?
A smooth unfinished wood ornament blank is the best choice for most photo transfers because it gives you a flat, predictable surface. Circles and hearts are easiest to crop for. A wood slice works best when you want a rustic look and can accept more variation at the edges.
For clean edges, choose a blank whose size matches the image crop. For a more natural look, use a wood slice or a cut branch section with a hanging hole already drilled or an eye hook added after finishing.
Do I need to mirror text before transferring a picture to wood?
Yes, if the design includes words or a readable date, flip it horizontally before printing or copying. That keeps the text readable after the transfer lands on the wood, especially with methods that reverse the image during contact transfer.
If the image has no text, mirroring is not usually necessary. If you are unsure, do a small paper mockup first and check which side will face the wood in your chosen method.
How do I keep a photo transfer from smudging on an ornament?
Let the transfer dry fully before touching or sealing it, then protect it with two thin spray clear acrylic layers. Smudging usually comes from premature handling, a finish applied too soon, or a transfer method that was not allowed to set long enough.
If the first seal coat looks wet or soft, stop and wait. A light mist coat is safer than a heavy pass because it lowers the chance of reactivating the image and dragging pigment across the surface.
Can I use a wood slice instead of a flat ornament blank?
Yes. A wood slice is a good choice when you want a rustic ornament, but it should be about 3"-4" wide and prepared for hanging with a hole or eye hook. The irregular edge also means your crop needs to be tighter than it would on a flat blank.
Use a wood slice when the photo is simple and the rough edge helps the design instead of fighting it. Use a flat blank when you want crisp borders, a centered portrait, or text that must stay evenly framed.
Frequently asked questions
How to decorate wooden ornaments
Photo transfers are one option, but the surface still needs prep and protection. Sand first, apply the image, then use a protective topcoat so handling does not rub off the print. Ribbon, string, and an eye hook are best added after the finish cures.
Sponsored / affiliate links. As an Amazon Associate I earn from qualifying purchases. I may earn additional commission from eligible campaigns.