How to Clear Coat Painted Wood Without Yellowing
Water-based polyurethane is the safest clear coat for painted wood — it dries crystal clear, while oil-based formulas amber over time on light colors. Painted surfaces need days, not hours, to fully cure; coating too soon causes peeling or a cloudy haze. This guide covers surface prep, choosing between polyurethane, polyacrylic, and wax, and the exact coat count and dry times for a lasting finish.
Insert your Affiliate Disclosure reusable block here.
Quick Answer
Lightly sand the painted surface with 220-grit sandpaper, wipe away dust, then brush or spray on 2-3 thin coats of water-based polyurethane, sanding lightly between coats. Water-based formulas dry clear and resist yellowing; oil-based polyurethane ambers over time, especially on white or pastel paint.
Tools And Materials Needed
Best Clear Coat For Painted Wood
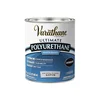
Varathane Water-Based Ultimate Satin Polyurethane – $24.98
The water-based polyurethane this guide recommends for most painted furniture — dries crystal clear with no ambering, matching the 2-3 thin coat method covered above.
- Best for: furniture, cabinets, and trim painted with latex or acrylic paint
- Why we picked it: dries fast, cleans up with soap and water, and will not yellow white or light paint
- Main drawback: slightly less scratch-resistant than an oil-based poly on heavy-use tabletops
Compare more clear coat options
 Option 1 Minwax Polycrylic Clear Satin Spray – $13.97
|
 Option 2 Dixie Belle Clear Coat Flat 8oz – $23.45
|
 Option 3 General Finishes High Performance Topcoat – $51.17
|
As an Amazon Associate we earn from qualifying purchases.
Gather these before you start so you are not stopping mid-coat to hunt for supplies:
- Clear coat — water-based polyurethane, polyacrylic, or wax, matched to your paint type
- Fine-grit sandpaper (220-400 grit) for de-glossing and between-coat sanding
- High-quality synthetic-bristle brush, foam applicator, or spray gun
- Tack cloth or lint-free rag for removing sanding dust
- Gloves, safety goggles, and a dust mask — ventilate the workspace, especially with oil-based or spray products
Preparing The Wood Surface
Start by cleaning the wood with a damp cloth to remove dust and dirt, then let it dry fully. A clean surface is what allows the clear coat to adhere instead of peeling later.
Next, lightly sand the painted surface with 220-400 grit sandpaper — just enough to dull the sheen and create microscopic scratches the clear coat can grip. Sand with the grain to avoid visible scratches, then wipe the dust away with a tack cloth.
The step most guides skip: confirm the paint is fully cured, not just dry to the touch. Paint can feel dry within an hour but still take days or weeks to cure fully, depending on the paint’s chemistry, temperature, and humidity. Coating over paint that has not cured traps solvents underneath, which causes the clear coat to peel, stay tacky, or haze over within days. Without a protective top coat, paint can chip or fade quickly once the piece is back in use.
Choosing The Right Clear Coat
Material compatibility matters as much as durability. Water-based polyurethane is the most versatile choice — it is compatible with latex, chalk, and most acrylic paints, dries fast, cleans up with soap and water, and will not yellow. Oil-based polyurethane is more scratch- and heat-resistant, but it ambers over time and will visibly yellow white or light-colored paint.
“The single most common mistake we see with painted furniture is picking oil-based polyurethane for a bright white piece, then being surprised when it ambers a few months later. If the color needs to stay true, water-based is the only safe choice.”
Lacquer dries fast and levels out to a hard, thin shell, but it is less durable than polyurethane and the fumes require good ventilation — better suited to decorative pieces than tabletops. Clear wax is the easiest to apply by hand and gives chalk paint projects a soft, low-sheen look, but it offers minimal scratch or water resistance and needs periodic re-waxing.
Painted with chalk paint? It is extremely porous, so plan on 2-3 coats of a water-based polyacrylic and wait 24-72 hours after painting before you seal it, giving the chalk paint time to fully dry. See our full breakdown of polycrylic vs. polyurethane for painted surfaces if you are choosing between the two.
| Sealer Type | Best For | Main Drawback |
|---|---|---|
| Water-Based Polyurethane | Furniture, cabinets, low-moisture areas | Slightly less durable than oil-based |
| Oil-Based Polyurethane | High-traffic tabletops, exterior projects | Yellows over time, strong odor, slow dry |
| Lacquer (Spray) | Fine furniture, quick decorative projects | Prone to runs; strong fumes need ventilation |
| Clear Wax | Chalk paint, low-use decorative items | Minimal water/scratch protection; needs re-waxing |
Clear Coat For Floors, Cabinets & Exterior Painted Wood
Standard interior polyurethane is not built for every surface. A painted floor or kitchen cabinet needs a harder, more abrasion-resistant finish than a decorative shelf — look for a product labeled “floor finish” or a high-performance topcoat rated for foot traffic, and expect to recoat high-wear areas sooner.
For a painted porch, deck, or any exterior piece, standard polyurethane will fail within a season. Exterior projects need a spar urethane with UV blockers — it flexes as the wood expands and contracts with temperature and humidity, which prevents the cracking that rigid interior finishes develop outdoors. One caveat that applies indoors or out: even UV-rated spar urethane will add a slight amber tint to white or pastel paint over time if it is oil-based, so choose a water-based spar formula when the painted color needs to stay true.
Application Techniques
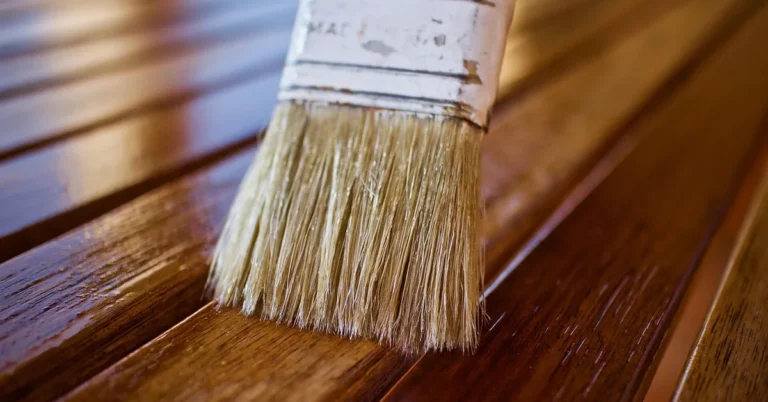
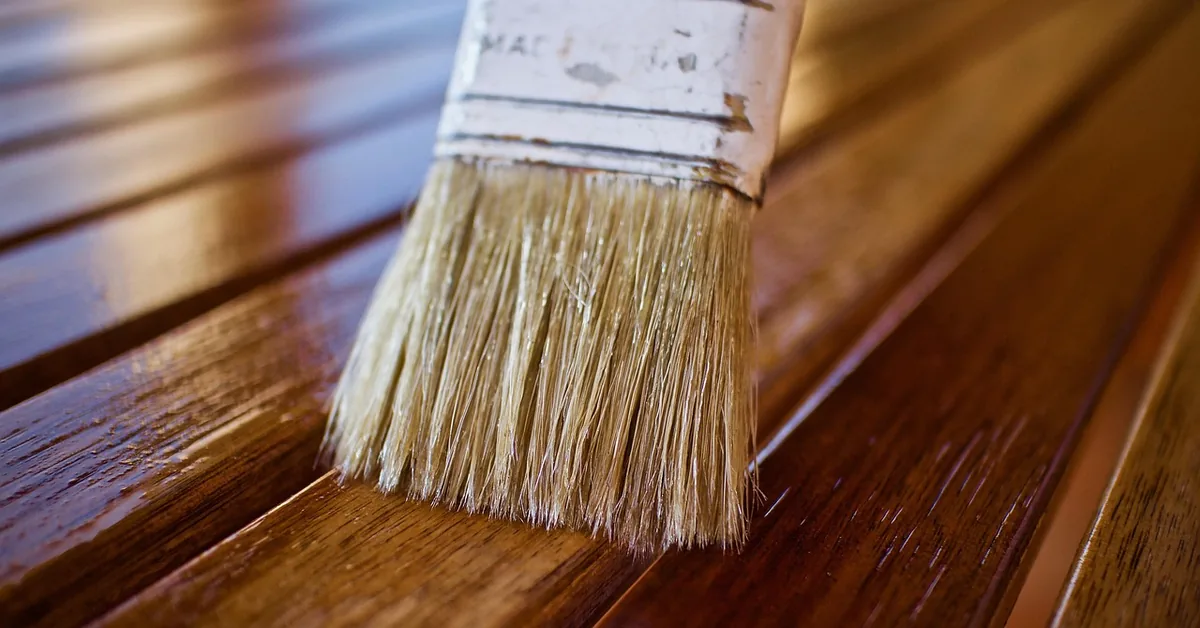
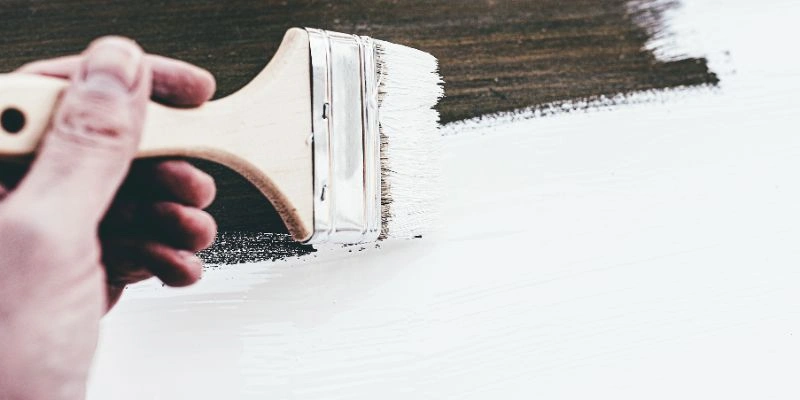
Brushing on is the most common method. Use a high-quality synthetic-bristle brush, start at one edge, and move smoothly with the grain — this gives you the most control over coat thickness.
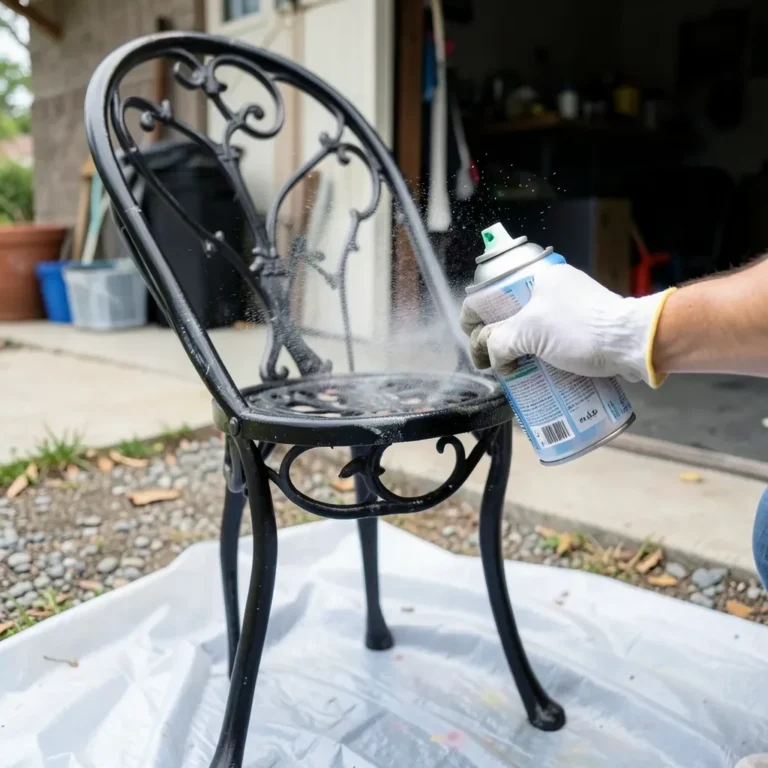
Spraying provides the most even finish and is easiest over detailed trim or carved pieces. Use a spray gun or aerosol can, hold it 6-12 inches from the surface, and move in steady, overlapping strokes for uniform coverage.
Wiping on works well for small areas. Dip a clean, lint-free cloth lightly in the clear coat and wipe it onto the wood in thin layers — this method is forgiving for beginners since thin coats rarely run or drip.
Drying And Curing Times
Temperature and humidity control how fast a clear coat dries. Higher temperatures and lower humidity speed up drying; cold or humid conditions slow it down and increase the risk of a cloudy finish.
Most water-based clear coats are dry to the touch within 1-2 hours and ready for a second coat the same day. But dry-to-touch is not the same as fully cured — full hardness typically takes 24 hours between coats and up to 7 days before the piece can handle heavy daily use, like a dining tabletop. Always check the specific product label, since cure times vary by brand and formula.
📊 Most clear-coated projects are ready for normal use within 24 hours of the final coat — Source: Minwax, official application guide
Finishing Touches
Sanding between coats matters. Use fine-grit sandpaper to knock down any dust nibs or brush texture, sanding lightly so you do not cut through into the paint layer. Wipe the dust off with a damp cloth before the next coat.
After the final coat has fully cured, buff the surface with a soft cloth or buffing pad in circular motions to bring out the sheen. This final buffing step is what separates a rushed finish from a polished one.
Maintenance And Care
Clean clear-coated painted wood with a soft cloth and mild soap and water. Avoid harsh chemicals or abrasive cleaners, which dull the finish and can eventually cut through to the paint underneath.
For scratches or dings, use a matching wood filler or touch-up marker on deep damage, let it dry, then sand lightly and spot-coat with clear finish so the repair blends in rather than sitting as a dull patch.
Common Mistakes When Clear Coating Painted Wood
Brush Marks Or Streaks
Cause: applying the coat too thickly, or re-brushing an area that has already started to set up. Fix: if the coat is still wet, lightly “tip off” the area with just the brush tips to smooth it. If it has already cured, sand the whole surface with 320-grit, wipe clean, and apply a fresh, thinner coat.
Bubbles Or Tiny Pinholes
Cause: shaking the can instead of stirring it, which introduces air that rises through the finish, or trapping air while brushing. Fix: while still wet, gently swirl a clean dry brush over the bubbles to pop them. Once cured, sand smooth, clean, and apply another thin coat — and stir, don’t shake, next time.
Sticky Or Soft Finish After Days
Cause: the paint underneath was not fully cured before you sealed it, or the room is too cold or humid to cure properly. Fix: move the piece to a warmer, drier space and leave it alone. If it is still tacky after a week, lightly sand the whole sticky surface with 220-grit, wipe clean, and apply one very thin fresh coat.
Clear Coat Turns White After Sanding
Cause: fine sanding dust getting mixed into a still-wet or freshly-sanded finish, or trapped moisture in the coat. Fix: wipe away the dust with a clean cloth and apply another thin coat to seal it in, or lightly sand the hazy area with very fine-grit sandpaper without cutting into the layer below. Uneven sheen is common with satin and matte finishes if coverage is not perfectly even — a full, even second coat over the whole piece fixes it.
Frequently Asked Questions
How Do I Prepare Wood For Clear Coating?
Sand the painted surface with 220-400 grit sandpaper to dull the sheen, wipe away all dust with a tack cloth, and confirm the paint is fully cured, not just dry to the touch, before you coat. Skipping the cure-time check is the most common cause of a clear coat that peels or hazes.
What Type Of Clear Coat Is Best For Painted Wood?
Water-based polyurethane is best for most painted wood — it dries clear, cleans up with soap and water, and will not yellow. Oil-based polyurethane is more scratch-resistant but ambers over time, so avoid it on white or pastel paint. Chalk paint pairs best with a water-based polyacrylic.
How Many Coats Of Clear Coat Should I Apply?
Two to three thin coats is standard for most painted wood, with light sanding between each. Thin coats dry more evenly and are less prone to bubbles or runs than one thick coat. Always follow the dry time on the product label before recoating.
Can I Use A Spray Clear Coat On Painted Wood?
Yes, spray clear coats work well on painted wood and give the most even finish, especially on detailed trim. Keep the can 6-12 inches from the surface, use steady overlapping passes, and work in a ventilated area to avoid drips and uneven buildup.
Can You Clear Coat Over Latex Paint?
Yes. Use an acrylic or water-based polyurethane over latex paint — it dries quickly, will not yellow, and will not fog the way an oil-based polyurethane sometimes can over latex.
Why Does Clear Coat Turn White After Sanding?
Usually it is fine sanding dust mixed into the wet or freshly-sanded finish, or trapped moisture. Wipe the surface clean and apply a fresh thin coat to seal it in, or lightly sand away the hazy spot with very fine sandpaper without cutting into the coat underneath.
Can You Clear Coat Over Chalk Paint?
Yes, and you should — chalk paint is porous and wears quickly without a topcoat. Apply 2-3 coats of a water-based polyacrylic, waiting 24-72 hours after painting so the chalk paint is fully dry before you seal it.
Conclusion
A clear coat protects painted wood from moisture, scuffs, and fading, but only if the paint is fully cured first and the clear coat is matched to that paint type. Sand lightly, apply 2-3 thin coats of a water-based polyurethane or polyacrylic, and let each coat cure fully before the piece goes back into daily use. For more on picking a finish, see our wood finishing guide, our best satin clear coats for wood roundup, or our step-by-step guide to spraying polyurethane clear coat on wood.
Sponsored / affiliate links. As an Amazon Associate I earn from qualifying purchases. I may earn additional commission from eligible campaigns.