Can A Vinyl Fence Be Painted? Here’S What Actually Works
It’s a common question that pops up for many homeowners. You have a vinyl fence, and maybe it’s seen better days. Perhaps the color isn’t quite right anymore, or you just want to refresh your yard’s look.
Got paint on your skin? See how to remove paint from hands without paint thinner.
You might be wondering, “Can a vinyl fence be painted?” It’s a question born from a desire to update without the huge cost of replacement. We get it. Replacing a fence is a big job and a big expense.
So, let’s dive into this and see what’s actually possible.
The short answer is yes, a vinyl fence can be painted. However, it requires specific preparation and the right materials to ensure the paint adheres properly and lasts. Using the wrong paint or not prepping the surface can lead to peeling or flaking.
Understanding Vinyl Fence Painting
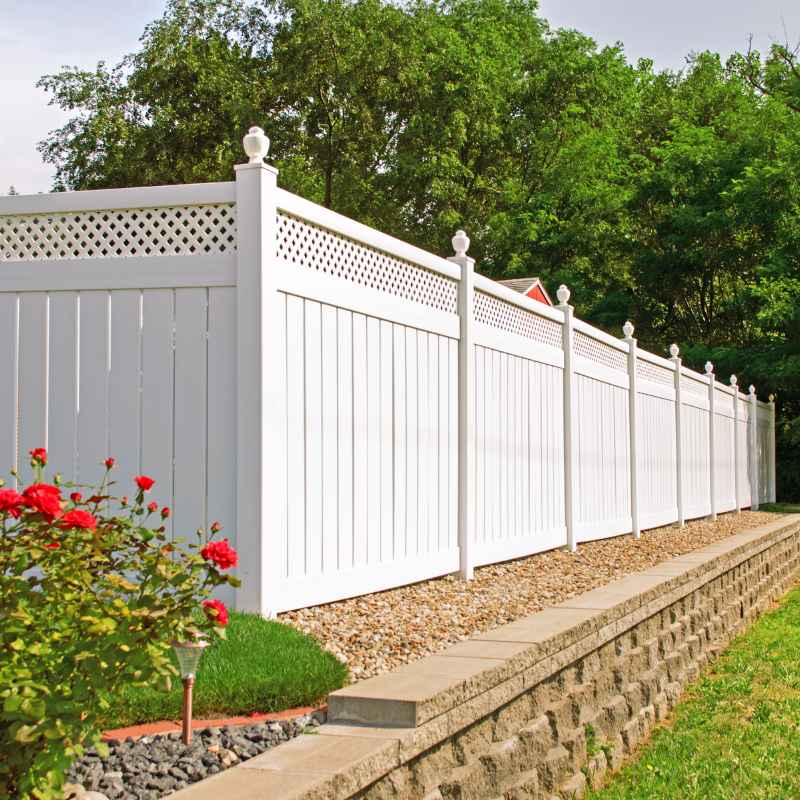
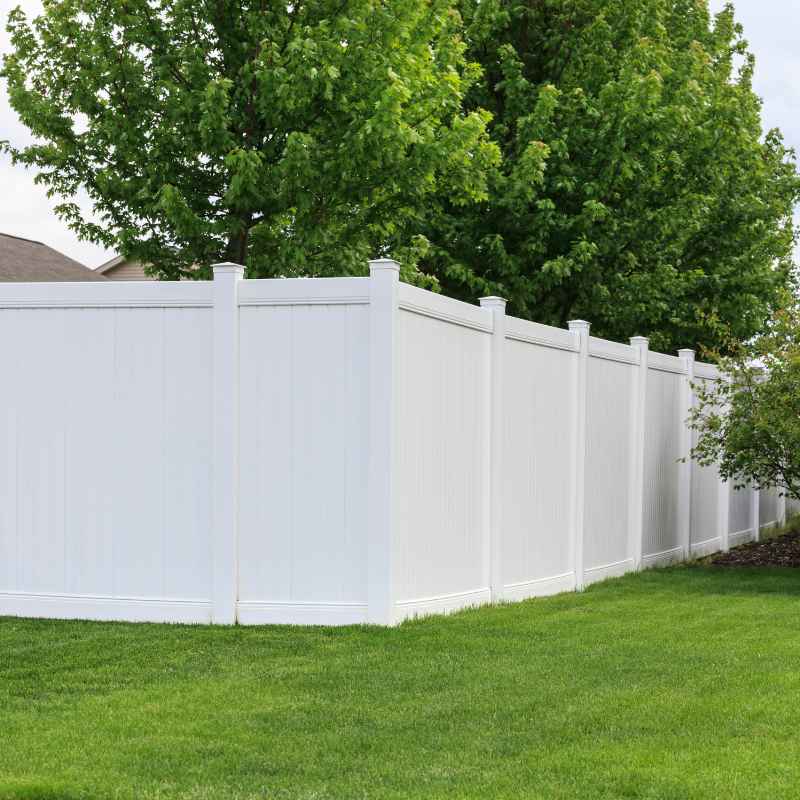
Vinyl fencing is popular for a reason. It’s low maintenance. It doesn’t rot like wood.
It doesn’t rust like metal. This means you usually don’t have to worry about it much. But, like anything outdoors, it can fade over time.
Or maybe you just bought a house with a fence color you dislike. Painting seems like a good solution. But vinyl is smooth.
Paint doesn’t always stick well to smooth surfaces. This is the main challenge.
Unlike wood, which is porous and can absorb paint, vinyl is non-porous. This means paint needs a little extra help to create a bond. Without that help, the paint can just sit on the surface.
Then, any little bump or change in weather can cause it to chip away. It’s frustrating when a project doesn’t work out. We’ve all been there.
You spend time and money, only for it to look bad soon after.
The key to successful vinyl fence painting is choosing the right products. You also need to do the prep work. This isn’t a quick spray-and-go job if you want good results.
Think of it like preparing a wall before you paint it. You wouldn’t just slap paint on a greasy wall, right? The same idea applies here.
We need to make sure the surface is clean and ready to accept the paint.
My Experience Painting a Vinyl Fence
I remember staring at my neighbor’s old vinyl fence. It was a faded white. The sun had really taken its toll.
They had a big family reunion coming up. They wanted the backyard to look sharp. I heard them talking about replacing it.
That sounded like a lot of work and stress. I suggested they try painting it first. They looked skeptical, which I totally understood.
I’d never painted vinyl myself, but I’d read a lot about it.
They decided to give it a shot. I helped them out a bit. We spent a Saturday morning cleaning the fence.
It was covered in dust and some green algae spots. We used a pressure washer on a low setting. That made a huge difference.
Then, we wiped it all down. We let it dry completely. That part felt like forever, but it was important.
The next step was primer. This is where they were really nervous. But it went on smoothly.
After the primer, came the paint. They chose a nice deep green. Seeing it transform was pretty amazing.
It looked like a new fence. They were so happy. It saved them a ton of money and hassle.
What I learned from that day was that preparation is truly king. If you skip steps, you’ll likely pay for it later. The fence looked fantastic for years after.
It was a small effort for a big visual upgrade. It showed me that with the right approach, painting vinyl is a very achievable DIY project.
Key Steps for Painting Vinyl Fences
1. Clean Thoroughly: Remove all dirt, mold, mildew, and chalking. A pressure washer on a low setting or a strong garden hose with a cleaning solution works well.
Make sure to rinse completely.
2. Lightly Scuff (Optional but Recommended): For better adhesion, a very light sanding can help. Use fine-grit sandpaper (around 180-220 grit).
This creates tiny scratches for the paint to grab onto. Be gentle; you’re not trying to remove material.
3. Apply a Quality Primer: Use a primer specifically designed for plastics or vinyl. This is crucial for paint adhesion.
Let it dry completely according to the manufacturer’s instructions.
4. Use Exterior-Grade Paint: Choose a high-quality acrylic latex exterior paint. Look for paints that are formulated for vinyl siding or plastic.
They are more flexible and designed to withstand outdoor elements.
5. Apply Multiple Thin Coats: Avoid thick, heavy coats. Thin, even coats are best.
This helps prevent drips and ensures better coverage. Allow each coat to dry before applying the next.
6. Allow for Proper Curing: Paint needs time to fully cure and harden. This can take several days or even weeks.
Avoid heavy contact or cleaning during this period.
Choosing the Right Paint and Primer
This is where many DIYers get tripped up. Not all paints are created equal. Especially when it comes to tricky surfaces like vinyl.
You can’t just grab any old can of exterior paint from the hardware store and expect it to stick. Vinyl is smooth and non-porous. It needs a paint that understands this.
It needs to be flexible. It needs to bond well.
The number one rule is to use paint specifically designed for vinyl or plastic. Many manufacturers now offer lines of paint that work perfectly on vinyl siding, fences, and other plastic surfaces. These paints often contain additives that help them adhere better.
They are also formulated to be more flexible. This is important because vinyl can expand and contract with temperature changes. A rigid paint could crack or peel because of this movement.
When it comes to primer, the same rules apply. You need a plastic-specific or vinyl-bonding primer. This primer creates a surface that paint can actually stick to.
Think of it as a special glue for the paint. It bridges the gap between the smooth vinyl and the topcoat. Without this primer, your paint job is likely to fail.
It’s an extra step, but it’s a vital one.
What about color? This is another important consideration. Vinyl fencing is often made with PVC.
PVC can get very hot when exposed to direct sunlight. If you paint a light-colored fence a dark color, it can absorb much more heat. This extreme heat can cause the vinyl to warp or even crack.
This is especially true if the vinyl itself is already aged or brittle. So, it’s generally recommended to stick with lighter colors. Or at least, colors that are not drastically darker than the original.
Always check the paint manufacturer’s recommendations. They often have specific product lines for vinyl. They will tell you which primers and paints are best.
They’ll also give you guidance on color choices. If you’re unsure, ask a sales associate at a good paint store. They can point you toward the right products for your specific needs.
Investing in the right products upfront saves you a lot of headaches later. It’s better to spend a little more on the correct paint than to have to repaint the whole fence again in a year.
Surface Preparation: The Unsung Hero
Let’s talk about the dirty work. This is the part that most people want to skip. But it’s probably the most important part of the whole process.
A beautiful paint job means nothing if it starts peeling off in a month. Proper preparation ensures your painted vinyl fence looks great and lasts for years.
First, you need to clean the fence. Really clean it. Think about all the things that accumulate on an outdoor fence.
There’s dust. There’s dirt. There might be mold or mildew, especially in shady areas.
There can also be chalking. This is a powdery residue that forms on the surface of older vinyl. You need to remove all of this.
If you paint over dirt or mold, the paint won’t stick. The mold could even grow through the paint.
A garden hose with a strong spray nozzle is a good start. For tougher dirt or mildew, you might need a cleaning solution. Many people use a mixture of water and mild detergent.
Some use a solution with a bit of bleach. Be careful with bleach. It can discolor plants.
Always dilute it properly. Always rinse thoroughly. A pressure washer can be a big help.
But use it on a low setting. High pressure can damage the vinyl itself. Hold the wand at a safe distance.
Make sure to get into all the nooks and crannies.
After washing, let the fence dry completely. This is critical. Painting over a wet surface will trap moisture.
This leads to bubbling and peeling. You might need to wait a day or two, depending on the weather. Touch the fence.
If it feels cool or damp, it’s not ready.
Once it’s dry, you might want to consider light sanding. This step is sometimes debated. But for vinyl, it can really help the paint adhere.
You’re not trying to remove the vinyl. You’re just creating a very fine texture. Use a fine-grit sandpaper, like 180 or 220 grit.
Go over the entire surface. You’re looking for a dull finish, not a smooth, shiny one. This gives the primer something to grip.
Again, be gentle. You don’t want to damage the vinyl.
After sanding, wipe down the fence again. This removes any dust from the sanding. Use a tack cloth or a damp rag.
You want a perfectly clean surface before you apply anything. This preparation might seem like a lot of work. But it’s the foundation of a successful paint job.
It’s the difference between a paint job that lasts and one that fails.
Surface Prep Checklist
- Step 1: Wash – Use cleaner and water, or a mild bleach solution. Rinse well.
- Step 2: Rinse – Ensure all soap and residue is gone.
- Step 3: Dry – Allow at least 24-48 hours for complete drying.
- Step 4: Scuff (Optional) – Lightly sand with fine-grit sandpaper (180-220).
- Step 5: Wipe Down – Remove all sanding dust.
Application Methods: Sprayer vs. Roller vs. Brush
How you apply the paint matters. Each method has its pros and cons. The best method often depends on the size of your fence and the look you’re going for.
For most vinyl fences, a sprayer is often the preferred method. But let’s look at all the options.
Sprayer: This is usually the fastest and most efficient way to paint a fence. A paint sprayer applies a fine, even mist of paint. This creates a smooth, uniform finish.
It’s great for getting into all the textured parts of the vinyl. You’ll need to use paint that is suitable for spraying. You might need to thin it a bit, according to the sprayer and paint manufacturer’s instructions.
Protection is key here. You’ll need to mask off any areas you don’t want painted, like house siding, windows, or plants. Wear a respirator mask and safety glasses.
Overspray can be an issue. Work on a calm day. Spray in long, even strokes.
Overlap each pass slightly.
Roller: A roller can be a good option if you don’t have a sprayer or want more control. Use a good quality roller cover designed for smooth surfaces. A short-nap roller is usually best.
You’ll need to apply the paint in thin, even coats. It can be harder to get into all the grooves and textures with a roller. You might need to go over areas multiple times.
Be careful not to press too hard. You don’t want to leave roller marks. This method can be slower than spraying.
Brush: A brush is usually best for detail work. You might use it to cut in edges or paint parts of the fence that are hard to reach with a sprayer or roller. A good quality synthetic brush will work well.
For larger areas, brushing is very time-consuming. It can also be hard to get a perfectly uniform finish with a brush on a large surface. If you use a brush, use long, steady strokes.
Avoid back-and-forth scrubbing.
For most DIY projects on a whole fence, a sprayer is the way to go. It gives the most professional-looking result. But practice on a scrap piece of vinyl first if you’ve never used a sprayer before.
The key with any method is to apply thin coats. This helps the paint adhere better and prevents drips. It also allows for the paint to expand and contract with the vinyl.
Paint Application Quick Tips
Sprayer: Best for even coverage and speed. Requires masking and a respirator. Use thin coats.
Roller: Good for control, but slower. Use a short-nap roller for smooth finishes. May require multiple passes.
Brush: Ideal for touch-ups and details. Not practical for large areas alone.
General Rule: Always apply thin, even coats. Allow proper drying time between coats.
Dealing with Color Changes and Fading
Fences fade over time. The bright white can turn dingy. The brown can look washed out.
Sometimes, you just want a new look. Painting is a great way to achieve this. You can go from white to black, or from tan to gray.
The possibilities are vast.
However, remember that earlier point about heat absorption. If you’re painting a fence that’s light-colored and has been in direct sun for years, painting it a very dark color can be risky. The dark color will absorb more heat.
This extra heat can stress the vinyl. It can cause it to warp or become brittle over time. This is especially true if the vinyl is older or has been exposed to harsh weather.
Manufacturers often have a list of recommended colors for vinyl. These are usually colors that have been tested and proven not to cause excessive heat buildup. If you’re considering a dark color, it’s wise to check if the paint company offers a “vinyl safe” version.
These paints have special properties to reflect more heat. Or, stick to colors that are only slightly darker than the original fence color. This minimizes the risk.
If your fence has faded unevenly, painting can bring it back to a uniform look. The prep work is crucial here. You need to get rid of that chalky residue.
If you don’t, the new paint might not stick well to the faded areas. This can lead to an uneven finish. Make sure to wash and potentially scuff the entire fence.
This ensures the primer and paint have a consistent surface to bond to.
Sometimes, you might have sections of the fence that are more faded than others. This is normal. The sun hits different parts of the fence at different times.
The areas that get direct sun all day will fade faster. Painting can make the whole fence look brand new and uniform. It’s like giving your fence a fresh start.
Just be mindful of the color choice and potential heat absorption, especially with dark colors.
Real-World Context: When and Why People Paint Vinyl Fences
In American homes, vinyl fences are everywhere. They surround backyards, mark property lines, and provide privacy. Over time, the elements take their toll.
This is when painting becomes an attractive option. People often consider painting their vinyl fences for several reasons.
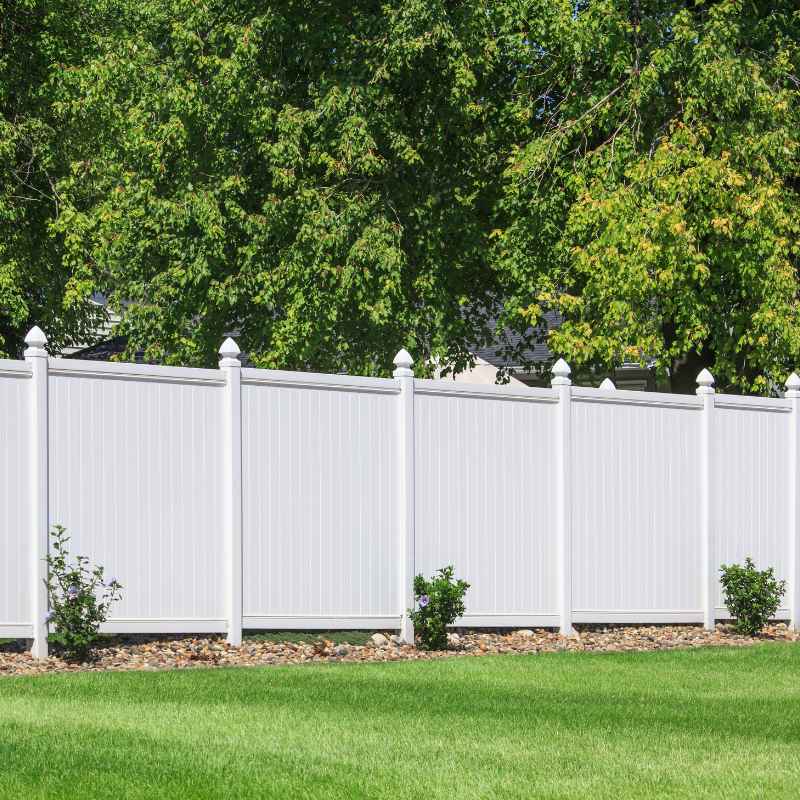
Aesthetic Upgrade: The most common reason is simply to improve the look of their property. A faded, chalky, or discolored fence can make a yard look unkempt. Painting it a fresh, modern color can dramatically boost curb appeal.
This is especially true before selling a home. Buyers notice these details.
Cost Savings: Replacing a fence is expensive. It involves removing the old one, buying new materials, and paying for installation. Painting is a fraction of the cost.
It’s a budget-friendly way to achieve a similar visual impact. My neighbor found this out firsthand. They were quoted thousands for a new fence but spent less than a few hundred on paint and supplies.
Color Change: Sometimes, the original fence color just doesn’t match the homeowner’s style or landscape design. Maybe they’ve updated their house exterior and the fence color clashes. Painting allows them to customize the look to perfectly suit their preferences without a full replacement.
Extending Lifespan (Appearance): While painting doesn’t add structural integrity, a fresh coat of paint can make an older fence look much newer. This can help homeowners feel more satisfied with their existing fence for longer. It’s about maintaining the appearance of their investment.
Environmental Factors: In areas with intense sun or harsh winters, vinyl can degrade faster. Fading and chalking are common. Painting can provide an extra layer of protection, though its primary purpose is cosmetic.
In places like Arizona or Texas, where the sun is very strong, homeowners might notice fading sooner.
The decision to paint usually comes after the fence has started to look worn. It’s a practical solution for homeowners who want to enhance their property’s appearance without the expense and effort of full replacement. It’s a testament to the versatility of DIY solutions in home improvement.
What This Means for You: When to Worry and When It’s Normal
It’s good to know what to expect with vinyl fencing. Some signs of wear are completely normal. Others might mean you need to be extra careful or consider other options.
When Fading and Chalking Are Normal
Sun Exposure: If your fence faces south or west and gets direct sun all day, it will likely fade and chalk faster. This is especially true in sunny climates like California or Florida. It’s a natural consequence of UV exposure.
Age: Vinyl materials degrade slowly over time. An older fence, say 10-15 years old, will naturally show more wear than a new one. This includes fading and a chalky surface if you rub it.
Color: Lighter colors tend to show dirt and fading less than darker colors. White fences might show scuff marks easily. Darker fences might show chalking more readily.
Both are normal reactions to outdoor conditions.
When to Be Concerned
Cracking or Brittleness: If the vinyl itself is cracking, brittle, or showing deep stress lines, painting might not be a good solution. The material might be too degraded. Painting could make it worse or the paint won’t adhere to damaged areas.
Warping: If sections of the fence are noticeably warped or bowed, this is a sign of structural issues. It could be due to extreme heat (especially if painted dark) or improper installation. Painting won’t fix warping.
Extensive Mold/Mildew: While cleaning can remove mold, if it’s deeply ingrained or constantly returning, it might indicate a drainage issue or constant dampness in that area. Address the underlying cause.
Peeling Paint (if already painted): If you’re looking to repaint an already painted vinyl fence, and the old paint is peeling badly, you’ll need to scrape and prep thoroughly. If the paint is flaking easily, it means the original prep or paint was inadequate.
Significant Structural Damage: If posts are loose, panels are broken, or the fence is leaning significantly, painting won’t help. You’ll need to consider repairs or replacement.
For most homeowners, seeing some fading or a bit of chalkiness is normal. It’s the point where the fence looks tired and worn that makes people think about painting. As long as the vinyl is structurally sound, painting is a viable and often excellent option.
Quick Fixes and Tips for a Better Finish
Even with the best preparation, a few extra tips can make your painting project smoother and the results better.
- Work in Sections: Don’t try to paint the entire fence at once. Break it down into manageable sections. This helps you maintain consistency and avoid paint drying too quickly.
- Check the Weather: Avoid painting in direct, hot sun, especially if using a sprayer. High heat can cause paint to dry too fast, leading to lap marks. Also, avoid painting if rain is in the forecast or if there’s high humidity.
- Use a Paint Tray Liner: If using a roller, a liner makes cleanup much easier.
- Keep a Rag Handy: For quick wipes of drips or mistakes.
- Consider a Paint Sprayer Rental: If you’re not sure about buying a sprayer, many hardware stores rent them.
- Test Spray First: If using a sprayer, do a test spray on a piece of cardboard or scrap vinyl to adjust the settings and get a feel for it.
- Don’t Rush Curing: Allow the paint to cure fully before letting kids or pets play near the fence. Refer to the paint can for specific curing times.
- Two Thin Coats are Better Than One Thick Coat: This cannot be stressed enough. Thin coats adhere better, look smoother, and last longer.
Quick Tips Summary
Work Smart: Paint in sections.
Watch the Sky: Check the weather forecast.
Clean Up Easy: Use paint tray liners.
Be Prepared: Keep rags for drips.
Try Before You Buy: Rent a sprayer if needed.
Practice Makes Perfect: Test spray first.
Patience Pays: Let paint cure fully.
Quality Over Quantity: Thin coats are best.
Frequently Asked Questions About Painting Vinyl Fences
Can I paint a white vinyl fence black?
You can, but it’s risky. Dark colors absorb more heat. This can cause the vinyl to warp or crack, especially if the fence is older or in direct sun.
It’s best to use a “vinyl safe” paint or stick to colors closer to the original shade.
Will paint peel off a vinyl fence?
Yes, if the surface isn’t properly cleaned and prepped, or if the wrong type of paint is used. Using a plastic-specific primer and exterior-grade paint designed for vinyl is crucial for adhesion and preventing peeling.
How do I clean a vinyl fence before painting?
You need to thoroughly wash the fence. Remove all dirt, chalk, mold, and mildew. A garden hose with a cleaning solution or a pressure washer on a low setting works well.
Rinse completely and let it dry for at least 24-48 hours.
What kind of paint should I use on vinyl fencing?
Use a high-quality exterior acrylic latex paint specifically formulated for vinyl or plastic surfaces. Many brands offer “vinyl safe” paints that are more flexible and heat-resistant.
Do I need to prime vinyl fence before painting?
Yes, priming is highly recommended. Use a primer designed for plastics or vinyl. This helps the paint adhere properly to the smooth surface and ensures a more durable finish.
How many coats of paint do I need for a vinyl fence?
Typically, two thin coats of paint are recommended. This provides better coverage and durability than one thick coat. Ensure each coat is dry before applying the next.
Can I spray paint a vinyl fence?
Yes, spray painting is often the best method for achieving a smooth, even finish on vinyl fences. Make sure to use paint suitable for spraying and to protect surrounding areas from overspray.
Conclusion: Painting Your Vinyl Fence Is Possible
So, can a vinyl fence be painted? The answer is a resounding yes. It requires patience and the right materials.
Proper cleaning, priming, and using a quality paint designed for vinyl are key. By following these steps, you can transform a faded fence into a beautiful feature of your home. It’s a rewarding project that adds value and curb appeal without the hefty cost of replacement.
Enjoy your refreshed fence!