What Length Nail for Baseboard: Expert Tips for Perfect Finish
A 2-inch (6d) finish nail is the right size for most standard baseboard — long enough to bite into the stud or framing behind the drywall, short enough that it won’t blow through and hit wiring or plumbing on an average 1/2-inch drywall wall. Thinner or thicker trim shifts that number, and the nail gauge matters just as much as the length.
Choosing The Right Nail Length
Best For Standard Baseboard Installation
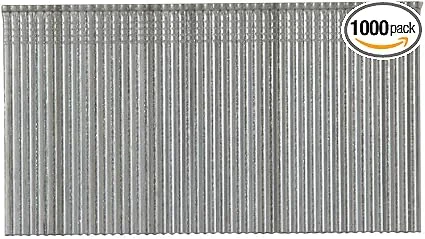 |
Metabo HPT 2″ 16-Gauge Finish Nails, 1000-Count – $12.98 The exact size this guide recommends for standard baseboard — galvanized, straight, compatible with most 16-gauge finish nailers.
|
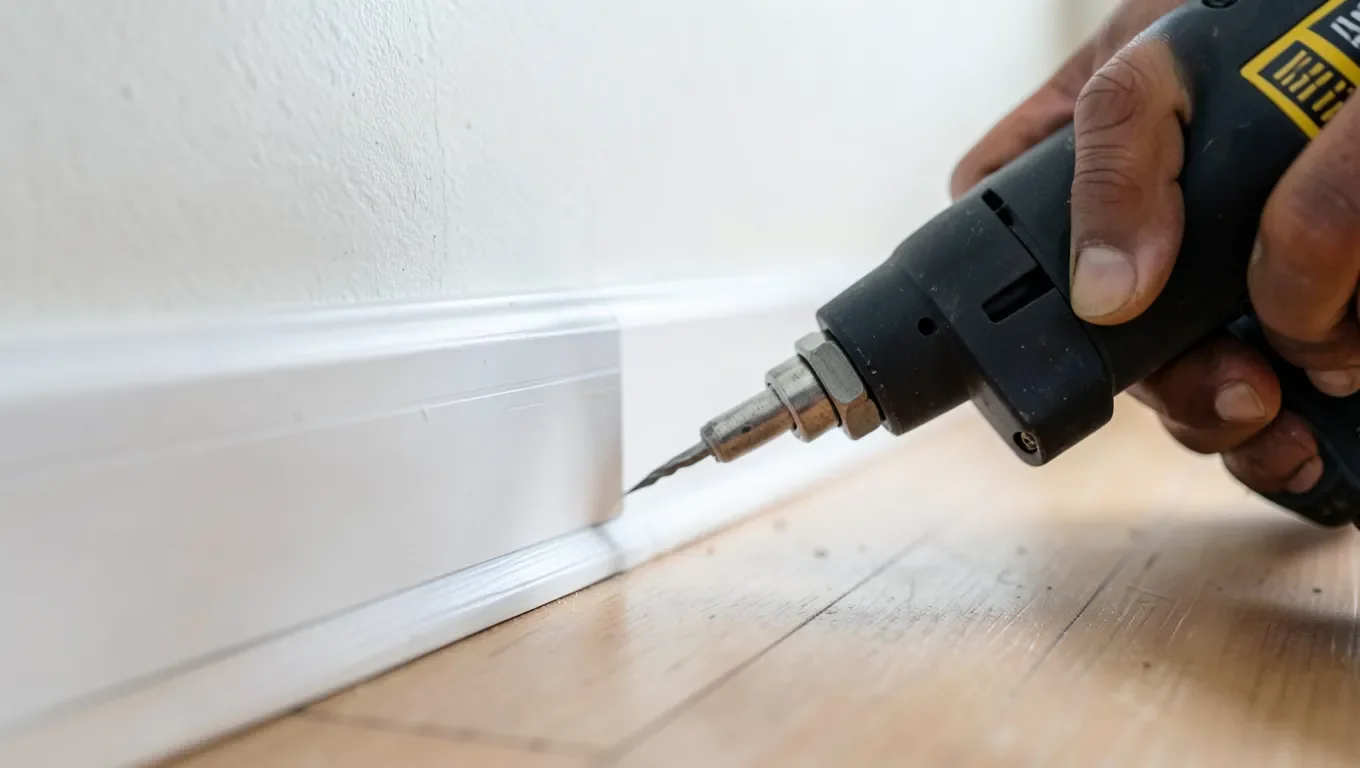
Two things drive the right nail length: how thick the baseboard itself is, and what’s behind the wall surface. A thin, delicate piece of trim needs a shorter, thinner nail so it doesn’t split; a thicker or taller baseboard can take a longer nail without cracking. Behind the wall, standard drywall over wood studs is the norm this guide assumes — a masonry or concrete wall changes the whole approach (you’d use construction adhesive or specialty concrete fasteners instead of a standard finish nail).
| Nail Length | Best For | Why |
|---|---|---|
| 1.5 inches | Thin baseboard (under 1/2″) | Enough hold without splitting delicate, thin stock |
| 2 inches | Standard baseboard (1/2″-3/4″) | Reaches the stud through typical 1/2″ drywall with margin |
| 2.5 inches | Thicker/taller baseboard (3/4″+) | Extra length needed to still reach the stud through more material |
Types Of Nails For Baseboards
Finish nails and brad nails both work, but they’re not interchangeable — pick based on how much holding strength the trim actually needs. Finish nails run 15 or 16-gauge, thicker than brad nails, and are the standard choice for baseboard because the added thickness gives real pull-out resistance. Brad nails (18-gauge) are thinner and less visible, which makes them useful for delicate trim or small molding pieces, but they hold less securely — fine for lightweight trim, risky for anything that will take bumps and vacuum-cleaner impacts at floor level.
Why Nail Gauge Matters As Much As Length
Gauge measures thickness, and confusingly, a smaller gauge number means a thicker nail — a 15-gauge nail is thicker than an 18-gauge one. Thicker nails hold better but carry more risk of splitting the wood, especially near ends and corners; thinner nails are gentler on the material but pull out more easily under stress. For baseboard specifically, 15 or 16-gauge is the sweet spot most professionals use — thick enough to hold the board firmly against the wall and into the stud, without being so thick it routinely splits standard trim stock.
Preparing And Installing The Baseboard
- Measure the wall and transfer that measurement to the baseboard, cutting corners at a 45-degree miter with a miter saw.
- Find and mark the wall studs with a stud finder — nailing into drywall alone won’t hold long-term, no matter how good the nail is.
- Pre-drill through the baseboard near ends and corners with a bit slightly smaller than the nail, which prevents splitting in exactly the spots most prone to it.
- Position the baseboard level against the wall, then nail at a slight angle into each marked stud — angled nails resist pull-out better than perfectly straight ones.
- Space nails every 12-16 inches along the run, and always double up near seams and corners for extra support.
Hand Nailing Vs. A Nail Gun
A hammer gives more control and is fine for a single small repair, but it’s slow and tiring across a whole room’s worth of trim, and it’s easy to leave visible hammer marks near the nail head. A nail gun is dramatically faster and drives nails more consistently, but it can overdrive a nail below the surface (or through thin trim entirely) if the depth setting is wrong — test the depth on a scrap piece before running it across your actual baseboard.
Finishing: Filling Holes And Painting
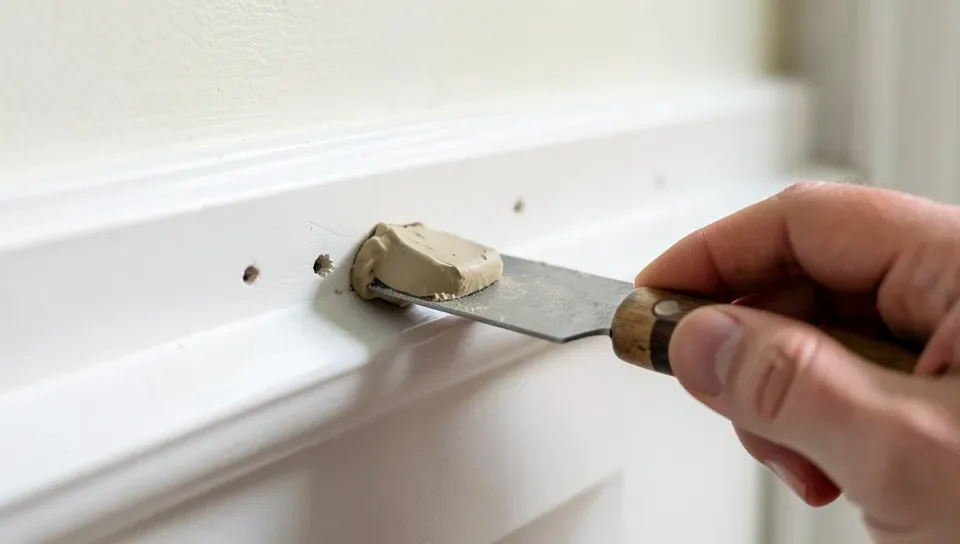
Press wood filler into each nail hole with a putty knife, slightly overfilling since most fillers shrink a little as they dry. Once it’s fully cured, sand it flush with fine-grit paper — sanding too early, before the filler has hardened all the way through, drags a soft center out and leaves a dimple. Paint or seal after sanding is complete, matching the sheen of the surrounding trim so the repaired spots don’t stand out under angled light.
Troubleshooting Common Problems
- Nails keep bending: the nail is too thin for the material, or you’re hitting a knot/hard spot — switch to a thicker gauge or reposition slightly.
- Baseboard won’t hold: you’re likely missing the stud — re-check with the stud finder, or step up to a longer nail if the board is thicker than expected.
- Wood is splitting: the nail is too thick for that spot, especially near an end — pre-drill first, or move to a thinner gauge.
- Nail heads popping back out over time: the board is likely flexing away from the wall (a bowed stud or uneven wall) — add a nail at that spot, angled the opposite direction, or use a bit of construction adhesive as backup.
Frequently Asked Questions
What Size Nails For Baseboard Installation?
Use 2-inch (6d) finish nails for standard baseboard, sizing up to 2.5-inch (8d) for thicker trim. A 15 or 16-gauge nail gives the best balance of holding strength and split resistance for most jobs.
Can I Use Brad Nails For Baseboards?
Yes, for lightweight or delicate trim, but 18-gauge brad nails hold less securely than 15 or 16-gauge finish nails. For standard baseboard that will take regular bumps at floor level, finish nails are the more reliable choice.
Should I Use A Nail Gun For Baseboards?
A nail gun is faster and more consistent than hand nailing across a full room, but test the depth setting on scrap material first — an overdriven nail can sink below the surface or blow through thin trim entirely.
How Many Nails Per Baseboard?
Space nails every 12 to 16 inches along the run, always into a stud, and add extra nails near corners and seams where the board needs more support.
Conclusion
A 2-inch, 15 or 16-gauge finish nail handles most standard baseboard jobs, sized up or down based on your trim’s actual thickness. The nail is only half the job, though — finding the stud, nailing at an angle, and spacing consistently every 12-16 inches is what actually determines whether the baseboard stays put for years or starts popping loose within a season.
Sponsored / affiliate links. As an Amazon Associate I earn from qualifying purchases. I may earn additional commission from eligible campaigns.