Best Sandpaper Grit for Sanding MDF Smooth
For MDF faces, start at 180 grit and finish at 220 grit; on edges, seal first, then sand 220 to 320 grit because bare MDF fibers tend to fuzz quickly. Skip coarse grits unless you need to remove tool marks. Wrong grit choices leave fuzzy edges, burnished patches, and primer that sinks or telegraphs seams. This guide gives a grit-by-surface map for faces, edges, and primer prep, plus fixes for fuzzing, glazing, and uneven paint-ready results.
How to get MDF paint-ready
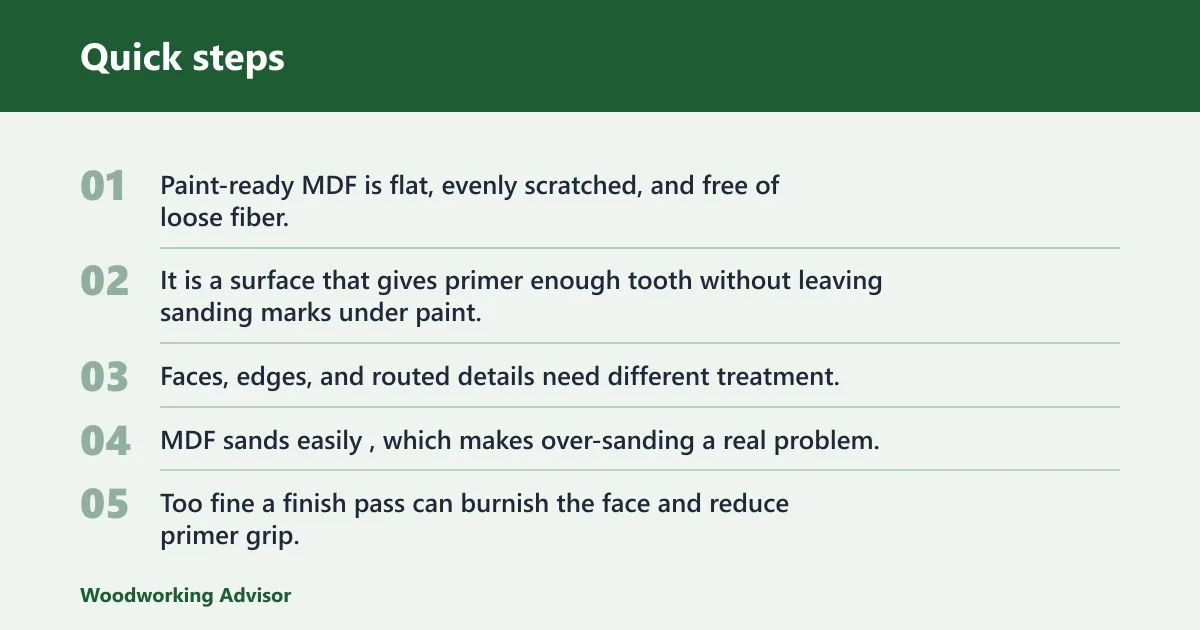


Paint-ready MDF is flat, evenly scratched, and free of loose fiber. The goal is not maximum smoothness. It is a surface that gives primer enough tooth without leaving sanding marks under paint. Faces, edges, and routed details need different treatment.
MDF sands easily, which makes over-sanding a real problem. Too fine a finish pass can burnish the face and reduce primer grip. On edges, the opposite issue appears, the fibers are open, thirsty, and likely to fuzz if you use the wrong grit order or wet products before sealing.
What you’ll need
- Aluminum-oxide sandpaper in 120, 150, 180, and 220 grit
- Stearated no-load paper for dusty, clog-prone passes
- Random-orbit sander with dust collection
- Sanding block for edges and narrow parts
- Vacuum and a dry microfiber cloth
- MDF edge sealer if the edges will be painted
- Primer for MDF, plus the primer maker’s recoat guidance
What grit should you start with on MDF faces?
Start most raw MDF faces at 150 grit. Use 120 grit only when you need to flatten a panel, remove glue squeeze-out, or knock down machine marks that still sit proud of the surface. If the face is already clean and smooth, 180 grit is a practical starting point.
For the last face pass before primer, 180 grit is commonly used in many paint workflows. Use 220 grit only for light deglossing or a final cleanup pass when the panel is already flat. Sanding finer than 220 before priming can burnish MDF, which can hurt primer adhesion and may leave patchy paint results.
Face sanding that keeps the panel flat
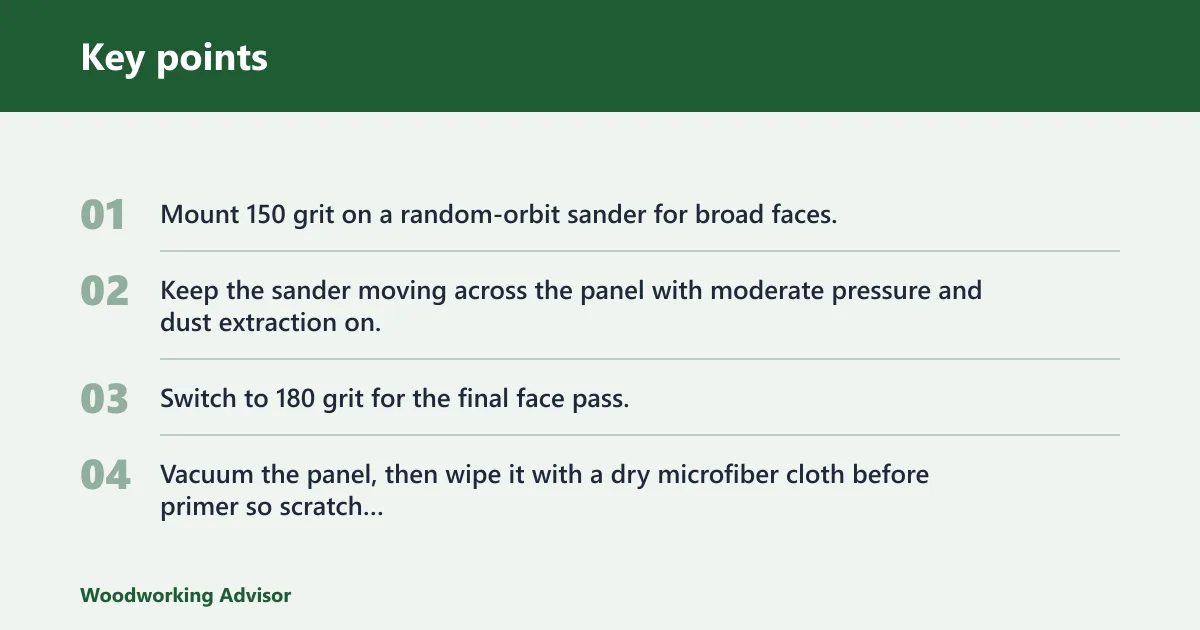
- Mount 150 grit on a random-orbit sander for broad faces, or use 120 grit only where leveling is needed.
- Keep the sander moving across the panel with moderate pressure and dust extraction on.
- Switch to 180 grit for the final face pass.
- Vacuum the panel, then wipe it with a dry microfiber cloth before primer so scratch lines and dust do not show through.
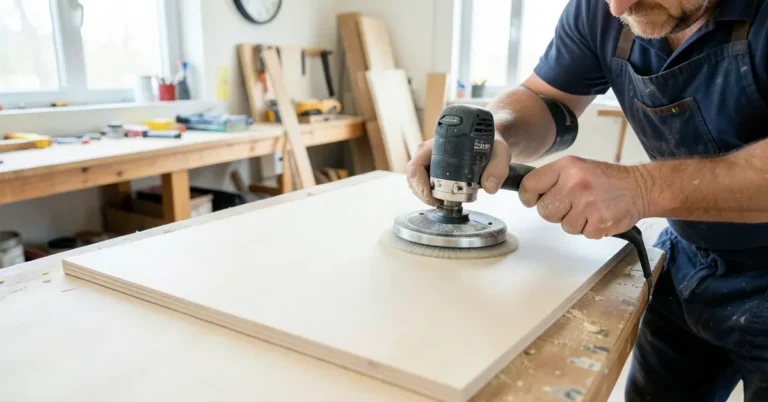
A random-orbit sander is the best fit for large MDF panels because it handles broad areas quickly without a visible directional pattern. Keep the pad moving from the first touch. Parking it in one spot is how hollows and shiny patches show up.
Should you sand MDF edges differently than the faces?
Yes. MDF edges are more porous and friable than the faces, so they need a different grit path and better support. If the part will be painted, seal the edge before the final prep pass.
After the sealer dries, sand lightly with 220 grit. That step removes raised fibers without cutting back through the sealed surface. If you use a wet product on a raw edge before sealing, swelling is likely, and the edge can turn fuzzy again after it dries.
Edge workflow that reduces fuzzing
- Use a sanding block on narrow edges and corners.
- Start with 120 or 150 grit on rough exposed edges.
- Move to 180 grit for the edge finish pass.
- Brush or wipe on a thin coat of MDF edge sealer.
- Let it dry fully, then sand with 220 grit.
A sanding block matters here because it keeps the edge square. A random-orbit sander can round corners fast, and paint will make that mistake obvious.
What grit should you use before primer?
Use 180 grit on MDF faces before primer for most paint systems. Use 220 grit only when you are lightly scuffing an already flat face. For primer between coats, move to 220 to 320 grit, with 320 reserved for a light knockdown when the primer film is already even.
Primer on MDF is sandable between coats, but the goal is to break the sheen, not level aggressively. If you sand through the primer, the repair becomes obvious. Vacuum before every coat so dust nibs do not telegraph through the finish.
Primer scuff sanding
Between primer coats, use 220 grit for standard scuff sanding and 320 grit when the surface only needs a very light texture cutback. Stearated no-load paper helps here because MDF dust and primer dust clog ordinary abrasive quickly. That matters most on water-based finish workflows, where loaded paper starts skating instead of cutting.
MDF sanding decision matrix
This decision matrix ties surface condition to the grit path that fits the finish goal. It also shows what usually goes wrong when the grit is too coarse, too fine, or used with the wrong tool.
| Surface type | Starting grit | Next grit | Final grit before primer | Recommended tool | Likely failure mode | Fix |
|---|---|---|---|---|---|---|
| Faces | 150 | 180 | 180 or 220 | Random-orbit sander | Burnishing or swirl marks | Back up one grit and reduce pressure |
| Rough raw edges | 120 | 150 | 180, then seal | Sanding block | Fuzzing or edge swelling | Seal the edge, let it dry, then sand 220 |
| Clean machined edges | 150 | 180 | 180 before sealer | Sanding block | Rounded corners | Use lighter pressure and a flatter block face |
| Routed profiles | 150 | 180 | 180 | Hand sanding or foam-backed pad | Washed-out detail | Wrap paper around a shaped block and lighten pressure |
| Between primer coats | 220 | 320 if needed | 320 | Block or pad | Through-sanding the primer | Stop as soon as the sheen is broken |
If this happens, do this:
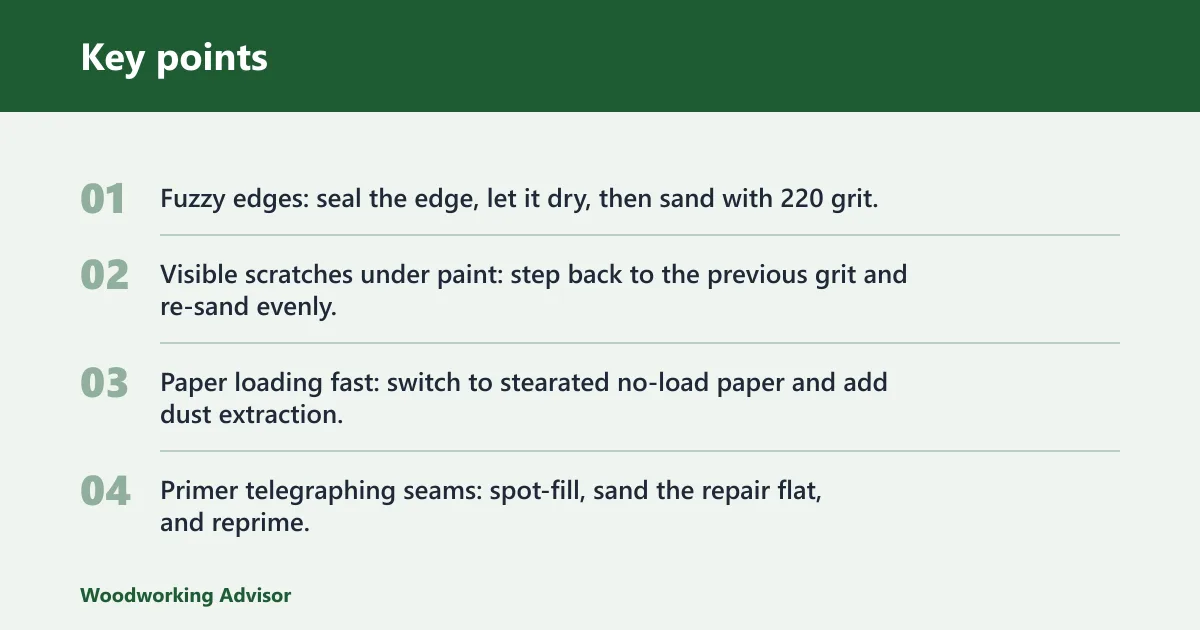
- Fuzzy edges: seal the edge, let it dry, then sand with 220 grit.
- Visible scratches under paint: step back to the previous grit and re-sand evenly.
- Paper loading fast: switch to stearated no-load paper and add dust extraction.
- Primer telegraphing seams: spot-fill, sand the repair flat, and reprime.
Common mistakes
Burnishing faces by leaning on fine grits too long is one of the fastest ways to create poor primer adhesion. Use moderate pressure, not force. If the panel starts to look polished instead of uniformly dull, stop and move on.
Rounding over edges with a random-orbit sander causes shape loss that paint makes obvious. Use a sanding block on narrow edges and corners. Skipping edge sealer on exposed MDF edges before paint also leads to fuzz and uneven primer soak-in.
Suppose an 18 mm cabinet side has clean faces but a cut edge that feels thirsty and rough. Start the face at 180 grit, but treat the edge separately with 150 on a block, then seal it. If you sand both surfaces the same way, the edge will usually fail first.
A common first-timer mistake is to jump straight to 320 grit on raw MDF because it feels smoother. The face may feel better to the hand, but the primer can lose grip and the final paint can telegraph the sanding pattern or look patchy.
Choose grit based on what the surface needs to do next. Rough leveling needs 120 or 150. A clean face that only needs paint prep usually starts or finishes at 180.
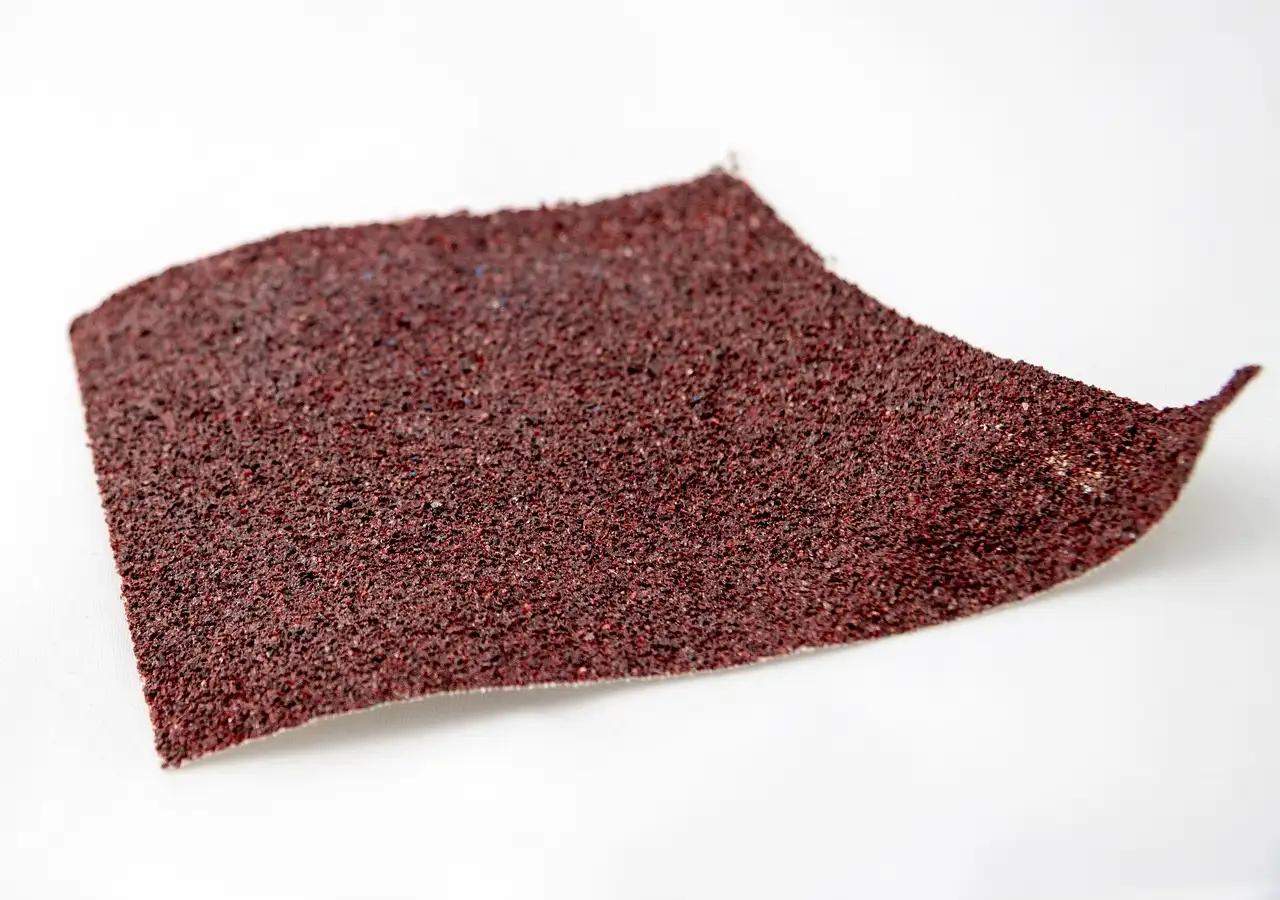
Aluminum-oxide sandpaper is the sensible general-purpose choice for MDF. It is widely available and cost-effective, and grits from 120 to 220 cover most MDF work. A small project usually needs only a 120, 150, 180, and 220 assortment.
Stearated no-load paper is worth having when MDF dust starts to clog standard abrasive. It cuts more cleanly on dusty passes and can be especially helpful with water-based finish workflows, where the paper can load quickly.
Frequently asked questions
What grit sandpaper for smooth finish
For a smooth paint-ready MDF finish, use 180 grit on the main surface and 220 grit only for the final light pass if the panel is already flat. On edges, seal first and then sand with 220 to 320 grit. Going finer than that can burnish the surface and reduce primer bite.
What grit sandpaper for scuff sanding
Use 220 grit for standard primer scuff sanding and move up to 320 grit when the coat is already even and only needs a light texture break. A sanding block or soft pad works better than a bare sheet because it keeps the cut even and reduces through-sanding.
What grit sandpaper to use
Add stearated no-load paper if dust clogs the abrasive fast.
What grit sandpaper for cutting board
If you mean a cutting board made from wood, MDF is not a suitable food-contact material, so sanding grit is the wrong starting question. For wood cutting boards, many makers finish around 220 grit and then choose a food-safe finish. For MDF, stay focused on paint prep rather than food use.
Can I sand MDF too smooth before painting?
Yes. MDF can be sanded so fine that the face gets burnished and the primer does not grip well. Stop at 180 or 220 on faces, and do not chase a polish. The better target is an even scratch pattern, clean dust removal, and a sealed edge where needed.
Sponsored / affiliate links. As an Amazon Associate I earn from qualifying purchases. I may earn additional commission from eligible campaigns.