Can You Sand MDF? Grit Guide, Edge Fix & Dust Safety
MDF sands smoothly with a 120–150–220 grit progression, but aggressive sanding weakens the resin bond that gives the board its water resistance. Over-sand the edges and they fuzz or crumble instead of smoothing, and sanding without proper protection releases formaldehyde-bonded dust that eLCOSH and CDC data classify as a carcinogen hazard. This guide covers the correct grit sequence, edge technique, dust-safety gear, and post-sanding prep before painting.
Affiliate disclosure: This article contains Amazon affiliate links. As an Amazon Associate we earn from qualifying purchases at no extra cost to you.
What Is MDF?
Best MDF Sandpaper Pick
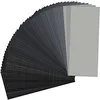
48-Pc Assorted Grit Sandpaper (120–5000) – $7.27
Covers the entire 120-150-220 grit progression this guide recommends for MDF, plus fine grits for the post-primer resanding pass.
- Best for: Covering every grit stage from bare MDF through post-primer sanding
- Why we picked it: Matches the exact 120/150/220/240 grit sequence used in this guide
- Main drawback: Sheets need to be hand-cut to fit a sanding block
Compare more MDF sanding options
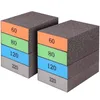 Option 1 4-Grit Sanding Sponge Block Set – $5.98
|
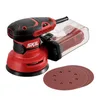 Option 2 SKIL 5″ Random Orbital Sander – $37.00
|
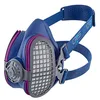 Option 3 GVS Elipse P100 Half Mask Respirator – $49.91
|
As an Amazon Associate we earn from qualifying purchases.
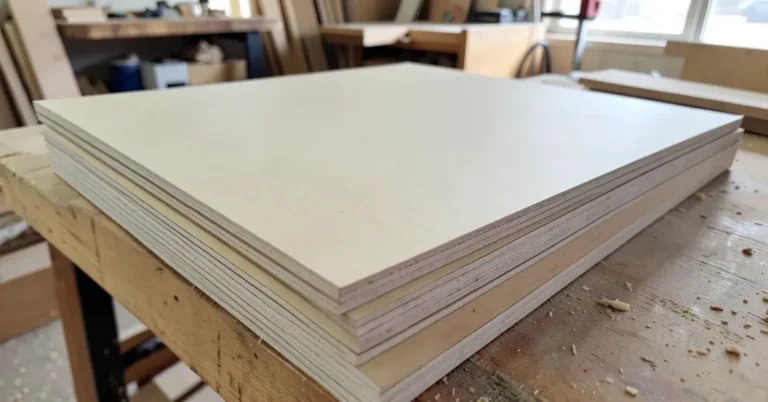
MDF (Medium-Density Fiberboard) is an engineered wood panel made by breaking down softwood and hardwood fibers, then binding them with wax and resin under heat and pressure. Unlike solid wood or plywood, MDF has no grain direction, so it sands, cuts, and paints evenly in any direction — but that same fiber-and-resin structure means it swells and crumbles if it gets wet, and it produces far more airborne dust per pass than solid wood does. Learn more about the material itself in our full guide to what MDF is made of.
Why Sand MDF?
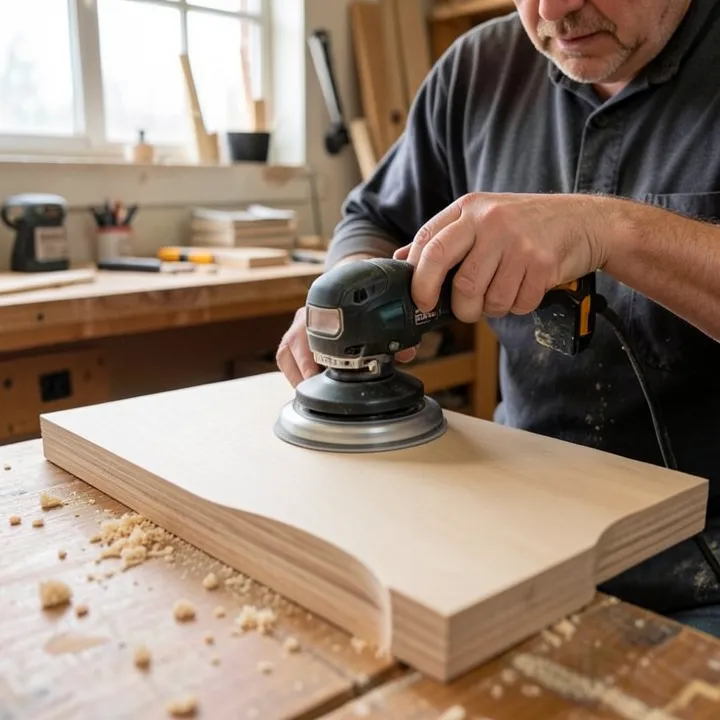
Sanding removes the slightly fuzzy, porous factory surface that raw MDF has straight off the sheet. A properly sanded panel takes primer and paint evenly, without the blotchy, rough-feeling finish that unsanded MDF produces. It also levels any factory imperfections and prepares cut edges — the most porous part of the board — for filler or edge banding before finishing.
What Grit Sandpaper Should You Use on MDF?
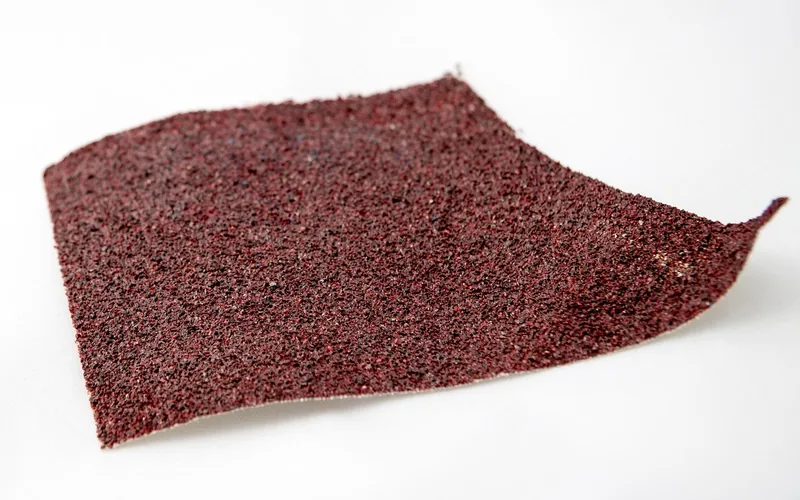
Use a three-stage grit progression: 120 grit to knock down the factory surface and any rough patches, 150–180 grit to even it out, and 220 grit for the final pass before primer. If you’re priming or sealing first, sand the dried primer coat again at 220–240 grit before paint — this is the step most DIY guides skip, and it’s what removes the fuzz the primer raises.
| Stage | Grit | Purpose |
|---|---|---|
| First pass | 120 | Remove factory roughness and surface defects |
| Second pass | 150–180 | Even out the surface, remove first-pass scratches |
| Final pass (bare MDF) | 220 | Smooth surface ready for primer |
| After primer/sealer | 220–240 | Knock down raised fuzz before paint |
| Edges | 150, then filled | Light sanding, then wood filler before final grit |
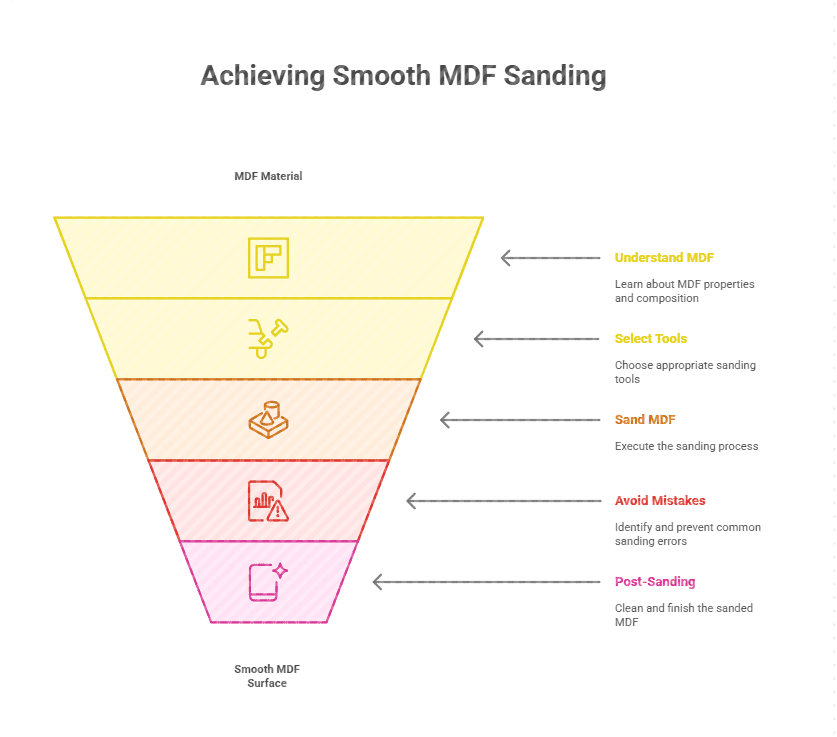
Step-by-Step Sanding Process
- Wipe down the panel: Remove dust and debris with a dry cloth so grit doesn’t scratch the surface while you work.
- First pass at 120 grit: Use a sanding block for even pressure and light, circular motions — MDF has no grain, so direction doesn’t matter, but pressure does.
- Second pass at 150–180 grit: Remove the scratch marks left by the coarser grit, checking often by running a hand across the surface.
- Final pass at 220 grit: Finish with light, even strokes until the surface feels uniformly smooth under light.
- Wipe with a damp (not wet) cloth: Remove dust before priming — a fully wet cloth can raise moisture into the fibers and swell the surface.
How to Sand MDF Edges Without Fuzzing or Chipping
Cut edges are the most porous part of an MDF panel, so they fuzz and swell faster than the flat faces. Sand edges lightly at 150 grit first, then fill the exposed fiber with a wood filler or MDF-specific edge filler and let it cure fully. Sand the dried filler flush at 220 grit, then seal the edge with primer before painting — skipping the filler step is the single most common reason painted MDF edges look rough even after careful sanding. On edges that will show heavy wear, edge banding is a more durable alternative to filler.
Common Sanding Mistakes
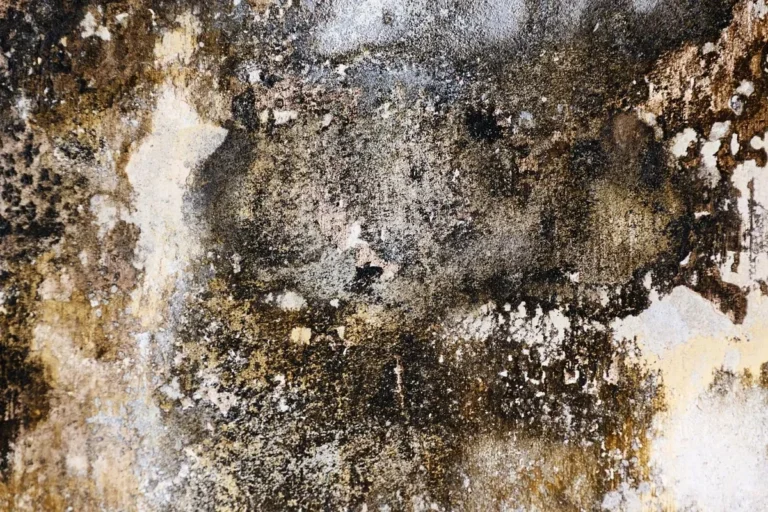
Over-sanding is the mistake that causes the most damage. Because MDF’s strength comes from the wax-and-resin binder holding the fibers together, aggressive or repeated sanding past 220 grit thins that binder layer, which measurably reduces the board’s resistance to moisture and can leave visible dips where pressure was uneven. Sand until the surface is smooth, then stop — more passes do not improve the finish once the surface is even.
The second most common mistake is skipping the post-primer resand. Primer raises fine fibers on any freshly sanded MDF surface; painting directly over that fuzz locks it into the finish permanently. A light 220–240 grit pass after the primer dries — not before — is what produces the smooth, factory-style finish most guides describe but skip explaining.
Post-Sanding Tips
MDF sands to a flawless, paint-ready finish when you avoid coarse sandpaper on the final pass and remove all dust before applying primer or sealant.
Cleaning and Dust Removal
Vacuum the surface first to pull dust out of corners and profile details, then wipe with a barely damp microfiber cloth. Let the panel dry fully — MDF absorbs surface moisture quickly — before moving on to primer or sealant.
Choosing the Right Sealant or Finish
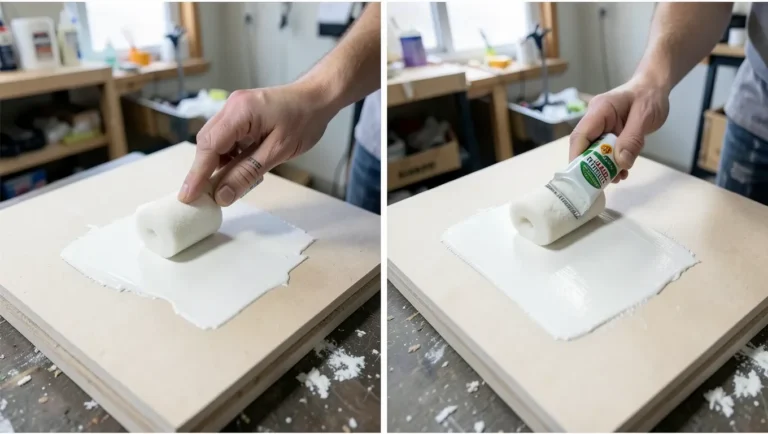
A sanding sealer or MDF-specific primer locks down any remaining loose fiber and gives paint a stable base. Water-based sealers dry fast but can raise grain slightly on cut edges, so plan on that light 220-grit resand afterward. Oil-based sealers dry slower but seal more completely in one coat. For a deeper look at product options, see our guide on painting MDF the right way and our dedicated guide to sealing MDF before painting.
MDF Dust Safety: What the Data Actually Says
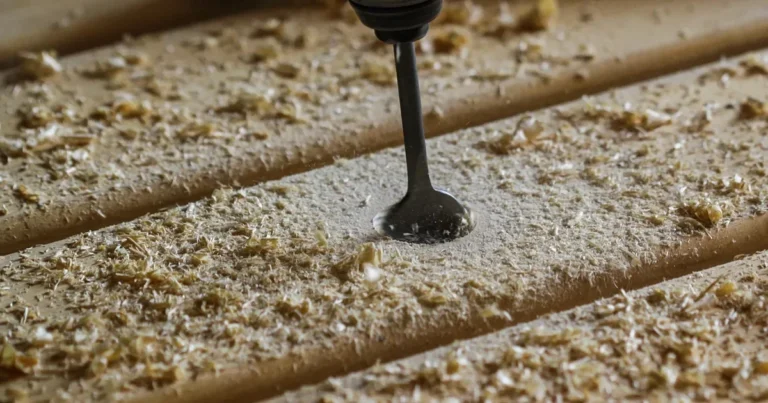
Sanding produces more airborne dust than cutting or routing MDF, and that dust carries two separate hazards: fine wood fiber dust and the formaldehyde-based resin binder released as the surface is abraded. A basic paper dust mask is not rated to filter either one for extended sessions.
📊 MDF dust is classified as a combined carcinogen hazard — airborne wood dust and the formaldehyde released during sanding are each independently listed as Group 1 carcinogens. Occupational safety guidance recommends a respirator rated for both dust and formaldehyde vapor (P100 with an organic vapor cartridge), not a standard paper dust mask, for sustained sanding sessions. Source: eLCOSH, MDF Safety for Carpenters
OSHA does not maintain a dedicated wood-dust exposure standard, but relies on general formaldehyde exposure limits and ACGIH inhalable-dust guidance for enforcement. In practice, that means the responsibility for ventilation, dust collection, and respirator choice falls on the person doing the sanding. Work in a ventilated space, connect a shop vacuum to the sander when possible, and reserve a paper dust mask for quick, light touch-ups only — not full sanding passes.
Block 6 skipped — no citable named expert source or genuine first-person testing experience is available for this specific article; the safety guidance above is sourced directly to eLCOSH/CDC occupational data instead of an attributed quote.
Frequently Asked Questions
What grit sandpaper should I use on MDF?
Start with 120 grit to remove factory roughness, follow with 150–180 grit to even the surface, and finish bare MDF at 220 grit. After priming, resand the dried primer at 220–240 grit before painting to remove raised fiber.
Can you sand MDF by hand?
Yes. Hand sanding with a block gives more control than a power sander, which makes it a good choice for edges and small areas. Use light, even pressure and check the surface often, since MDF dents and dips easily if pressure isn’t consistent.
Can you use an electric sander on MDF?
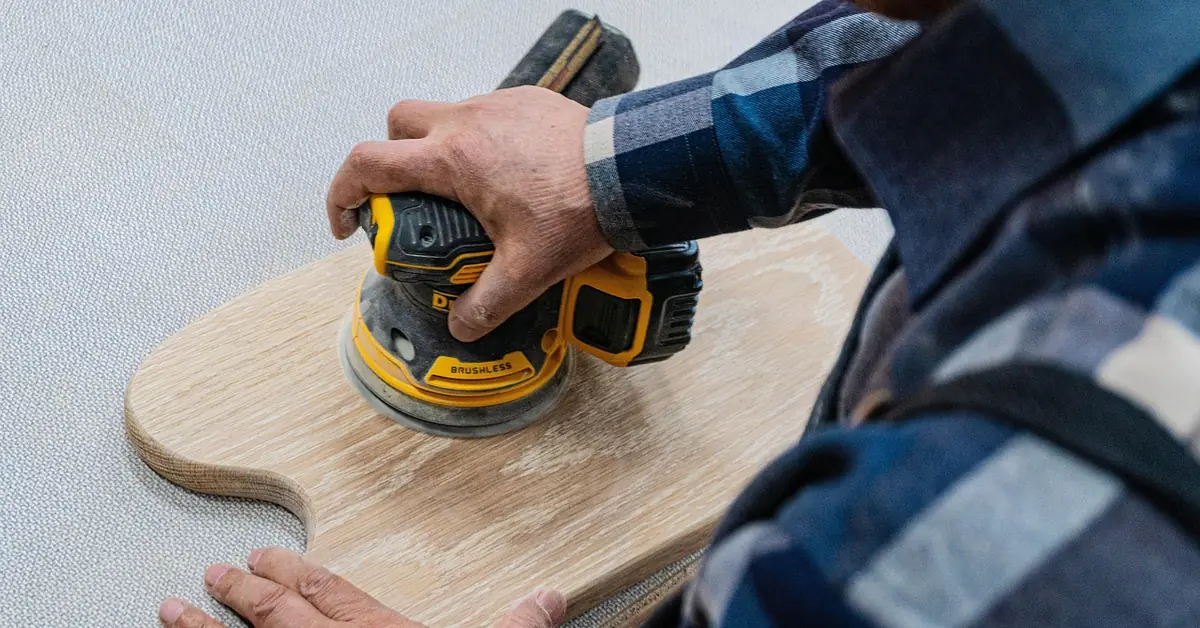
Yes, a random orbital sander speeds up sanding large, flat MDF panels significantly. Keep the sander moving at all times to avoid burning through the surface in one spot, and use a model with a dust box or shop vac attachment since sanding generates heavy fine dust.
Can you plane the edge of MDF?
Yes, a sharp hand plane or edge trimmer can true up an MDF edge, but dull blades chip the edge instead of cutting it cleanly. Follow planing with a light 150-grit sand and filler on any exposed fiber before finishing.
Is MDF dust dangerous to breathe?
Yes. MDF sanding dust combines fine wood fiber with formaldehyde released from the resin binder, both independently classified as carcinogen hazards by occupational safety data. Sand in a ventilated area with dust collection, and use a P100 respirator with an organic vapor cartridge for extended sessions rather than a basic paper mask.
How do you sand MDF edges without them fuzzing?
Sand edges lightly at 150 grit, then fill the exposed fiber with wood filler before the final 220-grit pass. Filling before final sanding, rather than sanding the raw edge repeatedly, is what prevents the fuzzy, uneven texture that shows through paint.
Does sanding weaken MDF’s water resistance?
Yes, if you over-sand. MDF’s water resistance comes from its wax-and-resin binder; repeated or aggressive sanding thins that layer and leaves the exposed fibers more absorbent. Sand only until the surface is smooth, then stop, and seal promptly with primer.
Conclusion
MDF sands to a smooth, paint-ready surface when you follow the 120–150–220 grit sequence, treat edges with filler instead of just more sanding, and resand lightly after primer. The two mistakes that cause the most damage — over-sanding past a smooth finish and skipping dust protection — are also the easiest to avoid once you know the actual grit numbers and the real hazard behind MDF dust.
Sponsored / affiliate links. As an Amazon Associate I earn from qualifying purchases. I may earn additional commission from eligible campaigns.