How to Clean Painted Cabinets Without Dulling the Finish
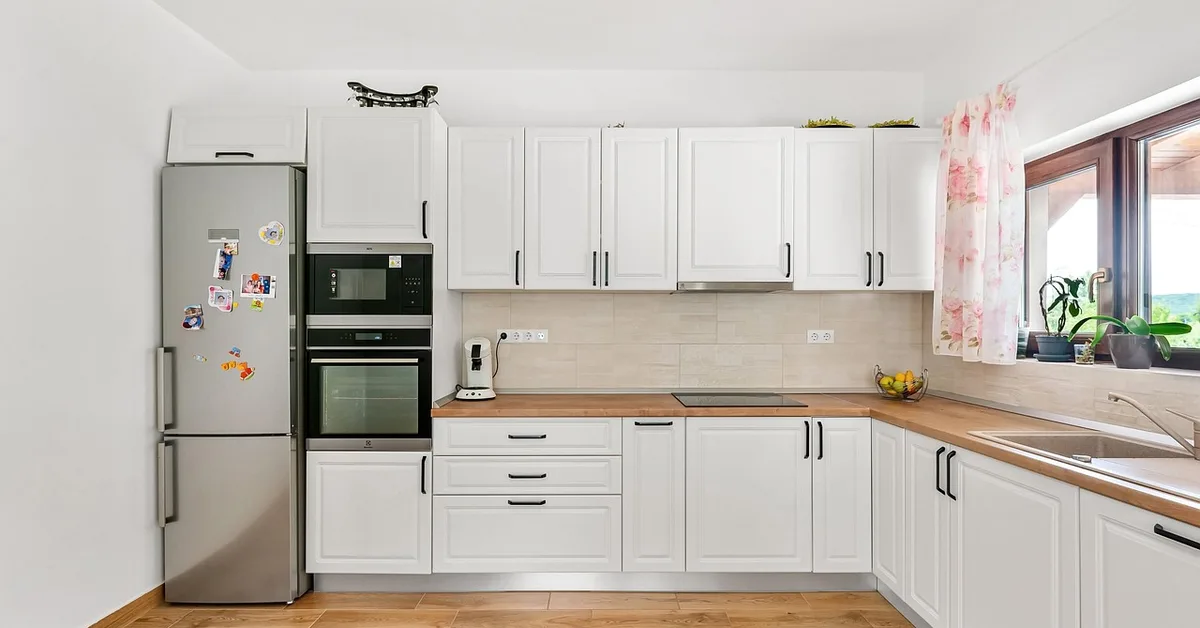
The best way to clean painted cabinets is a damp microfiber cloth with a few drops of dish soap in warm water, followed by a plain-water wipe and an immediate dry buff. That handles fingerprints, splatter and most kitchen film. Skip ammonia, abrasive pads and soaking wet cloths, and never combine two cleaning products to get more grease-cutting power. This guide covers the cure-time wait that most cleaning articles skip, a what-to-use table for each type of mess, and the chemical-mixing rules that keep you safe.
Why Painted Cabinets Need a Gentler Method Than Wood or Laminate
Best Microfiber Cloth Pick
 |
MR.SIGA Microfiber Cleaning Cloths, 12 Pack – $11.39 Every step below, from the dry dusting pass to the final buff, goes better with a soft cloth that will not scratch cured paint.
|
As an Amazon Associate we earn from qualifying purchases.
Cabinet paint is a thin film sitting on top of the wood, and its sheen is the first thing to go. Flatter finishes such as matte and eggshell show scuffs and cleaning marks more than satin or semi-gloss, so the same cloth that is harmless on a glossy door can leave a dull patch on a matte one. Four things do most of the damage:
- Solvents and strong alkalis (ammonia, acetone, some oven cleaners) can soften or cloud the paint film.
- Abrasives such as scouring powder, steel wool and the green scrubby side of a sponge leave micro-scratches that grab grease later.
- Too much water runs into door seams and around hinges, where it can swell the substrate and lift paint at the edges.
- Cleaning too soon after painting, before the film has hardened, can mar a finish that already feels dry.
If you want the paint to resist wear in the first place, see our guide on keeping paint from peeling off cabinets. If the cabinets are about to be repainted rather than cleaned, the prep routine is different and is covered in cleaning kitchen cabinet doors before painting.
Wait Until the Paint Has Cured Before You Wash Anything
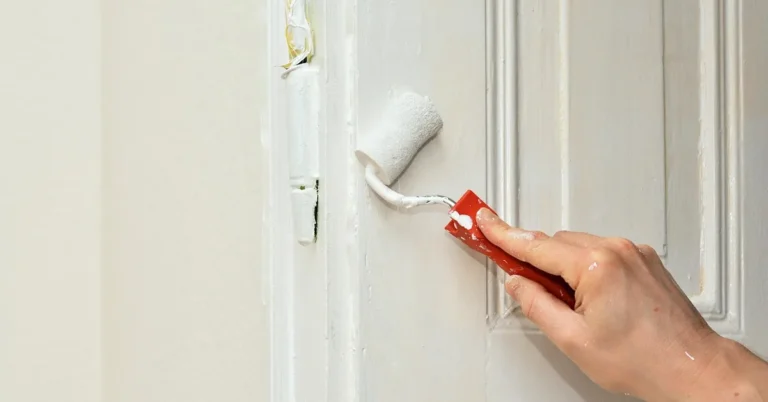
Dry to the touch is not the same as cured. Cabinet paint keeps hardening for weeks after the surface stops feeling tacky, and a wet cloth on a young finish can leave marks or lift it. Cure times depend on the product, coats, temperature and humidity, so the paint can is the final word. As a rule of thumb, painters commonly advise roughly one to two weeks before light damp wiping and about three to four weeks before a full wash. Until then, dust with a dry microfiber cloth only.
What You Need
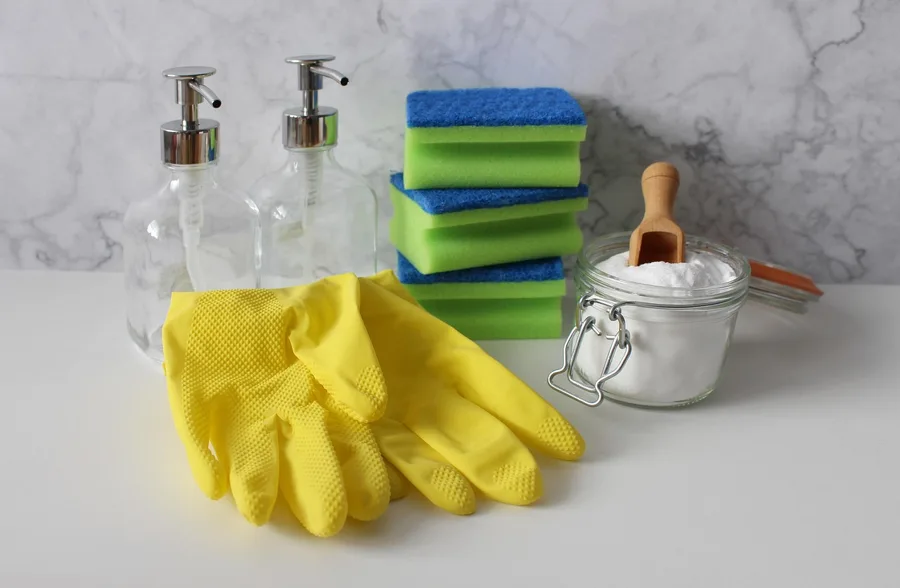
- Microfiber cloths: at least three, one each for washing, rinsing and drying.
- Mild dish soap: a plain, non-abrasive liquid without bleach or added scrubbing grains.
- Warm water in a bowl or a spray bottle.
- Soft toothbrush: for hinges, trim and the grooves in raised-panel doors.
- Distilled white vinegar (optional): only for stubborn stove-side grease, and only diluted.
- Rubber gloves: they keep skin oils and cleaner off your hands.
Test any cleaner on a hidden spot first, such as the inside edge of a door or the back of a toe-kick. Wait for it to dry fully and check for dulling, color transfer or tackiness before you go further.
Step-by-Step: How to Clean Painted Cabinets
Step 1: Dry-dust first
Wipe doors, frames and the tops of upper cabinets with a dry microfiber cloth. Grit pushed around by a wet cloth is what scratches paint, so removing it first matters more than it seems.
Step 2: Wash with soap and warm water
- Mix about 1 teaspoon of mild dish soap into 2 cups of warm water. You want a light film of suds, not a bucket of foam.
- Dampen a microfiber cloth and wring it until it is damp but not dripping. Apply the cleaner to the cloth, not directly to the cabinet.
- Wipe one door at a time, following the grain direction and working top to bottom.
- Go over the same door with a second cloth dampened in plain water to remove soap residue, which can leave a hazy film.
- Dry right away with a clean dry cloth, paying attention to edges, seams and around hinges.
Step 3: Cut cooking grease near the stove
Grease that survives the soap wipe is usually a sticky film built up over months. A second, slightly stronger soap pass often works, so try that before reaching for anything else: let a soap-dampened cloth rest on the spot for about 30 seconds so the soap can soften the film, then wipe. If it persists, many cabinet-cleaning guides suggest a mix of equal parts white vinegar and water on a damp cloth, followed by a plain-water rinse and a dry buff. Vinegar is a mild acid, so it is a spot treatment, not a routine cleaner. Test it first, never let it sit, and never mix it with bleach (see the safety section below).
Step 4: Handle stubborn marks gently
For dried food or crayon-type marks, soften the spot with a damp cloth first and lift it with your fingernail wrapped in the cloth. A baking-soda paste is a last resort: it is a mild abrasive, so use a tiny amount on a damp cloth with almost no pressure and rinse well. For more on how baking soda behaves on wood, see does baking soda damage wood.
Step 5: Clean hardware and crevices
Dip a soft toothbrush in the soap solution, shake off the excess and work around hinges, knobs and door edges. Wipe away loosened grime with a damp cloth, then dry.
What to Use for Each Type of Mess
| Mess | Start with | Escalate to | Avoid |
|---|---|---|---|
| Dust and fingerprints | Dry microfiber cloth | Damp cloth with a drop of dish soap | Dry paper towels (can scratch) |
| Light kitchen splatter | Soap and warm water wipe | Second soap pass, then rinse | Spray cleaners applied directly to the door |
| Grease near the stove | Soap-dampened cloth held on the spot | 1:1 white vinegar and water, then rinse | Ammonia, oven cleaner, scouring pads |
| Dried-on food | Damp cloth to soften | Cloth-wrapped fingernail, light baking-soda paste | Razor blades, metal scrapers |
| Chalky or sticky film | Plain-water wipe, dry buff | Weak soap wipe, thorough rinse | Soaking the door |
| Hardware and crevices | Soft toothbrush with soap solution | Cotton swab for grooves | Steel wool or wire brushes |
Never Mix Cleaning Products
This is the one place a kitchen cleaning job can actually hurt you. The CDC and poison control centers advise never mixing cleaning products, and two combinations are especially dangerous:
- Bleach plus vinegar or any acid releases chlorine gas, which irritates the eyes, nose and throat and can cause serious breathing trouble.
- Bleach plus ammonia releases chloramine gas, which can cause coughing, wheezing, chest pain and shortness of breath.
Bleach is also a poor choice for painted cabinets in the first place, because it can discolor paint. Use one product at a time, rinse the surface with plain water before switching to another, ventilate the kitchen and wear gloves. If you start feeling dizzy or short of breath, leave the room and get fresh air. In the US, Poison Control can be reached at 1-800-222-1222.
How to Keep Painted Cabinets Clean Longer
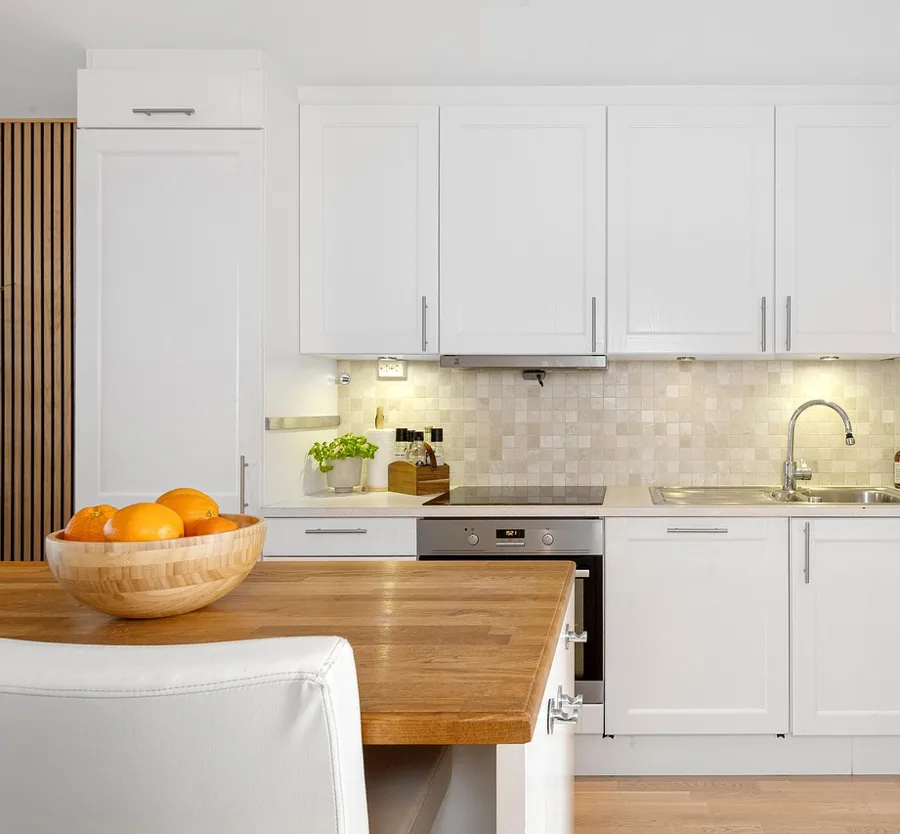
- Wipe spills right away. Wet grease and sauces come off with a damp cloth, while dried splatter takes scrubbing.
- Run the range hood. It pulls airborne grease away from the cabinets above the stove.
- Do a quick dry wipe weekly. Dust mixed with kitchen humidity is what turns into sticky film.
- Clean the handles most often. Skin oils collect there first and spread onto the paint around them.
- Keep a touch-up jar. Chips let water under the paint, so seal them early.
The same gentle, damp-not-wet approach applies to other finished wood in the house. If you also have hardwood underfoot, see our guide to the best ways to clean wooden floors.
Frequently Asked Questions About Cleaning Painted Cabinets
Can I use an all-purpose cleaner on painted cabinets?
Only if the label says it is safe for painted or sealed wood surfaces, and only after a test on a hidden spot. Many all-purpose sprays contain solvents or abrasives that can dull the sheen. A drop of dish soap in warm water is the safer default.
Are magic erasers safe for painted cabinets?
Use them with caution. A melamine sponge works like very fine sandpaper, so it can flatten the sheen of satin and semi-gloss paint and leave a visible dull patch. Try soap and water first, and if you use one, test a hidden area with very light pressure.
How long should I wait to clean freshly painted cabinets?
Check the paint can, because cure times vary by product. Many cabinet painters recommend waiting roughly one to two weeks before any damp wiping and about three to four weeks before a real wash. Until then, dust only with a dry microfiber cloth.
Is it safe to mix vinegar and bleach to cut grease?
No. Mixing bleach with vinegar or other acids releases chlorine gas, and mixing bleach with ammonia releases chloramine gas. The CDC advises never mixing cleaning products. Pick one product, use it as labeled, and rinse before using another.
How often should painted kitchen cabinets be cleaned?
A dry wipe of the doors every week or two and a damp soap wipe once a month is enough for most kitchens. Cabinets next to the stove may need the damp wipe every two weeks because cooking grease builds up there first.
The Short Version
Dust dry, wash with a drop of dish soap in warm water on a barely damp microfiber cloth, rinse with plain water and dry at once. Reserve diluted vinegar for stove-side grease, avoid abrasives and ammonia, wait for new paint to cure and never mix cleaners. Done that way, painted cabinets keep their sheen for years.
Sponsored / affiliate links. As an Amazon Associate I earn from qualifying purchases. I may earn additional commission from eligible campaigns.