Best Way to Clean Woodwork (Without Damaging the Finish)
Clean finished woodwork with a barely damp microfiber cloth and a few drops of dish soap in warm water, then dry it right away, but only after a water-drop test confirms the wood is actually sealed. Water on bare or waxed wood stains and swells it. This guide covers the drop test, the safe cleaner for each finish, and steps for trim, doors and cabinets.
What Is the Best Way to Clean Woodwork? Start With the Finish
Best Trim and Cabinet Cleaner |
|
 |
Weiman Cabinet and Wood Cleaner Spray, 2-Pack with Microfiber Towel ($21.98) A ready-to-spray cleaner for the finished trim, doors and cabinets this guide covers. Spray it on the cloth, not the wood.
|
As an Amazon Associate we earn from qualifying purchases.
The right cleaner depends on the finish, not the wood, so identify it first. Put one drop of water on a hidden spot. If the drop soaks in, the surface is unfinished or only oiled, and soapy water is off the table. If it beads up, you have a sealed film finish and can wash it. Murphy’s maker uses this same drop test on its oil soap safety page.
If the finish is sealed but you are unsure what it is, a cotton swab dipped in denatured alcohol on a hidden spot helps: shellac and lacquer soften, polyurethane does not. Our solvent test guide for wood finishes walks through the full sequence.
| Finish | How to tell | Safe cleaner | Avoid |
|---|---|---|---|
| Varnish, polyurethane, lacquer | Water drop beads up | Damp cloth with a few drops of dish soap | Soaking the wood; harsh scouring powders |
| Shellac | Denatured alcohol softens it | Barely damp cloth with mild soap, dried at once | Alcohol-based cleaners and ammonia |
| Oil or wax finish | Water drop soaks in or darkens the spot | Dry dusting; products made for that finish | Water-based cleaners and oil soap |
| Painted trim | Painted surface, no wood grain visible | Damp cloth with mild soap, wrung out well | Scrub brushes and abrasive pads |
| Raw, unfinished wood | Water drop soaks in fast | Dry dusting only; light sanding for stains | Any liquid cleaner |
What You Need to Clean Woodwork
- Microfiber cloths: two or three, one for washing and one for drying and buffing
- Soft brush or vacuum brush attachment: lifts dust from corners and carved profiles
- Dish soap and warm water: a few drops per quart is enough, since extra soap leaves a film
- Two buckets or bowls: one for soapy water and one for rinse water
- Spray bottle: to dampen the cloth, so you never spray the wood directly
- Mineral spirits (last resort): for wax buildup and sticky residue, with gloves and open windows
If you prefer a purpose-made cleaner, follow its label. Murphy’s publishes clear dilution numbers, and we compare it with modern spray cleaners in our Murphy’s Oil Soap vs wood cleaner guide.
📊 Murphy’s Oil Soap dilution: 1/4 cup per gallon of water for regular cleaning, 1/2 cup per gallon for heavier cleaning or sturdier woods, and never on unfinished wood that absorbs water. Source: Murphy Oil Soap, manufacturer directions
How to Clean Woodwork Step by Step
Step 1: Clear and protect the area
Move furniture away from baseboards and lay towels on the floor under the work area so drips do not reach carpet or flooring. Empty cabinets only if you are cleaning inside them.
Step 2: Dry dust first
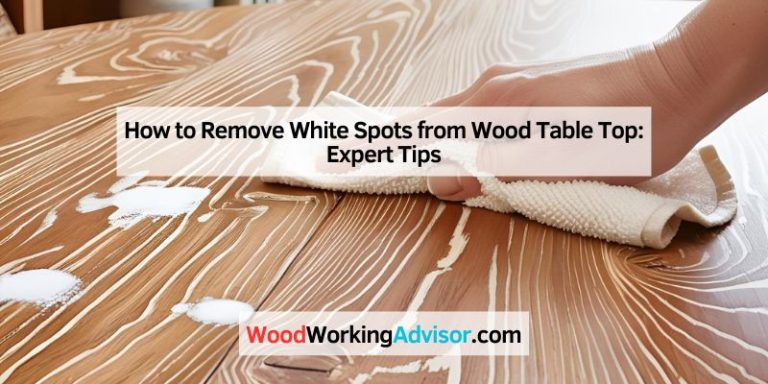
Wipe with a dry microfiber cloth, then loosen dust from corners and profiles with a soft brush and pick it up with a vacuum brush attachment. Wetting dusty wood turns the dust into a muddy film, so this step comes before any liquid. On raw or oil-finished wood, you stop here.
Step 3: Wash with a barely damp cloth
- Mix a few drops of dish soap into a quart of warm water, and fill a second bowl with clean water.
- Dip a microfiber cloth in the soapy water and wring it hard. It should feel damp, not wet.
- Wipe one small section at a time, following the grain.
- Rinse the cloth, wring it again, and wipe the same section to remove soap residue.
- Dry right away with a clean dry cloth so water cannot sit on the finish.
Step 4: Treat stubborn spots
Greasy fingerprints and scuffs usually lift with a second pass of soapy cloth and a little patience. For sticky tape residue or wax buildup, use the mineral spirits method below, but only on a durable film finish after a hidden-spot test.
Step 5: Restore shine only if needed
A clean, dry finish already looks its best. If it still looks dull, use a polish or paste wax made for your finish, applied thinly and buffed off. Heavy polish layers collect dust and make the next cleaning harder.
Cleaning Trim, Doors, Cabinets and Furniture
Baseboards and trim
Baseboards pick up dust, scuffs and mop splashes. Dry dust them with the vacuum brush, then wipe with the barely damp cloth. Wash from the top down and finish with a dry cloth so no moisture sits along the floor line. For upkeep tasks beyond cleaning, see our wood care and maintenance guide.
White and painted woodwork
Painted trim marks easily and shows yellowed grime. Use the mild soap solution with a well-wrung cloth, work bottom to top so drips run over dirty paint rather than clean paint, and avoid scrub brushes. A melamine sponge can lift scuffs on paint but may dull a glossy sheen, so test it first.
Doors and door frames
Fingerprints concentrate around handles and at hand height. A damp soapy cloth followed by a dry one handles most of it. Check the finish on the hinge side or the top edge of the door before using anything stronger.
Kitchen cabinets
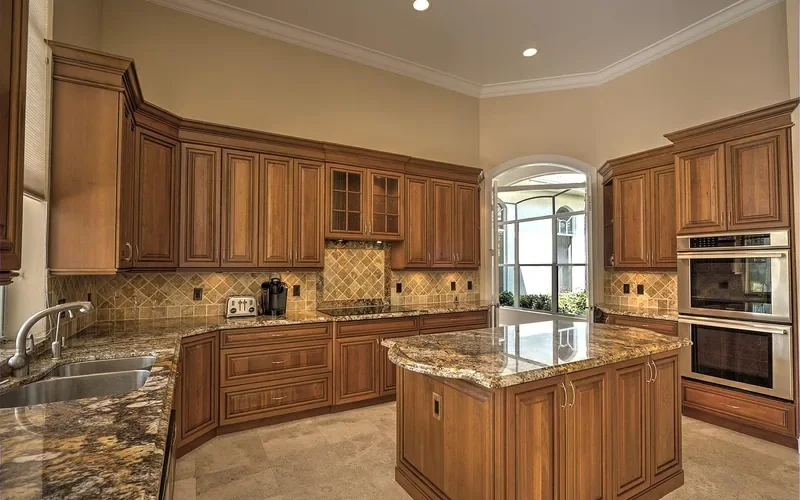
Kitchen cabinet doors collect cooking grease near the stove. Wash with the soap solution, rinse, and dry, and keep water away from seams, edges and hinges where it can creep in. Our guide to cleaning maple cabinets without stripping the finish goes deeper on one common cabinet wood.
Wood furniture
Furniture finishes vary more than trim, so run the drop test on each piece. Waxed and oiled pieces need dry dusting and a wax-safe cleaner rather than water. For one common furniture wood, see how to clean oak furniture.
Removing Sticky Residue, Grease and Wax Buildup
Start with soap and water. If a spot stays sticky or waxy, mineral spirits can dissolve it, but it is a solvent, so treat it with care.
- Open windows and wear gloves.
- Test a hidden area first, wait a few minutes, and check that the finish is not softened or dulled.
- Dampen a clean cloth lightly with mineral spirits. Never pour it on the wood.
- Rub the spot gently with the grain, then wipe with a clean dry cloth.
- Wash the area with the soapy cloth to remove any film, and dry it.
Keep solvent away from flames and sparks, and let used rags air out flat in a ventilated spot before you throw them away, since solvent-soaked rags are a fire risk.
Woodwork Cleaning Myths to Skip
- More soap means more shine: excess soap leaves a film that dulls the finish. A few drops per quart is plenty.
- Vinegar is the safe natural option: it is an acid with no real advantage over mild soap on finished wood.
- Spray cleaner straight onto the wood: liquid pooling at edges and joints is how water damage starts. Spray the cloth.
- Wet wood cleans better: water is the main risk to any finish, so a barely damp cloth beats a wet one every time.
Frequently Asked Questions
How often should I clean woodwork?
Dust finished woodwork every one to two weeks and wipe it with a barely damp cloth every one to three months, or sooner in kitchens and entryways where grease and fingerprints build up faster.
Can I use vinegar to clean wood trim?
You do not need to. A few drops of dish soap in warm water cleans finished trim without the risk. Vinegar is an acid, so on an old or unknown finish it is an avoidable gamble. If you still use it, dilute it heavily, test a hidden spot, and dry the wood right away.
What removes sticky residue from wood trim?
Rub the spot with a cloth dampened with mild soapy water first. If it stays tacky, test mineral spirits on a hidden spot, then dab a lightly dampened cloth on the residue, wiping with the grain and following with a clean damp cloth. Ventilate the room and keep flames away.
Is it safe to use a Magic Eraser on woodwork?
Only on painted woodwork, and gently. A melamine sponge is a fine abrasive, so it can dull glossy or satin varnish and lacquer. Test a hidden spot first and avoid it on stained wood you want to keep shiny.
How do I clean white painted woodwork?
Wipe with a soft cloth wrung out of warm water with a few drops of dish soap, working from the bottom up so drips do not streak clean paint. Rinse with a clean damp cloth and dry immediately. Skip scrub brushes, which can scuff the paint.
Conclusion
Run the water-drop test, dust dry, then wash in small sections with a barely damp cloth and dry at once. Keep mineral spirits for the stubborn spots and wax for the finish step, and your woodwork stays clean without losing its finish.
Sponsored / affiliate links. As an Amazon Associate I earn from qualifying purchases. I may earn additional commission from eligible campaigns.