5 Best Wood Glues for Painted Surfaces (2026): we compared
For painted wood, I use PVA wood glue only when the paint is fully bonded, scuffed dull, and the joint is tight; if the paint chips, flexes, or sits in a load-bearing joint, I strip it first and glue bare wood. For damaged painted repairs, epoxy is the safest overall pick because it bridges chipped edges and mixed paint-to-wood surfaces better than ordinary wood glue.
This guide is part of our Wood glue essentials: types, uses, and cure times series.
Bad prep turns a simple repair into a weak bond that fails under clamp pressure, seasonal movement, or the first bump.
This guide sorts glue types for painted furniture, trim, and small shop repairs, and shows when paint has to come off before you buy or clamp anything.
Quick comparison
| Product | Badge | Best for | Price | ||
|---|---|---|---|---|---|
 |
Titebond II Premium Wood Glue 8 Oz. – Honey Cream, 5003Titebond | Our pick | 8 oz · Water-Resistant PVA Wood Glue | $5.44
Price as of 26 Sep 2026
|
View |
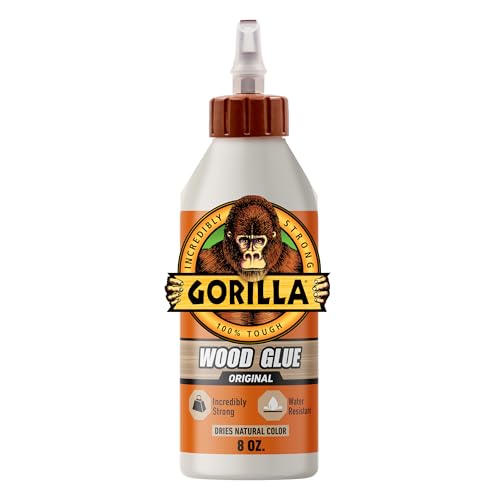 |
Gorilla Wood Glue, Fast Clamp, Water Resistant PVA, 8 ozGORILLA | Also great | 8 oz · Fast Clamp Water-Resistant PVA | $4.37
Price as of 26 Sep 2026
|
View |
 |
Elmer’s E7010 Carpenter’s Wood Glue, Interior, 8 Ounces ,Elmer’s | Budget pick | 8 oz · Non-Toxic Carpenter’s Wood Glue | $8.77
Price as of 26 Sep 2026
|
View |
 |
Weldbond Multi-Surface Glue Non Toxic for Mosaic WoodWeldbond | Upgrade pick | 5.4 oz · Multi-Surface Adhesive for Mosaics | $9.99
Price as of 26 Sep 2026
|
View |
 |
Gorilla Ultimate Waterproof Wood Glue, Natural Color, 8 ozGORILLA | Pair with it | 8 oz · Ultimate Waterproof Wood Glue | $5.97
Price as of 26 Sep 2026
|
View |
Painted repairs fail at the surface first, not the brand name on the bottle. The right choice depends on paint condition, joint stress, and how visible the repair will be after squeeze-out and touch-up.
When the finish is glossy, chalky, or lifting, I treat it as a finish problem before it turns into a glue problem.
According to The 5 Best Wood Glues (2026 Review) — Gorilla Wood Glue dries in 20 to 30 minutes. (source)
How we chose
The decision here is based on paint condition, bond reliability, joint stress, visibility, cleanup burden, and how clamp time compares with cure time.
We also split cosmetic fixes from structural repairs, because those are different jobs.
If the repair needs the paint to carry the load, the answer changes fast.

PVA wood glue: best for tight joints with sound paint
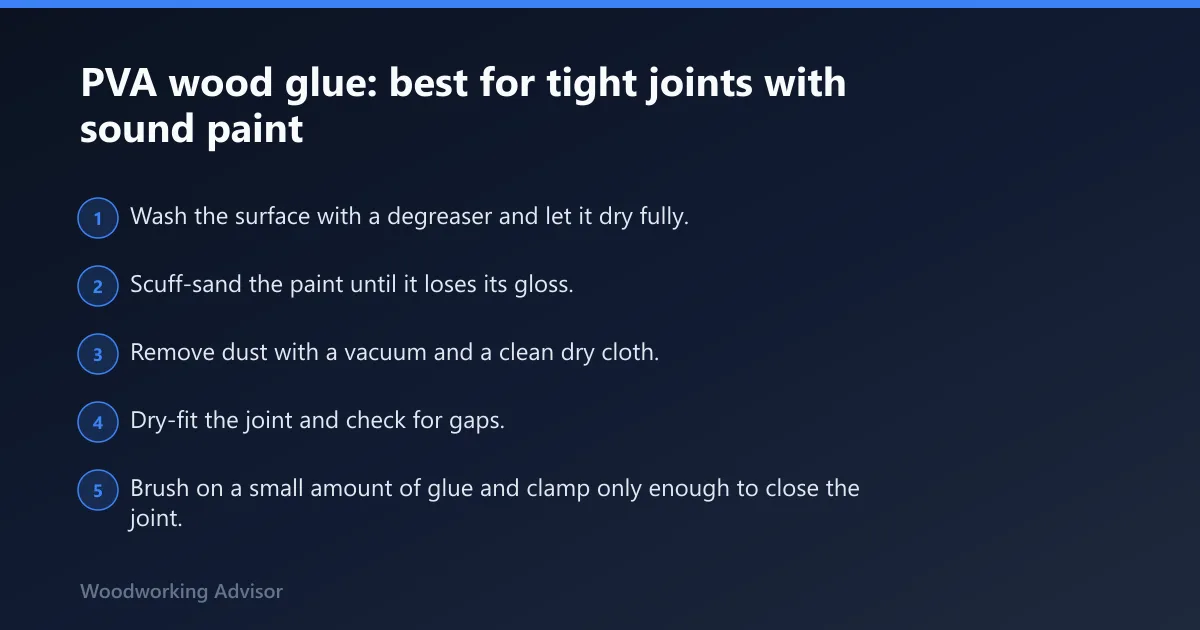
Choose this when the painted parts fit tightly, the paint is still hard, and the repair is inside a low- to moderate-stress joint. Gorilla Wood Glue dries in 20 to 30 minutes and has a 24-hour cure time, so it suits small trim returns, painted edge reattachment, and furniture parts that can be clamped flat without shifting. (thisoldhouse.com)
The main advantage is simple behavior. PVA is easy to spread, easy to clean before it sets, and acceptable for painted joints only when the paint film is fully stuck to the wood underneath. A water-resistant PVA is better than a basic interior glue if the repair may see damp wiping or seasonal humidity.
The drawback is also simple. PVA does not rescue weak paint. If the layer under the glue is glossy, chalky, or already lifting, the bond usually breaks at the paint line instead of in the wood.
When PVA will hold and when it will fail
PVA can hold on painted surfaces when the joint is tight, the finish is matte after scuffing, and the paint is well bonded. It fails when the paint itself is brittle, soft, or contaminated with polish, wax, or grease.
That is why painted trim often needs less glue science than surface honesty.
Indoor strength, water-resistant versions, and clamp time
PVA wood glue is a good indoor choice for repairs that do not get soaked. Water-resistant versions are worth choosing for pieces near kitchens, entryways, or laundry areas, but they still are not a cure for bad prep.
For many PVA repairs, clamp time is short compared with cure time. A joint may feel secure after 20-30 minutes, but full strength usually takes much longer, so moving the part too early can pop the bond.
How to prep painted joints for PVA
- Wash the surface with a degreaser and let it dry fully.
- Scuff-sand the paint until it loses its gloss.
- Remove dust with a vacuum and a clean dry cloth.
- Dry-fit the joint and check for gaps.
- Brush on a small amount of glue and clamp only enough to close the joint.
- Wipe squeeze-out before it skins over.
Epoxy: best for damaged edges and mixed paint-to-wood repairs
Epoxy is the safest choice when the painted part has missing material, chipped edges, or a repair that crosses from bare wood into remaining paint. Its two-part mix fills gaps better than PVA and gives you more forgiveness where the edge is broken or irregular.
That extra gap-filling ability matters most on worn furniture corners, broken trim miters, and spots where the paint has already failed around the damage. Among common adhesive types, epoxy is the most honest option when the surface is not flat enough for a thin glue line.
Two-part mix and gap filling
Epoxy works only after the resin and hardener are mixed correctly. If the mix is off, cure problems follow. Once mixed, it can fill small voids, rebuild a chipped corner, and stay in place on vertical surfaces better than runnier glues.
It is not the fastest route, but it is often the least frustrating route for damaged painted edges.
Why it handles chipped or missing material better
Epoxy bonds to sound paint, bare wood, and partly damaged edges when the surface has been cleaned and scuffed. That makes it useful for repairs where the break is not a clean wood-to-wood line.
It is also the better choice when a cosmetic repair needs some shaping after cure. You can sand and touch up the patch once it hardens.
Cure time, shaping, and touch-up
Epoxy usually asks for more patience than PVA or CA. The practical tradeoff is worth it when the repair must be sanded flush and painted afterward.
For visible work, let it cure fully before shaping. Rushing the sandpaper across half-cured epoxy just gums up the repair and pulls the edge loose.
Cyanoacrylate (CA) glue: best for tiny cosmetic fixes
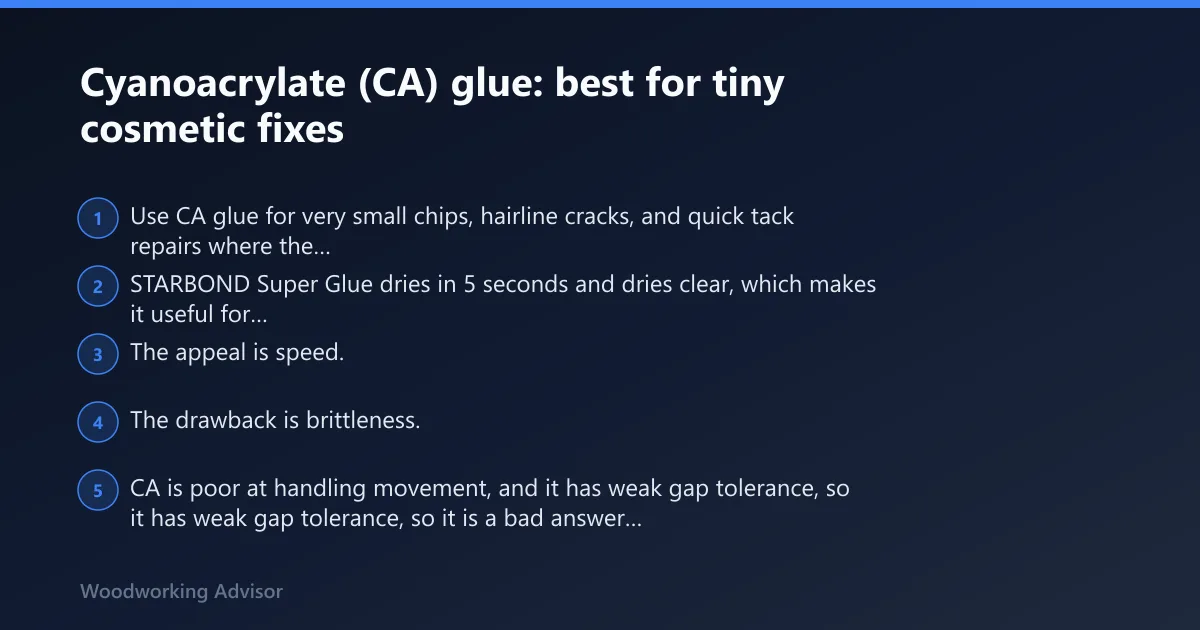
Use CA glue for very small chips, hairline cracks, and quick tack repairs where the parts fit tightly and the goal is cosmetic, not structural. STARBOND Super Glue dries in 5 seconds and dries clear, which makes it useful for pinning a loose sliver in place or stabilizing a tiny painted fragment before touch-up.
The appeal is speed. The drawback is brittleness. CA is poor at handling movement, and it has weak gap tolerance, so it is a bad answer for loose painted joints, flexing trim, or edges with missing material.
Fast tack for small cracks and chips
CA grabs almost immediately, so it works when a tiny repair would move before slower glue sets. That can save a narrow chip on a painted edge or a cracked decorative profile.
It is a repair aid, not a cure-all.
Brittle behavior and weak gap tolerance
Once cured, CA can be brittle. If the paint film or the wood beneath flexes, the bond may snap instead of bending.
It also dislikes open gaps. If the crack is wide enough to see daylight, move to epoxy or a mechanical repair.
When CA is the wrong choice
Skip CA on load-bearing trim, loose veneer edges, and joints that must survive clamp pressure. It also creates cleanup problems on visible paint because excess can leave a shiny spot that is hard to hide.
For anything beyond a tiny cosmetic chip, it is the wrong tool.
Decision matrix: when glue can bond to paint and when to strip finish
This is the part most guides skip. Paint type, joint stress, and visibility should decide the prep level before the adhesive choice does. If the paint is the weak layer, no glue repairs the weak layer.
| Paint type / condition | Joint stress | Visibility | Best adhesive | Prep level | Do-not-use flag |
|---|---|---|---|---|---|
| Latex paint, sound and dull after scuffing | Low | Low | PVA wood glue | Degrease, scuff-sand, dust removal | Do not use on loose or soft paint |
| Oil paint, fully cured and hard | Low to moderate | Moderate | Epoxy or PVA, depending on joint fit | Scuff-sand more aggressively, then test bond | Do not use if the paint scratches to powder |
| Primer only, with topcoat removed | Low | High | Epoxy for damaged areas, PVA for tight fits | Confirm primer adhesion first | Do not rely on loose primer alone |
| Clear coat over wood | Low | High | PVA only if sanded dull and tight | Scuff until matte, clean thoroughly | Do not glue to glossy clear coat |
| Glossy enamel or chalky old paint | Any | Any | None until finish is removed | Strip or sand to sound substrate | Do not use glue over the finish |
Do-not-use list for common failure cases
- Loose or peeling paint.
- Chalky old paint that comes off on your fingers.
- Glossy enamel that has not been scuffed dull.
- Flexible joints that carry weight or vibration.
- Repairs where the adhesive line must bridge a wide gap.
- Painted surfaces contaminated with wax, silicone, or polish.
When those conditions show up, the honest fix is strip, scuff to sound material, or switch to a mechanical repair such as screws, dowels, brads, or replacement parts.
Which one should you buy
For tight indoor repairs on painted furniture or trim, choose a water-resistant PVA like Gorilla Wood Glue if the paint is sound and the joint closes cleanly. It is the easiest option to live with when the repair is not structural and the finish is already in decent shape.
For chipped trim, damaged corners, and mixed paint-to-wood repairs, epoxy is the better buy. It tolerates missing material and gives the repair enough body to be shaped and painted afterward.
For glossy, weak, or unknown paint, do not buy glue first. Buy prep time first. If the finish cannot pass a scuff, clean, and test-bond check, strip it or move to a mechanical fix.
For tiny cosmetic chips only, a fast CA option like STARBOND can be useful, but it should stay in the small-repair lane.
How to clamp painted joints without damaging the finish
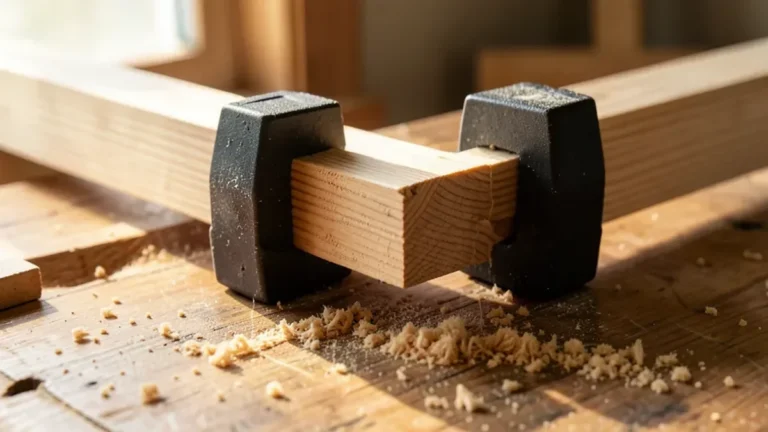
Clamp painted joints with enough pressure to close the gap, not crush the finish. Use bar clamps for reach, but add cauls or scrap blocks between the clamp face and the paint so the pressure spreads out and the finish does not dent.
Finish marring is usually caused by too much pressure in too small an area, not by the clamp brand itself.
Practical clamping steps
- Dry-fit the parts first.
- Lay masking tape or thin scrap under the clamp pads where needed.
- Use cauls to distribute pressure across the joint.
- Snug the clamps until the joint closes.
- Stop as soon as squeeze-out appears.
- Check alignment before leaving it alone.
On painted trim, overclamping can print the caul pattern into the finish. That is a repair problem no glue can fix.
What if the paint is glossy or latex?
Glossy paint and fresh latex are both poor glue surfaces until they are cleaned and abraded. Glossy coatings need enough scuffing to remove the shine, and latex needs to be fully cured and firmly attached before any adhesive has a fair chance.
If the surface still looks shiny after sanding, it probably still behaves like a slick finish.
Latex paint
Latex can work for low-stress repairs if it is old, hard, and well adhered. If it feels soft, rubbery, or gummy under sandpaper, stop and strip it.
Glossy enamel
Glossy enamel is one of the most glue-hostile common finishes. It often needs heavier scuffing or full removal, especially where the repair must hold load.
Primer and clear coat
Primer-only surfaces are a gray area. If the primer is bonded well, it may hold for a light repair, but it is still safer to bond to bare wood where the joint matters. Clear coat behaves much like glossy paint: it needs to be dulled or removed before glue has a real chance.
Can I glue painted wood to bare wood?
Yes, but only if the painted side is sound, clean, and scuffed dull. If the paint is the weak link, the bond will fail at the paint layer while the bare wood side remains intact.
For structural work, removing the paint on the joint face is usually the smarter move. That gives the adhesive a real wood surface instead of a finish film.
Do I need to sand paint off before gluing wood?
Often, yes. If the paint is glossy, soft, chipped, or chalky, sand it off until you reach sound material. If the paint is hard and well bonded, a light scuff may be enough for a low-stress repair, but a load-bearing joint still deserves bare wood whenever possible.
A test-bond check is the safest way to decide.
How long should I clamp wood glue on painted surfaces?
Clamp time depends on the glue, the fit, and how much finish remains on the joint. For many PVA repairs, 20-30 minutes is enough to hold shape, but that is not full cure. Some formulas need about 1 hour before handling, while a 24-hour cure is common before the joint should see real stress.
Always separate clamp time from cure time.
Will PVA wood glue stick to painted wood?
Yes, but only on paint that is hard, clean, and scuffed dull. PVA works best on tight joints with sound paint and small loads. It is a poor choice when the paint is glossy, weak, or already failing, because the glue bond is usually stronger than the paint bond beneath it.
That is why the surface decision matters more than the bottle label.
Is epoxy better than wood glue for painted surfaces?
Epoxy is better when the repair is damaged, uneven, or partly missing material. Wood glue is still fine for tight joints on sound painted surfaces, but epoxy wins where the paint is not continuous and the joint needs fill, shaping, or extra forgiveness.
For structural repairs on painted edges, epoxy is usually the safer call.
Frequently asked questions
What wood glue works on painted surfaces?
PVA wood glue works on painted surfaces only when the paint is fully bonded, scuffed dull, and the joint is tight. Epoxy is the better choice when the paint is chipped, the edge is damaged, or the repair needs gap filling. CA glue is only for tiny cosmetic fixes, not load-bearing joints.
Sponsored / affiliate links. As an Amazon Associate I earn from qualifying purchases. I may earn additional commission from eligible campaigns.