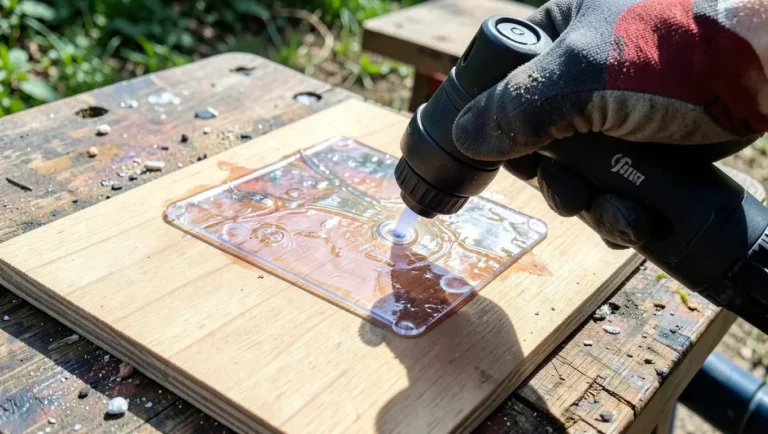
Can You Glue Wood to Rubber? Flexible Adhesives Guide
Yes, you can glue wood to rubber, but the adhesive should match the rubber type and how much movement the joint will see: flexible rubber-like materials often do better with contact cement, polyurethane, or a rubber-toughened epoxy, while rigid bonds may fail with regular wood glue. Pick the wrong adhesive and the joint peels, creeps, or cracks, wasting parts and time. This guide compares adhesives by rubber type, joint flex, and shop conditions, with failure checks before you commit.
Can you glue wood to rubber?


Yes, wood and rubber can be bonded successfully when the joint matches the load, the rubber type, and how much the assembly will flex. The bond usually fails because of peel and movement, rather than the exact product brand. Wood glue alone is usually a poor choice on rubber.
What makes wood-to-rubber bonds difficult
Rubber moves, and some rubbers have low surface energy that resists wetting by adhesives. Wood is porous and usually easy to bond; rubber may be oily, soft, or smooth enough that the adhesive grabs poorly. Heat, moisture, and repeated flexing make weak spots fail faster.
When the bond can work well
It works best when the joint is broad, flat, and loaded mostly in shear rather than peeled apart. Think gaskets, pads, trim, liners, and backing blocks. A flexible adhesive, clean surfaces, and full cure before loading make the bond far more reliable.
When to choose a mechanical fastener instead
If the joint will see constant peel, heavy impact, high heat, oil splash, or strong vibration, a glued joint may be the wrong tool. Screws, staples, clips, retainers, or a hybrid of fastener plus adhesive can be safer. That is especially true for thick rubber parts that keep flexing at one edge.
Which adhesive is best for wood to rubber?
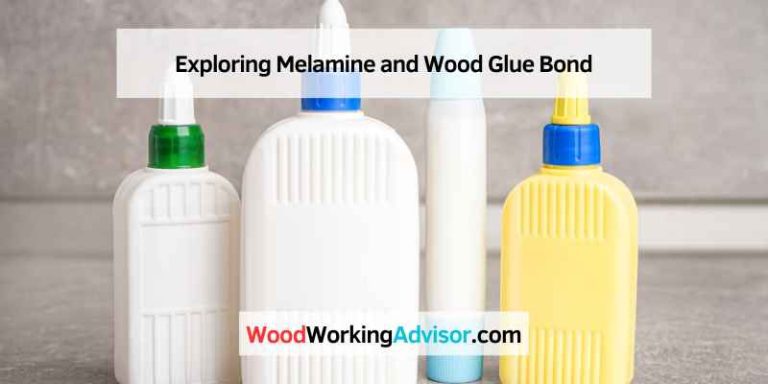
The best adhesive depends on the rubber type and joint geometry. For larger flat areas, contact cement is often a first choice. For porous wood with small gaps, polyurethane adhesive can be a good option. CA, epoxy, and silicone each have narrower uses where speed, stiffness, or flexibility matters more than all-purpose strength.
Contact cement for large flat areas
Contact cement gives a flexible bond and works well on large, flat surfaces where both sides can receive a thin, even coat. It becomes pressure-activated after the solvent has flashed off. Open time matters, and the parts must be aligned carefully because the bond grabs on contact.
Polyurethane adhesive for porous wood and small gaps
Polyurethane adhesive suits porous wood and slightly uneven surfaces because it fills small gaps as it cures. It is moisture-cure, so a lightly dampened surface can help, but too much moisture can foam the joint. Clamp time is usually longer than with contact cement, and the adhesive expands as it cures.
CA adhesive, epoxy, and silicone for specific repair cases
Cyanoacrylate sets fast and can be useful for small repairs, though the cured bond may be brittle. A primer or activator may help on some materials. Two-part epoxy can offer strong bonds, with rigid-to-semi-flexible versions available, but it is usually a poor fit for joints that move a lot. Silicone adhesive/sealant is highly flexible and tends to weather well, but it has relatively low structural strength and can take a while to cure.
How rubber type changes the choice
Rubber type matters more than most people expect. Natural rubber and neoprene are often easier to bond than EPDM or silicone rubber. Surface energy, oils, and plasticizers can change how well an adhesive wets the surface, so two “rubbers” can behave very differently in the shop.
- Natural rubber: often bonds well with contact cement or polyurethane when clean and lightly abraded.
- Neoprene: usually bondable with contact cement, polyurethane, and some epoxies.
- EPDM: often stubborn; surface prep and primer matter more, and mechanical backup is wise.
- Silicone rubber: hardest to bond; silicone adhesive/sealant may stick to itself or prepared compatible surfaces, but structural strength is limited.
How do you prep wood and rubber for a strong bond?
Surface prep matters more than brand name. Degrease both surfaces, roughen or abrade them without damaging the part, remove dust, and dry fit before applying adhesive. Test on scrap whenever possible, especially with EPDM, silicone rubber, or any oily material that may carry release agents.
Degrease and remove release agents
Wipe wood dust, oils, wax, and rubber mold-release residue away before bonding. On rubber, use a compatible solvent or cleaner that will not attack the part. On wood, remove finishes entirely from the bond area. Adhesive cannot bond through contamination.
Roughen or abrade without damaging the part
Light sanding or abrasion increases surface area and gives the adhesive a better grip. Use a fine abrasive and avoid over-grinding thin rubber, which can heat the part and weaken it. For very smooth rubber, a careful scuff is often worth more than extra glue.
Dry fit, dust off, and test on scrap
Dry fitting catches misalignment before the adhesive starts to set. Dust must be removed after sanding, because loose particles weaken the bond line. A scrap test is the safest way to confirm whether the rubber accepts the adhesive and whether the cure behavior matches the schedule.
Decision matrix and failure-mode checklist
Use the matrix below to match rubber type, joint size, movement, and environment to the adhesive category. It is a practical starting point, not a promise. If the joint will see peel, heat, moisture, or oil, move toward a flexible adhesive or add mechanical support.
| Rubber type | Joint size | Movement level | Environment | Best adhesive category |
|---|---|---|---|---|
| Natural rubber | Large flat area | Low to moderate | Dry indoor | Contact cement |
| Natural rubber | Small repair | Low | Dry indoor | CA adhesive |
| Neoprene | Flat lamination | Moderate | Indoor, light moisture | Contact cement or polyurethane adhesive |
| EPDM | Large area | Moderate to high | Outdoor, wet, UV | Specialty contact cement or silicone adhesive/sealant with backup |
| EPDM | Small edge repair | Low | Dry indoor | Polyurethane adhesive or epoxy after test fit |
| Silicone rubber | Any | High | Weather, vibration | Silicone adhesive/sealant; expect low structural strength |
- Peel failure: common on narrow joints and edges. Use a wider bond area or a more flexible adhesive.
- Shear failure: appears when load slides the joint. Epoxy can help if movement is low.
- Heat failure: softens many adhesives. Contact cement and silicone usually tolerate heat better than brittle glues.
- Moisture failure: affects poorly cured or water-sensitive bonds. Polyurethane needs cure discipline, and silicone needs full cure time.
- Oil exposure: weakens many bonds on rubber and wood. Clean thoroughly and expect some materials to remain hard to bond.
Quick selection guide for shop and home use
Use contact cement for broad, flat laminations where flexibility matters. Use polyurethane when the wood is porous and the joint has small gaps. Use CA for tiny repairs that need fast set. Use epoxy only when the joint is fairly stable. Use silicone when vibration, weather, or repeated flexing matters more than bond strength.
How do you clamp wood to rubber without ruining the joint?
Clamp pressure helps when it keeps the parts in contact during cure, but too much pressure can starve the bond or squeeze out too much adhesive. Light pressure is usually right for contact cement after assembly; firmer pressure is often useful for polyurethane and epoxy. Use flat boards or cauls to spread load and keep alignment.
Light pressure versus firm pressure
Contact cement needs firm, even pressure after the solvent flashes, but not so much that the bond line is forced dry. Polyurethane and epoxy usually need enough clamp pressure to close the joint and hold it still. Silicone generally needs restraint rather than heavy compression, because squeeze-out can reduce coverage.
Using cauls or flat boards
Cauls or flat boards spread clamp force across the bond and reduce edge crushing. On rubber, they also help prevent dents and keep the part from shifting. A waxed or taped caul can stop accidental sticking if adhesive squeezes out.
Keeping alignment while the adhesive cures
Set the parts in final position before the adhesive grabs. Mark registration lines, work from the center outward on flat laminations, and avoid sliding the pieces after contact. Small edge repairs often fail because the part moved a few millimeters during cure.
Common mistakes that cause wood-to-rubber failure
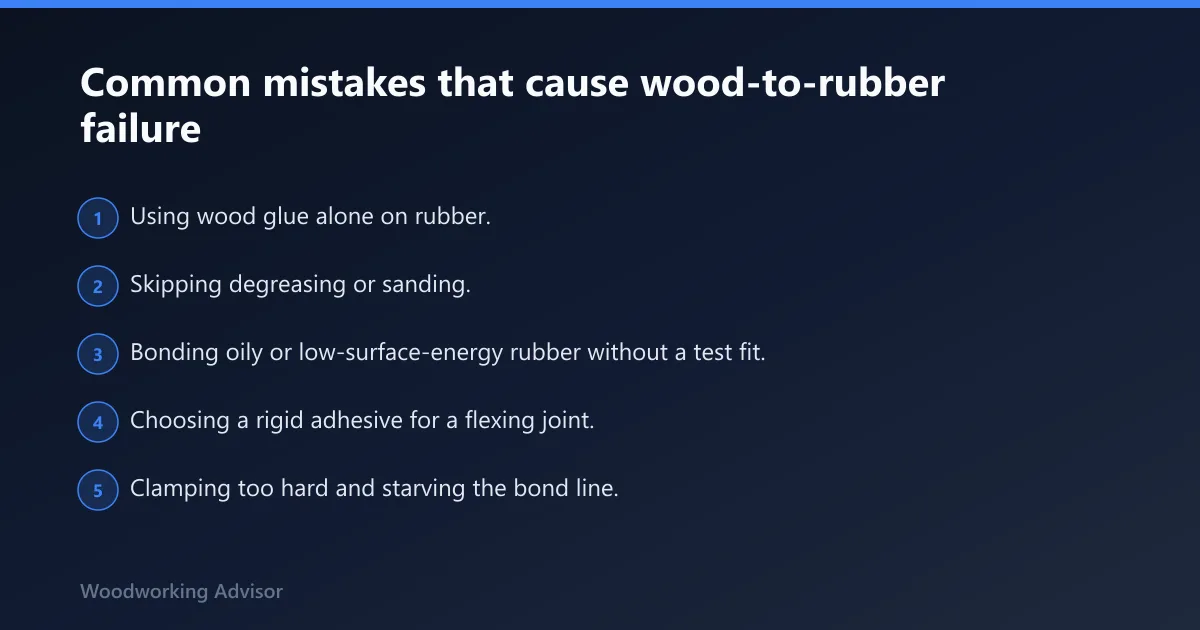
Most failures come from the same few errors: poor prep, wrong adhesive choice, too much movement for the glue, and loading the joint too early. The bond can look fine for hours and still fail once heat, moisture, or flexing begins. Patience during cure matters.
- Using wood glue alone on rubber.
- Skipping degreasing or sanding.
- Bonding oily or low-surface-energy rubber without a test fit.
- Choosing a rigid adhesive for a flexing joint.
- Clamping too hard and starving the bond line.
- Handling or loading the assembly before full cure.
- Ignoring peel loads at edges and corners.
How long does adhesive take to cure on wood and rubber?
Open time, clamp time, and full cure are different. Contact cement can grab quickly after the solvent flashes, but the bond still benefits from a full rest before stress. Polyurethane usually needs hours of clamp time and up to a full day or more to reach useful strength. Epoxy and silicone often need the longest wait.
Respect the full cure before loading
Do not load the joint just because it feels dry on the surface. Many adhesives continue curing deep in the bond line after handling strength appears. Early stress can cause creep, peel, or a bond that looks fine until the first warm day or wet cycle.
How do I remove glue from rubber without ruining it?
Removal depends on the adhesive and the rubber type. Start with mechanical cleanup using a plastic scraper or a dull blade. Then use the mildest compatible solvent or adhesive remover, testing first on a hidden area. Silicone residue is especially stubborn, and aggressive solvents can swell or weaken some rubbers.
Cleanup and rework tips
Fresh contact cement and polyurethane are easier to remove than fully cured material. Wipe squeeze-out before it hardens, and use masking only where it will not trap solvent under the bond area. If a bond must be redone, remove all loose adhesive and re-prepare the surface rather than gluing over residue.
Frequently asked questions
What is the best adhesive for wood to rubber?
There is no single best adhesive for every case. Contact cement is usually the first choice for large flat areas, polyurethane works well for porous wood and small gaps, and silicone is best when flexibility and weather exposure matter more than strength. Epoxy and CA are more specialized choices.
Do I need to roughen rubber before gluing it to wood?
Usually, yes. Light abrasion improves wetting and gives the adhesive a better grip, especially on smooth or low-energy rubbers like EPDM or silicone. The goal is to scuff the surface, not damage it. Always remove dust after sanding and test the adhesive on scrap if possible.
Will wood glue stick to rubber?
Usually not well. Standard wood glue is made for porous wood fibers, not flexible rubber surfaces. It may seem to hold at first on a small, lightly loaded spot, but the joint often fails under peel, flex, moisture, or temperature change. A flexible adhesive is usually the safer choice.
How do I clamp wood to rubber without damaging the bond?
Use enough pressure to hold the parts in place, but avoid crushing the bond line or squeezing out too much adhesive. Flat boards or cauls spread the load and help keep alignment. Contact cement needs firm, even pressure after assembly, while polyurethane and epoxy usually need restrained clamping until cure.
Sponsored / affiliate links. As an Amazon Associate I earn from qualifying purchases. I may earn additional commission from eligible campaigns.