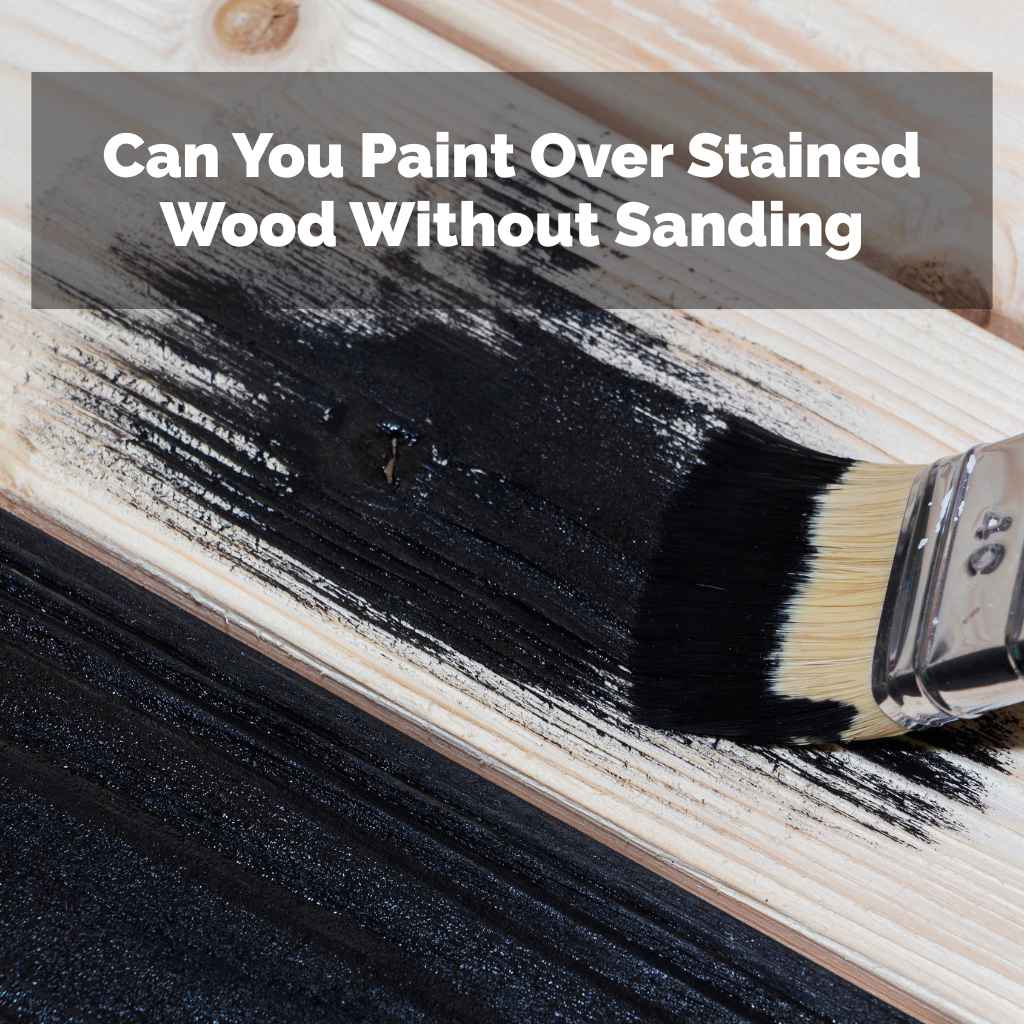
Can You Paint Over Stained Wood Without Sanding?
While the idea of painting over stained wood without sanding is tempting, it’s generally not recommended for a lasting, smooth finish. Skipping sanding can lead to poor adhesion, peeling paint, and an uneven surface. However, with proper preparation and the right primer, it’s sometimes possible for certain projects. This guide will show you how and when it might work.
Understanding Wood Stain and Paint Adhesion
Wood stain is a colorant. It sinks into the wood’s pores. It changes the wood’s natural color.
Paint, on the other hand, sits on top of a surface. It forms a new layer. For paint to stick well, it needs a good surface.
This surface should be clean and slightly rough. This roughness gives the paint something to grip onto. It helps the paint bond with the wood.
When you paint directly over a smooth, sealed stain, there’s nothing for the paint to grab. Think of it like trying to stick tape to a wet window. It just slides off.
Stain itself often has a finish or sealant in it. This makes the surface even smoother. It’s like adding a slippery layer.
This makes the paint’s job much harder. It wants to slide right off. This is why preparation is key.
The Role of Sanding
Sanding does a few important things for painting projects. First, it creates a “tooth.” This is a slightly rough surface. This tooth gives the primer and paint something to stick to.
It’s like giving the paint tiny little handholds. Second, sanding smooths out any imperfections. This includes old finish drips or rough patches.
This leads to a more even final look. Third, sanding can help remove any lingering dirt or grime. Even if the wood looks clean, there might be unseen residue.
When you skip sanding, you skip these benefits. The paint doesn’t have that good grip. This is called poor adhesion.
It means the paint layer isn’t strongly attached to the wood. Over time, this can cause major problems. The paint might start to peel.
It could bubble up. Or it might just feel rough and uneven. This is especially true if the stained surface was very glossy or slick.
Can You Paint Over Stained Wood WITHOUT Sanding? The Honest Truth
Here’s the direct answer: In most cases, no, you shouldn’t paint over stained wood without sanding. It’s like building a house on sand. It might stand for a bit, but it won’t last.
Paint needs a surface it can stick to. Stained wood, especially if it has a sealant or glossy finish, is often too smooth. The paint will likely peel or chip off.
However, there are some rare exceptions. If the stain is very old and matte, and you use a special bonding primer, it might work. But even then, it’s a risk.
You’re trading a bit of upfront work for a lot of potential future headaches. For any project you care about, taking the time to sand properly is the best way to get a beautiful, long-lasting result. It’s the foundation for success.
My Own “Oh No” Moment with Skipping Sanding
I learned this lesson the hard way a few years back. I had an old oak dresser. It was stained a deep, rich brown.
I loved the shape of it but hated the color. I wanted to give it a modern, crisp white look. I saw online posts claiming you could just “skip the sanding” with the right primer.
“Why not?” I thought. My living room needed a quick facelift, and this dresser would be perfect.
So, I skipped the sanding. I just wiped the dresser down. Then, I slapped on a coat of what was advertised as a “super-grip” bonding primer.
It looked okay. Then I applied two coats of my chosen white paint. It seemed to cover well.
I was so proud of myself! I’d saved hours. The dresser looked fine from a distance.
But after about a month, I started noticing little nicks. Then, a small chip appeared near the drawer handle. A week later, a whole section of paint started to lift.
It was horrifying! The paint was literally peeling away from the stain. I had to strip the whole thing and start over.
That dresser taught me a very valuable, albeit frustrating, lesson about taking shortcuts.
Paint Prep: Why It Matters More Than You Think
Key Takeaway: Good paint jobs start before the paint. They start with preparation.
Skipping prep work is the #1 reason paint fails. This includes cleaning, degreasing, and creating a surface for the paint to adhere to. For stained wood, this means addressing the stain itself.
Think of it like this: A chef doesn’t just throw raw ingredients into a pan and expect a gourmet meal. They prep, chop, season, and cook. Painting is similar.
The Magic of Primer: When It Can Help
Now, let’s talk about primer. Primer is like a bridge. It helps connect the old surface (the stain) to the new surface (the paint).
There are special types of primers designed for tricky surfaces. These are often called “bonding primers” or “adhesion primers.” They have a stronger grip. They are formulated to stick to surfaces that are normally hard to paint, like glossy finishes or laminate.
If you are absolutely determined to skip sanding, a high-quality bonding primer is your best bet. These primers are designed to create a strong bond even on slick surfaces. You’ll need to follow the product instructions very carefully.
Often, even with these primers, you still need to clean the surface thoroughly. Any grease, dirt, or wax will prevent the primer from sticking. So, while a good primer can help, it’s not a magic bullet.
It’s a tool to improve adhesion, but it doesn’t replace the physical advantage of a sanded surface.
Some popular bonding primers include Kilz Adhesion and Zinsser B-I-N. Always check the label to ensure it’s suitable for your specific project. These are not your everyday wall primers.
They are made for tougher jobs. Using the wrong primer won’t help much. Using the right one gives you a better chance of success.
But remember, even the best primer works better on a slightly roughened surface.
Bonding Primer vs. Regular Primer
Bonding Primer:
- Designed to stick to slick surfaces.
- Contains strong adhesives.
- Ideal for laminate, tile, glass, and sometimes glossy paint or stain.
Regular Primer:
- Used for porous surfaces.
- Helps paint cover better and creates a uniform base.
- Good for drywall, new wood, or previously painted surfaces that are already prepped.
When Skipping Sanding Might Be Okay (With Caution!)
There are a few specific situations where you might get away with painting over stained wood without sanding. These are not common, and they still require careful work.
Situation 1: The stain is very old and matte. If the stain has no sheen at all, it’s less slippery. It might have some porosity. You still need to clean it well.
Then, use a high-quality bonding primer. This is still risky. If the stain has any wax or oil in it, the primer won’t stick well.
Situation 2: You’re painting over a very light, water-based stain. Some water-based stains don’t leave a very slick finish. They might absorb more into the wood. Again, cleaning is vital.
And a bonding primer is still a must. This is still not a foolproof method.
Situation 3: The item is not high-traffic. If you are painting something like a decorative accent piece that will hardly ever be touched, the risk of peeling might be lower. But if it’s a tabletop, a dresser, or chairs, you need proper adhesion. Wear and tear will quickly reveal any weak spots.
Important Note: Even in these situations, sanding is always the safer bet. It guarantees a better bond. It ensures your paint job lasts.
Think of these as “maybe” scenarios, not “definitely do this” scenarios.
The Proper Way: Sanding for Success
Let’s talk about how to do it the right way. It’s not as scary as it sounds. Taking these steps will save you a lot of trouble later.
Step 1: Clean the Surface
This is true whether you sand or not. You need a clean slate. Use a good degreaser or a TSP (trisodium phosphate) substitute.
Wipe down the entire piece. Rinse it well with clean water. Make sure no soap residue is left behind.
Let it dry completely. Any dirt or grease will interfere with sanding and priming.
Step 2: Light Sanding (The “Tooth” Step)
You don’t need to remove all the stain. You just need to dull the finish. This creates that important “tooth.” Use fine-grit sandpaper.
Start with something around 150-grit. You can go up to 220-grit. Work in the direction of the wood grain.
You’ll see a slight dulling of the surface. You won’t see bare wood. The surface will feel slightly rough to the touch, not slick.
For detailed areas or carvings, you can use sanding sponges or fine steel wool. Be gentle. The goal is not to erase the stain.
It’s to create a surface that paint can adhere to. This step is crucial. It’s the difference between a paint job that lasts and one that fails.
Step 3: Clean Again (Dust Removal)
After sanding, there will be dust. This dust is the enemy of a good paint job. Use a shop vacuum with a brush attachment to get most of it.
Then, wipe the surface with a tack cloth. A tack cloth is slightly sticky. It picks up the finest dust particles.
Do this until no more dust comes off on the cloth. A clean surface is vital for primer adhesion.
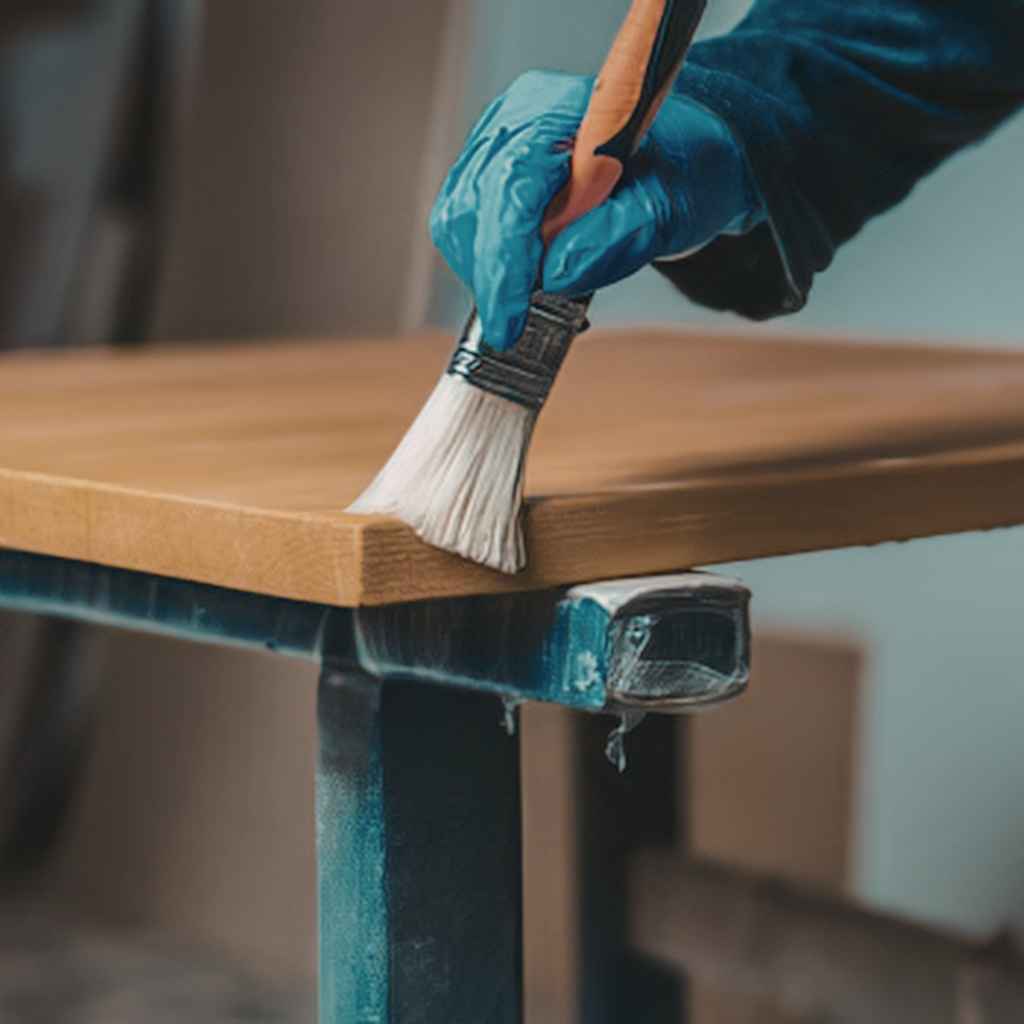
Step 4: Prime with a Quality Primer
Now that the surface is clean and lightly sanded, apply a good quality primer. You can use a standard latex primer here. Or, if you’re concerned about stain bleed-through (where the stain colors seep into the paint), use a stain-blocking primer.
Apply one or two thin coats. Let each coat dry completely according to the manufacturer’s instructions.
The primer should look uniform. It should cover the stained wood completely. This provides a stable base for your paint.
It also helps ensure your final paint color is true and vibrant. Without a good primer coat, dark stains can show through light paint colors.
Step 5: Sand the Primer (Optional, but Recommended)
For an ultra-smooth finish, you can do a very light sanding of the dried primer. Use a super-fine grit sandpaper (220-grit or higher). This knocks down any tiny bumps or imperfections in the primer.
Again, clean off all dust with a tack cloth. This step is more for high-end finishes but makes a big difference.
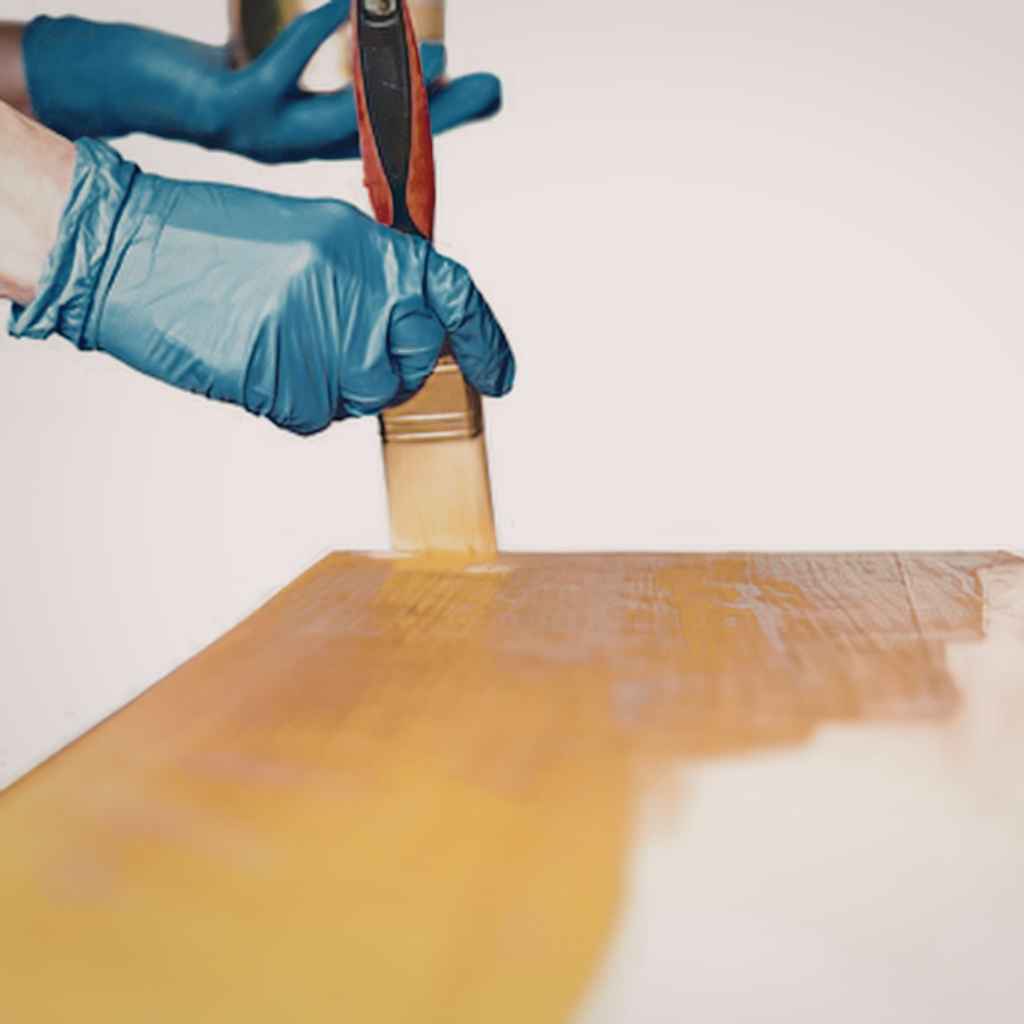
Step 6: Apply Paint
Now you’re ready for paint! Apply thin, even coats. Let each coat dry fully.
Most projects will need two coats for full coverage. You can use latex, acrylic, or even oil-based paints, depending on your preference and the project. Always check the paint’s compatibility with your primer.
Quick Prep Checklist
- Clean: Degrease and wash the surface.
- Sand: Lightly scuff the surface with fine-grit paper.
- Dust: Vacuum and tack cloth to remove all dust.
- Prime: Apply 1-2 coats of quality primer.
- Paint: Apply thin, even coats of your chosen paint.
What Happens If You Paint Over Stain Without Sanding?
Let’s break down the likely consequences. It’s not pretty, but it’s important to know.
Poor Adhesion and Peeling
This is the most common issue. The paint doesn’t have a good grip. It’s like trying to stick a sticker to a greased surface.
Over time, especially with touch, moisture, or temperature changes, the paint will start to lift. You’ll see chips, flakes, or even large sections of paint peeling away. This exposes the stained wood underneath.
Uneven Texture and Bumps
Sanding also smooths out imperfections. If you skip it, the paint will simply cover whatever bumps or rough spots were already there. You might end up with a texture that’s not smooth.
It might feel slightly bumpy or uneven to the touch. This is especially noticeable on a flat surface like a tabletop.
Scratching and Chipping Easily
Paint that doesn’t adhere well is weak. It will scratch and chip much more easily than paint applied over a properly prepped surface. Even light use can damage the finish.
This means your beautiful new painted piece will start to look worn and damaged very quickly. It won’t hold up to daily life.
Difficulty in Future Refinishing
If you ever decide to change the paint color down the line, you’ll have a bigger problem. Peeling paint layers can be very difficult to remove. You might need to use harsh chemical strippers or spend a lot of time scraping.
The underlying issue of poor adhesion will likely carry through to your next paint job if not properly addressed.
Stain Bleed-Through Explained
What it is: When colors from the underlying stain or wood seep through the primer and paint layers. This is common with dark woods or certain types of stains (like red mahogany).
Why it happens: The stain components haven’t been completely sealed. They migrate through the new finish.
How to avoid it: Use a dedicated stain-blocking primer. Apply it in thin coats. Ensure the primer is fully dry before painting.
Sometimes a second coat of stain-blocking primer is needed.
What Type of Stain Matters
The type of stain used on the wood can also play a role. Some stains are oil-based, while others are water-based. Some come with a built-in sealant or topcoat.
These factors affect how smooth and slick the surface is.
Oil-based stains with sealants: These are the trickiest. They often create a very hard, glossy surface. Painting over these without sanding is almost guaranteed to fail.
The oil can also prevent adhesion over time.
Water-based stains: These are generally less problematic than oil-based ones. They tend to absorb more into the wood. However, they can still leave a smooth surface that needs prep.
“Dye” stains vs. “Pigment” stains: Dyes are more transparent and soak in more. Pigments are more opaque and sit on the surface.
Pigment stains can sometimes create a more built-up layer that might be slicker.
Even if you’re not sure what kind of stain was used, assuming it’s slick and requires prep is the safest approach. It’s better to be over-prepared than to have a failed paint job.
Real-World Scenarios: Where Skipping Sanding Hurts Most
Let’s look at some common household items and why skipping sanding would be a disaster.
Kitchen Cabinets
Kitchen cabinets are touched constantly. They are exposed to grease, steam, and heat. They are high-traffic surfaces.
Painting cabinets without sanding means the paint will likely peel or chip within weeks or months due to the constant use and environmental factors. Proper sanding and priming are absolutely essential here.
Tabletops and Countertops
These surfaces experience a lot of wear and tear. They have objects placed on them, wiped down, and sometimes even scraped. A paint job without proper adhesion will quickly show scratches and chips.
It will also be difficult to clean effectively if the paint starts to degrade.
Doors and Door Frames
Doors are frequently opened and closed. They get bumped and scraped by bags, furniture, and hands. Door frames are also touched often.
The paint needs to be tough and well-adhered to withstand this constant contact. Skipping sanding will lead to premature wear and tear.
Furniture You Use Daily
This includes chairs, desks, and dressers. Anything you use regularly is subject to friction and contact. The paint needs to be bonded strongly to the surface to endure daily life.
A failure to sand will mean a quick decline in the finish’s appearance.
Surface Preparation Hierarchy
Best Practice: Clean -> Heavy Sanding -> Clean -> Prime -> Paint
Good Practice: Clean -> Light Sanding -> Clean -> Prime -> Paint
Risky (Sometimes works): Clean -> No Sanding -> Bonding Primer -> Paint
Almost Guaranteed Failure: Clean -> No Sanding -> Regular Primer -> Paint
What This Means For You: When is it Okay to Worry?
The main thing to worry about is the longevity and appearance of your paint job. If you’ve skipped sanding, or are considering it, here’s what to watch out for.
Watch for Peeling and Chipping
As mentioned, this is the biggest red flag. If you see any signs of the paint lifting, bubbling, or flaking, it’s a clear indication of poor adhesion. This means the underlying prep work was insufficient.
Assess the Texture
Run your hand over the painted surface. Does it feel perfectly smooth? Or can you feel slight bumps or unevenness?
If it’s not smooth, the paint might not be adhering well, or the surface wasn’t properly leveled before painting.
Consider the Item’s Use
How much contact will the painted item have? If it’s something that gets touched or bumped often, you have more to lose by skipping proper prep. Items that are purely decorative have less risk, but still, a smooth finish is usually desired.
Are You Seeing Stain Bleed-Through?
If you see streaks or discoloration showing through your paint, it means the primer (or lack thereof) didn’t block the stain effectively. This is another sign that the prep wasn’t adequate, or the wrong primer was used.
“Is This Normal?” Guide
Normal Signs:
- Paint is smooth and even.
- No visible lifting or chipping.
- Surface feels solid and well-bonded.
Concerning Signs:
- Paint is peeling or flaking.
- Bubbles forming under the paint.
- The surface feels rough or bumpy.
- Scratches easily reveal stained wood.
- Discoloration bleeding through the paint.
Quick Tips If You’re Tempted to Skip Sanding
If you are still tempted to try painting without sanding, here are some strict guidelines to follow. Remember, these are not guarantees, just ways to slightly improve your odds.
- Use a Top-Tier Bonding Primer: Don’t skimp here. Buy the best quality bonding primer you can find. Read reviews. Ensure it’s specifically designed for adhesion on slick surfaces.
- Clean, Clean, Clean: This cannot be stressed enough. Degrease the surface thoroughly. Remove all oils, waxes, and grime. A perfectly clean surface is crucial if you’re not sanding.
- Apply Primer in Thin Coats: Don’t glob it on. Thin, even coats are best for adhesion. Allow each coat to dry completely as per the instructions.
- Test in an Inconspicuous Area: Before painting the whole piece, paint a small, hidden spot. Let it cure for a few days. Then, try to scratch or peel it. See how it holds up. This will give you an idea of what to expect.
- Manage Your Expectations: Understand that even with the best primer, the bond might not be as strong as with sanding. Be prepared for the possibility of future issues.
Frequently Asked Questions
Can I paint over stained wood without sanding if I use a chalk paint?
Chalk paint is known for its ability to adhere to many surfaces with minimal prep. While it often requires less sanding than traditional paints, it’s still best to clean the stained wood thoroughly. For best results and longevity, a light scuff sanding and a good primer are still recommended, even with chalk paint.
Without it, you risk chipping and peeling down the line, especially on a slick stained surface.
What grit sandpaper should I use if I decide to sand?
For most projects where you’re painting over stained wood, you want to create a dull surface, not remove the stain. Start with a fine-grit sandpaper, around 150-grit. If the surface is still a bit rough or has old finish, you might use 120-grit.
Follow up with 220-grit for a smoother finish. The goal is to create a “tooth” for the primer to stick to, not to get down to bare wood.
Will a dark stain show through light paint if I don’t sand?
Yes, a dark stain can definitely show through light paint, even if you don’t sand. This is called stain bleed-through. It happens when the pigment or dye from the stain migrates through the primer and paint layers.
To prevent this, you need to use a good quality stain-blocking primer, even if you are skipping sanding. Apply it in thin, even coats and let it dry completely before painting.
Is it better to use an oil-based or water-based primer over stained wood?
For painting over stained wood, especially if you’re skipping sanding, an oil-based primer is often recommended. Oil-based primers are typically better at blocking stains and adhering to slick surfaces. However, many modern water-based primers, especially bonding primers, are also very effective.
Always choose a primer specifically labeled as a “bonding” or “adhesion” primer for tricky surfaces. Ensure it’s compatible with your chosen paint.
What if the stained wood is already painted, can I paint over that without sanding?
If the stained wood has already been painted, the situation changes slightly. You are now painting over existing paint, not stain. If the old paint is in good condition (not peeling, chipping, or glossy), you might be able to get away with just cleaning and using a good quality primer.
However, if the existing paint is glossy, you should lightly sand it to dull the finish. This ensures your new paint will adhere properly. It’s always best to prep the existing paint layer.
How long does paint last if I skip sanding stained wood?
The lifespan of paint applied over stained wood without proper sanding is highly unpredictable. It could last a few months, or it might start to fail within a year or two. It depends heavily on the type of stain, the quality of the primer used, the environment, and how much wear and tear the item experiences.
For a durable, long-lasting finish, sanding is the most reliable method. Expect a significantly shorter lifespan if you skip this step.
The Takeaway: Prioritize Prep for Lasting Beauty
So, can you paint over stained wood without sanding? The short answer is: it’s a gamble you probably don’t want to take if you expect a beautiful, lasting finish. While special primers offer a glimmer of hope, they can’t fully replace the essential grip that sanding provides.
Taking the time to clean and lightly sand your stained wood will create a foundation that ensures your paint job looks great for years to come. It’s the secret ingredient to turning tired, stained pieces into beautiful new treasures.