DIY Drill Press Stand: Build One That Won’t Wobble
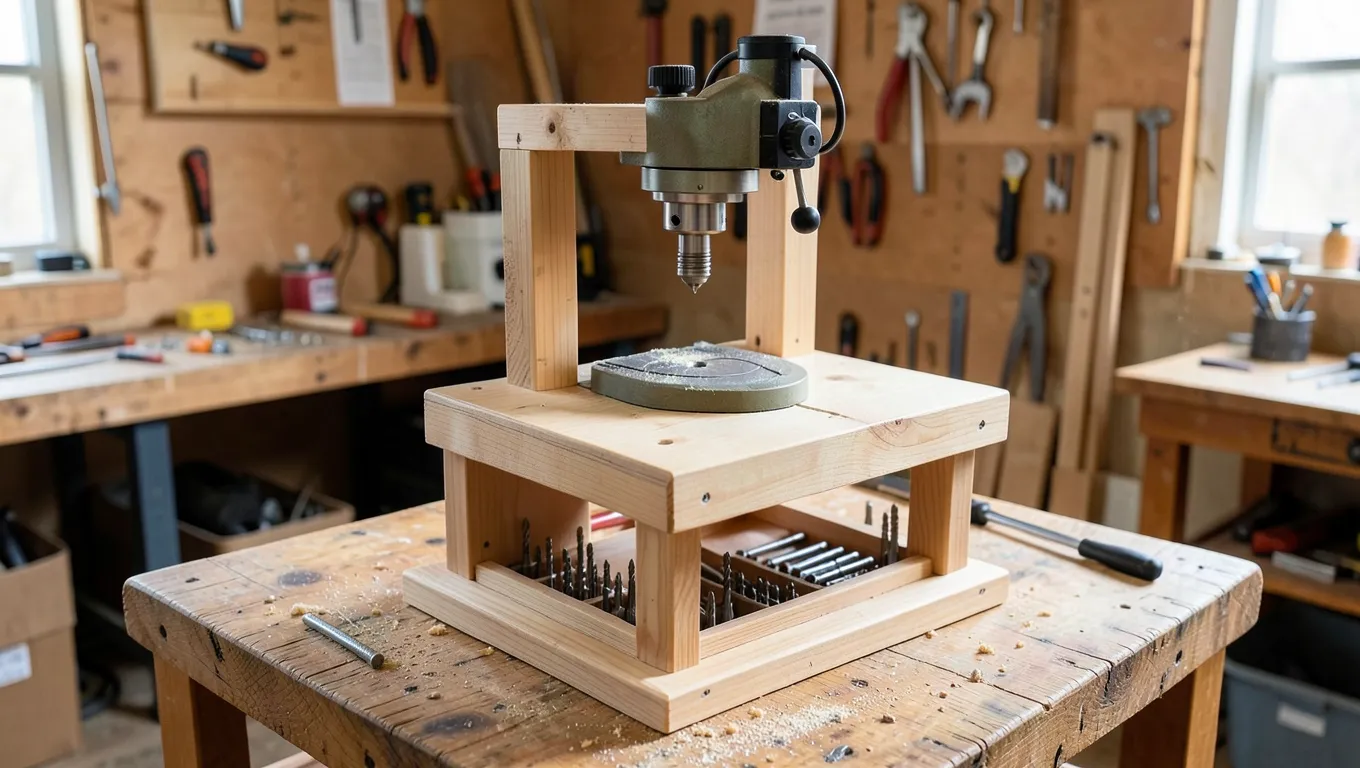
A drill press that rocks even slightly turns every hole into a guess. If the base flexes when you lean on the quill handle, the bit walks off your layout mark and the hole comes out angled instead of square. Building your own stand fixes that for about $35 in plywood and hardware, and you can size it to fit your exact drill press and shop ceiling – something a $150 off-the-shelf rolling stand can’t do.
This guide walks through material choice, real dimensions (not just “make it sturdy”), and the mounting details that keep a benchtop drill press from walking across the table under load. Building your own DIY drill holder or stand also means you can add bit storage exactly where you want it instead of working around a manufacturer’s layout.
Choosing The Right Materials
Best Add-On For Your New Stand
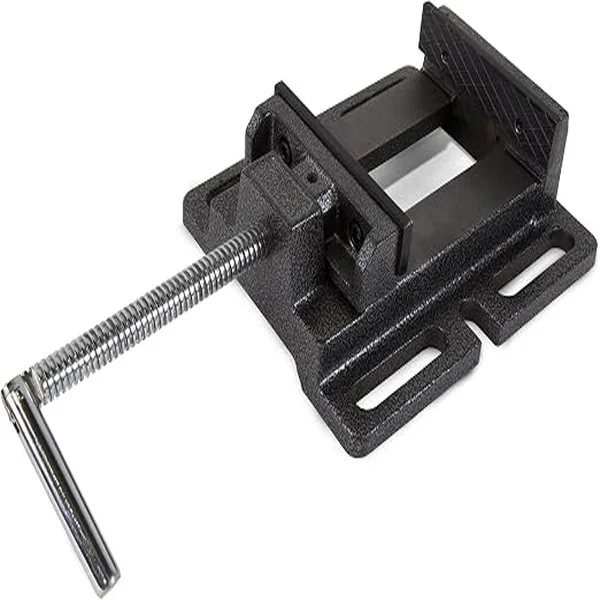 |
WEN Drill Press Vise, 4-Inch (DPA424) – $26.39 Once your stand is built, this is the piece that actually keeps stock from spinning when the bit grabs – a plywood table alone won’t do that.
|
The stand’s material choice drives its stability, its weight, and how easily you can drill new mounting holes later when you rearrange your shop. Get this decision right and everything downstream – the base, the upright, the mounting – goes together faster.
Wood Vs Metal Options
For a benchtop drill press under about 60 lbs, 3/4″ Baltic birch plywood (or two layers of 3/4″ cabinet-grade plywood glued and screwed together for a 1.5″ thick top) is plenty strong and far easier to modify than steel. Baltic birch is worth the extra cost over construction-grade plywood here specifically because it’s void-free through the whole panel – a void under a mounting bolt is exactly where the base will eventually crack. Steel angle iron (1/8″ x 2″ x 2″ is a common size) makes sense mainly for floor-standing drill presses over 100 lbs, or if the stand will double as a mobile welding cart; it needs a chop saw or angle grinder plus a welder, so factor that into whether it’s actually the faster build for your shop.
Essential Tools And Hardware
For a plywood build, you’ll need a circular saw or table saw for the panel cuts, a drill/driver, a countersink bit, and a random-orbit sander for the edges. For hardware: 2-1/2″ wood screws for the frame joints, 3/8″-16 carriage bolts with T-nuts for mounting the drill press base (carriage bolts resist spinning in the hole when you tighten the nut from underneath – a regular hex bolt will just spin in a wood hole), and 1/4″ flat washers under every bolt head so it doesn’t crush the plywood face over time.
A metal stand instead needs a metal-cutting chop saw or angle grinder with a cutoff wheel, a MIG or stick welder for the frame joints, and grade-5 hex bolts for the drill press mount. Either way, buy 20% more hardware than you think you need – stripped screw heads and dropped washers are a given on a first build.
Safety Gear To Consider
Wear safety glasses for every cut, and add a full face shield if you’re grinding or welding steel. Cutting MDF or plywood generates fine dust that carries urea-formaldehyde resin from the adhesive – a basic dust mask blocks large particles but not that resin dust, so use a NIOSH-rated N95 respirator if you’re cutting more than a panel or two indoors. Hearing protection matters more than most builders expect: a circular saw runs around 95-100 dB, loud enough to cause hearing damage after just 15 minutes of continuous cutting.
Designing Your Drill Press Stand
The design step is where most DIY stands go wrong – not in the building, but in skipping real measurements and guessing at “sturdy enough.” Two numbers matter more than anything else: base footprint relative to overall height, and working height relative to your own reach.
Key Dimensions And Measurements
Most benchtop drill press bases run 12″-16″ wide, but don’t build your stand’s top to match that footprint – it needs to be bigger than the tool itself. A 24″ x 24″ top is a reasonable minimum for a typical benchtop press; go to 24″ x 30″ if yours has a long swing arm or you’ll be drilling long boards that overhang the table. For working height, most woodworkers land on 34″-38″ total height (table surface to floor) so the chuck sits at a comfortable chest-to-shoulder level when standing – measure your own preferred bench height and match it rather than copying a number from a plan that assumes a different builder’s height.
Features For Enhanced Stability
The rule of thumb shops actually use: your base footprint’s narrowest dimension should be at least 60% of the stand’s total height to resist tipping when you lean into the quill handle. A tall, narrow stand with a small base is the single most common reason a homemade drill press stand tips over. Add diagonal corner braces (a 45-degree triangle of scrap plywood or a 2×2 cleat) at the base-to-upright joint on at least two sides – this does more for rigidity than adding thickness to the upright itself. Rubber furniture pads or self-adhesive felt pads under the feet stop the stand from walking on smooth concrete or tile during operation.
Incorporating Storage Solutions
An open shelf 8″-10″ below the tabletop holds the drill press’s original stand base (if you’re repurposing a tabletop unit) plus a bit index. A shallow drawer above that – even a simple plywood box on drawer slides – keeps chuck keys and collets from disappearing into sawdust on the floor, which is where most shops actually lose them.
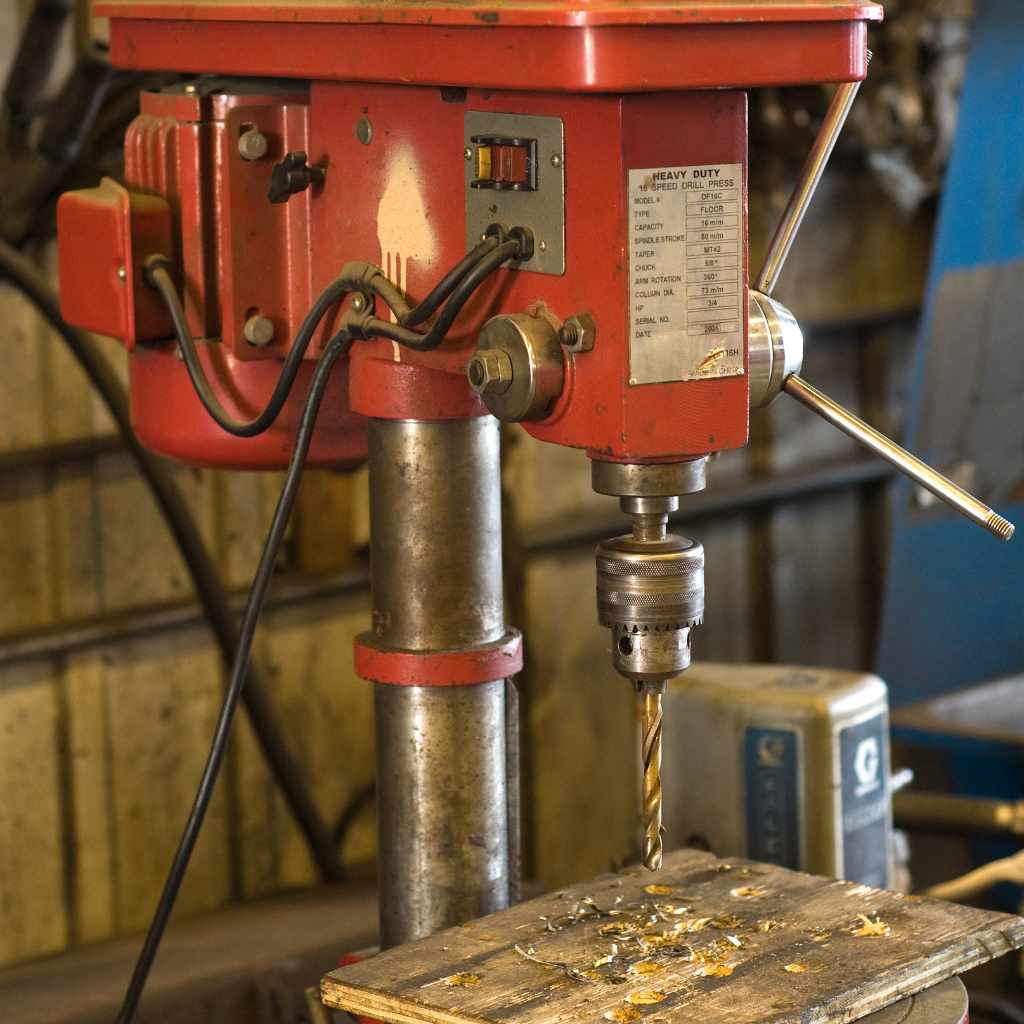
Building The Base
The base carries the drill press’s full weight plus every pound of downward force you apply through the quill handle. Get this part right and the rest of the build is straightforward assembly.
Selecting A Stable Foundation
Use the 3/4″ Baltic birch (or doubled cabinet plywood) discussed above, cut to your target footprint – 24″ x 24″ or larger. Before assembly, set the panel on your actual shop floor and check it with a 4-foot level in both directions; shop floors are rarely flat, and a base that rocks on an uneven floor will telegraph that wobble straight up into every hole you drill.
Cutting And Assembling Base Components
Cut your base panel and any perimeter framing (2x4s on edge around the underside add real stiffness for not much material cost) to final size with a sharp blade – a dull blade tears plywood veneer and leaves a rough edge that’s hard to sand clean. Apply wood glue along every framing joint before screwing, and clamp for at least 30 minutes (full cure takes 24 hours, but 30 minutes of clamp time lets you keep working without the joint shifting).
Securing The Base For Durability
Drill 1/8″ pilot holes before driving screws near any edge – plywood splits easily within about an inch of an edge without one. Check every corner with a speed square before final tightening; an out-of-square base compounds into a noticeably tilted upright by the time you reach the top. Add a coat of polyurethane or exterior paint to the underside and edges if your shop floor sees moisture, since raw plywood edges wick up water and swell faster than the flat faces.
Constructing The Upright Support
The upright is what actually resists the sideways force you put on the quill handle, so its material, its joint to the base, and its vertical alignment all matter more here than anywhere else in the build.
Material Selection For Support
A laminated upright – two or three layers of 3/4″ plywood glued face-to-face for a 1.5″-2.25″ thick post – resists twisting far better than a single sheet on edge. If you’d rather use solid lumber, a 4×4 in construction-grade fir works, but hardwood (oak or maple) resists denting from dropped tools better if the stand will live in a busy shop corner. Steel square tubing (2″x2″, 1/8″ wall) is the metal-build equivalent and needs a welded or heavily-bolted base plate.
Attaching Upright To Base
Add a plywood gusset (an L-shaped or triangular brace) on both sides of the upright-to-base joint, glued and screwed – this single detail resists more racking force than any amount of extra screws straight through the joint. Drill pilot holes to avoid splitting the wood, and use at least four 3″ screws plus glue at the joint, not screws alone.
Ensuring Vertical Alignment
Check the upright with a 2-foot level or a framing square on two adjacent faces, not just one – a post can look plumb from the front and still lean 3-4 degrees sideways. Brace it temporarily with a scrap board and a clamp while the glue sets, and re-check plumb right before the glue kicks off, since clamping pressure alone can shift it slightly out of true.
Mounting The Drill Press
A drill press that isn’t actually bolted down – just set on the table – will walk under torque the first time a large bit binds in a hole. Bolting it properly takes 15 extra minutes and eliminates that risk entirely.
Preparing The Drill Press
Wipe down the drill press base to remove shop dust and oil residue so it sits flat against the new table instead of rocking on debris. Check that the factory mounting holes in the base aren’t stripped or damaged – if they are, you’ll need to drill new ones through the base flange, which most cast-iron bases tolerate fine since the flange is solid metal, not a thin stamping.
Attachment Techniques
Mark the drill press base’s bolt pattern directly onto the tabletop, then drill through-holes sized for 3/8″ carriage bolts. Drop the bolts through from the top so the carriage bolt’s square shoulder seats into the plywood and stops spinning, add a T-nut or a nut-and-washer underneath, and tighten in a criss-cross pattern (like lug nuts on a wheel) rather than fully tightening one bolt before moving to the next – that keeps the base seated evenly instead of tilting slightly as it’s pulled down unevenly.
Testing For Secure Fit
With the press bolted down, grab the head and push firmly side to side and front to back – there should be zero perceptible movement. Run the motor at its lowest speed for 30 seconds with no bit installed and listen for rattling, which usually means a loose base bolt rather than a motor problem. Chuck up a long bit and drill a test hole in scrap; if the hole comes out clean and round rather than slightly oval, the mount is solid.
Enhancing Precision And Stability
Once the core stand is built and the press is mounted, three small upgrades make a bigger difference to hole accuracy than most builders expect from something so cheap to add.
Adding Adjustable Clamps
A drill press vise (see the pick above) or a simple set of T-track hold-downs keeps the workpiece from spinning the instant a bit catches, which is both a precision problem and the single most common cause of drill press hand injuries. T-track is the more flexible option long-term: rout a 3/4″ T-track slot into the table and any standard hold-down clamp slides to wherever the workpiece needs it.
Incorporating Vibration Dampeners
A 1/4″-thick rubber pad (sold as anti-vibration matting for washing machines works fine here) between the drill press base and the tabletop absorbs the small motor vibration that otherwise transmits straight through a rigid wood-to-metal bolt joint. This mostly affects noise and long-term bolt loosening rather than hole accuracy, but it’s a cheap five-minute addition while the press is already off the table for mounting.
Using Leveling Feet
Threaded leveling feet (T-nuts with a bolt and a rubber foot, or purpose-made furniture levelers) at each corner let you correct for an out-of-flat shop floor without shimming with cardboard, which compresses and shifts over time. Set them once with a 4-foot level laid across the tabletop in both directions, and re-check level every few months – wood stands do shift slightly as humidity changes through the seasons.
Maintenance Tips
A drill press stand needs very little upkeep, but the few checks below take under five minutes and catch problems while they’re still cheap to fix.
Regular Inspection Points
Once a month, re-check every mounting bolt with a wrench – wood compresses slightly under sustained clamping pressure, and bolts that were tight on installation day can loosen after a few weeks of seasonal wood movement. Look at the base-to-upright joint specifically for hairline cracks in the glue line, which show up as a thin dark line before the joint actually fails.
Cleaning And Lubrication
Brush or vacuum sawdust off the table and shelf after every session rather than letting it build up – packed sawdust holds moisture against the plywood edges. If your vise or hold-down hardware has moving threads, a drop of light machine oil (not WD-40, which evaporates and leaves threads dry within days) keeps them turning smoothly.
Troubleshooting Common Issues
New wobble almost always traces back to one of two things: a loosened mounting bolt (check with a wrench before anything else) or a shop floor that’s shifted slightly – re-level with the corner feet before assuming the stand itself has failed. A new rattle during operation usually means a bolt backed out rather than a bearing issue in the drill press itself. If a hold-down clamp won’t grip anymore, the threads are likely worn; replace the clamp rather than fighting a stripped one.
Frequently Asked Questions
What Materials Are Needed For A DIY Drill Press Stand?
3/4″ Baltic birch or cabinet-grade plywood for the base, top, and upright; 2-1/2″ wood screws and wood glue for the joints; and 3/8″ carriage bolts with T-nuts to mount the drill press base. A speed square, level, and clamps round out the tool list.
How Do I Ensure Stability In A Drill Press Stand?
Keep the base footprint’s narrowest side at least 60% of the stand’s total height, add diagonal corner braces at the base-to-upright joint, and use rubber feet or leveling feet so an uneven floor doesn’t telegraph into the tabletop.
Can I Customize The Height Of My Drill Press Stand?
Yes – measure your own comfortable working height rather than copying a plan’s number. Most builders land on 34″-38″ total height so the chuck sits around chest level when standing.
How Do I Attach The Drill Press To The Stand?
Mark the drill press base’s bolt pattern on the tabletop, drill through-holes for 3/8″ carriage bolts, and tighten a T-nut or washer-and-nut underneath in a criss-cross pattern so the base seats down evenly instead of tilting.
Conclusion
A homemade drill press stand costs a fraction of a commercial rolling stand and, done right, is actually more rigid – you’re not paying for wheels or folding legs, just a solid base built to your own dimensions. Get the base-to-height ratio right, bolt the press down properly instead of just setting it on the table, and the wobble problem disappears for good.
Measure your drill press and your shop’s ceiling height before cutting a single board, and build the base wider than you think you need – that’s the one dimension almost impossible to fix after the glue has dried.
Once the stand itself is solid, the next upgrade is usually a proper tabletop — one with a T-track fence, a dust-collection channel, and a replaceable center insert instead of a fixed hole. See our DIY drill press table guide for that build.
Sponsored / affiliate links. As an Amazon Associate I earn from qualifying purchases. I may earn additional commission from eligible campaigns.