How To Change A Chuck On A Milwaukee Drill
You’ll learn what tools you need. We’ll cover how to safely remove the old one. Then, we’ll show you how to put on a brand new one.
This will help your drill work like new again. It’s not as hard as it might seem.
Changing a chuck on a Milwaukee drill involves removing the old one, often with a bit of force or specific tools, and then securing a new one firmly. This process can usually be done at home with the right guidance and a few common items.
What is a Drill Chuck?
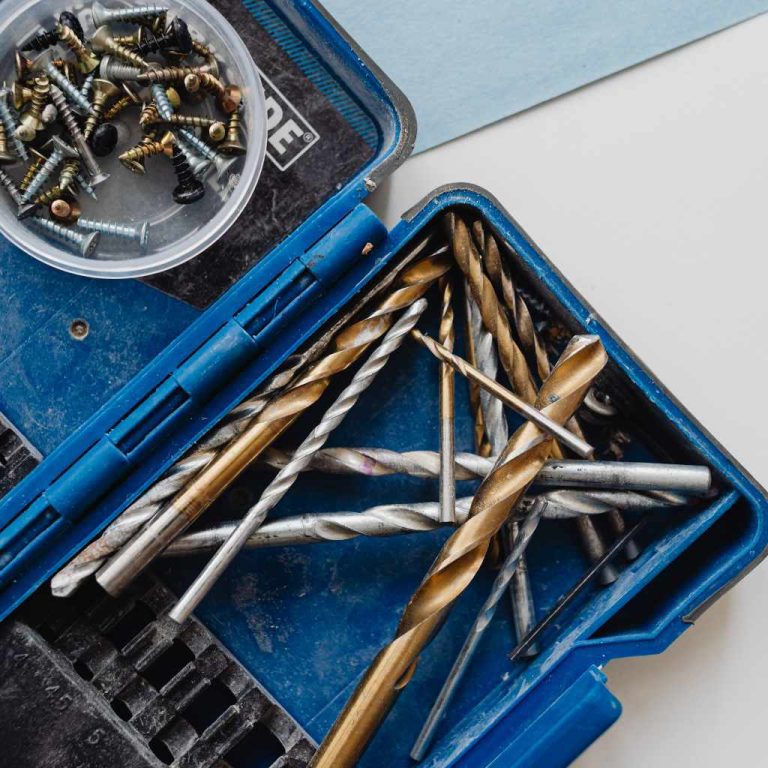
Think of the drill chuck as the drill’s hand. It’s the part that grips the drill bit. It has jaws that open and close.
This lets you swap out different bits for different jobs. You might need a Phillips head bit for screws. Or a spade bit for a big hole.
The chuck keeps the bit tight. This is key for a clean cut and safety. A loose bit can wobble.
It might even fly out. That’s why a good chuck is important. Milwaukee drills are known for being tough.
Their chucks are built to last. But sometimes, they can get worn out or damaged.
Why Would You Need to Change a Drill Chuck?
Several things can happen. Maybe the chuck gets stuck. You can’t loosen the jaws.
Or you can’t tighten them enough. This means it won’t hold a bit right. That’s a big problem for drilling.
Sometimes, the chuck might get damaged. Dropping the drill can do this. Or forcing a bit into it.
You might see cracks. Or it might just look bent out of shape. When this happens, it’s time for a new chuck.
Another reason is wear and tear. Over years of use, the jaws can get dull. They might not grip as well.
This can lead to bits slipping. It also means the drill might not be as accurate. A new chuck makes your drill feel new again.
It’s a great way to keep your tools working.
My Own Chuck Scare
I remember this one time, I was building a deck. The sun was going down fast. I had a big lag bolt to drive in.
I tried to put the driver bit into my Milwaukee drill. But the chuck wouldn’t open all the way. It was stuck.
I wiggled it. I tapped it. Nothing worked.
Panic started to set in. I had people waiting for me to finish. I felt so frustrated.
I thought I’d have to buy a whole new drill. That would cost a lot. Then I remembered a trick I’d read about.
It involved a wrench and a bit of force. My heart was pounding a little as I tried it. I didn’t want to break it.
But thankfully, it worked! The chuck popped open. I quickly swapped the bit and finished the job.
That experience taught me how important it is to know these simple fixes.
Chuck Types: What to Look For
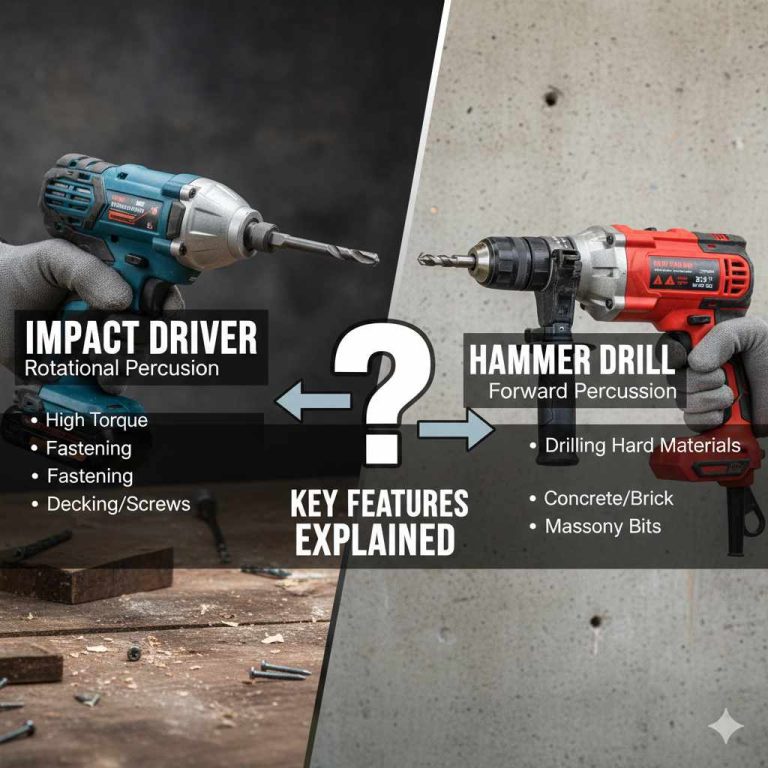
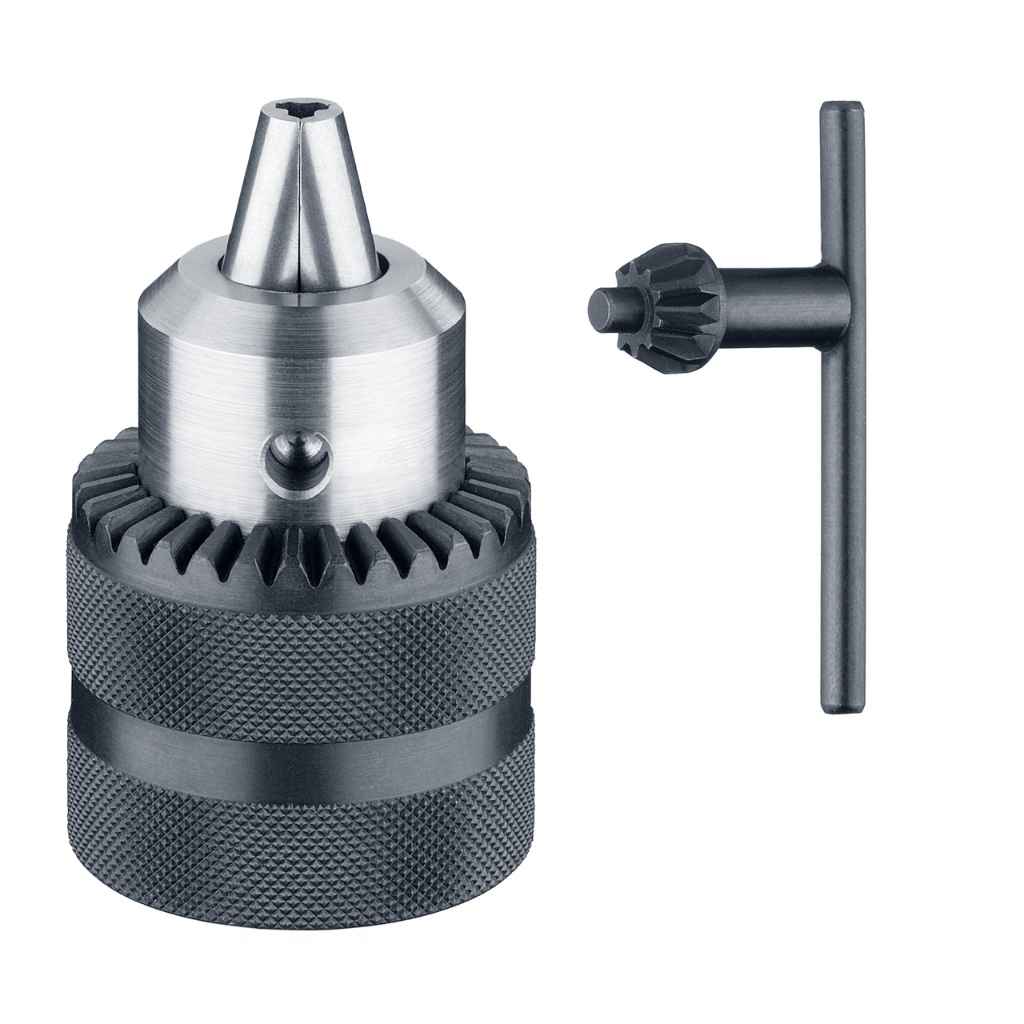
Keyed Chucks: These need a small metal key to tighten and loosen. They offer a very strong grip. You’ll find these on older or heavier-duty drills.
Keyless Chucks: These you can twist by hand. They are super fast to change bits with. Most modern drills, like many Milwaukee models, use keyless chucks.
They are very common now.
How to Get the Old Chuck Off
Okay, let’s get to taking off that old chuck. This is where you might need a few tools. Don’t force it too hard at first.
Let’s try the easy way.
First, make sure the drill is unplugged. Safety first, always. If it’s a cordless drill, take the battery out.
This stops it from accidentally turning on.
Now, look at the chuck. Most Milwaukee drills have keyless chucks. You can try to just twist them open.
If they are stuck, you might need more help. Some keyless chucks have a small screw inside. It’s usually a Phillips head screw.
You need to take that screw out first. It’s often a reverse thread. This means you turn it clockwise to loosen it.
If you can’t find a screw, or it’s really stubborn, there’s another way. Put a block of wood between the drill chuck jaws. Then, use a wrench on the chuck body.
You might need a vise to hold the drill steady. Try to turn the chuck counter-clockwise. This can sometimes break it free.
Be firm but steady. You don’t want to damage the drill body.
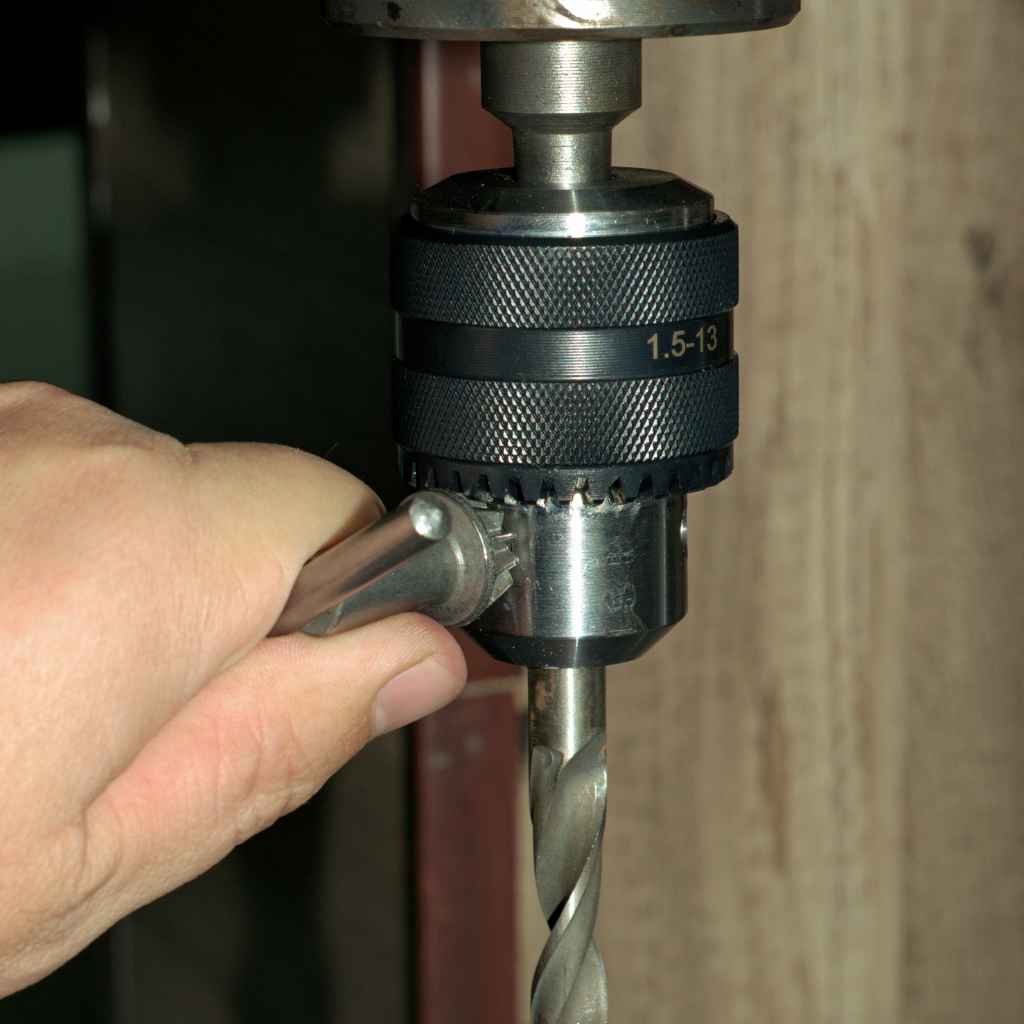
If your drill has a keyed chuck, you’ll use the chuck key. Put the key into one of the holes. Turn it counter-clockwise.
If it’s stuck, you might need to tap the key lightly with a hammer. This can help loosen it. Then try turning again.
Stuck Chuck? Quick Troubleshooting
Try a penetrating oil: A little WD-40 or similar spray can help loosen things up. Let it sit for a few minutes.
Use leverage: A longer wrench or pipe over your wrench gives you more turning power.
Gentle tapping: A few light taps with a rubber mallet can sometimes free stuck parts. Don’t hit too hard!
Getting the New Chuck On
Putting the new chuck on is usually simpler. You need to make sure you have the right chuck for your Milwaukee drill. Check the model number.
Chucks have different thread sizes.
Most Milwaukee drills use a standard 1/2-inch keyed chuck. Or a keyless chuck that threads on. If you removed a screw from the old chuck, you’ll need to put it back in the new one.
Remember, it’s usually a reverse thread.
For a threaded chuck, simply screw the new chuck onto the drill’s spindle. Turn it clockwise by hand as far as you can. You might hear a click as it seats itself.
Some chucks need a final tightening. For keyless chucks, you can often just tighten it by hand. For keyed chucks, use the chuck key.
A common way to get a good tight fit is to use the drill’s hammer action. If your drill has it, switch it to the hammer mode. Then, tighten the chuck firmly.
Finally, switch it back to normal drilling mode. Use the chuck key to give it one last good tighten. This helps it lock into place.
It ensures a secure fit.
Quick Scan Table: Tools You Might Need
| Tool | Purpose |
| Screwdriver (Phillips) | Removing set screw inside chuck |
| Wrench (adjustable or pipe) | Grip and turn stubborn chucks |
| Vise | Holding drill steady while working |
| Chuck Key | For keyed chucks, tightening and loosening |
| Block of Wood | To protect jaws when using a wrench |
| Penetrating Oil | Loosening stuck parts |
Understanding Your Milwaukee Drill’s Chuck
Milwaukee drills are built tough. They often have metal gear housings. This adds durability.
Their chucks are usually high quality too. They can be either keyless or keyed.
Keyless chucks are very common on modern Milwaukee drills. These allow for quick bit changes. You just twist the collar.
Sometimes, there’s a locking ring you pull or push. The jaws move in and out to grip the bit.
Keyed chucks are less common on newer models. But they are still used on some heavier-duty drills. They use a chuck key that fits into holes around the chuck.
Turning the key tightens or loosens the jaws.
The chuck attaches to the drill’s spindle. This is the shaft that spins. It’s usually threaded.
Some spindles have a small hole through them. This is where a set screw might go to hold the chuck on.
Contrast Matrix: Normal vs. Concerning Chuck Behavior
Normal Chuck Behavior
- Smooth opening and closing of jaws.
- Firmly grips drill bits without slipping.
- Chuck body is secure, no wobbling.
- Easy to tighten and loosen by hand (keyless).
Concerning Chuck Behavior
- Jaws are stiff, won’t open or close fully.
- Bits slip or fall out during use.
- Chuck wobbles or makes grinding noises.
- Difficulty tightening or loosening.
- Visible cracks or damage to the chuck body.
Common Issues with Milwaukee Drill Chucks
Even with great tools like Milwaukee, chucks can have problems. One common issue is a stuck chuck. You can’t open or close it.
This often happens when dirt or debris gets inside. Or if it hasn’t been used in a while. Moisture can also cause parts to seize up.
Another problem is wobble. If the chuck isn’t properly tightened onto the spindle, or if it’s damaged, it can wobble. This makes drilling inaccurate.
It can also lead to bit wear.
Sometimes, the jaws themselves wear out. They might become rounded or lose their grip. This is normal wear and tear after lots of use.
You’ll notice bits slipping more often. This is a clear sign it’s time for a replacement.
For keyless chucks, the internal mechanism can sometimes fail. This might mean the jaws don’t move right. Or the locking action stops working.
Again, replacement is usually the best fix.
When to Call a Professional
Most of the time, changing a drill chuck is a DIY job. But there are times when you might want to get help. If you try to remove the old chuck and can’t budge it.
If you’re worried about damaging your drill. That’s when it might be wise to seek advice.
Also, if your Milwaukee drill is still under warranty. Trying to fix it yourself might void it. Check your warranty papers first.
If it’s covered, contact Milwaukee service. They can tell you what to do.
For very old drills, or if the drill body itself seems damaged. It might not be worth the cost of a new chuck. Sometimes, it’s time to retire an old tool.
But for most cases, a new chuck will breathe new life into your drill.
Experience Insight: The Little Screw That Caused Trouble
I was helping a friend change a chuck on their drill. It was a Milwaukee, pretty old. We got the chuck off fine.
We had the new one, ready to go. But we couldn’t get it to tighten up properly. It kept unscrewing itself a little.
We were stumped for a while.
Then we looked really close at the old chuck. We saw a tiny little screw at the very back, inside the spindle hole. We had missed it completely!
That little screw was what held the old chuck on tight. Once we put that screw into the new chuck, it tightened up perfectly. It’s a good lesson: always check for those small but important parts!
Maintaining Your Drill Chuck
Keeping your chuck in good shape helps it last longer. After each use, give the chuck a quick clean. Brush away any dust or sawdust.
This stops grit from getting into the mechanism.
If you use your drill a lot, consider adding a tiny drop of lubricant. A light machine oil or even a bit of lithium grease can help. Just a small amount.
You don’t want too much, or it will attract dirt.
When you change bits, try not to force them. Make sure the jaws are open enough. Don’t jam bits in.
This can damage the jaws. Always use the right size bit for the job too.
Store your drill properly. Keep it in its case or a dry place. Moisture can cause rust and make parts stick.
Taking these small steps can make a big difference in how long your chuck and your drill last.
Troubleshooting When a New Chuck Doesn’t Fit
So, you’ve got your shiny new chuck. You’re ready to pop it on. But wait, it doesn’t seem to fit right.
What could be wrong?
The most common reason is getting the wrong chuck. There are different thread sizes and types. Milwaukee uses specific spindles on their drills.
Double-check the part number for your drill model. Compare it to the specifications of the new chuck.
Sometimes, the drill’s spindle threads might be damaged. This can happen if the old chuck was forced off. Or if debris got into the threads.
Carefully inspect the spindle threads. If they look rough, you might need professional help to clean them up. Or, in some cases, the drill might be beyond repair.
Another thing to check is if there’s a set screw holding the chuck on. As we saw in the story, these can be hidden. They are usually at the very back of the chuck, inside the spindle hole.
You need to remove this screw before trying to unscrew the chuck itself. Make sure you’re turning it the right way to loosen (often clockwise for these screws!).
If you’re sure you have the right chuck and the spindle looks good, try fitting it again. Make sure it’s going on straight. Don’t force it.
If it still doesn’t thread correctly, it’s best to stop. Consult your drill’s manual or contact Milwaukee support.
Real-World Chuck Scenarios
Imagine you’re working in a dusty workshop. Sawdust can get everywhere. It can build up in the chuck.
This can make it hard to open or close. Or it might cause the jaws to stick.
Or maybe you’re working outside. It might get a little damp. Moisture can lead to rust.
Rust can seize up the metal parts of the chuck. This makes it hard to turn.
Some people use their drills for many different tasks. They might switch bits very often. This constant use can wear down the chuck jaws faster.
It’s like anything that gets used a lot; it eventually wears out.
When you’re drilling into tough materials, like concrete or metal, you put a lot of stress on the chuck. If the drill isn’t perfectly straight, or if the bit slips, it can put a strain on the chuck. This can lead to damage over time.
Milwaukee drills are designed for tough jobs. But even the best tools need care. Understanding these scenarios helps you know why your chuck might need attention.
What This Means for You
Knowing how to change a chuck is really useful. It saves you money. Instead of buying a new drill, you can just replace the chuck.
This is often a much cheaper option.
It also means you can keep using your favorite drill. If your Milwaukee drill is still powerful and works well, a new chuck makes it feel new again. You don’t have to break in a new tool.
When is it normal for a chuck to wear out? After many years of hard use, it’s expected. Think about how many screws you’ve driven or holes you’ve drilled.
It’s normal for parts to wear down.
When should you worry? If the chuck gets stuck suddenly. Or if it starts making loud noises.
If it wobbles a lot. These are signs something is wrong. It might need immediate attention or replacement.
A simple check is to look at the jaws. Are they smooth and straight? Or are they rounded and worn?
Also, try tightening and loosening it. Does it move freely? Does it grip bits firmly?
These checks can tell you a lot.
Quick Fixes and Tips
Clean Regularly: Always brush out dust and debris after use.
Lubricate Sparingly: A tiny bit of oil on the jaws can help, but don’t overdo it.
Gentle Bit Changes: Don’t force bits into the chuck. Open the jaws wide enough.
Correct Chuck Type: Ensure you buy the right replacement chuck for your specific Milwaukee model.
Check for Set Screws: Always look for hidden set screws that might be holding the old chuck on.
Tighten Properly: Use the drill’s hammer function briefly if needed to secure the new chuck firmly.
Frequently Asked Questions About Milwaukee Drill Chucks
How do I know if I need a new chuck for my Milwaukee drill?
You might need a new chuck if it’s difficult to open or close, bits slip out, the chuck wobbles, or if you see any visible damage like cracks.
Can I use a generic chuck on my Milwaukee drill?
It’s best to use a chuck specifically made for your Milwaukee drill model. Generic chucks might not fit correctly or securely, which can affect performance and safety.
What is the difference between a keyed and a keyless chuck?
A keyed chuck uses a small metal key to tighten and loosen bits, offering a very strong grip. A keyless chuck is tightened and loosened by hand, making bit changes much faster.
How do I remove a set screw from a drill chuck?
Most set screws are Phillips head. You’ll need a screwdriver. Remember, these often have a reverse thread, meaning you turn clockwise to loosen them.
How much does it typically cost to replace a drill chuck?
A replacement chuck for a Milwaukee drill can range from $20 to $60, depending on the model and where you buy it. This is much cheaper than a new drill.
My new chuck spins freely but doesn’t tighten. What’s wrong?
This often means the chuck is not threaded onto the spindle correctly, or the spindle threads are damaged. Ensure you’re threading it on straight and check the spindle for any obstructions or damage.
Conclusion
Changing a chuck on your Milwaukee drill is a manageable task. With the right tools and a bit of patience, you can revive your drill. It’s a great skill to have.
It keeps your tools working hard for you. Don’t let a stubborn chuck stop your projects. You’ve got this!