How to Clamp Wood at a 45-Degree Angle Without Slipping
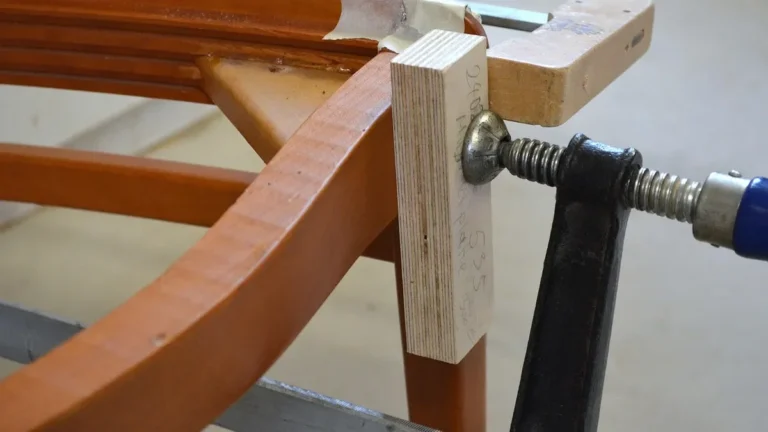
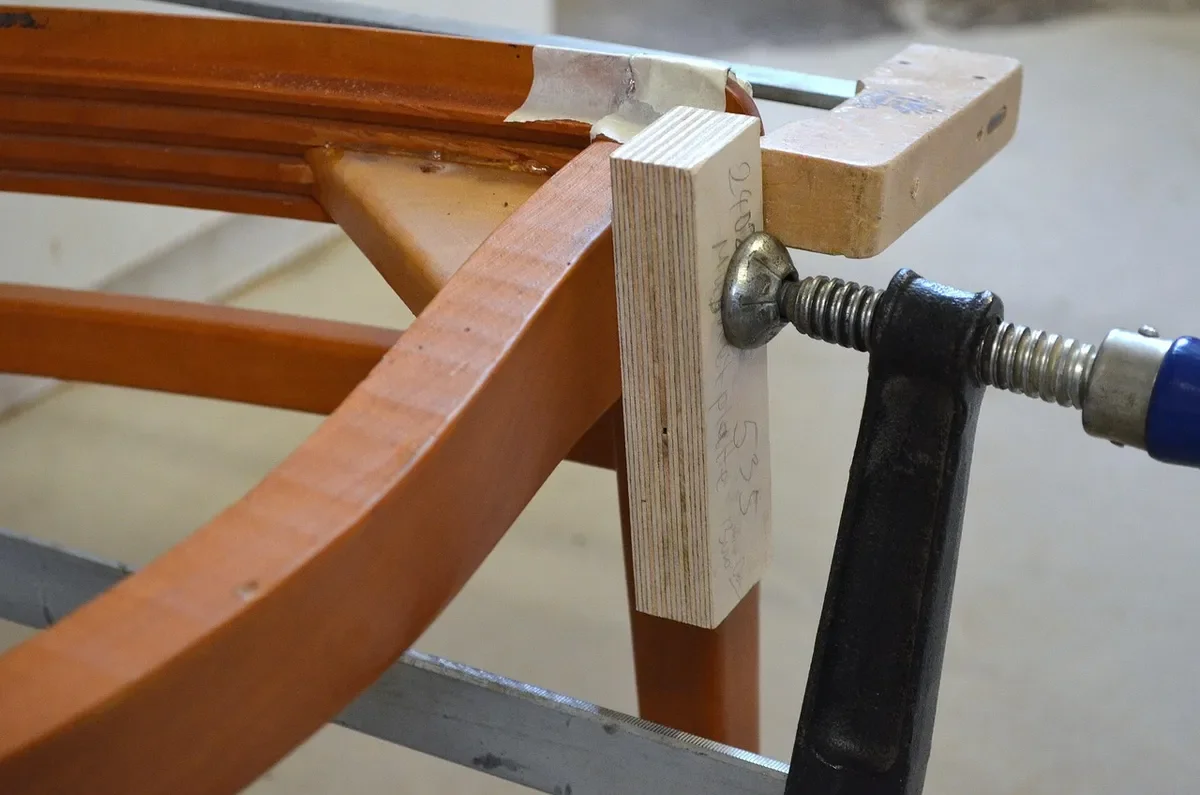
To clamp wood at a 45-degree angle, use a clamp that pulls a miter closed from both legs at once: a strap clamp for frames and boxes, a 90-degree corner clamp for a single corner, or painter’s tape for a light glue-up. A plain bar clamp pushed along one leg makes the two angled faces slide apart. This guide shows which method fits your project, the clamping steps, and how big a gap each degree of cut error leaves.
Best Clamp for 45-Degree Miter Joints
Best Miter Strap Clamp Pick | |
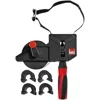 |
BESSEY VAS-23+2K-CB 23 ft Variable Angle Strap Clamp with 4 Clips A woven-strap clamp with four pivoting corner pieces that pull every miter of a frame or box closed at the same time.
|
As an Amazon Associate we earn from qualifying purchases. | |
If you build frames, boxes or anything with four mitered corners, a strap clamp is the most useful miter clamp to own. The band wraps the whole assembly, so every joint gets similar pressure at the same moment, and the corner pieces keep the strap from crushing the outside points of the wood. For a single corner or a face frame, a corner clamp or spring clamps do the job for less money.
Clamping is only half of a good miter. If the cuts are off, no clamp will hide it, so start with a saw that is set accurately. Our guide to measuring 45-degree miter cuts covers long-point and short-point layout, and checking a 45-degree angle on wood shows how to verify the angle before you cut.
Why a Straight Clamp Makes a Miter Slip
A miter joint is two boards cut so their faces meet at 45 degrees. That angled face is what makes clamping tricky. When you push along the length of one board with a bar clamp, the force meets the glue line at 45 degrees, and it splits into two equal parts: one squeezes the faces together, the other pushes them sideways along the joint. Both parts are about 71 percent of the clamp force (sine and cosine of 45 degrees are both 0.707).
Wet PVA glue works like a lubricant, so the sideways push has almost nothing to resist it. The result is the familiar slide: one piece creeps a little past the other, and the corner ends up with a stepped face that needs sanding out. That is why miter clamping methods all do the same thing. They either pull the corner from two directions so the sideways parts cancel, or they physically stop the sliding.
Miter Clamping Methods Compared
| Method | Best for | How it stops slipping | Watch out for |
|---|---|---|---|
| Strap (band) clamp | Picture frames, drawer boxes, small cabinets | Pulls all corners at once so side forces cancel | Strap gives no fine adjustment, so it will not fix a bad cut |
| 90-degree corner clamp | One corner at a time, face frames | Two faces hold the pieces square while you tighten | Limited to the capacity of the clamp jaws; slow for a four-corner frame |
| Painter’s tape | Light frames, trim, small boxes | Tape across the outside of the joint holds it while it dries | Low pressure; not for large or heavy pieces |
| Spring clamps and blocks | Trim, small repairs | Small blocks or a brad hold the faces aligned | Weak pressure; blocks must sit square |
| Pinning with brads | Any miter as a backup | Steel pins physically block the slide | Leaves small holes to fill |
How to Clamp a 45-Degree Miter Step by Step
The steps below work for a four-sided frame or box. Do a dry run first: assemble every piece with the clamp and no glue, check the corners with a square, and make sure the clamp reaches everywhere you need it before the glue is open.
- Dry-fit all four pieces with the strap clamp or corner clamps in place. Check each corner with a square and look for gaps.
- Wipe glue across each cut face. Miters expose end grain, and end grain soaks glue up quickly, so many woodworkers brush on a thin first coat, wait a minute or two, then add a second coat.
- Bring the pieces together on a flat surface and slip the strap or corner clamps around them.
- Tighten evenly, a little at each corner, until a thin bead of glue appears along the joint. Stop there. A hard squeeze pushes glue out and can starve the joint.
- Check each corner with the square, and sight along the face to be sure the two pieces are level with each other. Nudge the pieces with light taps before the glue grabs.
- If a corner is prone to sliding, add a brad or two, or hold it with a corner clamp before tightening the strap.
- Wipe squeeze-out with a damp cloth right away, and leave the clamps on for the time the glue label gives.
For clamp time by glue type, see our breakdown of how long to clamp Titebond III. If you plan to reinforce the corners with screws, our guide to screwing mitered corners without splitting them covers pilot holes and placement.
How Much Gap Does Each Degree of Error Leave?
Here is the myth worth clearing up: clamping tighter does not close an angle error. It just puts the joint under stress. The table shows what a small error costs on 3-inch-wide stock. The mitered face of a 3-inch board is about 4.24 inches long (3 divided by cos 45 degrees), and the gap at the open end is that length times the tangent of the total corner error.
| Error on each cut | Corner off by | Gap at the open end (3-inch stock) | Roughly |
|---|---|---|---|
| 0.25 degrees | 0.5 degrees | 0.037 in | just over 1/32 in |
| 0.5 degrees | 1 degree | 0.074 in | 5/64 in |
| 1 degree | 2 degrees | 0.148 in | 5/32 in |
| 2 degrees | 4 degrees | 0.297 in | 19/64 in |
A gap around 1/32 inch is something a strap clamp and glue can hide in most woods. At 5/64 inch you will see it and feel it, and at 5/32 inch you are looking at a recut. The numbers also explain why an ‘almost 45 degrees’ saw setting is not good enough for picture frames: the same error repeats at every corner. If you are unsure of your saw’s accuracy, check it against our miter saw angle chart and test-cut two scrap pieces before you cut your final stock.
Tips for Stronger, Cleaner Miter Joints
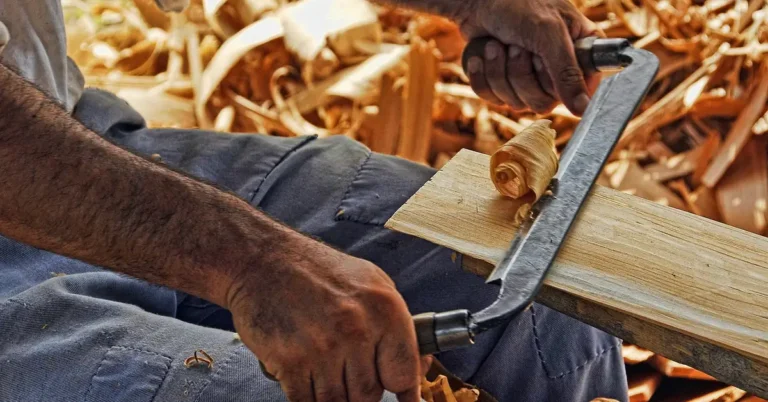
- Cut long, trim to fit. Cut pieces slightly long, then shave the miter on a shooting board or with a sharp plane for a tighter joint than the saw alone gives.
- Pad the clamp faces. Scrap wood or cork under the strap corners or clamp jaws prevents dents in soft woods like pine.
- Go easy on glue near the inside corner. Squeeze-out on the inside of a corner is harder to clean than on the outside.
- Add reinforcement for load-bearing corners. A spline or a pair of screws is far stronger than glue alone, because the joint is mostly end grain.
- Keep the glue-up flat. A warped bench turns a flat frame into a twisted one, and the clamp will lock the twist in.
Wider clamps have their place too. If you also glue up panels, see our comparison of 1/2 vs 3/4 pipe clamps for what deflection does to clamping pressure. For other ways to join a 45-degree corner, read our full guide to joining wood at a 45-degree angle. If your cuts are the weak link, cutting precise angles in wood is the place to start.
Frequently Asked Questions
How do you clamp wood at a 45-degree angle?
Use a clamp that pulls a mitered corner together along both legs at once: a strap (band) clamp for frames and boxes, a 90-degree corner clamp for a single corner, or painter’s tape for a light-duty glue-up. A straight bar clamp pushed along one leg tends to slide the two mitered faces past each other on wet glue.
What kind of clamp is best for miter joints?
For four-sided work like picture frames and boxes, a strap clamp with corner pieces that pivot to the joint angle is the most even option. For a single corner or a face frame, a corner clamp or spring clamps with glue-up blocks work. The right choice depends on how many corners you are closing at once.
Why does my miter joint slip when I clamp it?
The two cut faces sit at 45 degrees, so pushing along a leg splits the clamp force into a squeeze across the joint and an equal sideways push along it. Wet glue offers almost no friction against that sideways push. Pinning with a brad, using a strap clamp, or holding the joint in a corner clamp keeps the faces aligned.
How long should a miter joint stay clamped?
Follow the glue label. Many PVA wood glues need roughly 30 minutes to an hour of clamping for handling strength and a full day to reach full strength, but the exact time depends on the brand, temperature and humidity. Do not put stress on the corner until the glue has cured.
Can clamping fix a miter gap?
No. Clamping can close a very small gap in flexible stock, but it cannot correct an angle error, and it leaves the joint under constant stress that can reopen over time. If a dry fit shows a visible gap, recut or trim the miter, then clamp.
Conclusion
Clamping a 45-degree miter comes down to two things: pull the corner from both directions so the faces do not slide, and start with cuts accurate enough that the clamp is not asked to fix an angle. A strap clamp handles four-corner assemblies best, a corner clamp or tape handles one-off corners, and a dry fit before the glue comes out saves the most trouble.
Sponsored / affiliate links. As an Amazon Associate I earn from qualifying purchases. I may earn additional commission from eligible campaigns.