How to Attach Wood to Metal Frame: Easy & Durable Techniques
Wood attaches to a metal frame most reliably with self-tapping screws (often called Tek screws) for thin-gauge metal, or through-bolts with washers for anything thicker than about 1/8 inch — construction adhesive alone isn’t rated for structural loads and will eventually let go under vibration or weight.
For more, see our woodworking calculators guide.
The most common failure isn’t the fastener choice, it’s skipping a pilot hole on the wood side — driving a self-tapping screw straight into wood without one usually splits the grain around the hole, especially near edges.
Below, we cover which fastener to use based on the metal’s thickness, plus the pilot-hole sizes that keep the wood from splitting, so you can make your wood and metal frame connection strong and reliable every time.
Choosing The Right Materials
Choosing the right materials is key to a strong bond between wood and metal. The durability of your project depends on this choice. You must consider the types of wood, the metal frame, and how they fit together. This helps avoid issues like warping, rust, or weak joints. Let’s explore the best wood and metal types and how to match them well.
Types Of Wood For Metal Frames
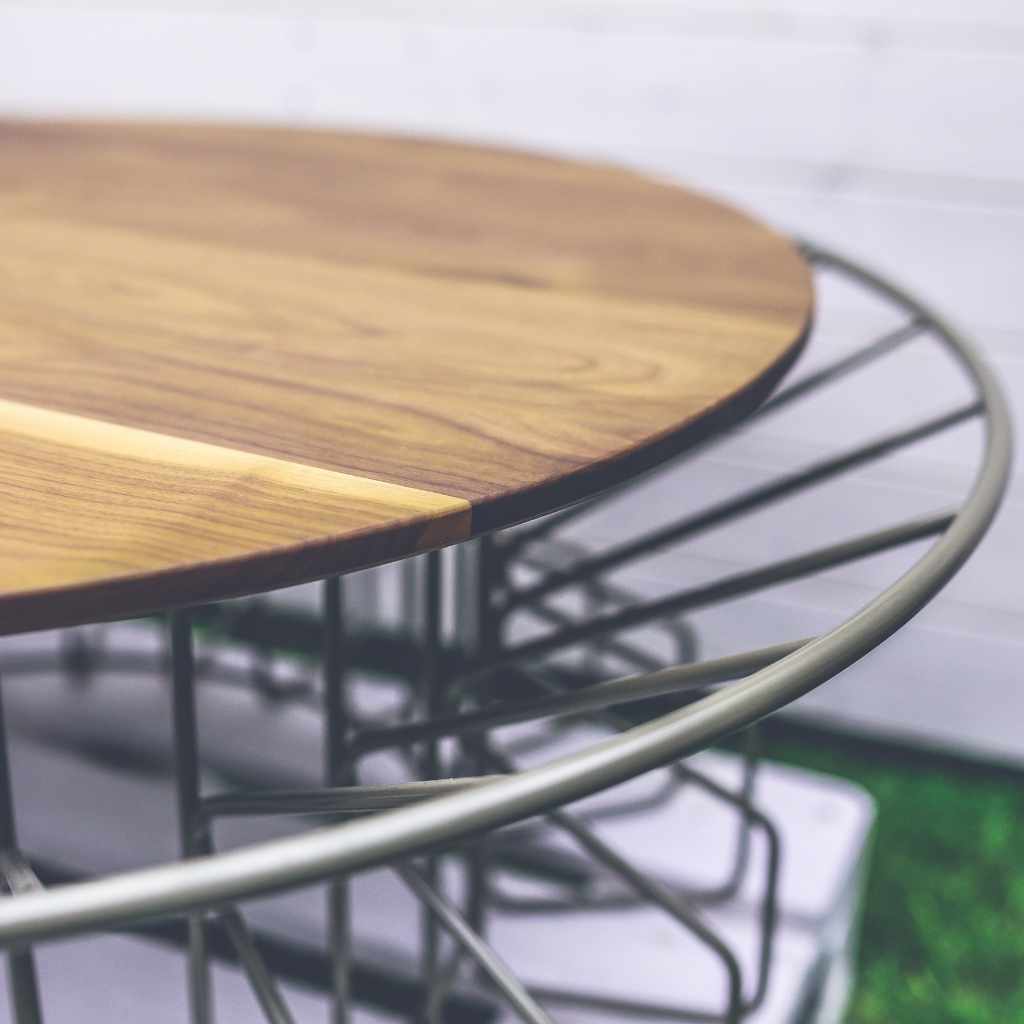
Hardwoods like oak, maple, and walnut offer strength and beauty. They resist dents and hold screws better. Softwoods such as pine and cedar are lighter and easier to work with. Cedar also resists moisture and decay. Choose wood that fits your project’s use and environment. Treat wood to protect it from weather and insects.
Metal Frame Varieties
Steel is strong and common for metal frames. It can handle heavy loads and lasts long. Aluminum is lighter and rust-resistant. It suits outdoor projects. Stainless steel resists corrosion but costs more. Consider the frame’s location and load needs before choosing metal. Proper metal type improves the overall build quality.
Matching Wood And Metal
Wood and metal expand differently with temperature changes. Choose wood and metal types with similar expansion rates. This reduces stress on joints. Use finishes that protect both materials from moisture. Matching colors and textures also improves the look. A good match ensures your project stays stable and looks great over time.
Preparation Steps
Preparing both wood and metal is essential before attaching them. Proper preparation ensures a strong and lasting bond. It helps prevent future problems like rust or loose joints. Follow these steps carefully for the best results.
Cleaning Metal Surfaces
Start by removing dirt, dust, and grease from the metal frame. Use a cloth soaked in rubbing alcohol or a mild detergent solution. Wipe the surface well and let it dry completely. Clean metal improves adhesion and reduces rust risk.
Sanding And Drilling Wood
Sand the wood where it will touch the metal. This creates a rough surface that holds screws or glue better. Use medium-grit sandpaper for this task. Drill pilot holes in the wood to prevent splitting. Make sure holes match the metal frame’s attachment points.
Marking Attachment Points
Measure and mark spots on both wood and metal for screws or bolts. Use a pencil or marker for clear, precise marks. Double-check alignment to avoid errors. Proper marking helps fasten pieces securely and evenly.
Mechanical Fastening Methods
Mechanical fastening methods join wood to metal using physical connectors. These methods create strong, lasting bonds. They do not require welding or adhesives. This makes them easy to use and repair. Choose the right method based on your project’s needs.
Using Screws And Bolts
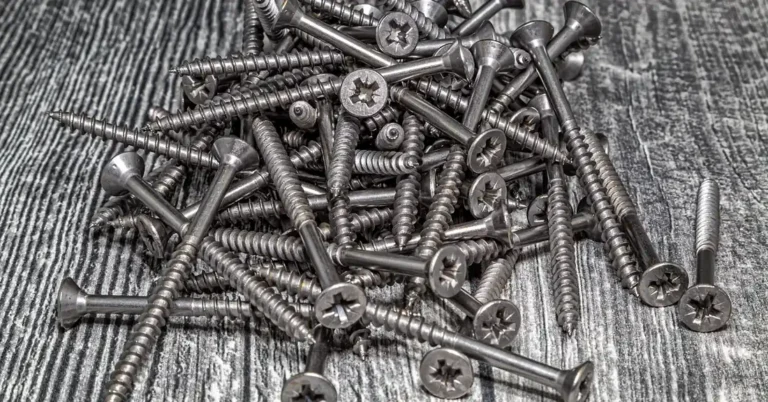
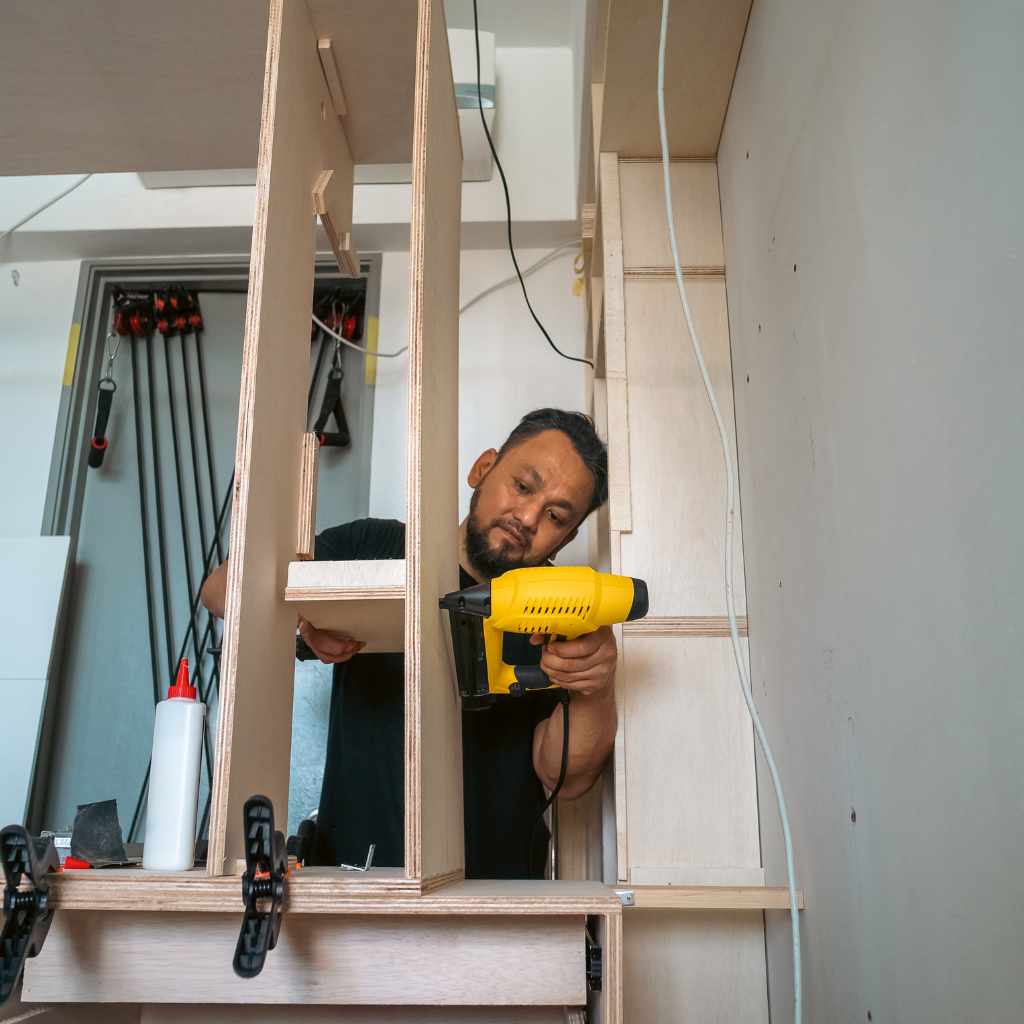
Screws and bolts are common for attaching wood to metal. Use self-tapping screws for metal frames. Pre-drill holes in wood for smooth insertion. Bolts offer stronger connections for heavy loads. Secure bolts with washers and nuts. Tighten firmly but avoid over-tightening to prevent damage.
Top Pick For This Job
DEWALT DW1361 Pilot Point Drill Bit Set
Skipping the pilot hole is the most common reason a wood-to-metal joint splits. This titanium-coated set drills clean pilot holes in both wood and metal without walking or overheating.
Best for: Drilling pilot holes before driving any screw or bolt
Why we picked it: Pilot-point tip works on wood and metal without a separate center punch
Main drawback: Titanium coating wears faster in hardened steel than cobalt bits
Check Price on Amazon


As an Amazon Associate we earn from qualifying purchases.
Employing Brackets And Plates
Brackets and plates provide extra support at joints. Metal brackets attach to both wood and metal parts. Use screws or bolts to fix brackets in place. Plates can spread weight evenly across surfaces. Choose shapes and sizes that fit your frame design. This method improves stability and durability.
Riveting Techniques
Rivets join wood and metal with a permanent bond. Drill holes through wood and metal parts first. Insert rivets and use a rivet gun to fasten them. Riveting is strong and vibration-resistant. Best for projects needing a flush, clean finish. Rivets cannot be removed easily, so plan carefully.
Adhesive Bonding Options
Adhesive bonding offers a clean, strong way to attach wood to a metal frame. It avoids drilling holes or using screws. Adhesives can fill gaps and hold materials tightly together. Choosing the right glue and preparing surfaces correctly ensures a durable bond. Understanding how to apply and cure adhesives helps achieve the best results.
Choosing Suitable Adhesives
Select adhesives made for both wood and metal. Epoxy and polyurethane glues work well. Epoxy provides a strong, lasting bond. Polyurethane glue expands slightly to fill gaps. Avoid simple wood glue; it may fail on metal. Check product labels for compatibility with both materials.
Surface Preparation For Adhesives
Clean both wood and metal surfaces thoroughly. Remove dust, oil, and rust with a cloth or sandpaper. Roughen the metal slightly to improve grip. Sand the wood lightly to open pores. Dry surfaces bond better than wet ones. Proper surface prep increases adhesive strength.
Applying And Curing Adhesives
Follow adhesive instructions carefully. Apply glue evenly on both surfaces. Press the wood and metal together firmly. Use clamps or weights to hold pieces in place. Keep parts still during curing time. Curing may take hours or days depending on glue type. Avoid stress on the bond until fully cured.
Welding And Soldering Approaches
Attaching wood to a metal frame requires strong and reliable methods. Welding and soldering offer effective solutions for joining these materials. Both techniques involve heating metal parts to create a solid bond. Understanding the right approach helps achieve durable results.
When Welding Is Suitable
Welding works best when the metal frame can handle high heat. It fuses metal parts by melting them together. This method suits heavy-duty projects and outdoor structures. Welding creates a strong, lasting connection. It is less ideal for thin metals or delicate wood pieces. Use welding when strength is the top priority.
Soldering Basics For Metal Frames
Soldering uses lower heat than welding. It melts a filler metal to join parts without melting the base metals. This method suits thinner metals and smaller projects. Soldering is easier to control and less damaging to wood. It is ideal for light frames or decorative items. Clean metal surfaces improve soldering results.
Safety Precautions
Wear protective gear like gloves and goggles. Work in a well-ventilated area to avoid harmful fumes. Keep a fire extinguisher nearby for emergencies. Handle hot tools and metals with care. Follow all safety guidelines to prevent injuries. Proper preparation ensures a safe working environment.
Ensuring Durability And Strength
Ensuring durability and strength is key when attaching wood to a metal frame. Strong joints keep your structure safe and lasting. The right methods prevent loosening and damage over time. Focus on solid connections and protection from wear.
Reinforcement Techniques
Use bolts or screws designed for metal and wood. Tighten them firmly but avoid overdriving. Add washers to spread pressure evenly. Consider metal brackets for extra support. Cross braces can reduce wobbling and increase stability.
Weatherproofing Attachments
Seal joints with waterproof caulk to stop moisture. Choose rust-resistant screws or bolts to avoid corrosion. Paint or coat metal parts to protect from rain. Use treated wood to resist rot and decay. Cover exposed areas to reduce weather impact.
Regular Maintenance Tips
Check connections regularly for looseness or rust. Tighten screws and bolts as needed. Remove dirt and debris from joints. Apply fresh sealant or paint to keep protection strong. Replace damaged parts quickly to prevent bigger problems.
Common Mistakes To Avoid
Attaching wood to a metal frame requires care. Many people make mistakes that weaken the joint. Avoiding these common errors helps create a strong and lasting bond. Here are key mistakes to watch out for.
Incorrect Fastener Choices
Choosing the wrong fastener causes poor connections. Wood and metal need specific screws or bolts. Using nails or wood-only screws can lead to loosening. Select fasteners made for metal and wood. This ensures a tight and durable hold.
Improper Surface Preparation
Dirty or rusty surfaces reduce adhesion. Metal frames must be clean and dry before attaching wood. Sand off rust and dirt for a smooth area. This step helps fasteners grip better and prevents future problems.
Overlooking Load Requirements
Ignoring the weight the joint must carry risks failure. Consider how much force the connection will face. Use fasteners and designs that support the expected load. Planning for strength keeps your project safe and stable.
Frequently Asked Questions
What Is The Best Method To Attach Wood To Metal Frame?
The best method is using self-tapping screws with washers. They provide strong grip and avoid wood splitting. Pre-drill pilot holes in metal to ease screw insertion and prevent damage.
Can I Use Adhesive To Join Wood And Metal?
Yes, industrial-strength epoxy or construction adhesive works well. Clean surfaces first for better bonding. Adhesives create a durable, gap-filling bond but may not support heavy loads alone.
How Do I Prevent Wood From Splitting When Attaching To Metal?
Pre-drill holes in the wood before screwing. Use screws with a sharp, tapered tip. Avoid overtightening screws to maintain wood integrity and ensure a secure fit.
Are Bolts Better Than Screws For Wood-to-metal Attachment?
Bolts provide stronger, more secure joints especially for heavy loads. Use nuts and washers for stability. Screws are easier for lighter projects but bolts offer better durability.
Conclusion
Attaching wood to a metal frame can be simple with the right steps. Choose the best screws or bolts for a strong hold. Always drill pilot holes to avoid splitting the wood. Use clamps to keep materials steady while working.
Take your time and check each connection carefully. These tips help create a sturdy, lasting bond. Try these methods on your next project and see the difference. The right approach makes all the work easier and safer.
Sponsored / affiliate links. As an Amazon Associate I earn from qualifying purchases. I may earn additional commission from eligible campaigns.