How to Cut a Sink Hole in a Countertop (Laminate & Wood)
To cut a sink hole in a laminate or wood countertop, trace the sink maker’s template, drill a pilot hole in each corner, cut with a new fine-tooth jigsaw blade, and support the cutout so it cannot fall. Formica advises at least 1 1/2 inches between the sink and the countertop’s front edge. The step most guides skip is sealing the raw cut edges. This guide covers each step, the clearances, and when to hand the job to a fabricator.
Tools and Materials for a Sink Cutout
 |
Best Sink Cutout Blade Pick BOSCH T101AOF 5-Piece 20 TPI Special for Laminate T-Shank Jigsaw Blades, $15.98 Formica’s cutting instructions call for a brand-new, fine jigsaw blade with at least 20 teeth per inch. This pack is listed at 20 TPI and sold for laminate, so it matches that spec for a laminate or wood sink cutout.
|
As an Amazon Associate we earn from qualifying purchases.
Beyond the blade, gather the following before you mark anything:
- The paper template that came with the sink (or the sink itself, to trace)
- A drill and a 1/2 inch spade bit for the corner holes
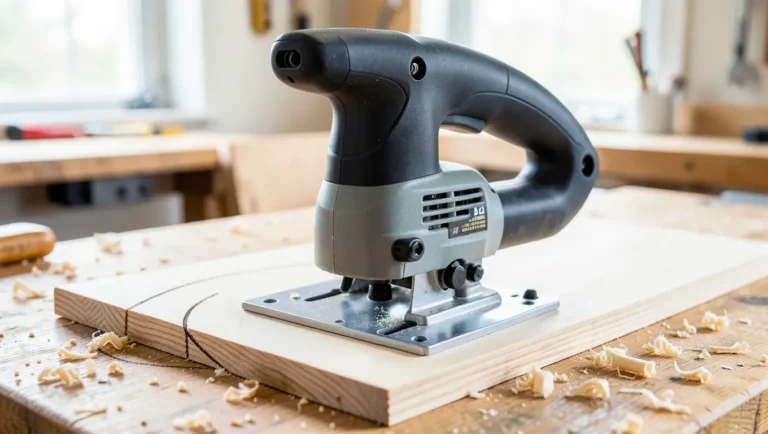
- A jigsaw with a good base plate, plus the new blade
- Painter’s tape and a pencil
- Clamps and a 2×4 or other board for supporting the cutout
- Caulk or sealer for every raw edge, matched to your countertop material (see the sealing step)
- Safety glasses, hearing protection, and a dust mask
If you are still choosing a blade, our guide to the jigsaw blade for laminate countertops explains tooth counts in more detail, and the woodworking jigsaw overview covers T-shank versus U-shank fit.
Which Countertop Material Are You Cutting?
The method changes with the material. Laminate and solid wood tops are the realistic DIY jobs. Butcher block is workable with one extra requirement: wood moves with humidity, and the raw cutout edge is where water gets in. Stone and quartz are a different category. Cambria’s installation page says a Cambria-approved fabricator shapes and cuts the slab and makes the cutouts for the sink, faucet, and cooktop. If you are weighing DIY against hiring out a wood top, see who cuts butcher block countertops professionally.
This page focuses on the cutting and sealing steps for laminate and wood. For a general walkthrough that also covers sink styles and finishing touches, see our companion guide, how to cut a countertop for a sink without cracking it.
Step 1: Start With the Sink’s Own Template
Use the template that ships with the sink. Formica’s instructions note that most sinks come with a paper template for outlining the hole, and that if yours is missing you can trace the sink upside down onto painter’s tape or kraft paper. Do not rely on a generic size from a chart. Sink rims and bowls vary, and the cutout dimension printed on the sink maker’s template is the number that matters.
Then position it. Formica says to allow at least 1 1/2 inches between the front edge of the countertop and the edge of the sink, and to leave enough room at the back for your jigsaw to work. Fine Homebuilding describes the front lip of a drop-in sink sitting 1 1/2 to 3 inches from the front edge and centered over the base cabinet below. Those two ranges agree on the 1 1/2 inch minimum, so treat that as the floor and let your cabinet and faucet layout decide where in the range you land.
If you trace the sink’s rim yourself instead of using the template, the cut line has to sit inside that rim line so the flange can rest on the counter. Fine Homebuilding gives 3/8 to 1 inch inside the outer line, depending on the rim. The template or the sink’s spec sheet removes the guesswork, so use it when you can.
Step 2: Drill a Pilot Hole in Each Corner
Corner holes give the blade a place to start and set the radius of each corner. Formica drills a 1/2 inch spade-bit hole at each corner, positioned so the hole’s edge barely touches the inside of the template lines. Fine Homebuilding says holes of about 1/2 or 3/4 inch wide.
Here is a detail that most how-to pages leave out. A hole that touches both lines at a corner leaves a rounded corner with a radius equal to half the bit diameter: 1/4 inch for a 1/2 inch bit, 3/8 inch for a 3/4 inch bit. That is simple geometry rather than a manufacturer figure, but it explains why the corner holes matter. A rounded corner is also far kinder to the countertop than a sharp, square cut where cracks can start.
Drill from the top face with the countertop clamped or otherwise held still, and back the hole with scrap if you can, so the bit does not blow out the underside.
Step 3: Cut the Opening With a Fine Blade
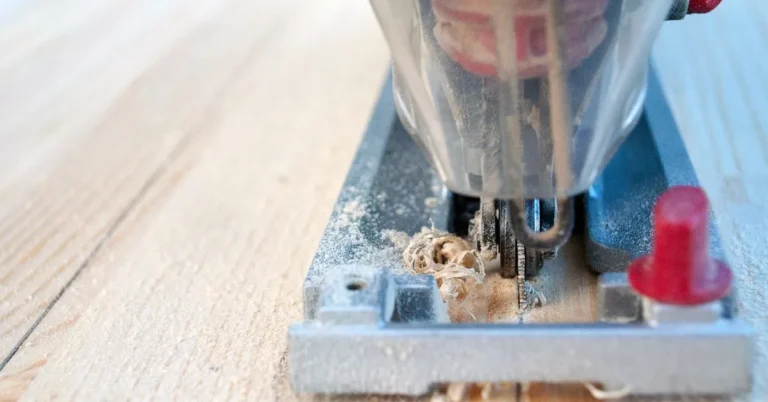
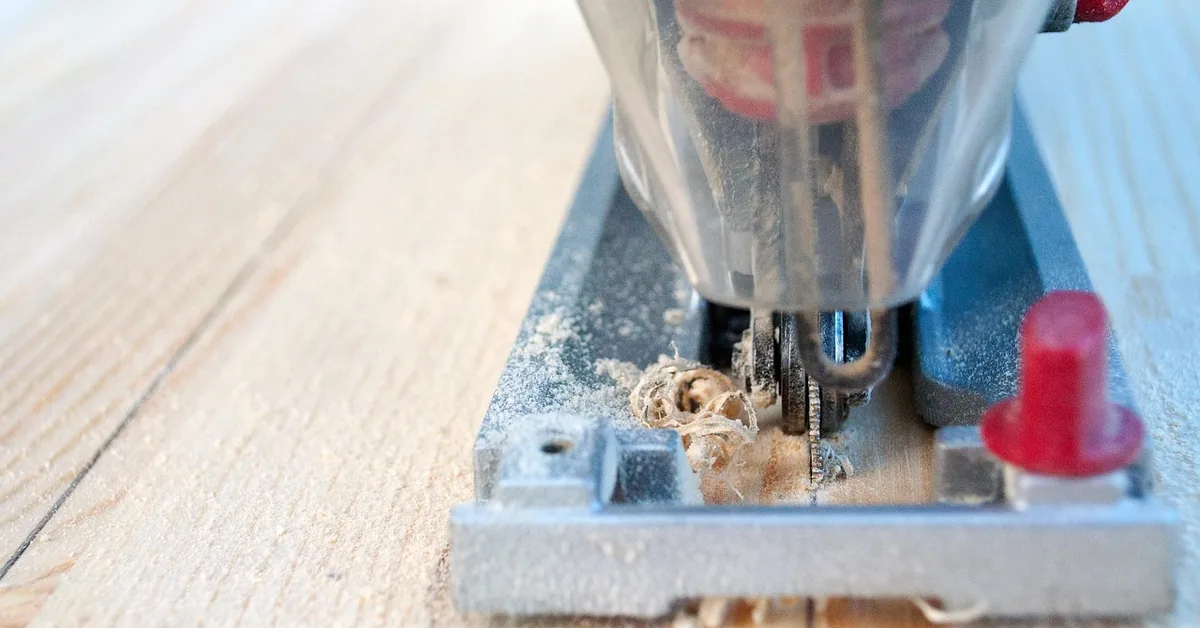
Put the new blade in, tape the cut line (Fine Homebuilding recommends taping around the cut), and cut along the inside of the template line from corner hole to corner hole. Let the saw do the work. Pushing a jigsaw hard makes the blade wander and can chip the top surface. Laminate is the unforgiving material: Formica’s guidance is a brand-new, fine blade with at least 20 teeth per inch, and blades sold specifically for laminate are often described as down-cutting, meaning the teeth cut on the downstroke, which keeps the top face tidy when you cut with the good side up.
Wood and butcher block follow the same sequence. Cut a little inside the line if you are unsure, because you can always file or sand an opening bigger, and you cannot put wood back.
Safety note for human review: clamp the countertop so it cannot shift, keep both hands and the power cord clear of the blade path, wear eye and hearing protection, and unplug the saw to change blades. Follow your jigsaw’s manual for blade installation and guarding.
Step 4: Support the Cutout Before the Last Inch
The waste piece is heavy, and when it comes free it can drop, pinch the blade, or tear the laminate along the cut. Fine Homebuilding suggests making a simple 2×4 support to keep the cutout from falling when you finish the cut. Formica’s version is to set a board across the opening so it overlaps both sides, then screw it into the piece being removed, so the cutout hangs from the board and stays put.
Have a second person hold the waste if you can. Finish the cut slowly, lift the piece away with the support, and set it aside. Keep the cutout piece for now. It is often useful as a test fit for the sink’s flange or as stock for a small project.

Step 5: Seal Every Cut Edge Before the Sink Goes In
This is the step that decides how long the counter lasts. The cut face of laminate-covered particleboard or the end grain of a wood top is raw material sitting next to the wettest spot in the kitchen.
- Laminate: Formica says to generously seal the opening with caulk all around before installing the sink.
- Butcher block: John Boos says butcher block must be sealed on all faces, with particular attention to the inside of cutouts, especially the end grain. If you cut on site, reseal the cut area with at least four coats of sealer. Its guide also says holes must be sealed with at least four coats of polyurethane, and that a rubberized joint sealant should be used in sink and basin applications.
- Wood movement: Boos adds that sink fittings must not restrict the top from expanding and contracting, and to keep at least 1/4 inch of clearance all around the appliance. Wood swells and shrinks across the grain with humidity, so a tight, rigid fit is a risk.
Let each coat cure as the product directs before the next one, and let the final coat cure before you set the sink. If you are working with a wood top, our guide to caring for wood countertops covers oiling and re-sealing over the long run, and the best wood for butcher block countertops explains how species and grain affect movement.
Step 6: Set the Sink and Tighten the Clips
With the edges sealed and cured, run a bead of the sealant your sink maker specifies around the opening and lower the sink into place. Fine Homebuilding’s drop-in instructions slip the clips into the flange around the bowl, slide them so they are evenly spaced, and tighten them with a screwdriver. Tighten evenly around the bowl, in rounds, rather than cranking one corner down. Wipe away squeeze-out right away, and connect the faucet and drain.
Source Numbers Side by Side
Published instructions agree on the big points and differ on the details. Here is what each source actually says, so you can see where the guidance matches and where you should defer to your sink’s manual.
| Step | Formica (laminate) | Fine Homebuilding (drop-in sink) | John Boos (butcher block) |
|---|---|---|---|
| Front clearance | At least 1 1/2 in. from front edge to sink edge | Front lip 1 1/2 to 3 in. from front edge, centered over the base cabinet | Not stated; follow the sink maker |
| Corner holes | 1/2 in. spade bit, hole edges barely touching the inside of the lines | About 1/2 or 3/4 in. wide | Not stated |
| Blade | New, at least 20 TPI | Jigsaw with a fine-cutting blade, tape around the cut | Not stated |
| Cutout support | Board across the opening, screwed to the waste | Simple 2×4 support | Not stated |
| Sealing cut edges | Seal generously with caulk around the opening | Not stated | At least 4 coats of sealer, extra care on end grain |
| Room for movement | Not stated | Not stated | At least 1/4 in. clearance all around the sink |
One pattern stands out: only the butcher block maker gives a movement clearance, and only the laminate maker and the wood maker give a sealing instruction. A guide that stops at “cut the hole” leaves out the two steps that protect the top over the next ten years.
Cutting Granite, Quartz, or Solid-Surface Tops
Do not treat a jigsaw method as transferable to stone. Cambria states that its approved fabricators cut the slab and make the sink cutouts, so the cutout is done in a shop before the top is installed. If you are replacing a sink in an existing stone top and the opening is the wrong size, call the fabricator who made it rather than attempting to enlarge it yourself. If you are budgeting a new wood top instead, see our figures on the cost of butcher block countertops.
Common Mistakes to Avoid
- Skipping the template and cutting from a remembered measurement.
- Placing the sink closer than 1 1/2 inches to the front edge, which leaves a thin strip of countertop.
- Using a dull or coarse blade on laminate.
- Letting the cutout fall before the cut is finished.
- Leaving raw edges unsealed because they will be hidden under the sink flange.
- Fitting a wood top so tightly around the sink that it cannot move.
Frequently Asked Questions
What tool do you use to cut a sink hole in a countertop?
For laminate and wood, use a jigsaw with a new fine-tooth blade. Formica specifies at least 20 teeth per inch for its laminate. A drill with a 1/2 inch bit makes the corner starter holes. Granite and quartz are different: manufacturers such as Cambria have their approved fabricators make the sink cutout.
How far from the front edge should a sink cutout be?
Formica says to leave at least 1 1/2 inches between the front edge of the countertop and the edge of the sink. Fine Homebuilding puts the front lip of a drop-in sink 1 1/2 to 3 inches from the front edge, centered over the base cabinet. Your sink’s own template and instructions take priority over both.
Do you need to seal the cut edges of a countertop sink hole?
Yes. Formica says to seal generously with caulk all around the opening before installing the sink. For butcher block, John Boos says the cut area must be resealed with at least four coats of sealer if you cut on site, with extra attention to end grain, and a rubberized joint sealant used around the sink.
How do you keep the cutout piece from falling and chipping the counter?
Support it before the last inch of the cut. Fine Homebuilding suggests a simple 2×4 support to keep the cutout from falling when you finish. Formica screws a board that overlaps the opening to the waste piece from above, so the piece hangs from the board instead of dropping.
What size drill bit do you use for sink cutout corners?
Formica uses a 1/2 inch spade bit in each corner, with the hole edges barely touching the inside of the template lines. Fine Homebuilding says holes of about 1/2 or 3/4 inch. A hole touching both lines leaves a corner radius equal to half the bit diameter, so 1/4 inch for a 1/2 inch bit.
Conclusion
A clean sink cutout comes down to a few controlled steps: start from the sink’s own template, keep at least 1 1/2 inches in front, drill the corners, cut with a new fine blade, support the waste, and seal every raw edge before the sink goes in. For wood tops, leave room for the top to move. For stone or quartz, call the fabricator.
Sponsored / affiliate links. As an Amazon Associate I earn from qualifying purchases. I may earn additional commission from eligible campaigns.