How to Dry Pressure Treated Wood Fast (AWPA’s 19% Rule)
Fresh pressure-treated wood holds 20–50% moisture at purchase — it needs to reach 19% or below (the AWPA U1 “dry” standard) before it accepts paint or stain evenly. Skipping this can cause warping, cracking, or peeling finish within a season. This guide covers stacking and air-drying, accelerated methods with fans or a kiln, and a 60-second water-drop test to check when the wood is actually ready.
Why Pressure-Treated Wood Is So Wet When You Buy It
Best PT Wood Moisture Meter Pick

Klein Tools ET140 Pinless Moisture Meter – $49.97
A pinless meter is the fastest way to confirm the 19% AWPA U1 threshold from this guide’s Data Callout without leaving pinholes in visible boards.
- Best for: quick pass/fail checks before staining or painting PT lumber
- Why we picked it: pinless design reads up to 3/4-inch deep without marking visible deck boards
- Main drawback: less precise than a dedicated wood-only meter on very dense or very wet stock
Compare more moisture meter options
 Option 1 General Tools MMD4E Moisture Meter – $37.70
|
 Option 2 General Tools MMD7NP Digital Moisture Meter – $49.99
|
 Option 3 Wagner Meters Orion 930 Pinless Moisture Meter – $525.00
|
As an Amazon Associate we earn from qualifying purchases.
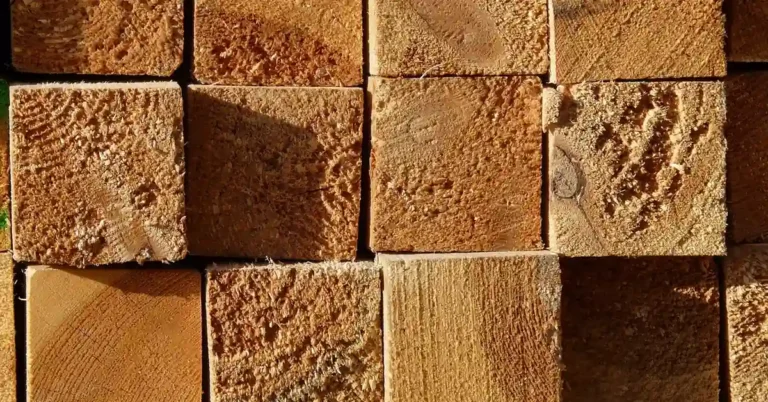
Pressure-treated wood is forced under high pressure into a vacuum chamber filled with a water-based preservative (usually ACQ or copper azole), which is how it resists rot and insects — but that same process is what leaves it saturated. Moisture content fresh off the treatment line typically runs 20–50%, which is why the boards feel heavy, sometimes drip visibly, and are prone to warping, shrinking, or splitting as that water works its way back out.
Drying it properly before you build, paint, or stain isn’t optional — it’s what keeps a deck or fence flat, lets paint bond instead of peeling within a year, and stops mold from taking hold in wood that’s still damp when it goes into a project.
How Long Does Pressure-Treated Wood Take to Dry?
Air-dried in a well-ventilated, stickered stack, pressure-treated lumber typically reaches a workable moisture content in 2 to 8 weeks in a dry climate, but can take 2–3 months in humid regions or thicker stock (4x4s and larger dry much slower than 1x and 2x boards). For the full breakdown by board thickness and season, see our dedicated drying-time guide.
📊 AWPA Standard U1 sets the bar at 19% moisture content or lower for lumber to be classified “dry” after treatment — the same threshold used for standard kiln-dried framing lumber. — Source: AWPA Standard U1 excerpt
KDAT vs. Air-Dried: What’s the Difference?
KDAT (Kiln-Dried After Treatment) lumber is a category that goes through a drying kiln immediately after the preservative treatment, bringing it down to that same ≤19% AWPA U1 target before it ever leaves the mill. It costs more and can be harder to find at a big-box store, but it accepts stain the day you buy it and won’t shrink or twist after it’s already fastened in place. Standard “wet-tagged” pressure-treated lumber — the stacks with visible moisture beading — skips that step, so the drying (and the shrinkage that comes with it) happens on your job site instead of at the mill.
If a project can’t tolerate any post-install shrinkage — a tight stair stringer layout, interior trim, furniture — buying KDAT stock is worth the premium. For everything else, air-drying wet-tagged lumber yourself is the cheaper route. See our full KDAT lumber guide for where to find it and how to read the stamp.
The Water-Drop Test: How to Check If It’s Dry Enough
Before you reach for a moisture meter, a water-drop test tells you in under a minute whether a board is ready for finish. Sprinkle a few drops of water on the surface: if it beads up and sits there, the wood is still too wet to coat. If it soaks in within 60–90 seconds, the surface moisture content is low enough to paint or stain.
- Pick a representative board: test one from the middle of the stack, not the driest-looking piece on top.
- Sprinkle 3–4 drops of water on a flat, unfinished section of the surface.
- Watch for 60–90 seconds: beading water means wait longer; full absorption means it’s ready.
- Confirm with a moisture meter if you have one — a pinless meter reading of 19% or below matches the AWPA U1 dry standard above.
For a deeper look at reading a moisture meter correctly on treated lumber (pin vs. pinless, where to test on the board), see our guide on how to tell if pressure-treated wood is dry.
“In our shop, the water-drop test has saved us from staining too early more than once — if those drops are still sitting there after a minute, the board needs another week or two, even if the surface looks dry to the eye.”
3 Ways to Dry Pressure-Treated Wood
1. Stack and Sticker (Air-Drying)
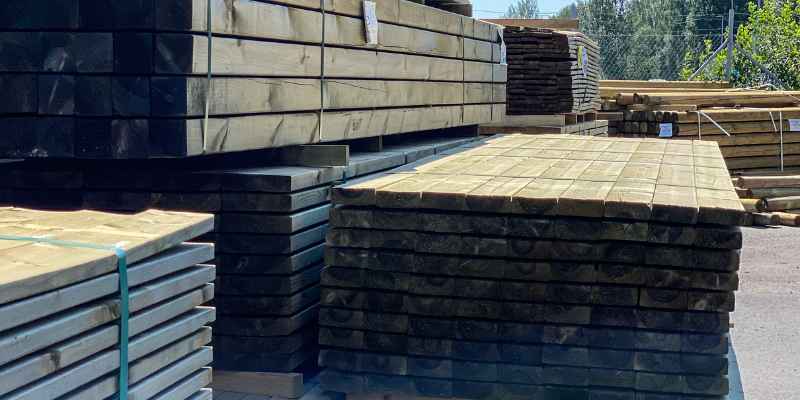
Stack the boards flat with stickers (thin spacer strips) every 16 inches between each layer, stack no higher than 4 feet, and cover the top only — leave the sides open for airflow. Set the stack in a shaded, well-ventilated spot off the ground. This is the slowest method but the least likely to introduce new warping, since the wood dries evenly on all faces.
2. Speed It Up With Fans or a Dehumidifier
Point a box fan across the stack to keep air moving through the stickered gaps — this alone can cut weeks off ambient drying time. In an enclosed garage or shed, running a dehumidifier alongside the fan works faster still: keep the room’s relative humidity between 30–50% and empty the tank regularly so it keeps pulling moisture from the air (and, indirectly, the wood).
3. Kiln-Drying (Small Batches Only)
For small quantities, a kiln gets treated lumber to the 19% AWPA U1 target in days instead of weeks:
- Prepare the wood: cut to manageable sizes and stack with stickers for airflow.
- Preheat the kiln: bring it to roughly 120°F (49°C) before loading.
- Load the wood: leave gaps between pieces for even air circulation.
- Check moisture regularly: use a moisture meter and target 19% or below.
- Adjust temperature and airflow based on the readings to control the drying rate.
- Keep monitoring until the target moisture content is reached throughout the stack, not just on the surface.
- Remove and cool the wood before cutting, painting, or installing it.
Kiln drying costs more and is impractical for a whole deck’s worth of lumber, which is why most DIYers reserve it for smaller trim pieces or reach for KDAT stock instead (see the comparison above).
Preventing Warping and Crowning While It Dries
Warping happens when one face of a board dries and shrinks faster than the other. Sticker every layer, weight the top of the stack evenly, and keep the pile out of direct sun and rain — uneven exposure is the single biggest cause of warping in drying PT lumber. For the full set of techniques (including how to fix a board that’s already warped), see our guide to preventing pressure-treated wood from warping.
After Drying: Cutting, Painting, and Staining
Once the wood passes the water-drop test, you can cut it to final size, and it’s ready for paint or stain. Applying finish before it’s dry is the most common cause of peeling and blistering — the trapped moisture pushes the coating back off from underneath as it eventually escapes.
Safety When Handling Treated Wood
Wear gloves and a dust mask when cutting or sanding treated lumber, and avoid breathing the sawdust. Dispose of scraps and sawdust as household waste — never burn treated wood, since the smoke concentrates the preservative chemicals. See our guide on what to do with leftover wood scraps for safe disposal and reuse ideas.
Never use treated wood where it will contact drinking water, food, or animal feed, and keep it away from beehives and garden beds used for edible crops.
Frequently Asked Questions
How Long Does It Take for Pressure-Treated Wood to Dry?
Typically 2 to 8 weeks air-drying in a dry, well-ventilated climate, or up to 2–3 months in humid regions or with thicker stock. KDAT lumber is already dry (≤19% moisture) when you buy it.
Can You Speed Up Drying Pressure-Treated Wood?
Yes. Stack it with stickers for airflow, add a fan to move air through the gaps, or use a dehumidifier in an enclosed space. A small kiln can dry manageable batches in days. Buying KDAT lumber skips the wait entirely.
Will Pressure-Treated Wood Warp As It Dries?
It can, especially if it dries unevenly in direct sun or without stickers for airflow. Proper stacking, weighting, and shade largely prevent it — the crowning FAQ below has the full fix if it already happened.
Why Is My Pressure-Treated Wood Sweating or Beading Water?
That’s normal for freshly treated (“wet-tagged”) lumber — it’s still 20–50% moisture from the treatment process working its way out. Surface beading or a damp sheen isn’t a defect; it just means the board needs more drying time before it’s ready to finish.
Does Pressure-Treated Wood Crown as It Dries?
Yes — crowning (the board bowing upward along its length) is a common warping pattern as moisture leaves unevenly. Stacking flat with stickers and weight on top during drying reduces it; see our warping guide for crown-specific fixes after the fact.
What Should Never Be Done With Pressure-Treated Wood?
Never burn it, use it where it contacts drinking water or food, or place it in raised beds for edible plants without a liner. Always wear a mask when cutting or sanding it.
Conclusion
Drying pressure-treated wood comes down to airflow and patience: stack it with stickers off the ground, keep it shaded, and give it 2–8 weeks (longer in humid climates) before you cut, paint, or stain. The water-drop test tells you when it’s ready in under a minute — and if you can’t wait, KDAT lumber or a small kiln batch gets you there faster.

Sponsored / affiliate links. As an Amazon Associate I earn from qualifying purchases. I may earn additional commission from eligible campaigns.